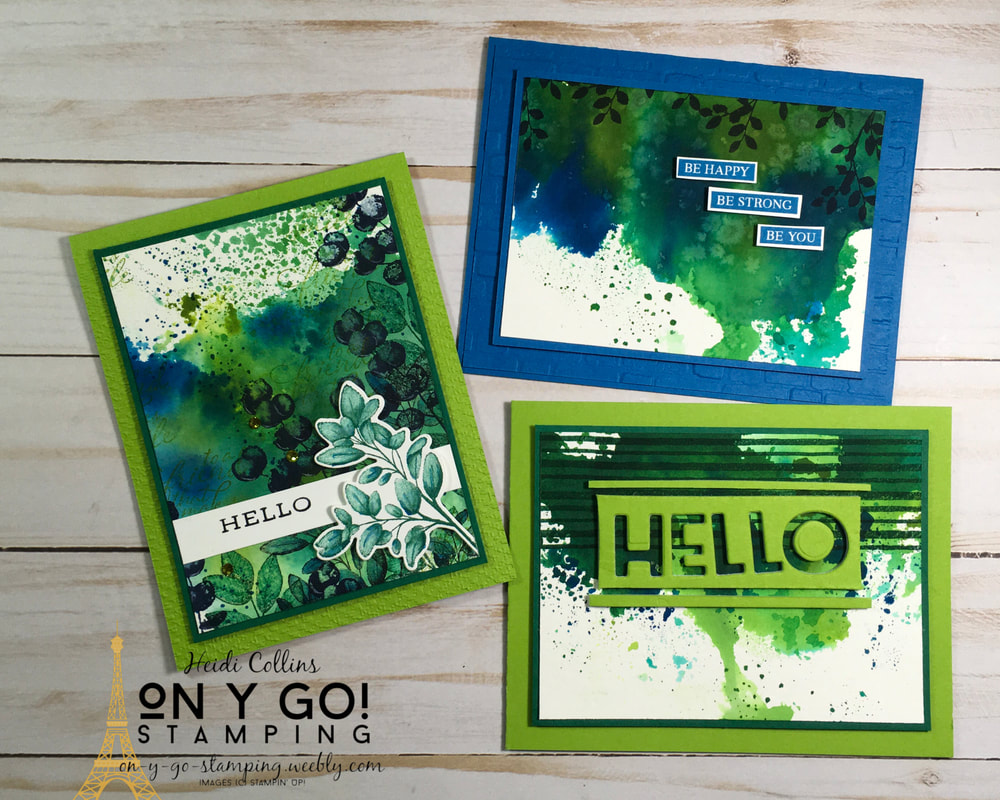
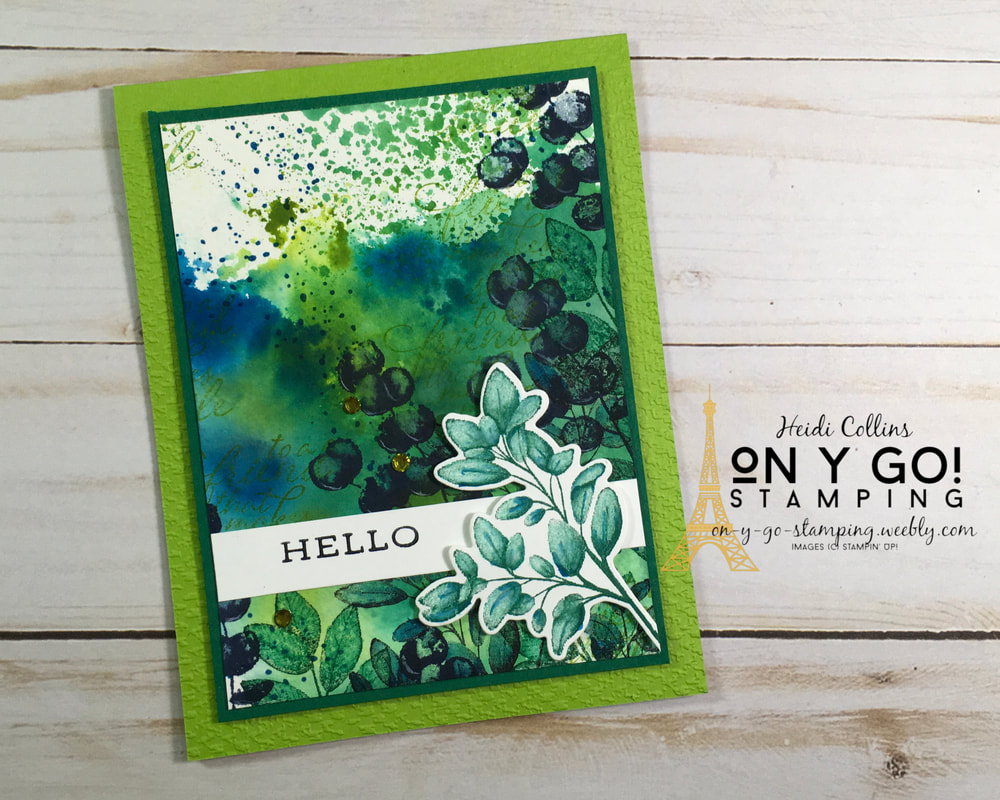
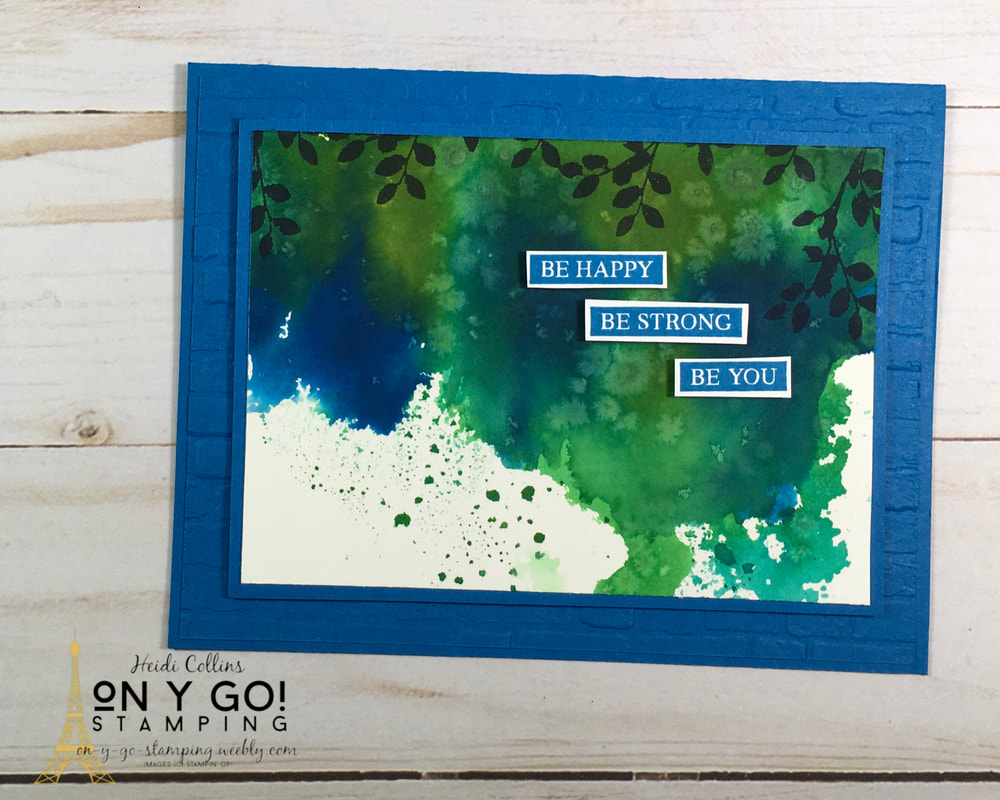
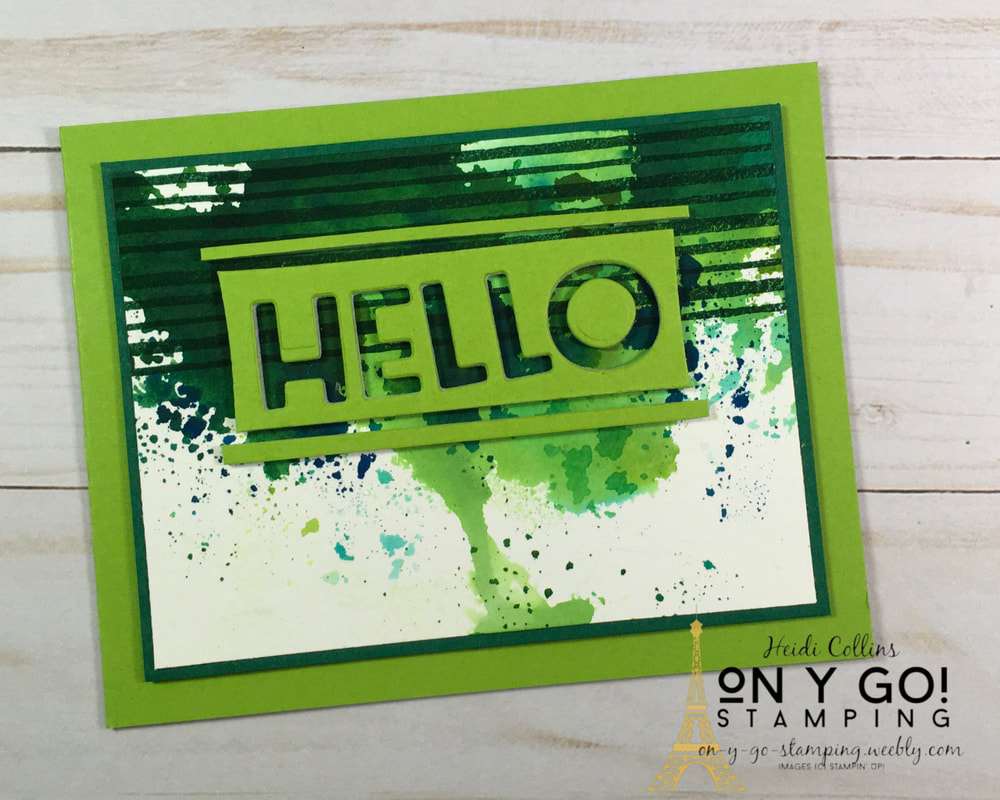
I have another watercolor technique to share with you today - smooshing! It's as fun as the name. In this short video, I shared how I did this technique. Don't worry - it's less messy than it looks! So, on y go! Let's get stamping.
Product List


")


0 Comments
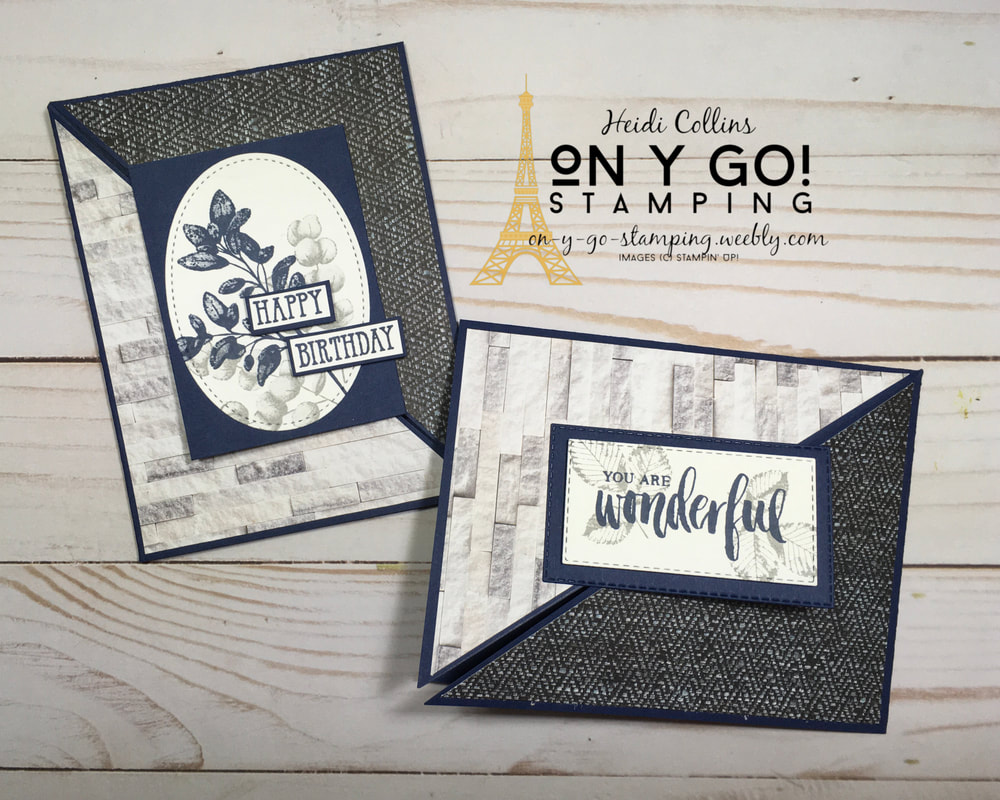
Last night for Mystery Stamping on the On Y Go! Stamping Facebook Group, we created this quick and easy fun fold card. Well, actually, we created two cards. Because this fun fold creates two cards! So, on y go! Let's get stamping.
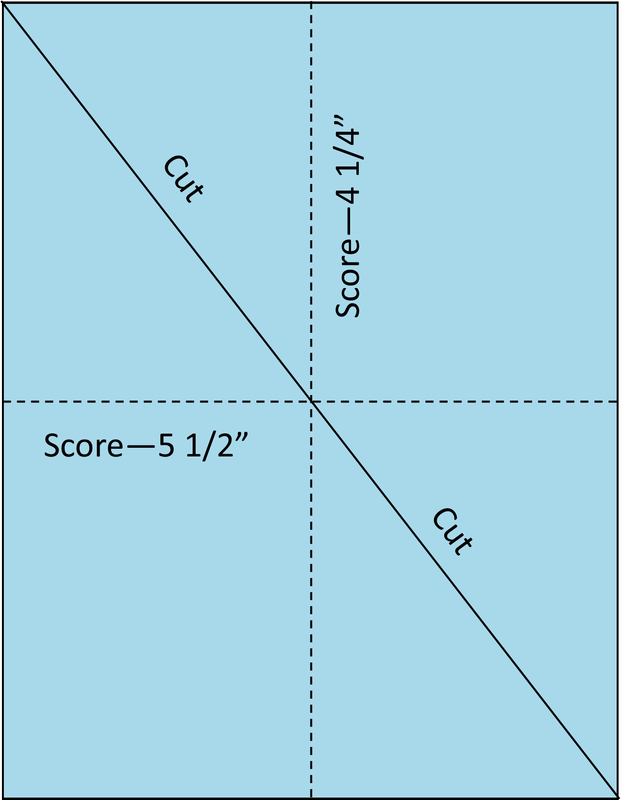
Cut diagonally from one corner of your cardstock to the opposite corner. If your cardstock won't fit diagonally in your paper trimmer, use a ruler and pencil or bone folder to mark the line and cut it with scissors.
You now have two card bases. Fold the flaps in on each card base. Lay your two card bases in front of you. Lay your two pieces of patterned paper in front of you with the designs you want to show facing up. Cut these pieces diagonally as well. Go in the same direction as your card bases. Adhere a triangle of Designer Series Paper to each of the triangular flaps on your card bases. Stamp an image or greeting on your Whisper White or Vanilla cardstock. Mount it on a layer of colored cardstock and adhere it to the front of your card. Be careful to only adhere it to one flap or your card won't open! 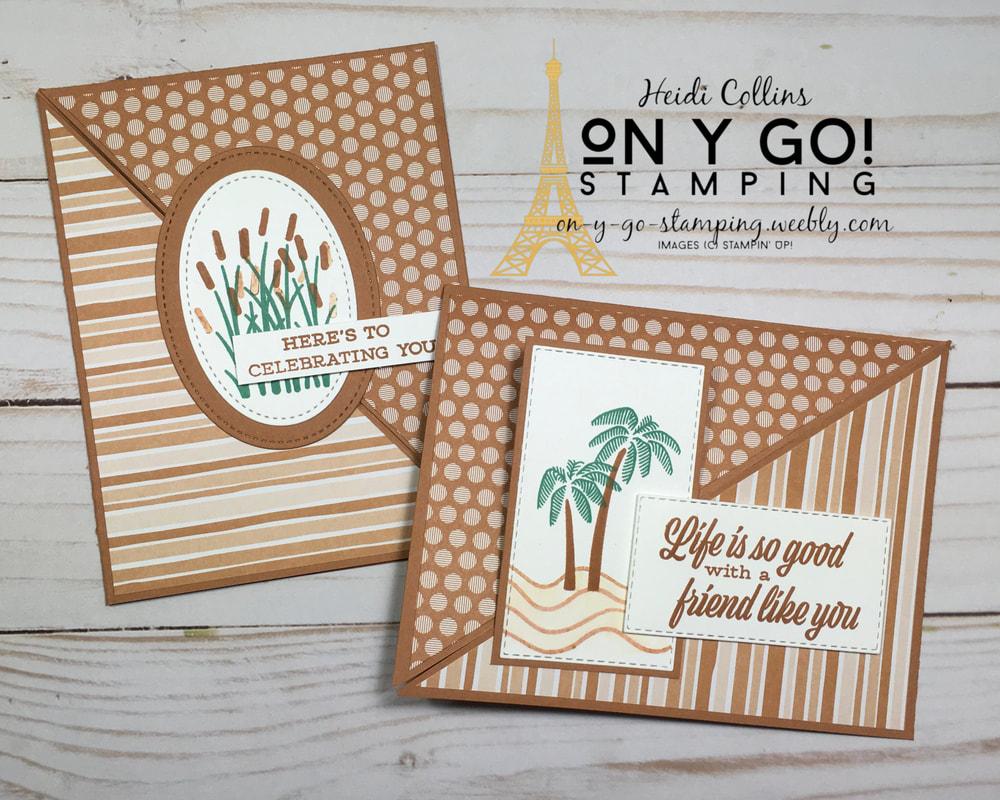
Product List


Product List
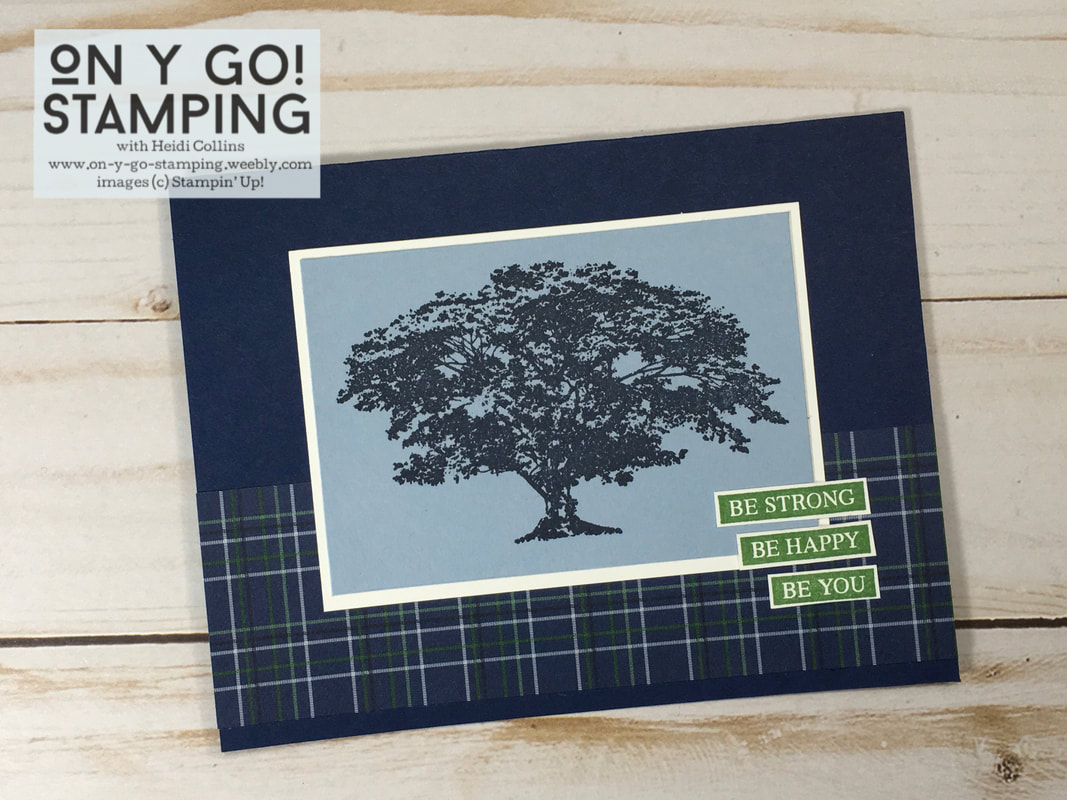
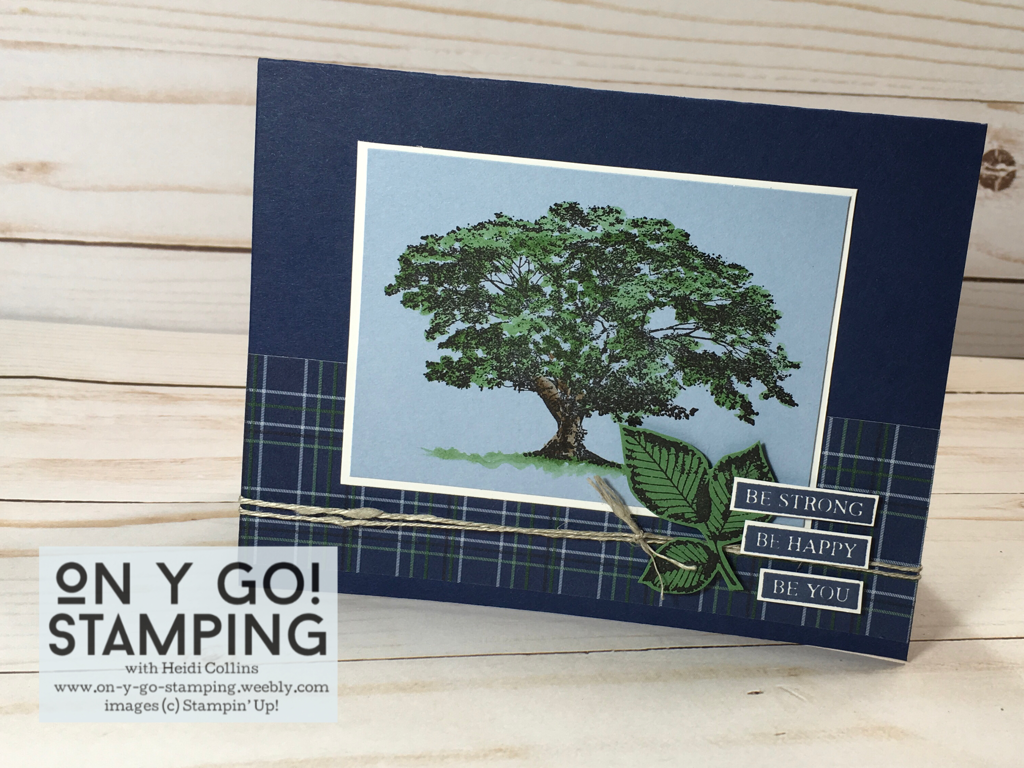
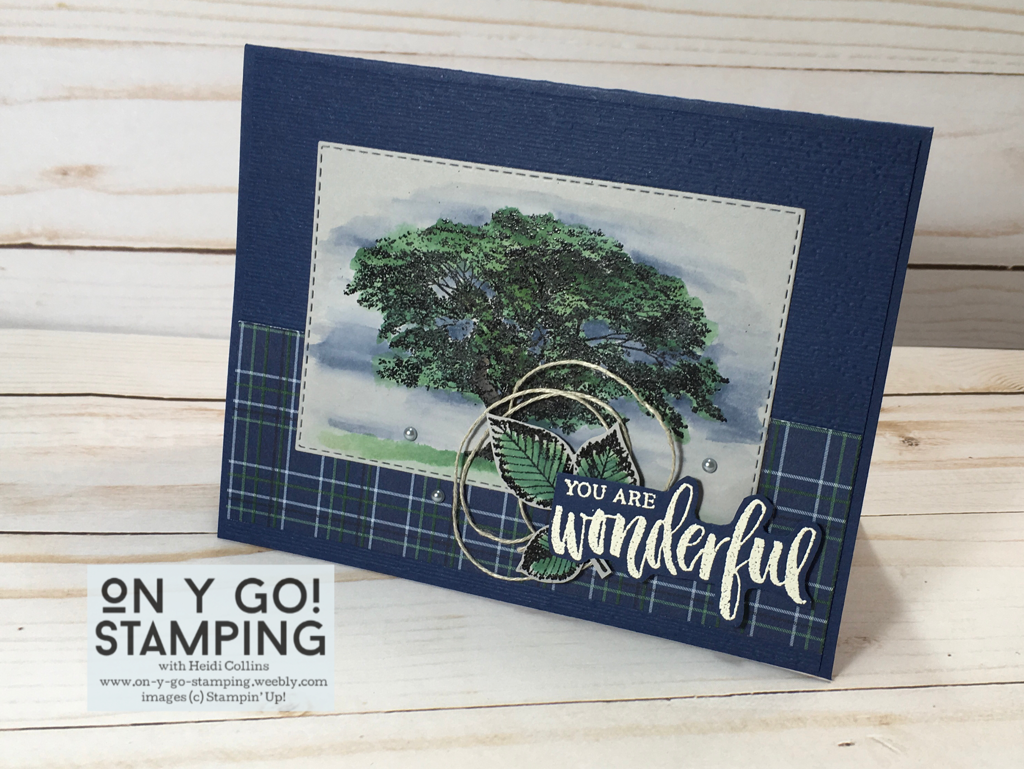
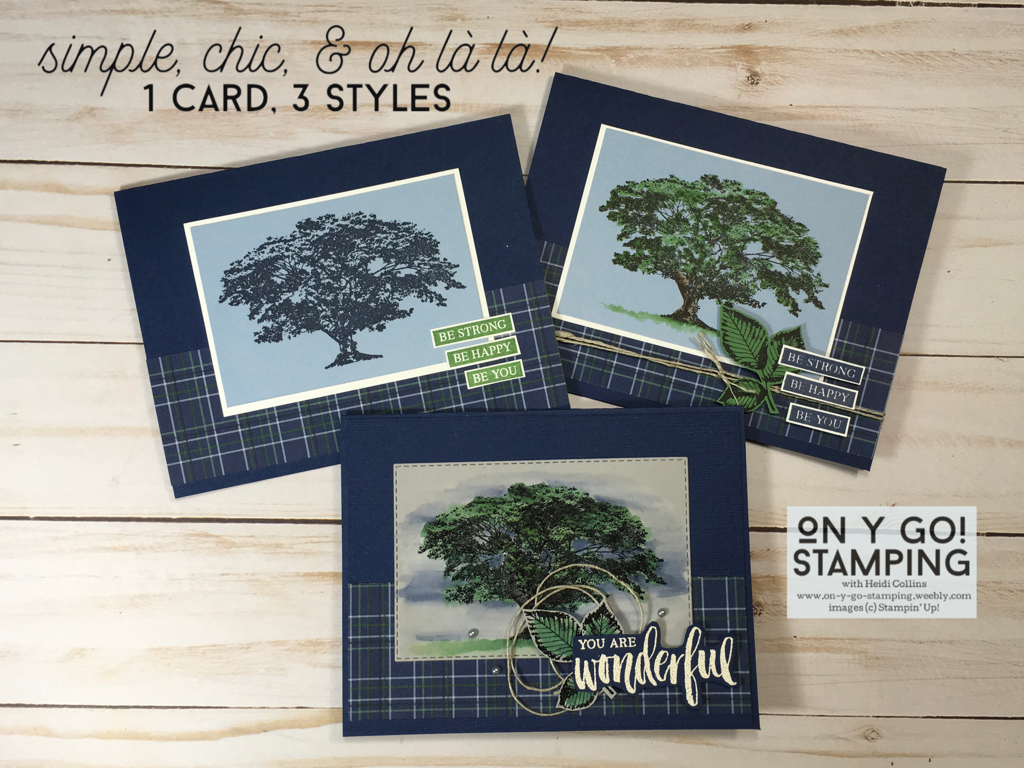 Whether you're new to rubber stamping and card making or you're a seasoned pro, Rooted In Nature is a gorgeous stamp set that is perfect for making elegant cards for all occasions. Because I'm stuck on plaids right now, I used with a blue plaid patterned paper from the Country Club Designer Series Paper pack. I created three cards that use the same basic layout and go from simple to oh là là!
Tips:
Tips:
Tips:
|


Archives
April 2024
|


")


")


 Designer Series Paper")
 Designer Series Paper")