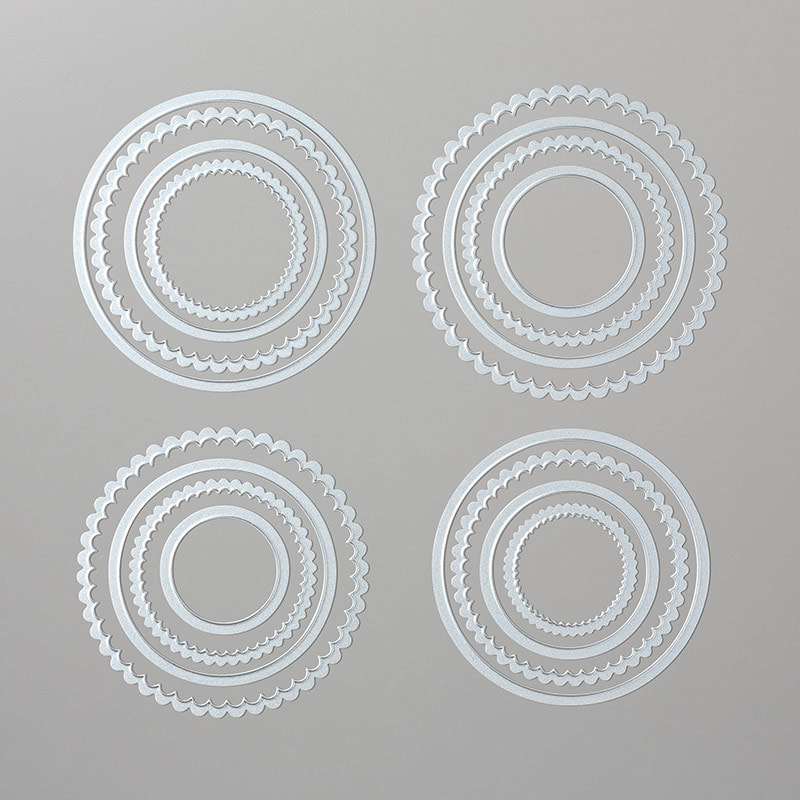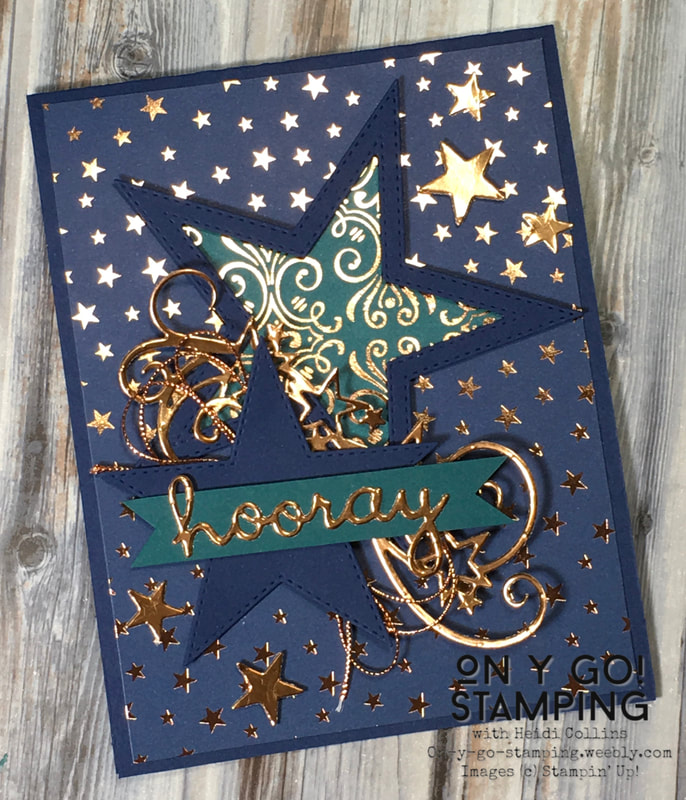
I love the look of the card on the left with a frame around a piece of Designer Series Paper stamped with "I LOVE YOU." I chose to use the Stitched Stars dies and the Brightly Gleaming Designer Series Paper for my card. The Stitched Stars dies are perfect for creating frames similar to the one in the inspiration photo because there are so many sized stars to choose from that nest inside one another. Another advantage of the Stitched Stars dies is that they have "stitching" on both sides of the cut line. This means, when you cut the interior star for the frame, it leaves a stitch line on the star frame. This way, your star frame has stitching on the outside and inside edges.
I used the star I cut for the inside of the frame under the greeting. I also cut the star swirl from copper foil and used the stars that were cut out as accents on the card. I twisted some copper cord from my stash under the greeting that I had cut from copper foil using the Well Written dies. The copper foil matches the Brightly Gleaming Specialty Designer Series Paper perfectly. This card is so sparkly that it was hard to photograph without getting a glare. I love the shine and glamour for a truly special card to celebrate an amazing accomplishment.
0 Comments
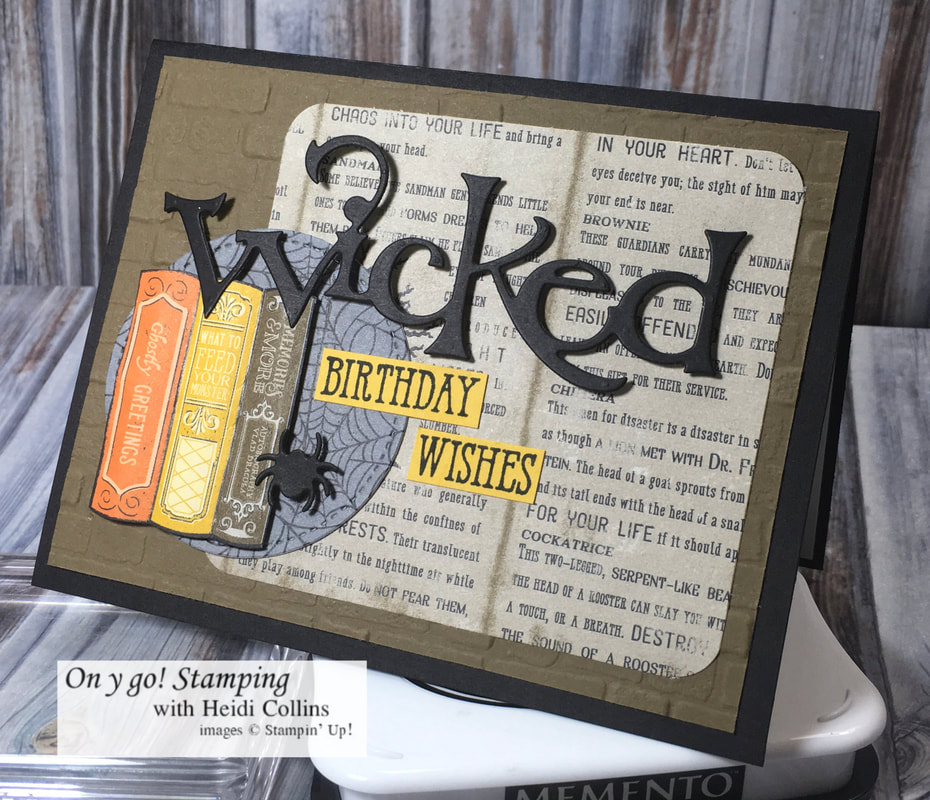
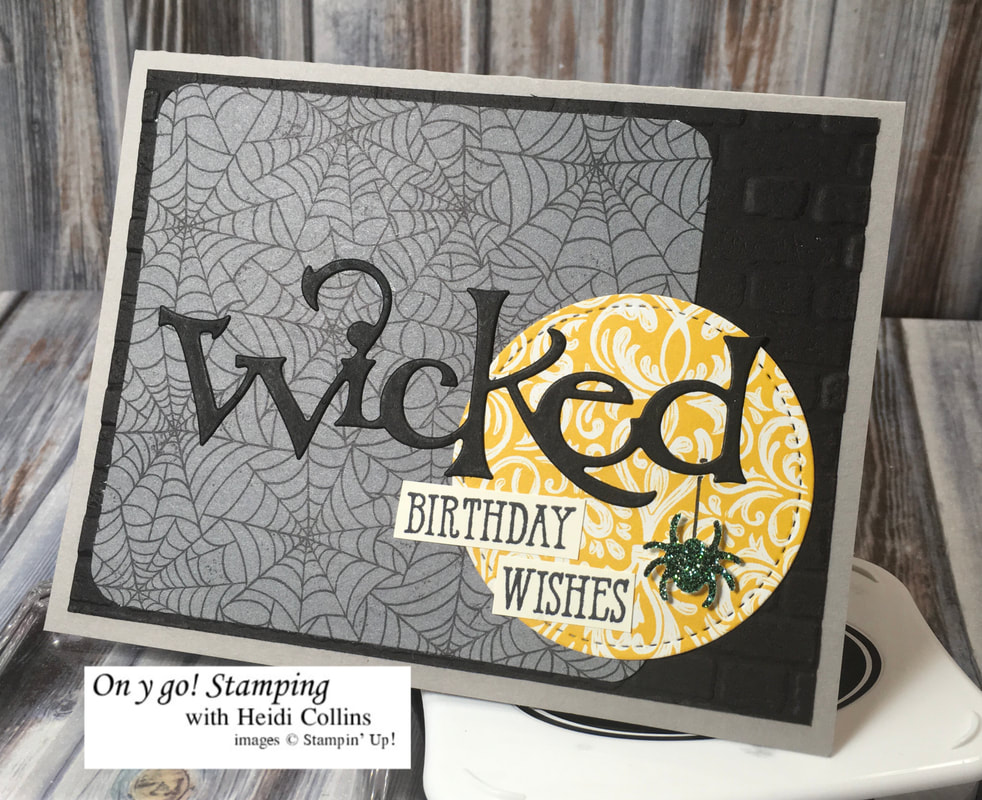
I cut the books on the left of the card from another sheet of the paper that looks like library shelves full of spooky, creepy books. I scored a line between the books and then folded them and rolled the books slightly. Although it's hard to see in the photo, I wanted the them to look like individual books with raised spines. To help them keep their shape, I cut apart mini dimensionals and placed them under the books, then I put a thin line of liquid adhesive where the edges of the books are. This raises the inside of the spine while holding the edges down to the paper and gives each book a curved spine. Since the "Wicked" die cut overlapped the books, I had to put dimensionals on it as well. This required quite a bit of finesse as the type is fairly thin and I had to cut the already small mini dimensionals into smaller pieces. I also popped the little spider on a dimensional and added a line in black to make it look like the spider was hanging off the words.
 This week, I participated in the TGIF Challenge again. It was a color challenge to use the colors Merry Merlot, Basic Black, and Very Vanilla on a card. I chose to combine these colors with the To a Wild Rose stamp set and the Wild Rose dies. The results were stunning! I love these colors together because they are so dramatic. I stamped the solid image and the shading image of the rose in Merry Merlot on Very Vanilla cardstock and added a black center using a Tuxedo Black Momento ink. I die cut the leaves from Basic Black, Very Vanilla, and Vellum cardstock using the Wild Rose dies. I wanted a little sparkle in the card, so I added a little silver thread under the rose as well. The leaves and thread were mounted on a square of Merry Merlot cardstock cut using the Stitched Shapes dies. It's hard to see, but I popped up the rose on some dimensionals. To give the card even more texture, I embossed the Basic Black cardstock with the Subtle embossing folder. To finish the card, I added a greeting cut from Very Vanilla cardstock using the Well Written dies.
Supplies:
Supplies used: |


Archives
April 2024
|