|
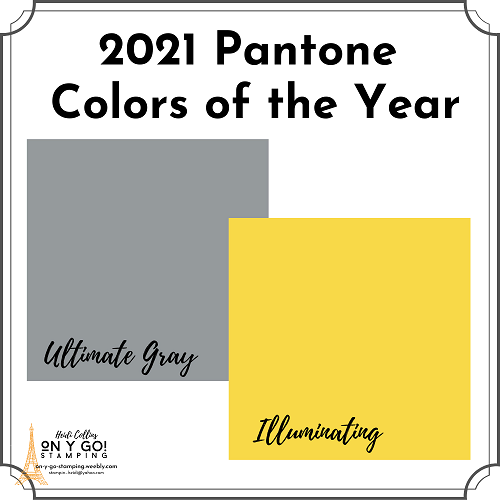
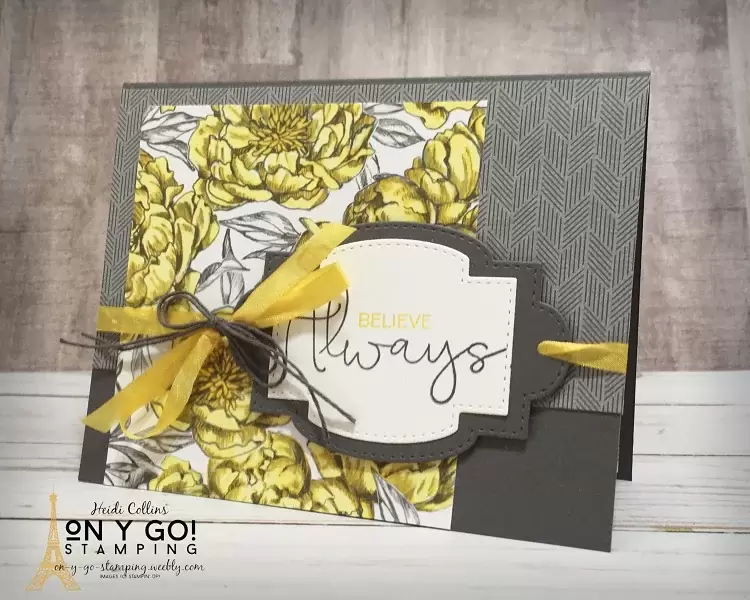
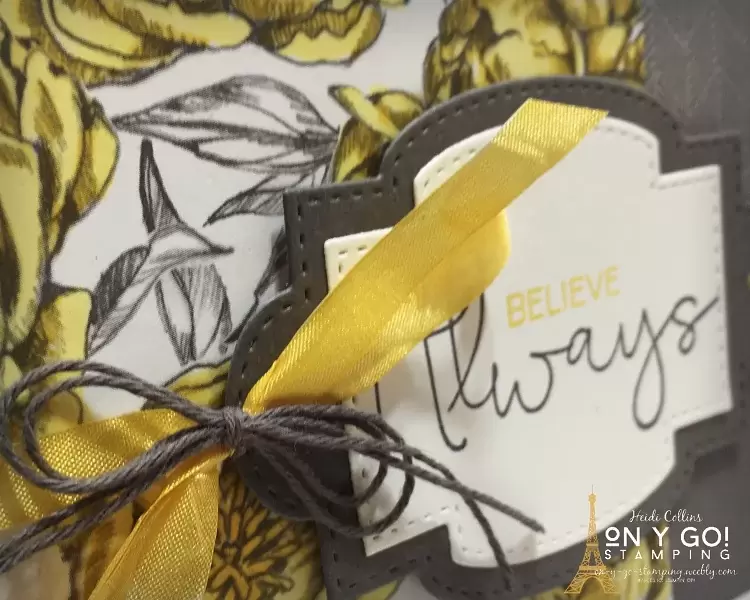
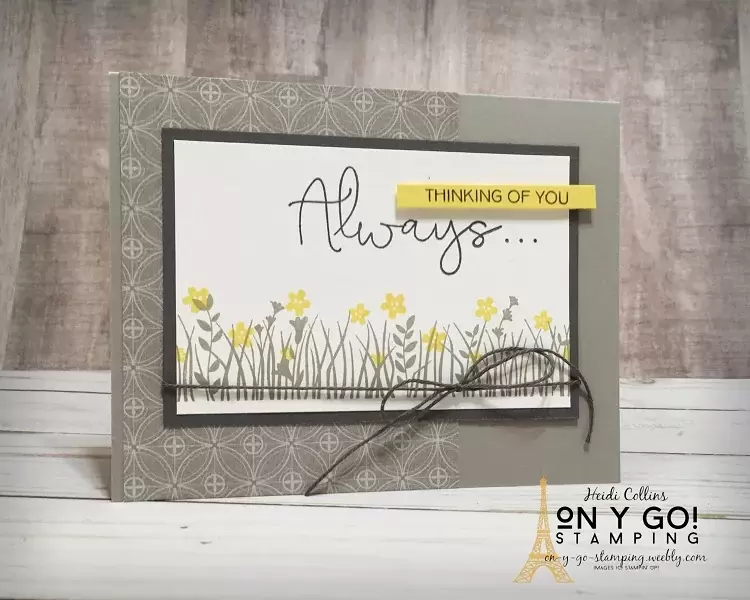
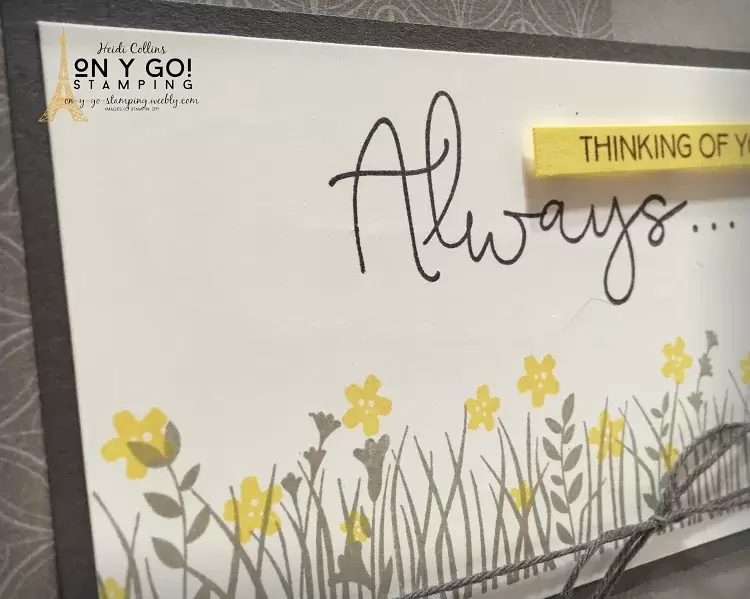
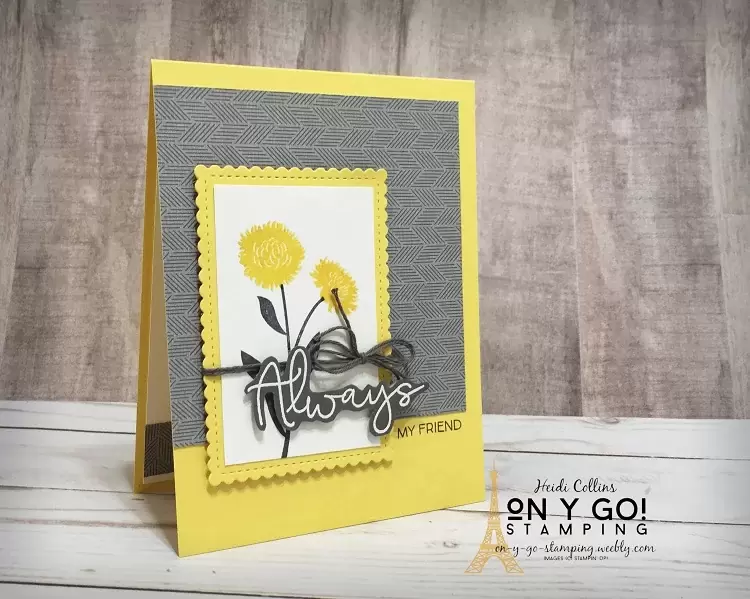
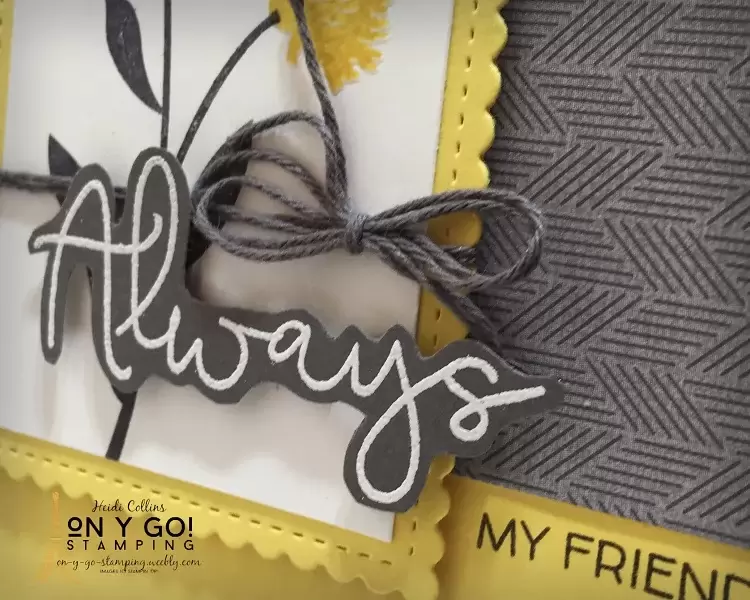
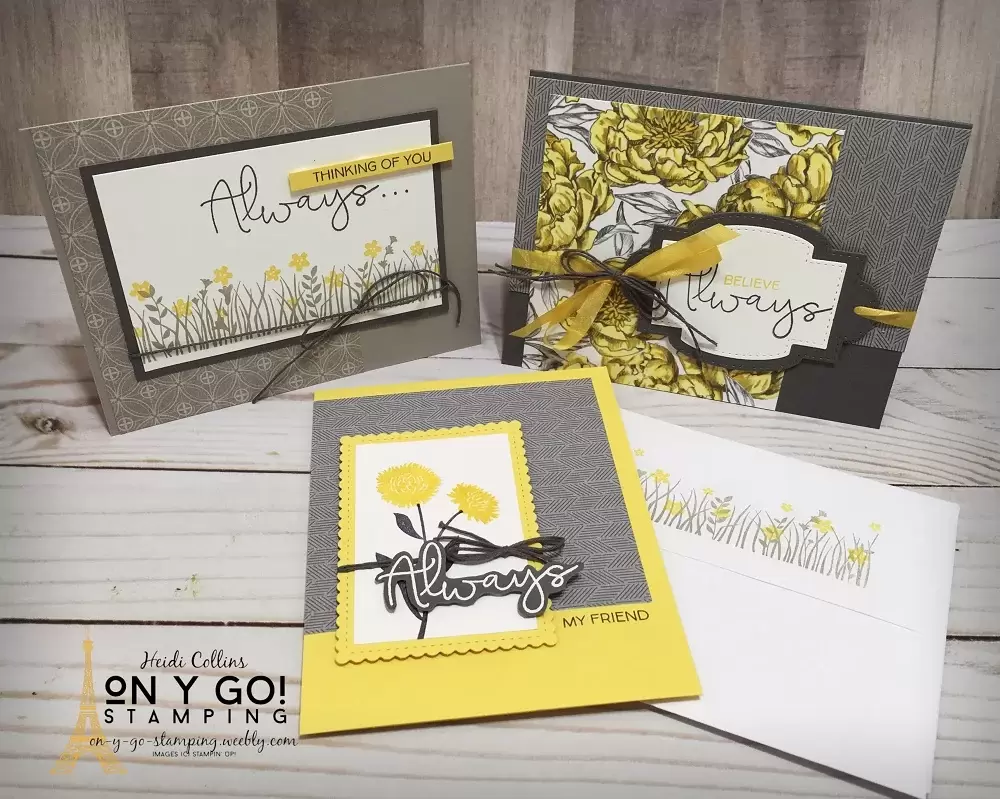
Have you seen the Peony Garden Suite of products?! They are absolutely gorgeous and are found in the 2020-2021 Stampin' Up! Annual Catalog on pages 82-83. While the entire collection of stamps, dies, papers, and embellishments is fabulous, sometimes I think we forget that patterned paper can be used with other stamp sets than those in the suite. Today, I have created three cards using the Peony Garden patterned paper in the Stampin' Up! equivalent of the 2021 Pantone Colors of the year. So, on y go! Let's get stamping.
International Blog Hop
I also have the pleasure of hopping with the awesome cardmakers of the Pretty Cards & Paper International Design Team. This month, we are all using the Peony Garden patterned paper, so you have the opportunity to see a variety of projects using this beautiful paper. Be sure to read all the way through to the bottom for the list of designers and the links to their blogs.
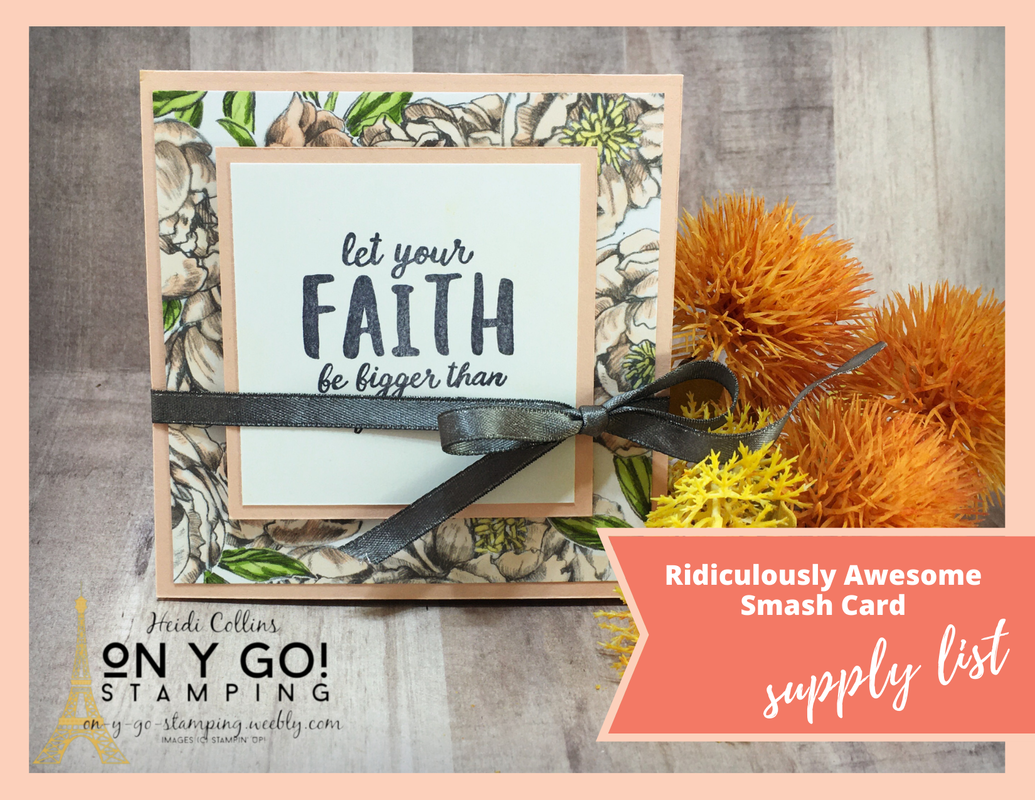
Supply list for these Gray and Yellow Card Ideas
Click here to see the supply list for these Basic Gray and Daffodil Delight card ideas using the Peony Garden patterned paper. If you live in the US and would like to purchase the items to make these cards, simply check the products you need and click "Add to Cart." Be sure to enter the host code (in the side bar or at the bottom on mobile) on the second page under the pink "Checkout" button. Using the host code will help you earn Frequent Shopper Points.
Pretty Cards & Papers International Design Team
I hope you'll take a few minutes to check out all of the amazing projects created by the fabulous cardmakers of the Pretty Cards & Papers International Design Team. This awesome group of Stampin' Up! Demonstrators have so many beautiful cards to share with you.
1 Comment
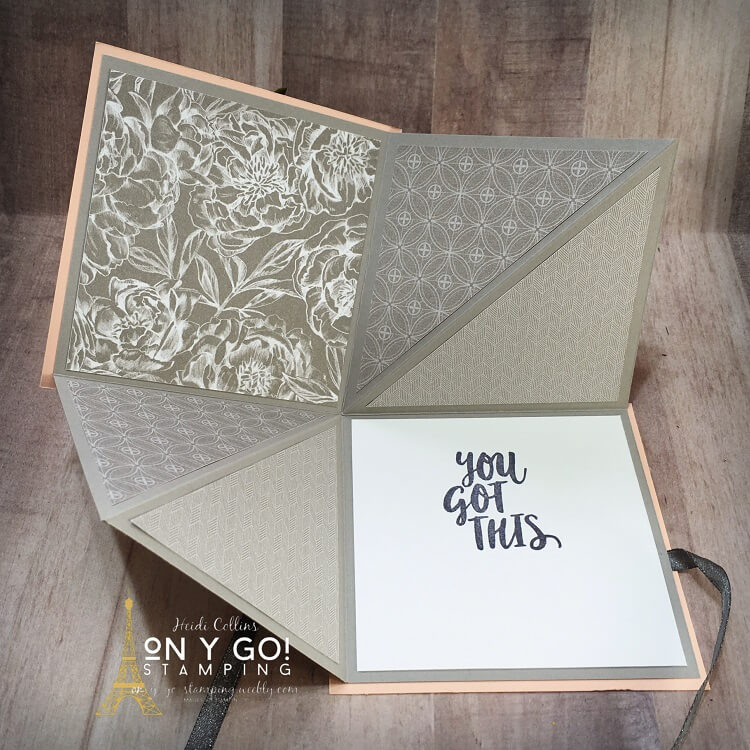
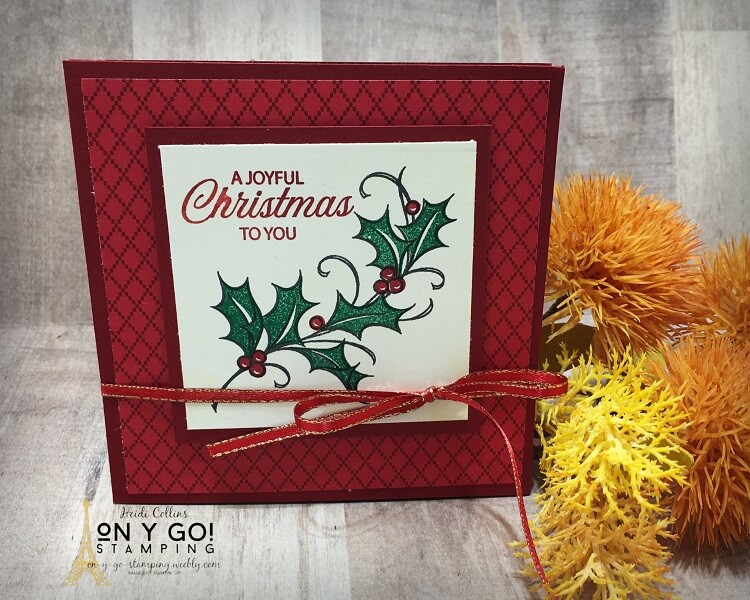
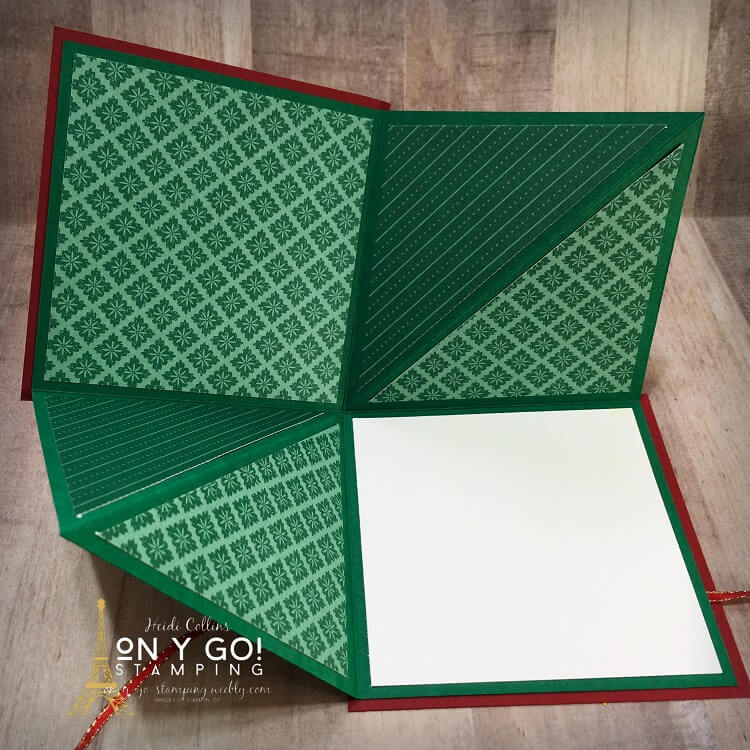
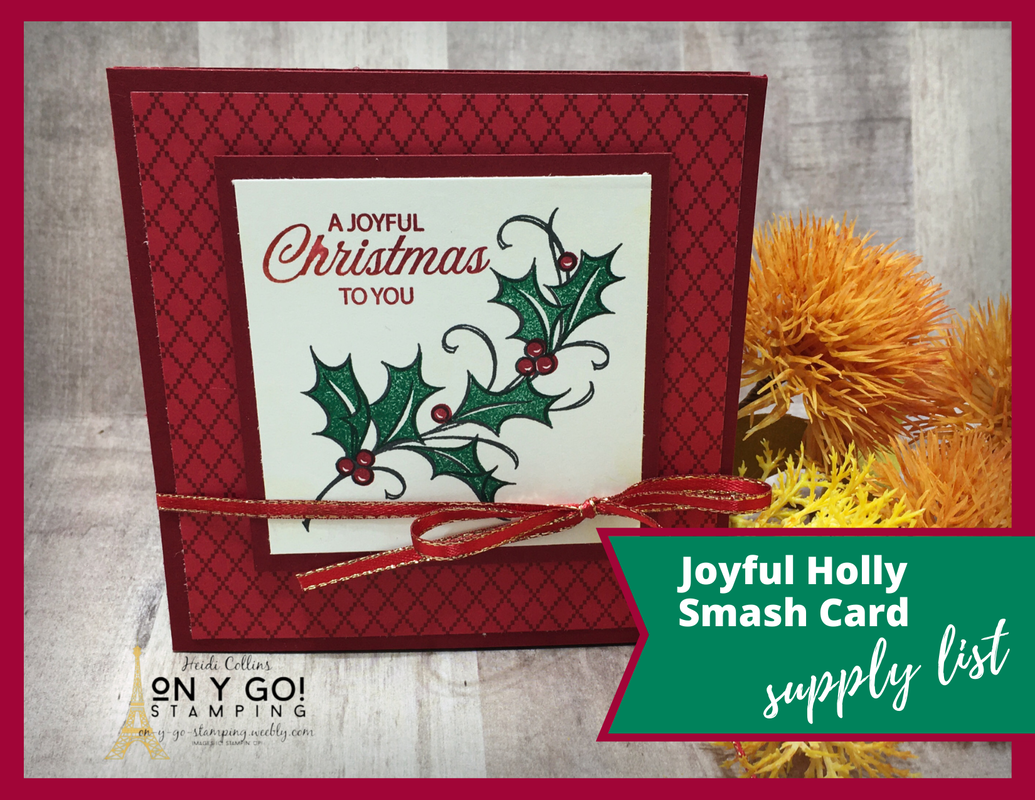
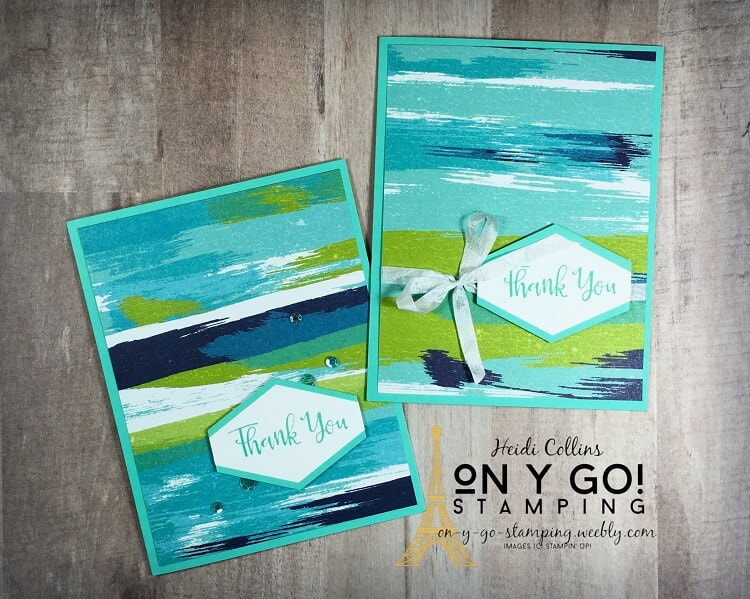
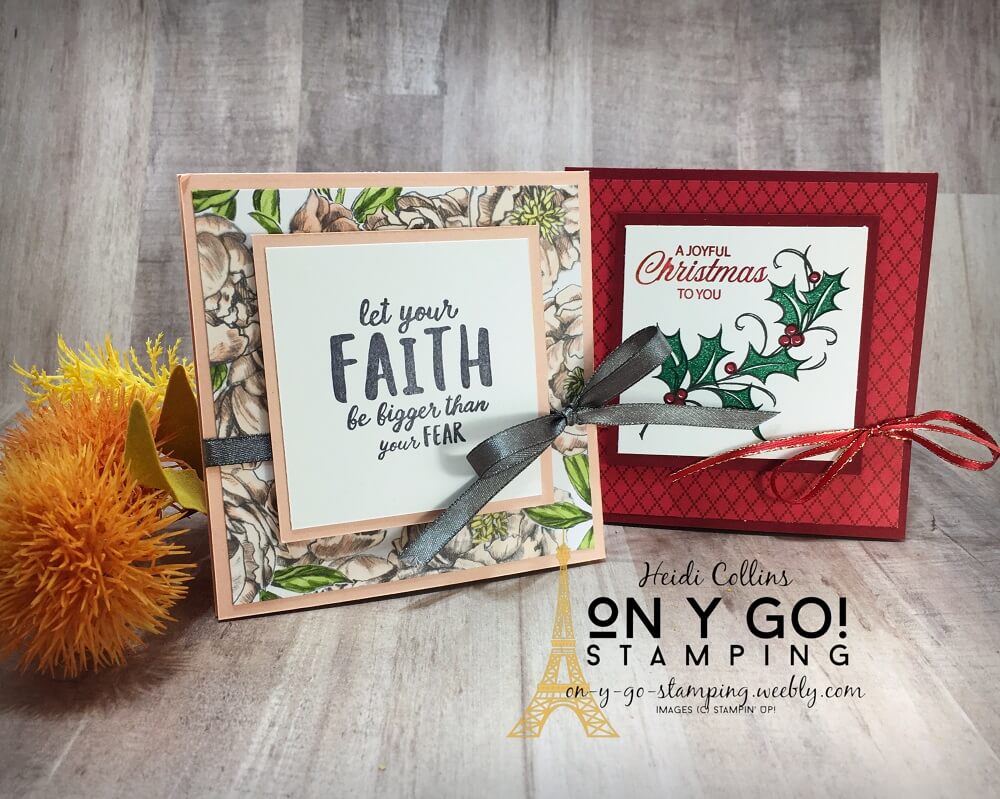 I love these little smash cards. It's a great fun fold card idea that is perfect for showing off patterned paper. We made them last night for Mystery Stamping and had a great time! If you haven't joined the Facebook Group and done Mystery Stamping, I hope you'll join us soon! We do Mystery Stamping every Tuesday night at 8:00 PM eastern except for the last Tuesday night of the month when we have a card class and game night. Ok, on y go! Let's get stamping.
9. Adhere the piece of 3 ¾” x 3 ¾” patterned paper to the upper left square of the piece of 8” x 8” cardstock. This should be on the inside as well. 10. Adhere the piece of 3 ¾” x 3 ¾” white or vanilla cardstock to the lower right square area. 11. Fold your 8” x 8” cardstock back into a 4” x 4” square so that the patterned paper is hidden on the inside. 12. Adhere one of the 4 ¼” x 4 ¼” pieces of cardstock to the front/top. 13. Adhere the piece of 4” x 4” patterned paper to the card front/top. 14. Adhere a piece of ribbon to the bottom of your piece of folded cardstock so that you will be able to wrap it around to the front of your card and tie it on one side. 15. Adhere the second piece of 4 ¼” x 4 ¼” cardstock to the bottom of the folded cardstock, over top of the ribbon. 16. Stamp a design, sentiment, or both on the piece of 2 ¾” x 2 ¾” white or vanilla cardstock. Color if needed. 17. Adhere the piece of 2 ¾” x 2 ¾” white or vanilla cardstock to the piece of 3” x 3” cardstock. 18. Adhere this to your card front/top and tie the ribbon. 19. Embellish as desired!
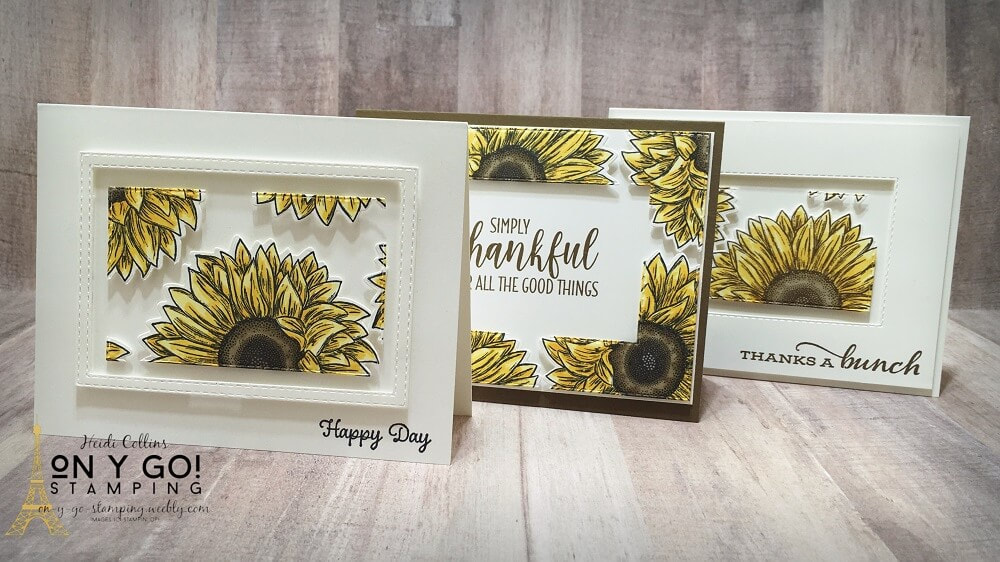
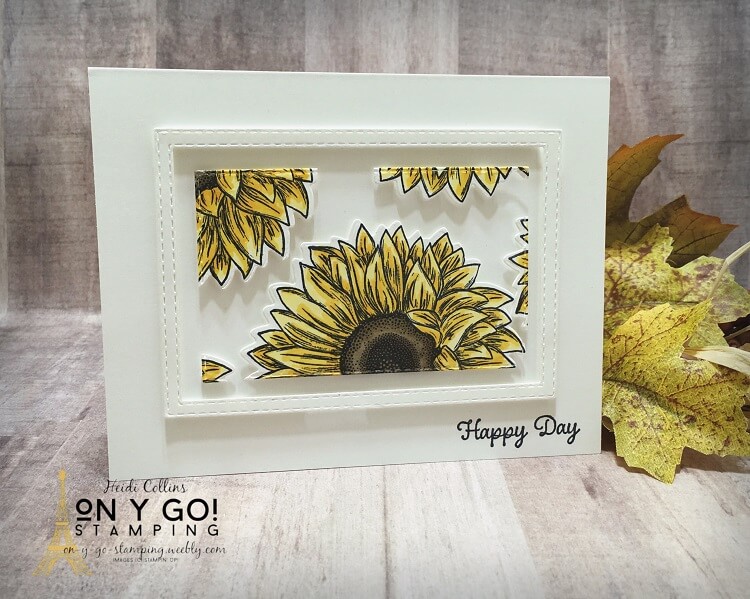
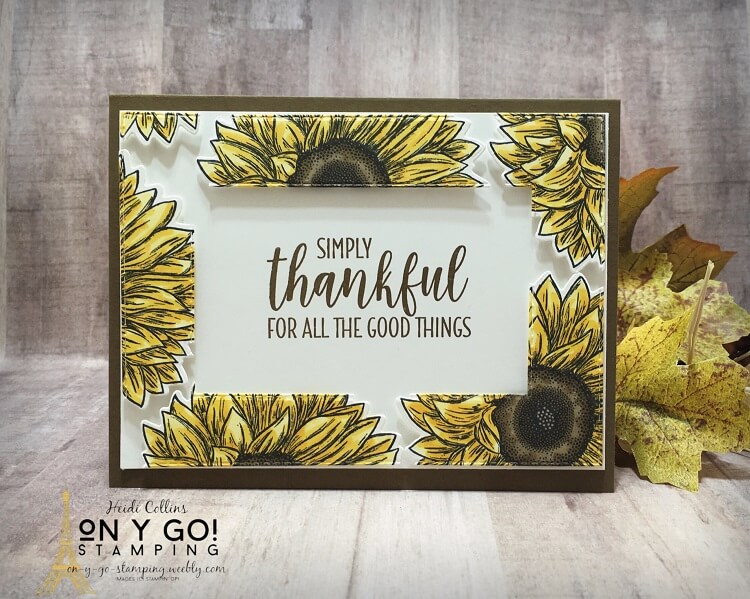
Cutting dimensions for the Happy Day Floating Frame cardWhisper White cardstock: 8 1/2" x 5 1/2", score at 4 1/4" Whisper White cardstock: two pieces cut with the Stitched Shape rectangles.
 Thank you for stopping by to see my handstamped projects today! If you haven't already, I hope you'll jump back to the beginning and hop through all of the blogs in the Stampin' Friends blog hop. There are lots of great Thank You projects this month!
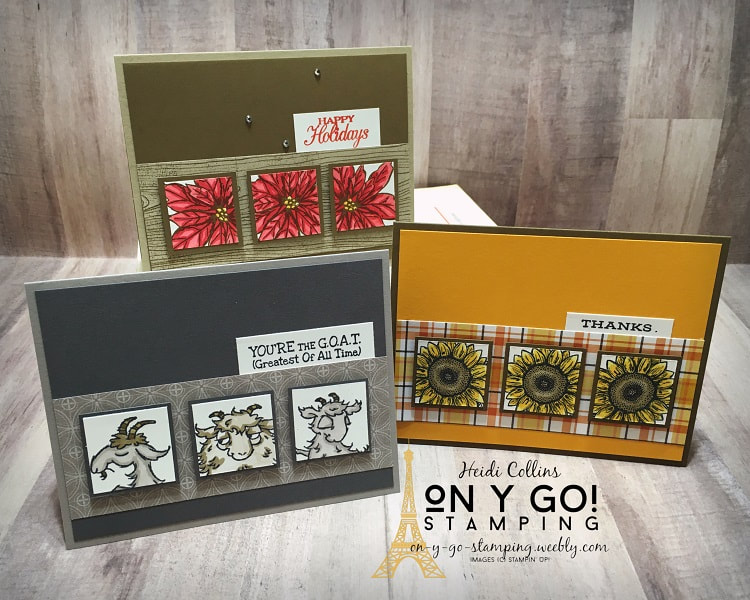
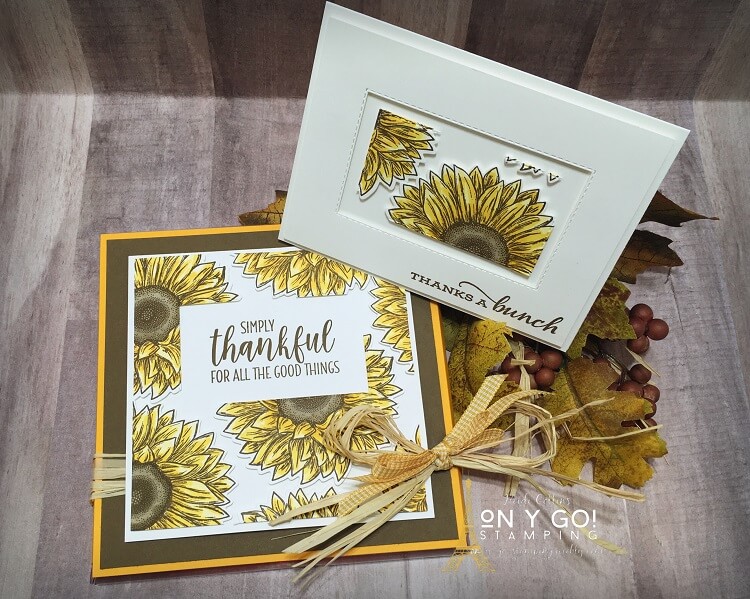
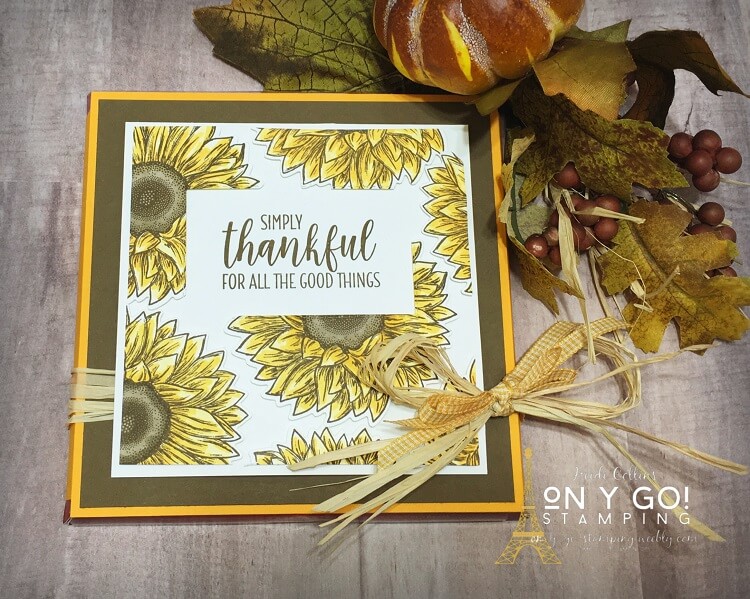
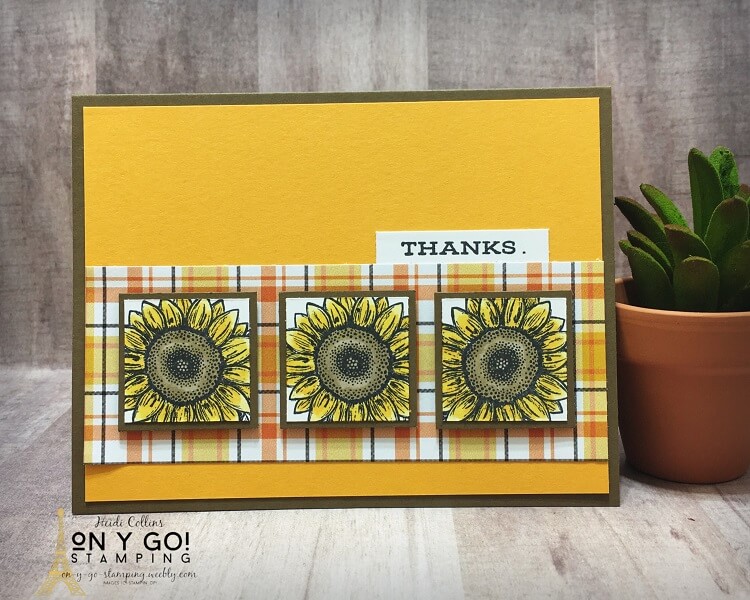
Celebrate Sunflowers Card DesignMy first sample uses the Celebrate Sunflowers stamp set. I stamped the smaller sunflowers with Tuxedo Black Memento ink and colored it with Mango Melody, Daffodil Delight, Soft Suede, and Crumb Cake Stampin' Blends alcohol markers. I layered the images on some Plaid Tidings patterned paper, which is 15% off for the month of October. For the greeting, I only inked the word "Thanks" to make it shorter.
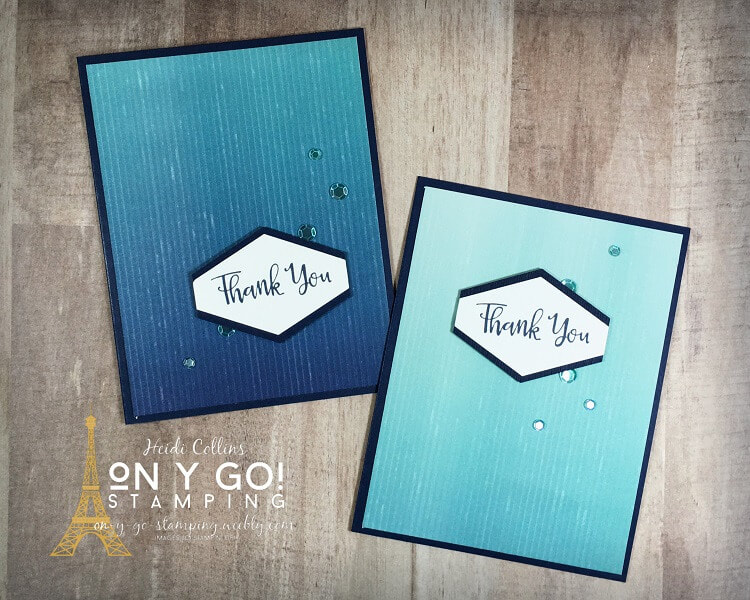
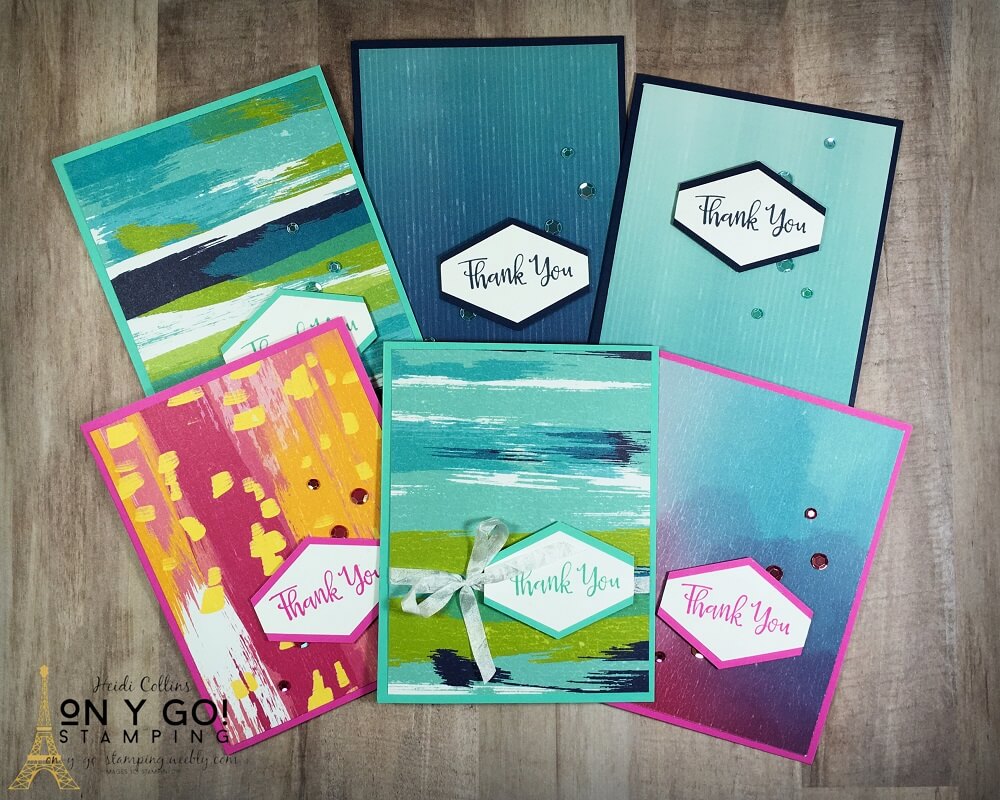 I love sending thank you notes! Apparently, I love sending thank you cards so much that I depleted my stash. I needed to get some in the mail quick, but when I went to grab a few, I found that my box was empty. Ack! Luckily, I had just gotten this absolutely scrumptious Artistry Blooms Designer Series Paper. With a little patterned paper, some cardstock, a stamp, a punch, and some sequins, I was able to whip up a handful of thank you cards in a jiffy. This is also great for those times when you realize you need to put a birthday card in the mail today. So, on y go! Let's get stamping.
|


Archives
April 2024
|