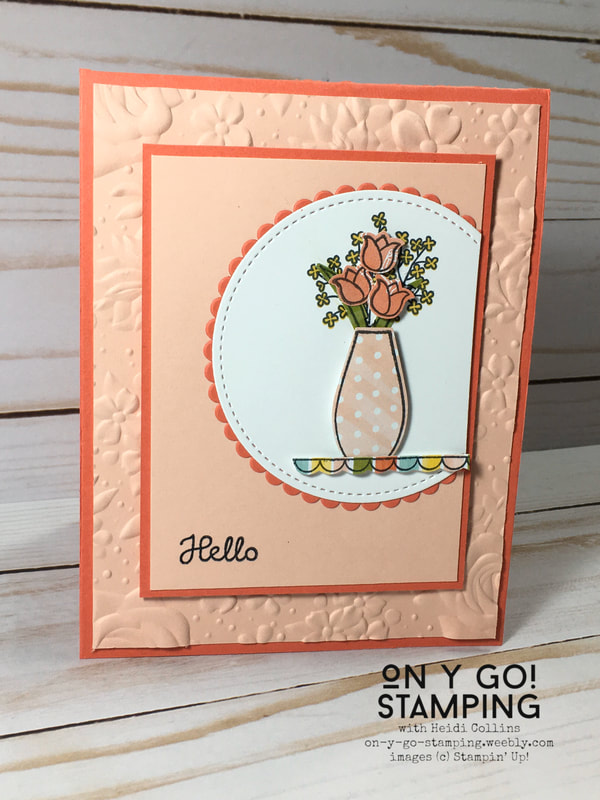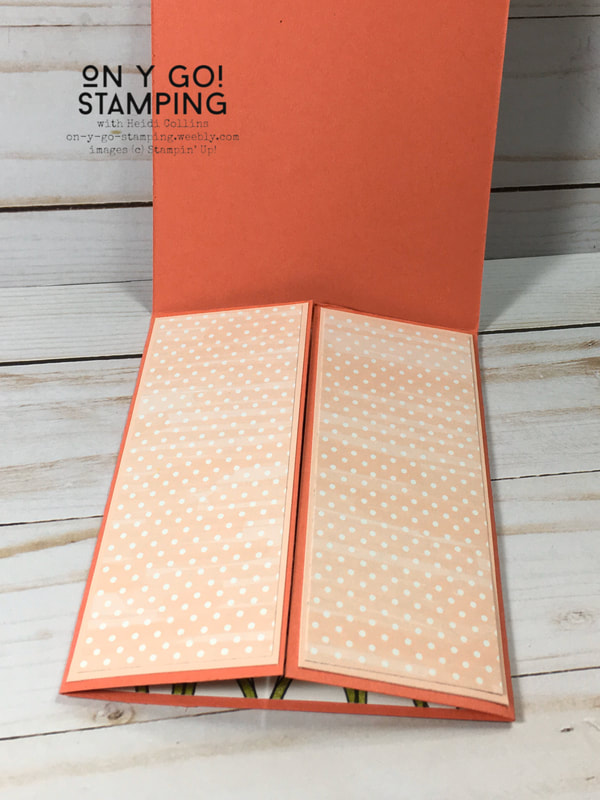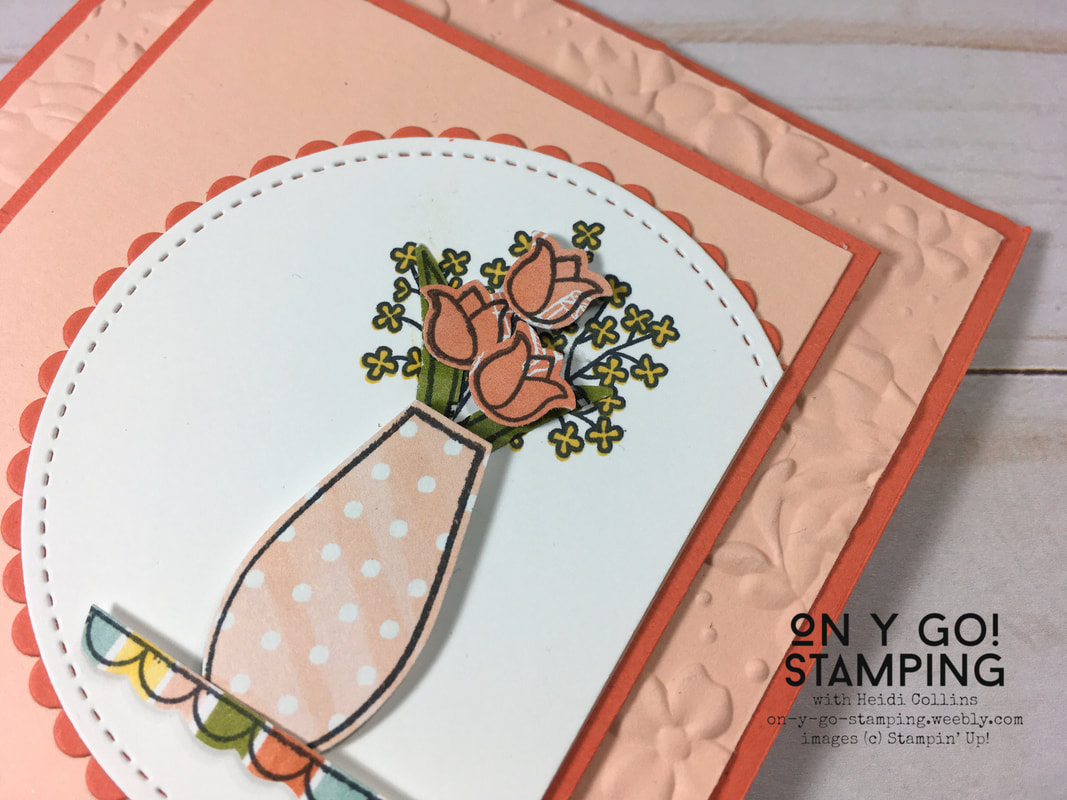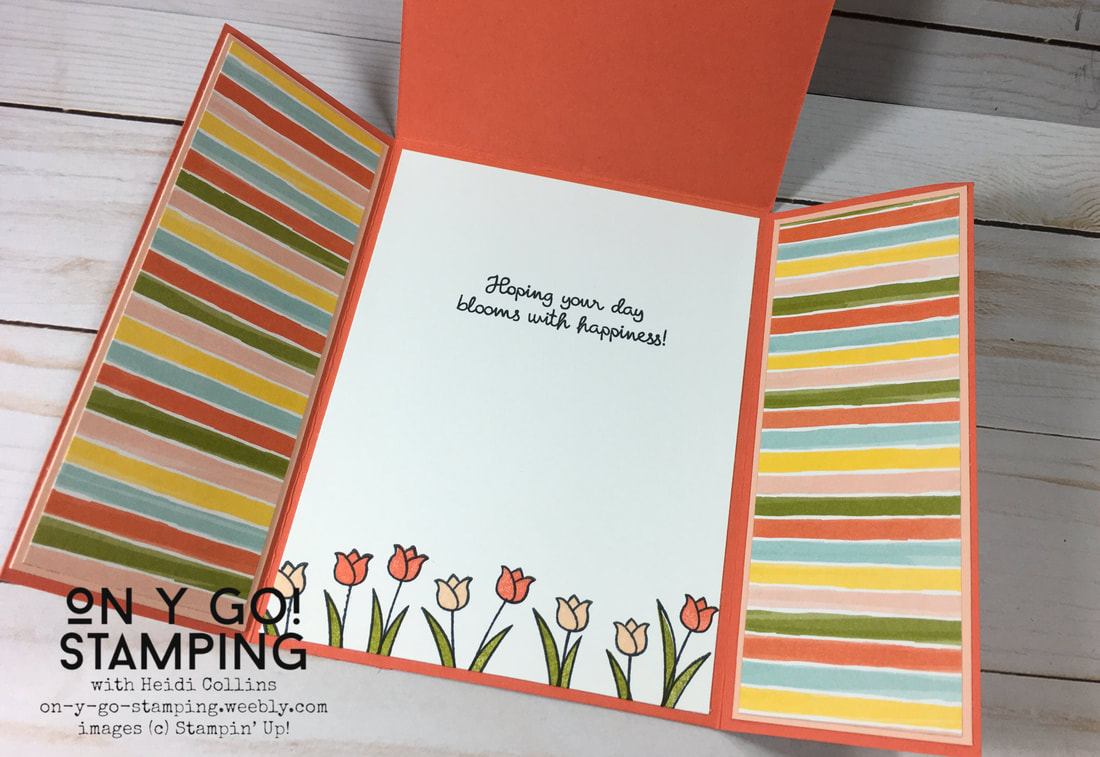
You're going to flip out for this fun-fold card! Well, after you flip up, you'll flip out, because the card front flips up to reveal to panels that flip out. You could decorate each panel with images and greetings or just use some pretty patterned paper like I did.
I used the retiring Varied Vases stamp set and the Bird Ballad Designer Series Paper for this card. I'm so sad to see both of these go! I love the two-step flowers and vases of the stamp set and spring colors of the DSP are just gorgeous!
Now, decorate your card as you wish. For mine, I added a piece of Petal Pink cardstock cut to 5 1/4" x 4" and embossed with the retiring Country Floral 3D embossing folder. On top of this I added a piece of Petal Pink (3" x 4") mounted on Calypso Coral. The circles are cut with the Stitched Shape dies and the Layering Circle dies.
The pieces for the interior flaps measure 2" x 5 1/4". I used DSP mounted on Petal Pink cardstock, but you could just use DSP directly on the card flaps. The interior of the card measures 5 1/4" x 4". I stamped this with a greeting and more flowers from the stamp set. For the flowers along the bottom of the interior, I used the two-step stamps from the stamp set. The tulips are Petal Pink and Calypso Coral with Old Olive leaves.
Product List


6 Comments
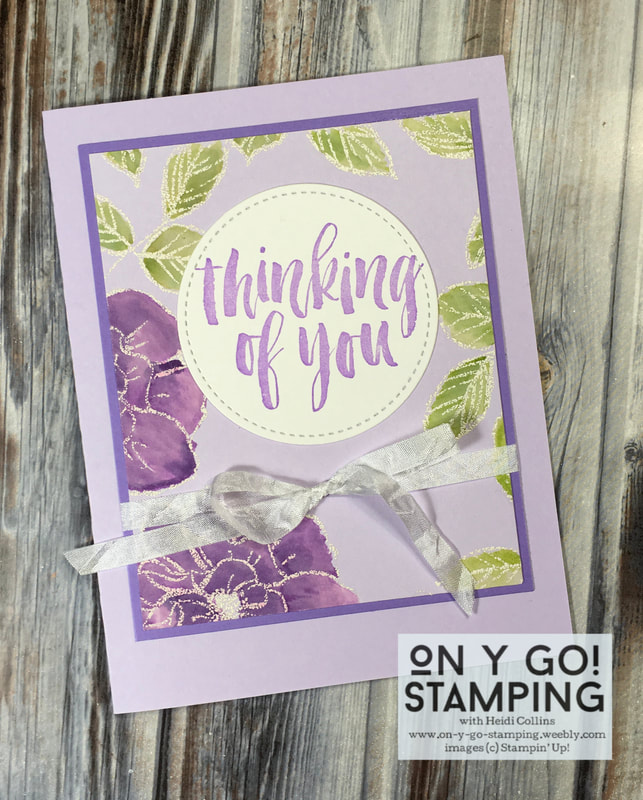
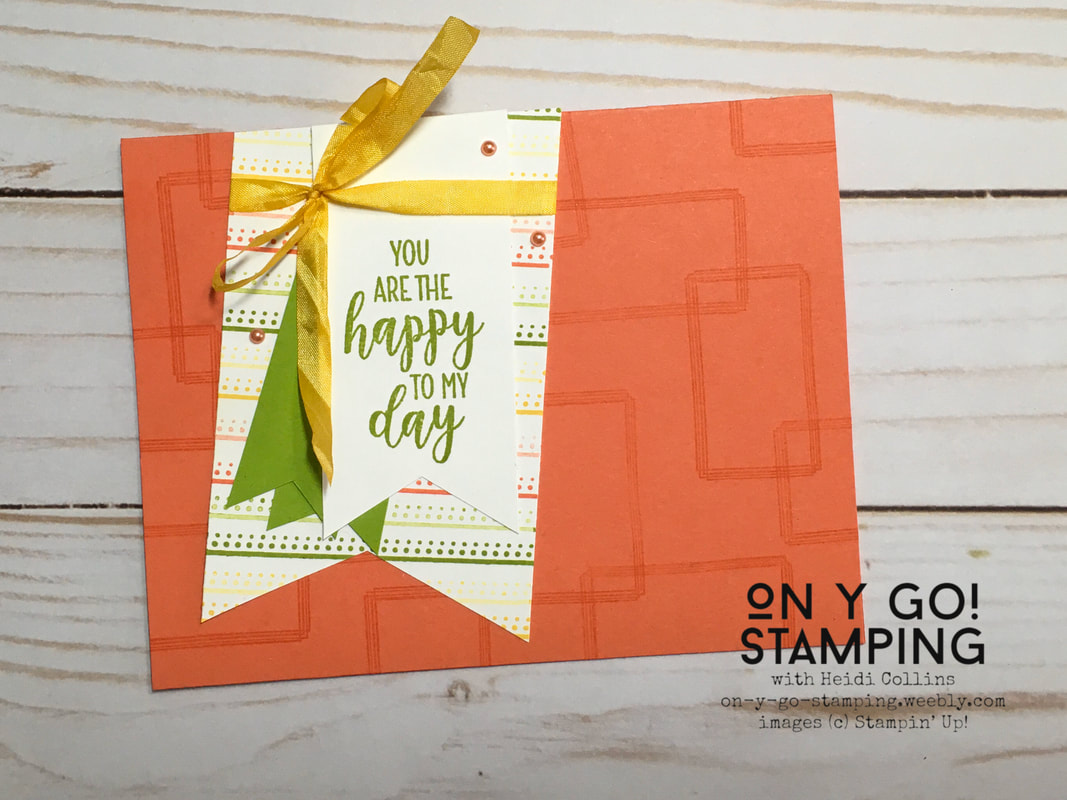 Have you heard of CASE-ing? There are different opinions as to what the acronym stands for - Copy And Steal Everything, Copy And Share Everything, Copy And Selectively Edit, and more - but it all means basically the same thing. CASE-ing is when you see a card that someone else has made and you re-make it. You can either make it exactly as it was or you can change it up a bit, which is more often the case. Many stampers use the original card as an inspiration to make their own creation. Sometimes, it may be the layout that speaks to you. Other times, it might be the colors. Or maybe it's the way the embellishments are placed. There are so many different ideas that can inspire you! Stampin' Up! puts out 3 different catalogs per year. Each of these is filled with amazing examples that you can CASE. For my card today, I CASE'd the card on p. 117 of the 2019-2020 Annual Catalog. I kept the layout and the same stamps, but I changed the colors. Also, because I didn't have a piece of Granny Apple Green ribbon, I replaced the ribbon with some strips of cardstock. My card looks the same, but different. I've made it my own! What have you CASE'd lately? Supplies:Cardstock:
Stamps: Swirly Frames, Country Home Accessories:
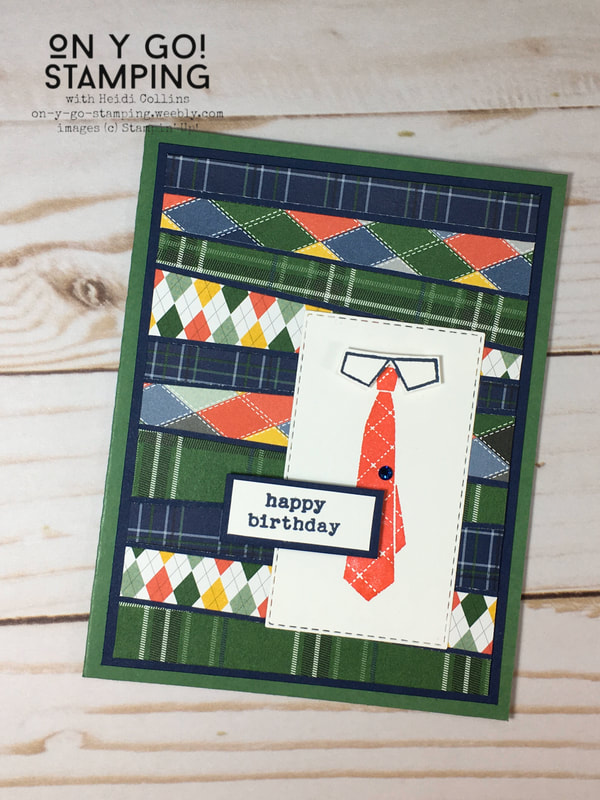
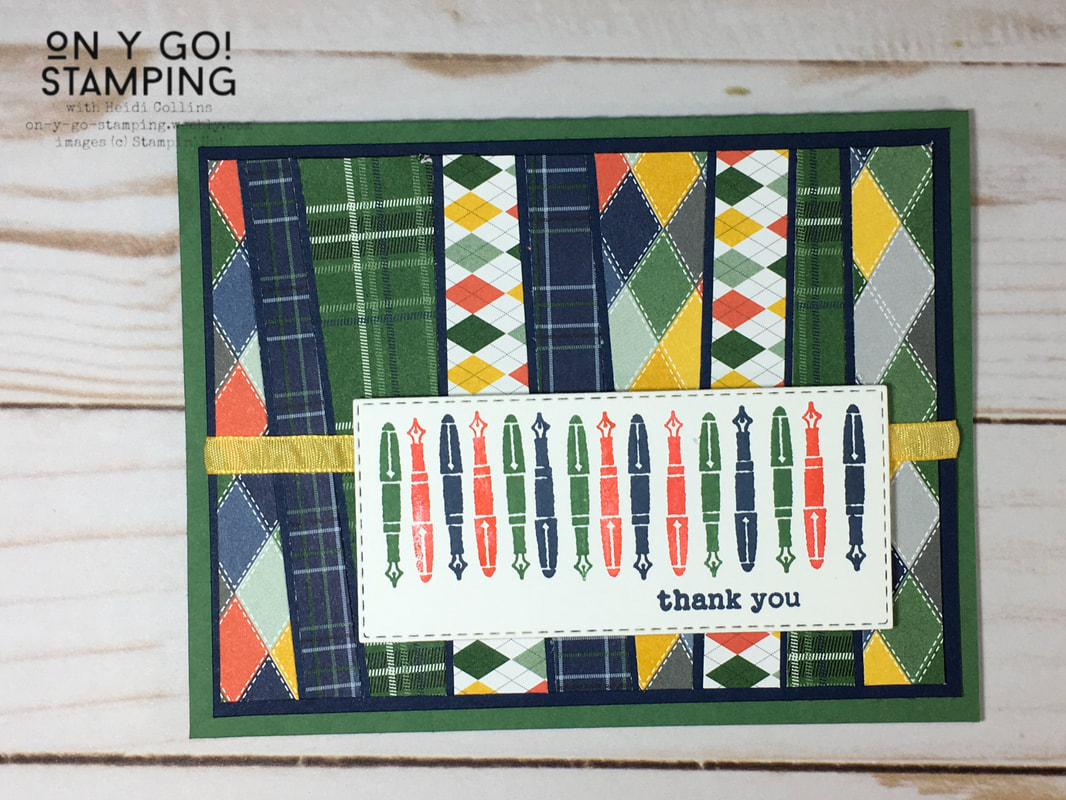
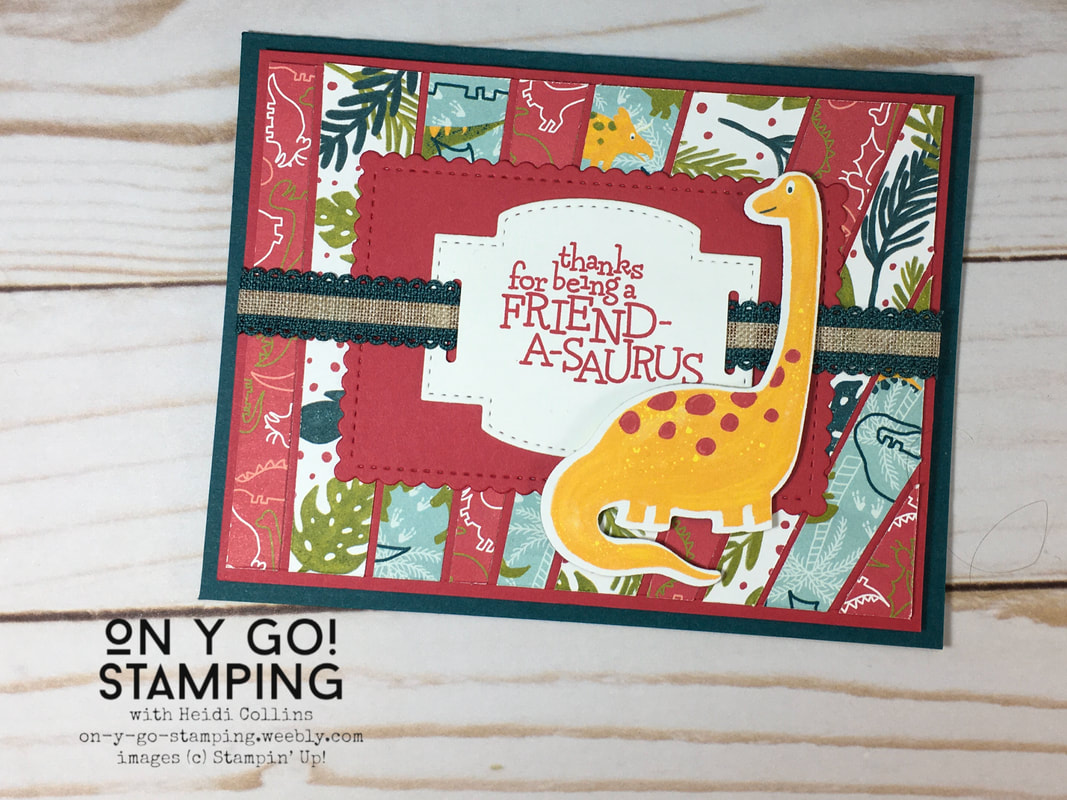
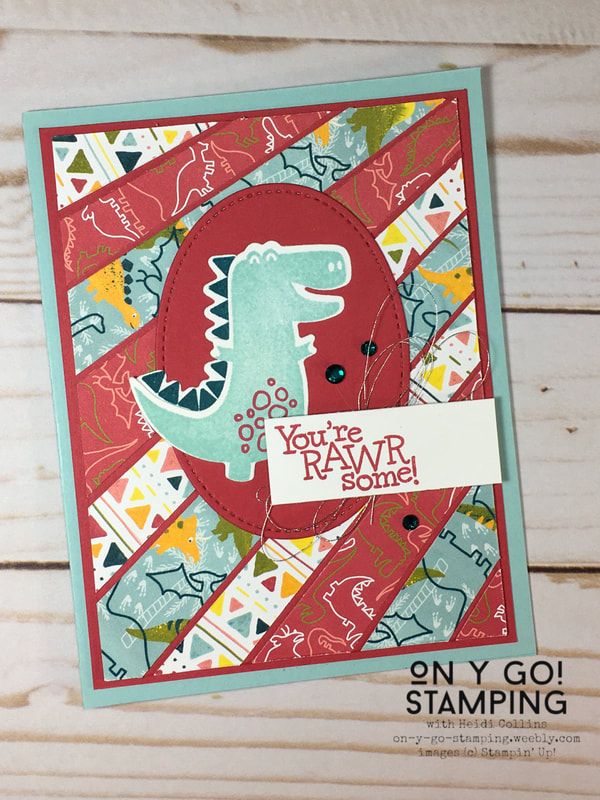
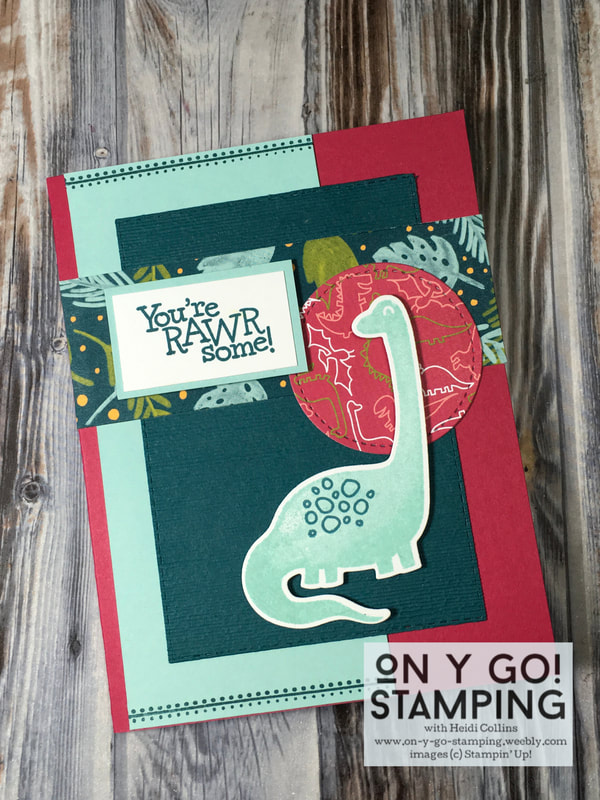
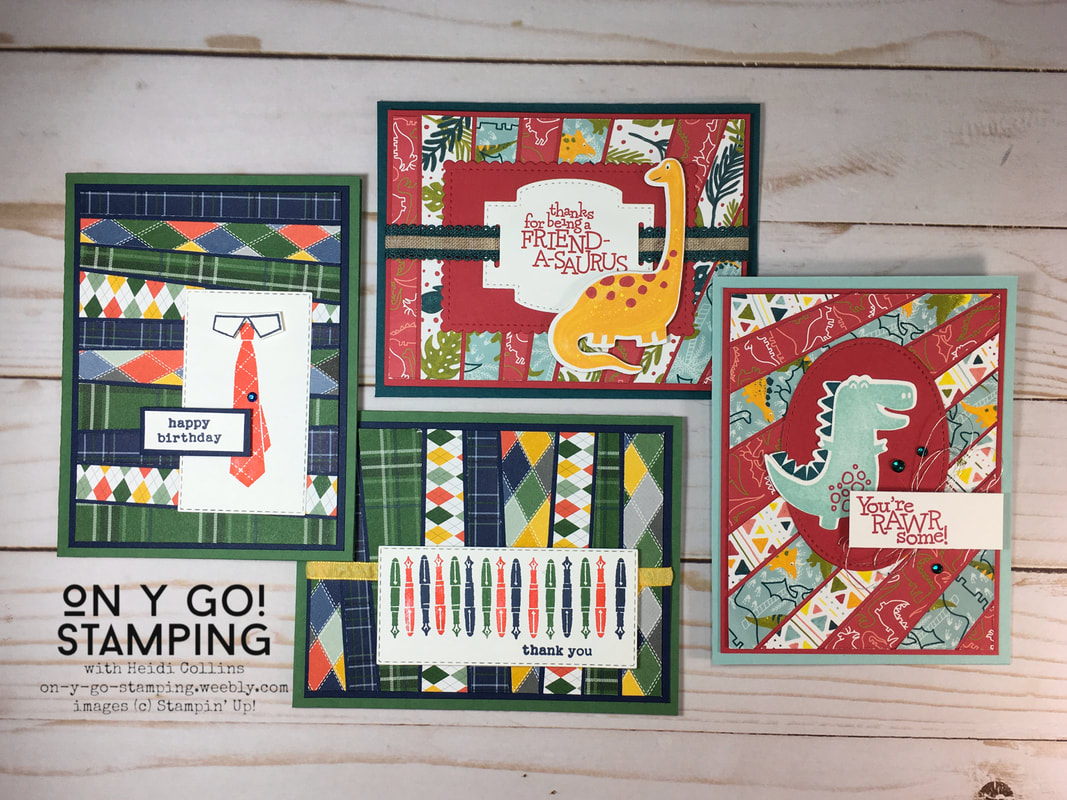 Since Bruno Bertucci introduced his scrappy strip technique a couple of weeks ago, the Stampin' Up! world has been crazy about scrappy strips, even Sara's (Stampin' Up!'s CEO) husband got in on the trend last week. So, I decided I'd better try it too. I combined the Country Club DSP with the Well Dressed stamp set (Sale-A-Bration Freebie!) and the Dinoroar DSP (currently FREE with a $50 order!) with the Dino Days stamp set. This technique is quick and easy! Start by cutting strips of DSP that are at least 4 1/2" long. You could cut them straight, but it's fun to cut the strips at an angle. Then, cut a piece of coordinating cardstock to be 3 3/4" x 5". Glue the strips to the cardstock leaving a thin gap between each strip. Go ahead and let the ends hang off your cardstock. After all of the strips have been attached and your glue has dried if you're using liquid adhesive, turn the cardstock over and trim the edges of the DSP strips to match the edges of the cardstock. Finally, adhered DSP covered cardstock to a 3 15/16" x 5 3/16" piece of cardstock in the same color and adhere it to your card front. Once your background is finished, you can finish the card however you want. It can be as simple as adding a sentiment or you can add an image. I didn't have any large sentiments, so I chose to use an image as well. It's a quick and easy way to make multiple cards!
Tips: I stamped the tie with Poppy Parade ink on the piece of Whisper White cardstock that I had cut with the Stitched Rectangle die. Then, I stamped it again with Night of Navy ink on a scrap of Whisper White. I cut out the shirt color and adhered it over the Poppy Parade tie using mini dimensionals. The sentiment is also attached with Stampin' Dimensionals. Finally, I added a small blue rhinestone to mimic a tie clip.
Stamps: Well Worn (Sale-A-Bration), Check You Out (for the sentiment) Accessories:
Inks: Lovely Lipstick Stamps: Dino Days Accessories:
Tips: To attach the Silver Metallic Thread, I put Stampin' Dimensionals on the back of the sentiment and peal the backs off. Then, I wrap the thread around 3 of my fingers 3 times. I slide it off, twist it and attach the twisted center area to one of the Stampin' Dimensionals. Then I attach the sentiment to the card front.
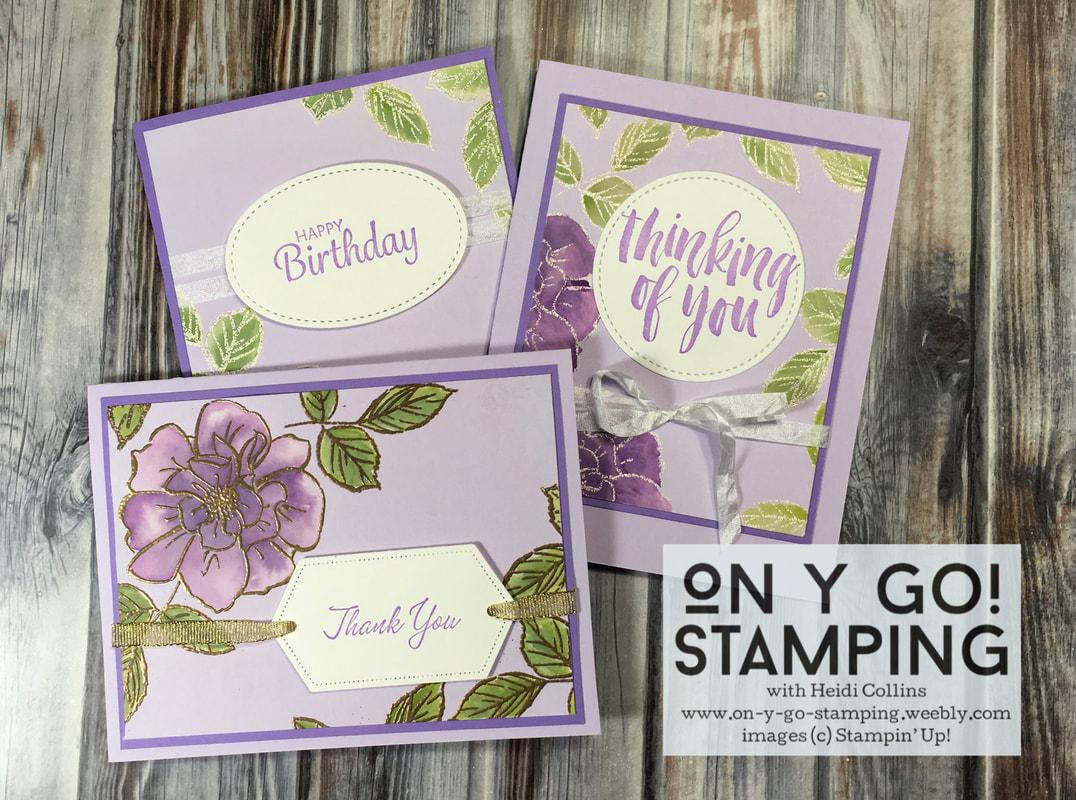 Last week, I talked about making cards from my scrap bin. These card fronts were languishing in my bin waiting to be turned into cards. I had tried this technique a while back and for some reason I never finished off the cards.
Supplies used:
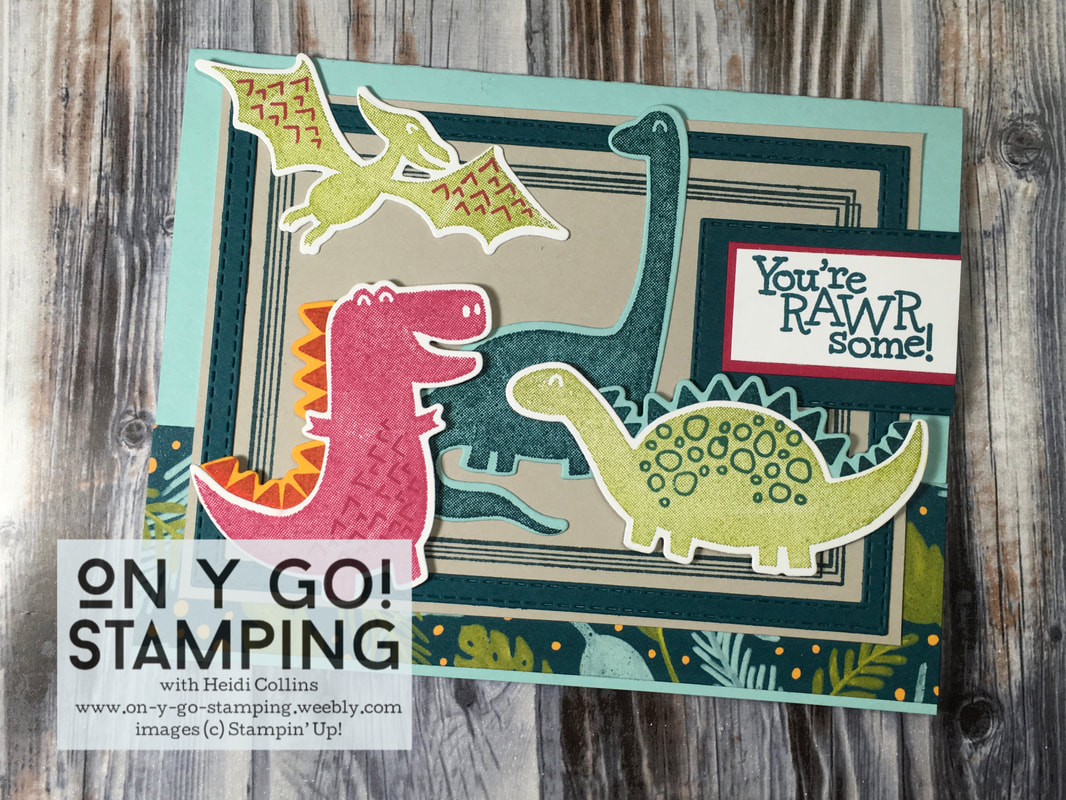 I'm in love with these dinosaurs! They are so much fun and the sentiments that go with them really take the cake. While these stamps are great for little kids, big kids will love them too! I think this is my go-to stamp set for sending cards to college kids.
The Dino Days stamp set is Roarsome! |


Archives
April 2024
|