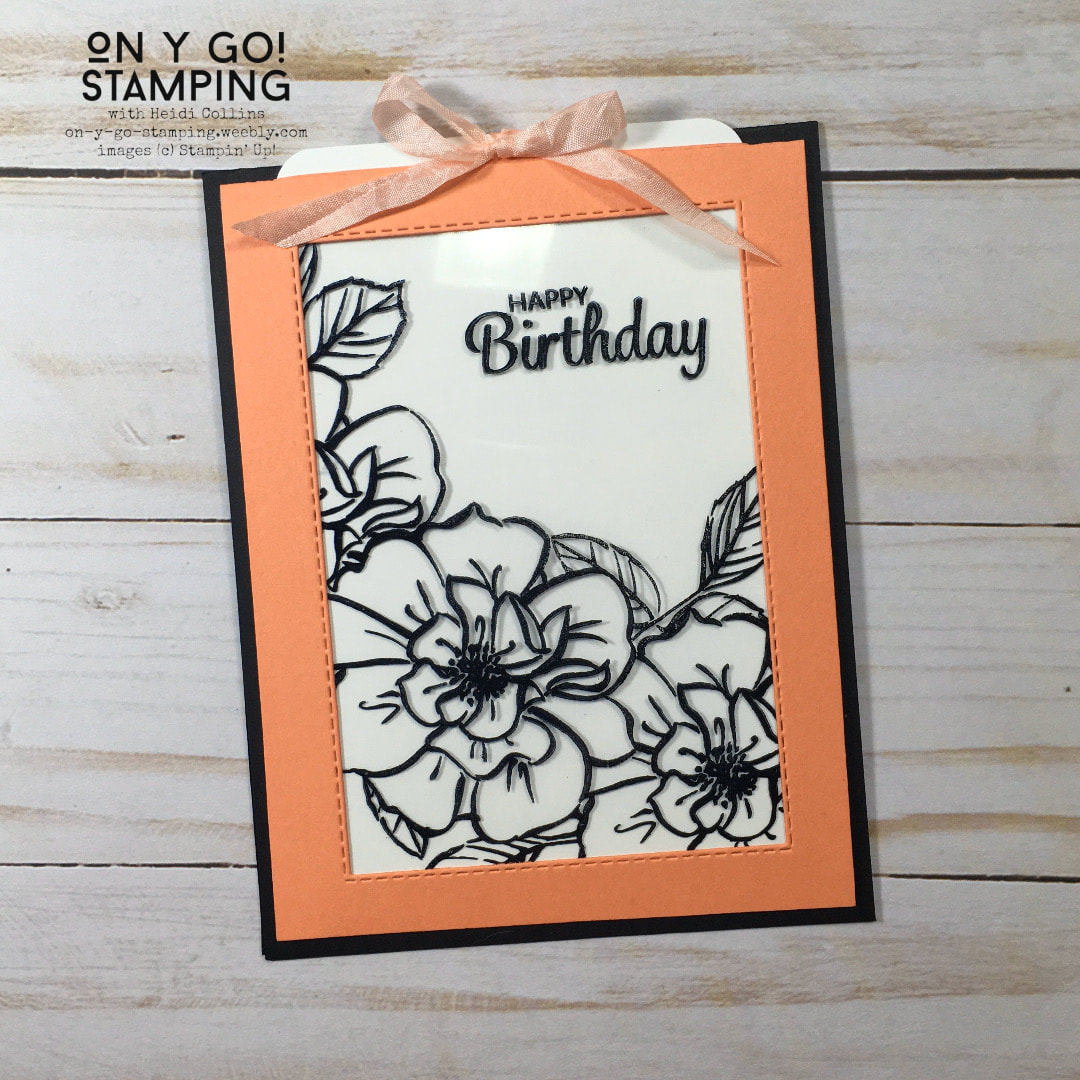
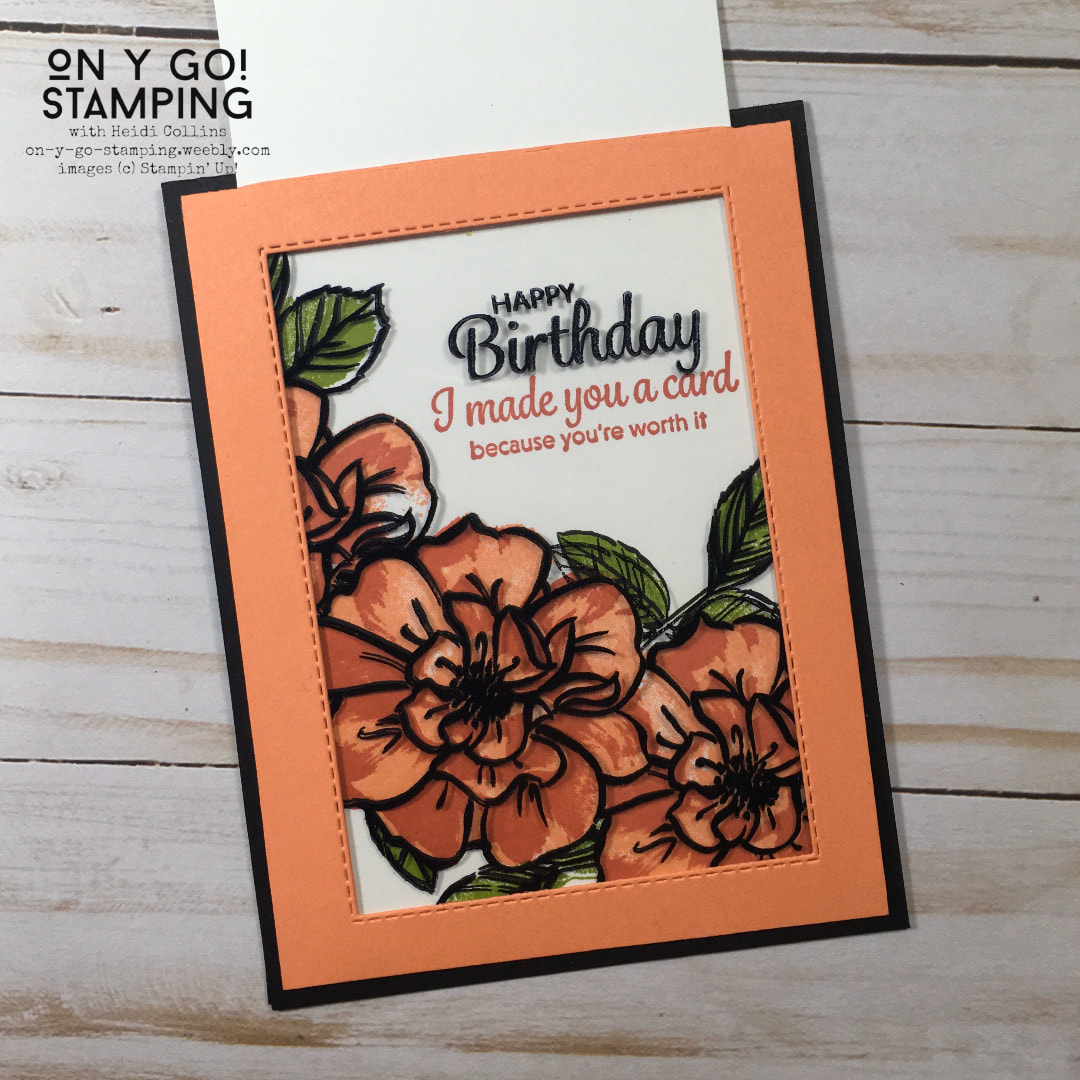
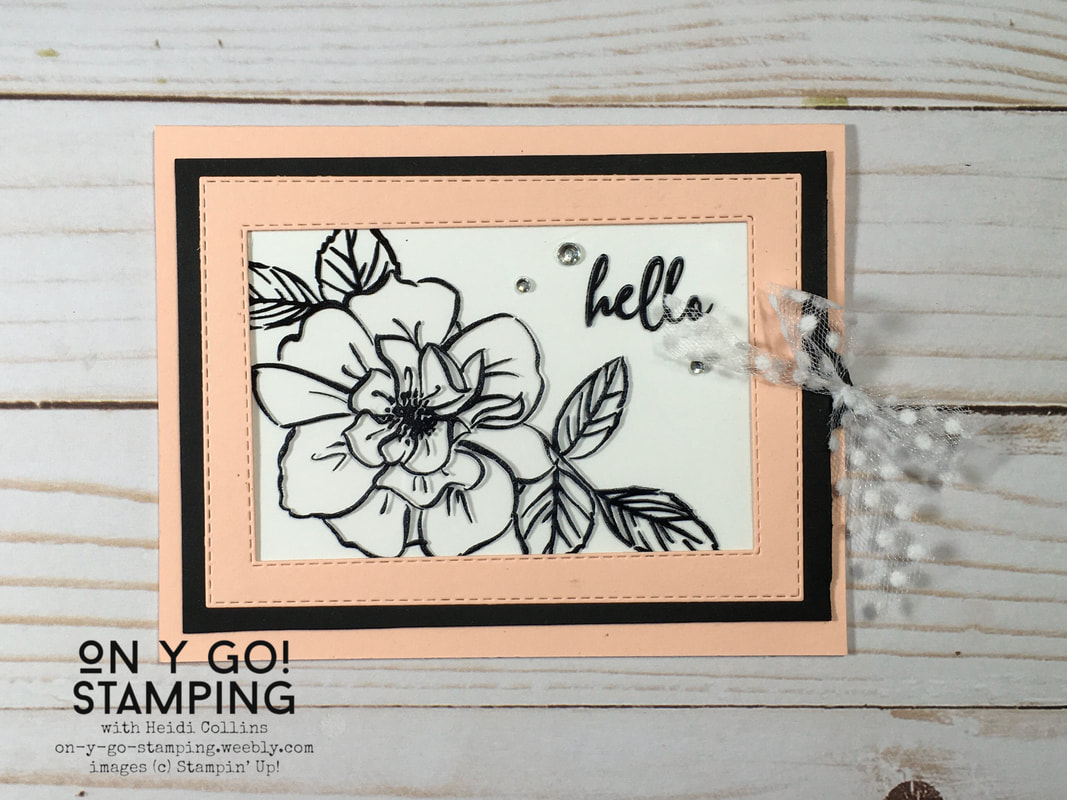
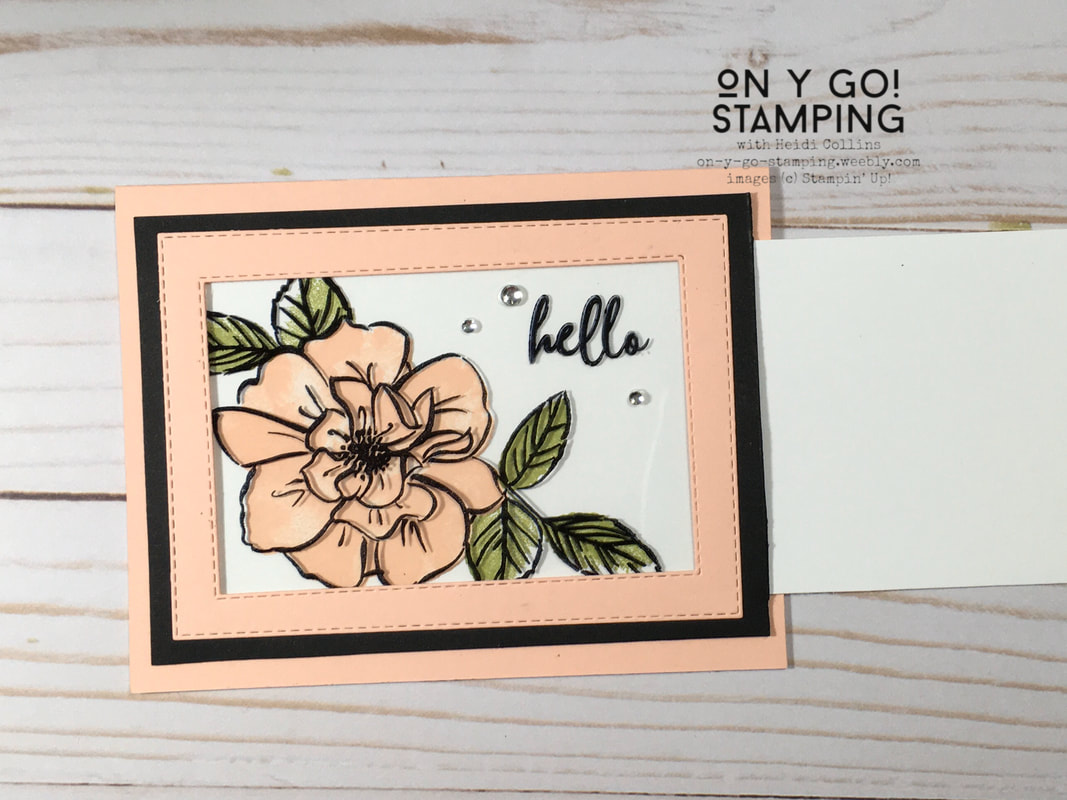
I am excited to be hoppin' with the Stampin' Friends again this month! The theme for April is All About Flowers and Moms which is perfect for today because it's my Mom's birthday! (Happy Birthday Mom!) If you've been following the hop, you've joined me from Kim Quade's blog. I hope when you've read about my projects, you will continue on to Katja Ettig's blog and then through all the other blogs as well. There are lots of amazing cards and projects this month! To celebrate my Mom's birthday, I sent her this magic slider card. While it starts as a simple black and white image, by tugging where the ribbon is, you slide out an interior card to reveal a fully colored image below.
This was the first slider card that I had ever made, and it was a little more challenging than expected. Mostly because I had to have a really clear idea of what I wanted the final project to look like when I started. This card for my Mom is one of a kind, just like her! However, I wanted to make a Magic Slider card for a swap, and so I made 10 more, very similar cards. In doing so, I perfected my technique. If you would like a a card kit to make this card or a complete, step-by-step tutorial for this card including both written instructions and a link to a video, look for ordering information all the way at the bottom of this blog post.
Besides today being my Mom's birthday, Mother's Day is quickly approaching! Who knows if we'll be able to see our mother's this Mother's Day or partake in the normal rituals of Mother/Daughter banquets and Mother's Day Brunch. But, these cute little purses would make excellent name cards or favors. Or perhaps a little porch gift for your favorite mother!
Thank you for stopping by and celebrating my Mom's birthday with me. Below is a complete list of Stampin' Friends bloggers. I hope you'll take the time to click through to each one's post! Ordering information for the Magic Slider tutorial is below the list of bloggers. Stampin' Friends Blog Hop1. Stephanie Jandrow 2. Jo Blackman 3. Jean Bolen Beaulieu 4. Teri Pocock 5. Tiziana Milano 6. Kim Quade 7. Heidi Collins <-- YOU ARE HERE 8. Katja Ettig 9. Rachael Rife USA 10. Maureen Rauchfuss USA 11. Kim Lamos 12. Barbara Welch 13. Anne Marie Hile 14. Melissa Thomas Magic Slider Tutorial or Card Kit
If you place a qualifying order, the Tutorial or Card Kit + Tutorial will be sent to you automatically. If you would like to purchase them separately, please click the button below.
12 Comments
 Last night, I hosted a Mystery Stamping event on my Facebook group. If you haven't done Mystery Stamping before, it's a lot of fun! During a Facebook Live, I give participants written and verbal instructions on how to make the card, but I don't show them the card. I also don't tell them a specific stamp set or colors. Everyone's card turns out differently and it is great to see what everyone does. While we are stuck at home, I am planning to do a Mystery Stamping even each Tuesday night. I hope you'll join us!
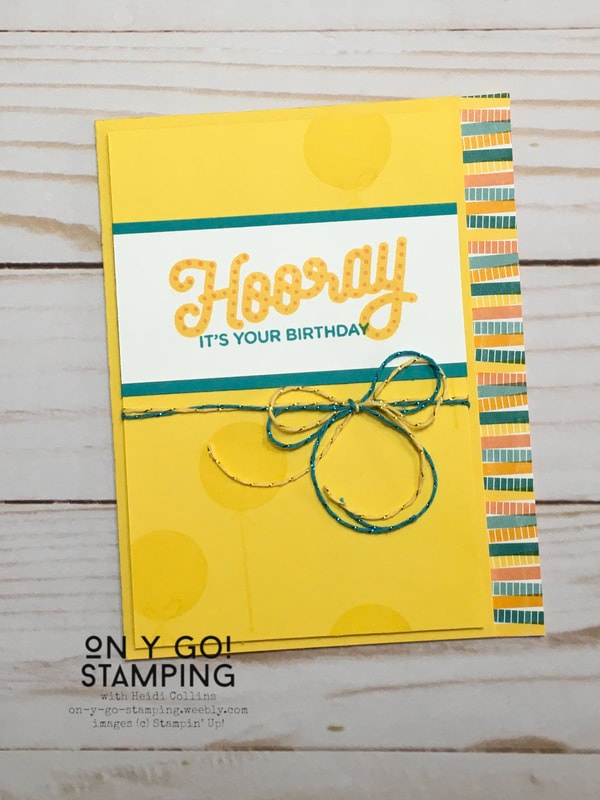
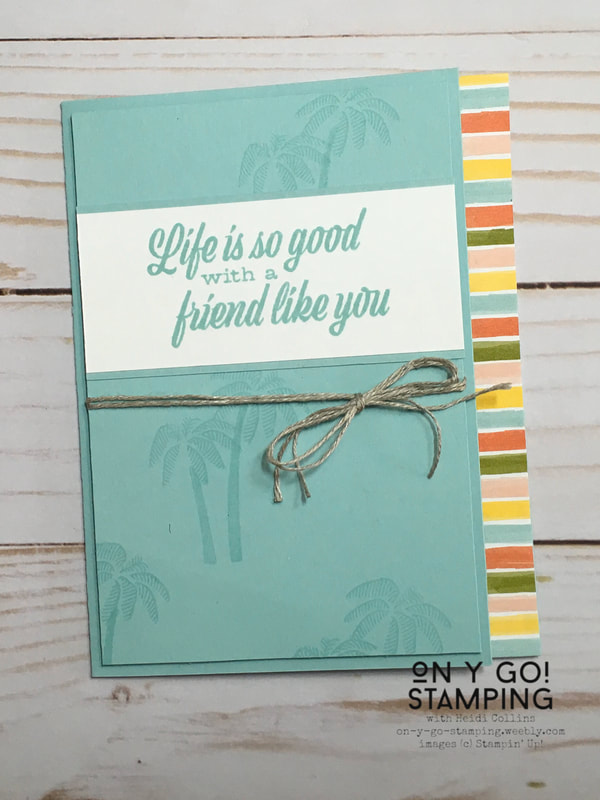
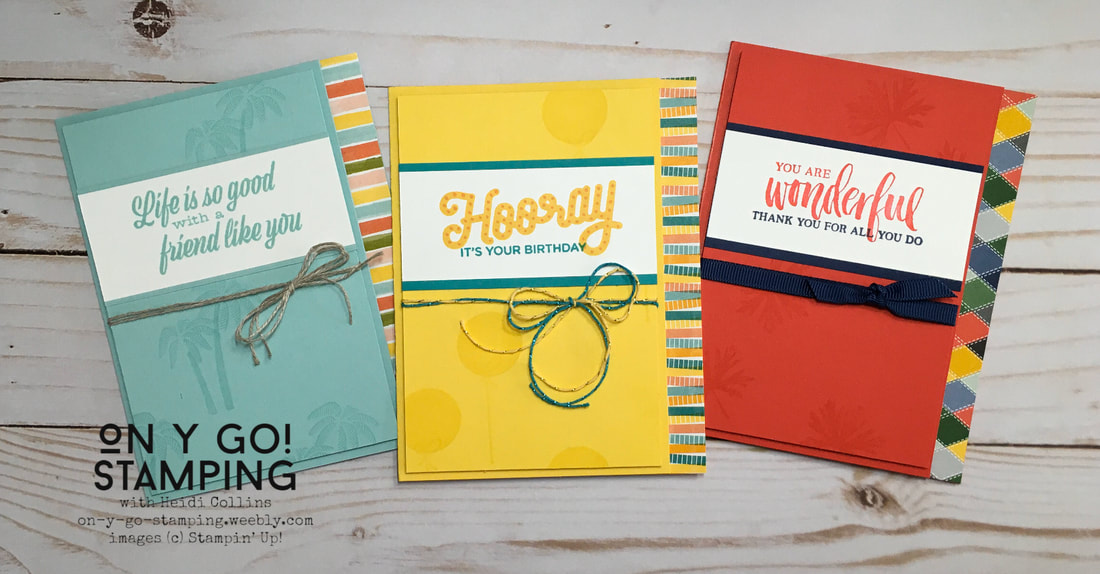
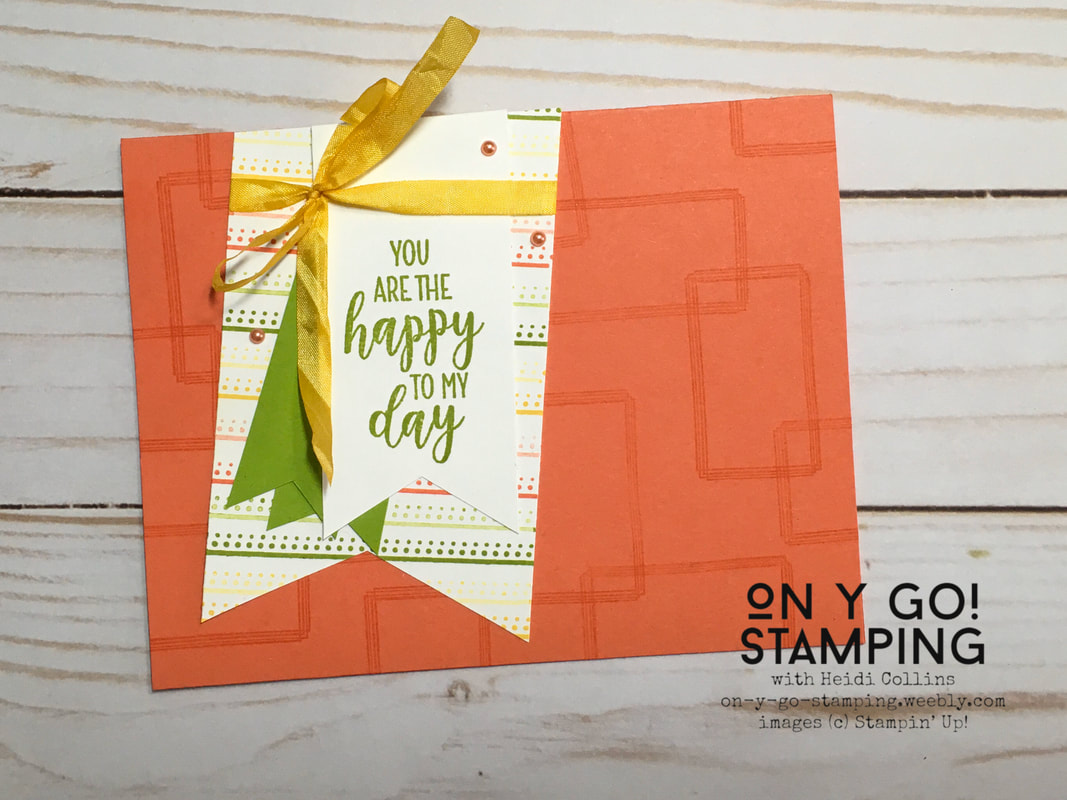 Have you heard of CASE-ing? There are different opinions as to what the acronym stands for - Copy And Steal Everything, Copy And Share Everything, Copy And Selectively Edit, and more - but it all means basically the same thing. CASE-ing is when you see a card that someone else has made and you re-make it. You can either make it exactly as it was or you can change it up a bit, which is more often the case. Many stampers use the original card as an inspiration to make their own creation. Sometimes, it may be the layout that speaks to you. Other times, it might be the colors. Or maybe it's the way the embellishments are placed. There are so many different ideas that can inspire you! Stampin' Up! puts out 3 different catalogs per year. Each of these is filled with amazing examples that you can CASE. For my card today, I CASE'd the card on p. 117 of the 2019-2020 Annual Catalog. I kept the layout and the same stamps, but I changed the colors. Also, because I didn't have a piece of Granny Apple Green ribbon, I replaced the ribbon with some strips of cardstock. My card looks the same, but different. I've made it my own! What have you CASE'd lately? Supplies:Cardstock:
Stamps: Swirly Frames, Country Home Accessories:
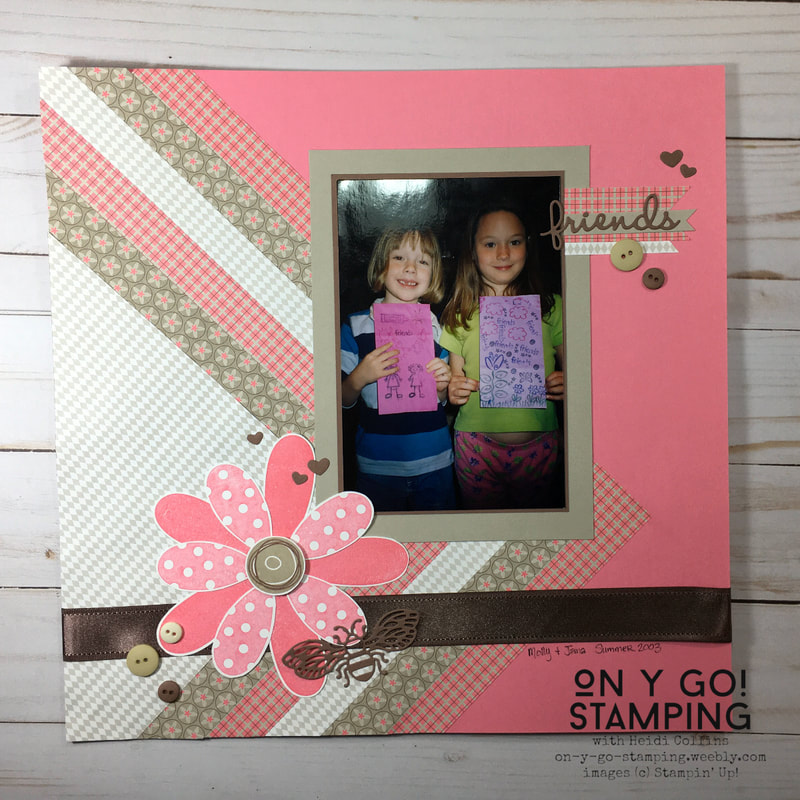
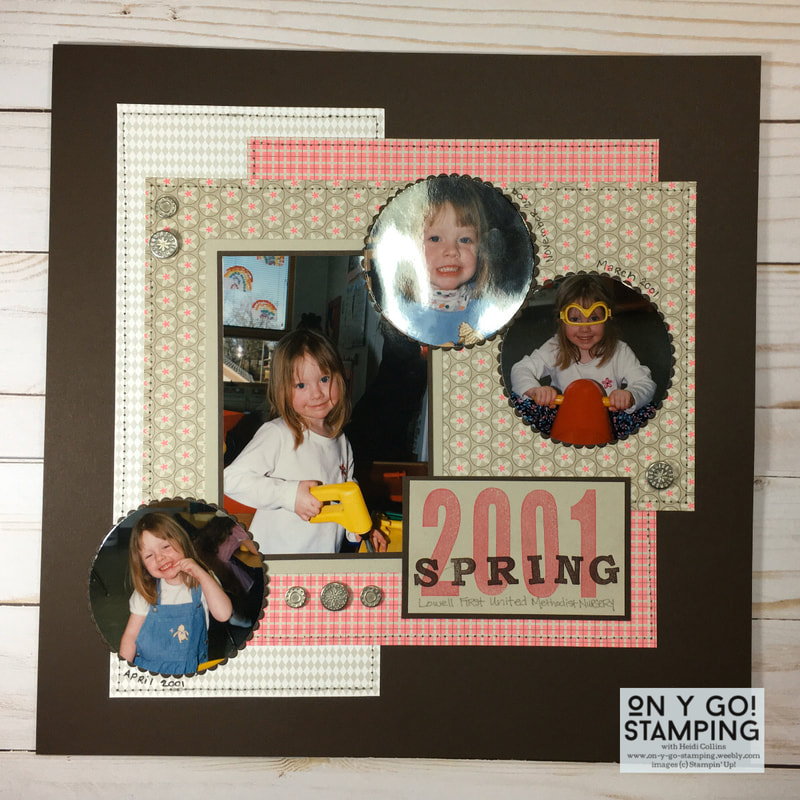 Yup, still trying to use up those 6 sheets of Rebecca Designer Series Paper! I decided that if I have any hope of using it up, I'm going to have to create some scrapbook pages since it's easier to use large quantities of patterned paper on them. The layout ideas for these two page come from AnnMarie Bryant who runs a great Facebook group: Scrapbooking the day away! She provides monthly challenges and offers a space for scrappers to share. This month, she is doing daily layout ideas. Once again, I used the Rebecca DSP with Sahara Sand (still available) and Chocolate Chip (retired) cardstock. I added brads from the Hodpodge Hardware kit (retired). The circles are cut with the Layering Circles dies (still available). The two lettering stamp sets are both retired and stamped with Regal Rose and Chocolate Chip ink. To create the stitching around the outside, I used my old tool kit that Stampin' Up! used to sell when eyelets were popular. There is a plastic template in it to help you punch even holes. I poked through all the holes and then used a Sahara Sand marker to draw a line through them to look like stitching.
While the stamps and paper are no longer available, Stampin' Up! has many great options that would work as well! I hope the pages inspire you to create your own layouts and use up your stash!
Since I am focusing on using up my stash in the month of April, I will also be talking about some issues that come up with really old supplies. My first topic: the shelf life of embossing powder. Does embossing powder go bad? This question is raised often in various rubber stamping communities and the opinions vary. Some people will say that embossing powder absolutely goes bad after a couple years. Personally, I have found that it depends. I have a number of powders and many of them are from 2005-2010. Most of these powders are generally fine. However, as I've delved back into stamping, I did notice that I was getting poor results from my white embossing powder. I finally purchased a new jar so I can share some comparisons with you. 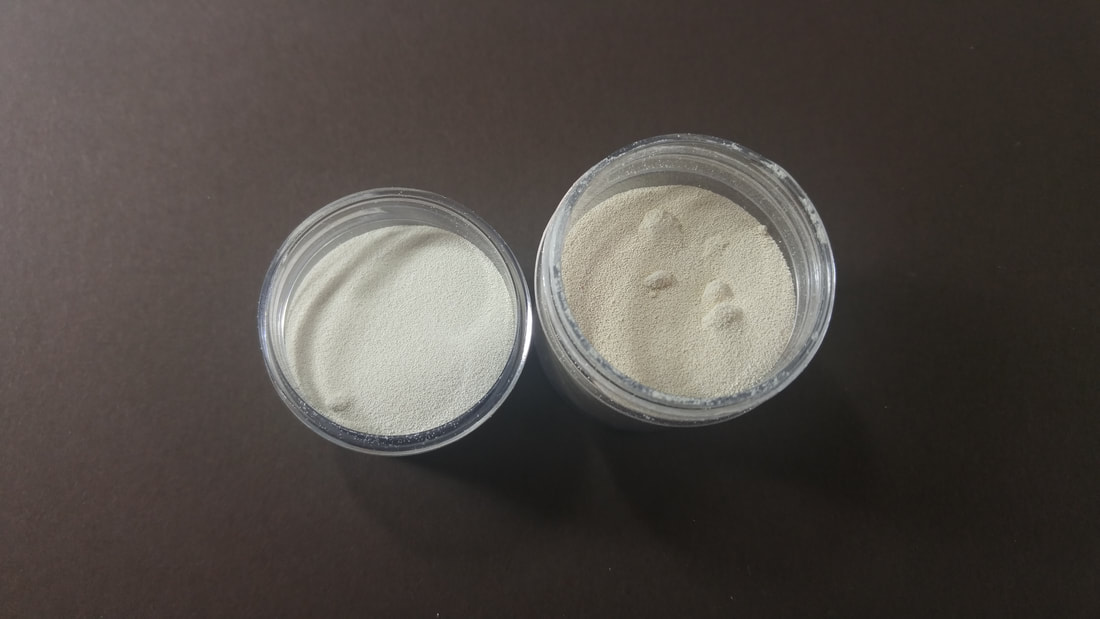 The jar on the left is my new jar and the jar on the right is my old jar of white embossing powder. It is hard to see in the picture, but there is a definite difference in color. The older powder has a yellowed look to it. You can also see that the older powder is clumpier. Now, often embossing powder will clump and it's not a big deal. However, I think the extra clumps in my older powder represent the general clumpiness of it, to the point that it does stick evenly to my image when I apply it.  In this picture, the top image uses my new embossing powder and the bottom uses the old embossing powder. Again, you can see a difference in color between the two. However, you can also see the difference in coverage. While it is normal to have an uneven application when using a bold stamp, the one on the bottom has much larger spaces that aren't covered and just looks lumpier. This is representative of the way this older embossing powder has been acting for me since I have started stamping again.
My final decision is that while some powders may still work fine after years, others may not. If your embossing powder isn't acting the way you expect it to or isn't giving you as nice of images as your other powders, you may want to consider replacing it. |


Archives
July 2024
|