• About
  • Online Card Classes
  • Card Making Ideas
  • Stampin' Up! Catalogs
  • Card Tutorials
  • Contact
  • Shopping Rewards
  • Shop
  • Join Stampin' Up!
ON Y GO! STAMPING
  • About
  • Online Card Classes
  • Card Making Ideas
  • Stampin' Up! Catalogs
  • Card Tutorials
  • Contact
  • Shopping Rewards
  • Shop
  • Join Stampin' Up!

Scrap bin to the rescue!

6/24/2019

0 Comments

 
Picture
Picture
Picture
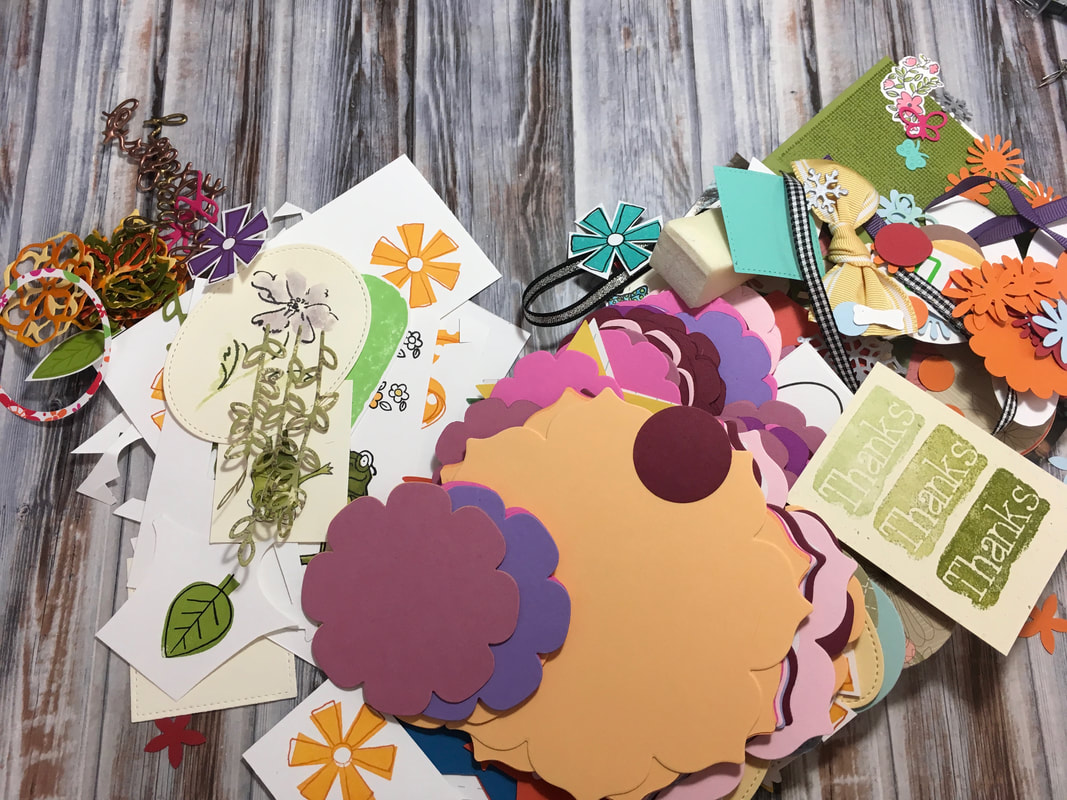
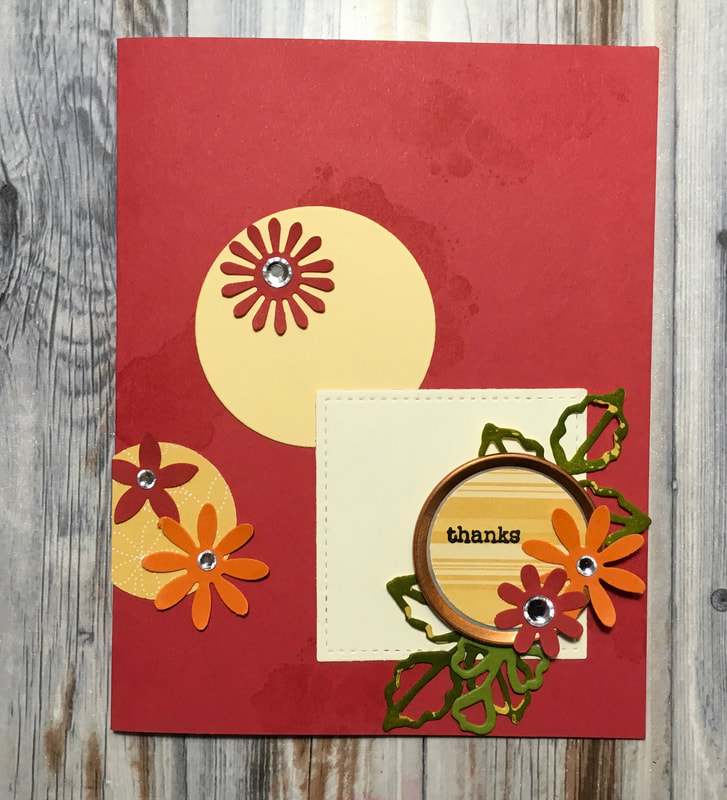
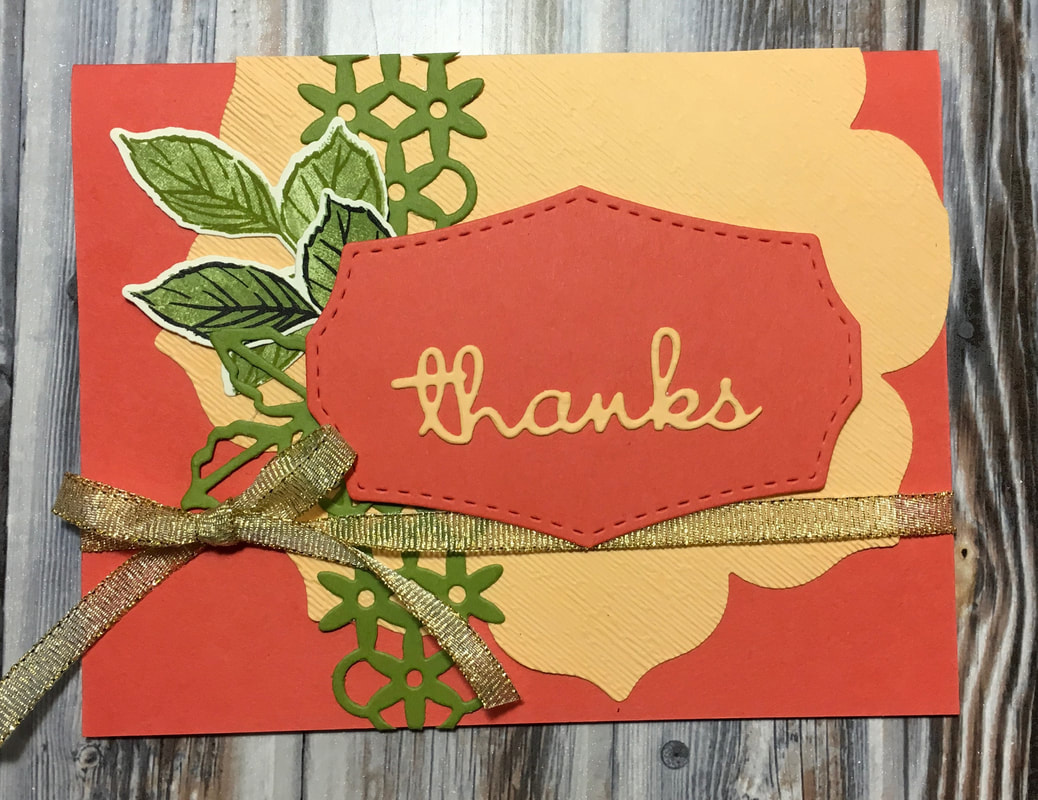
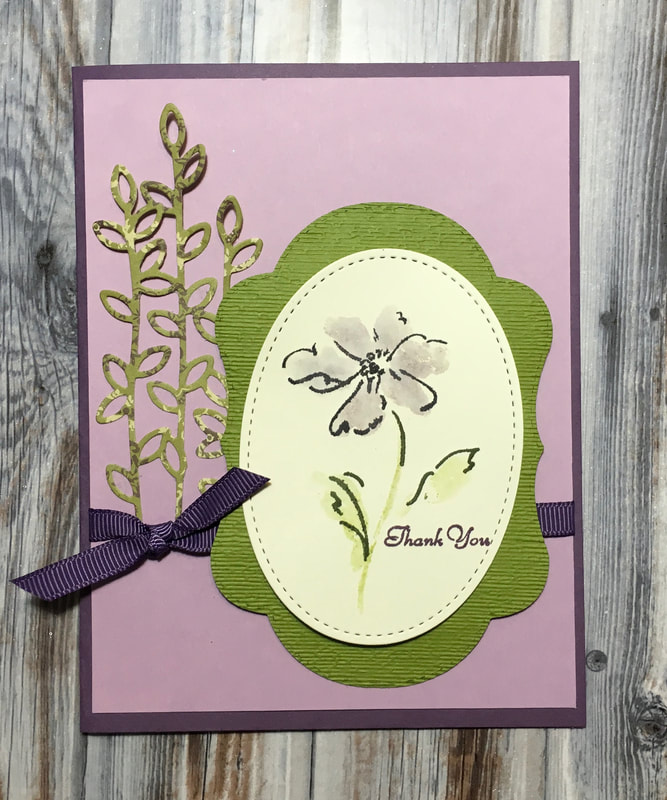
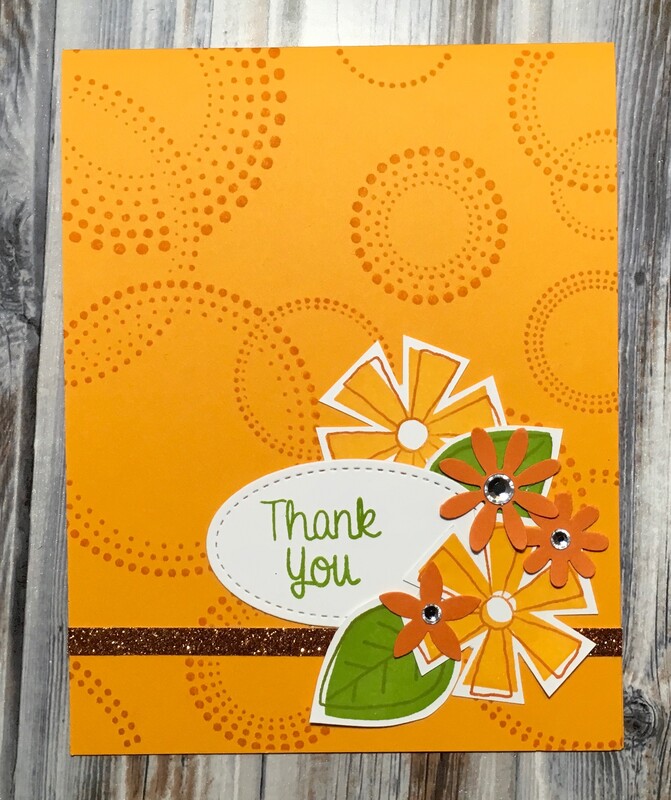
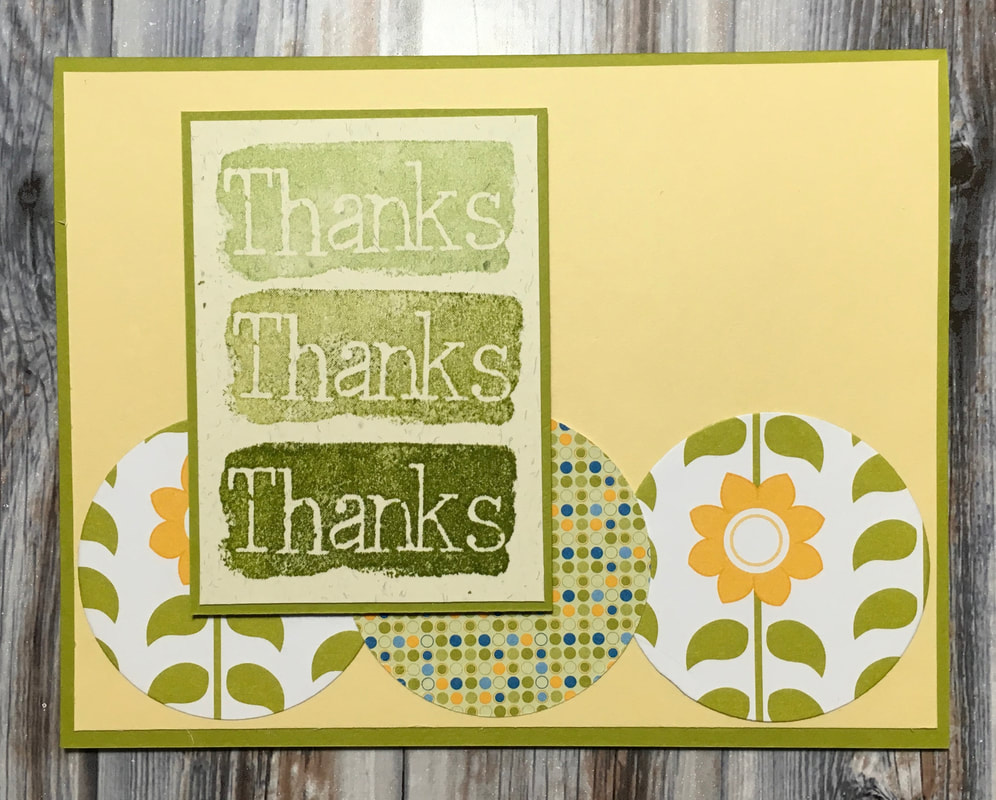
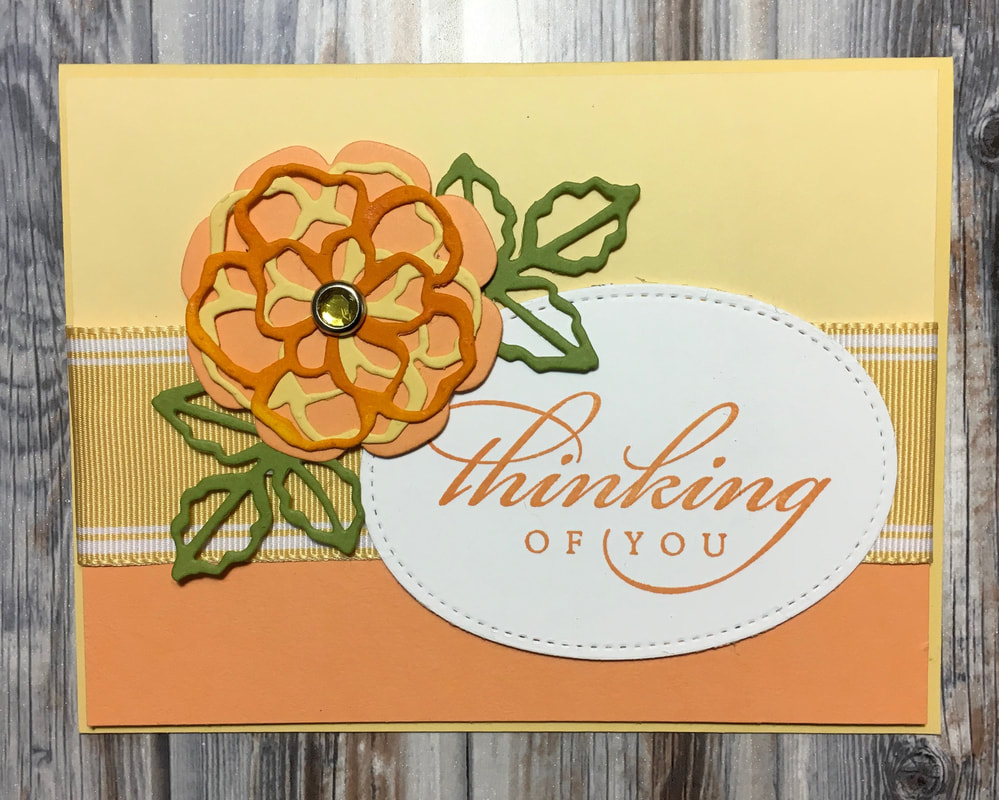
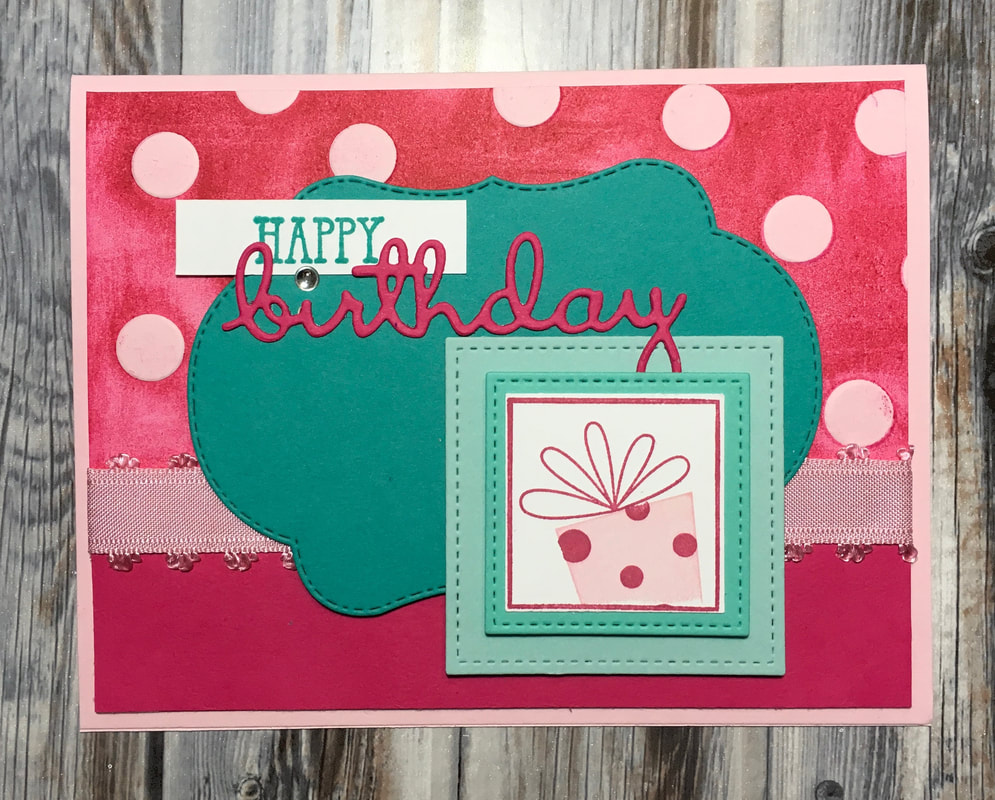
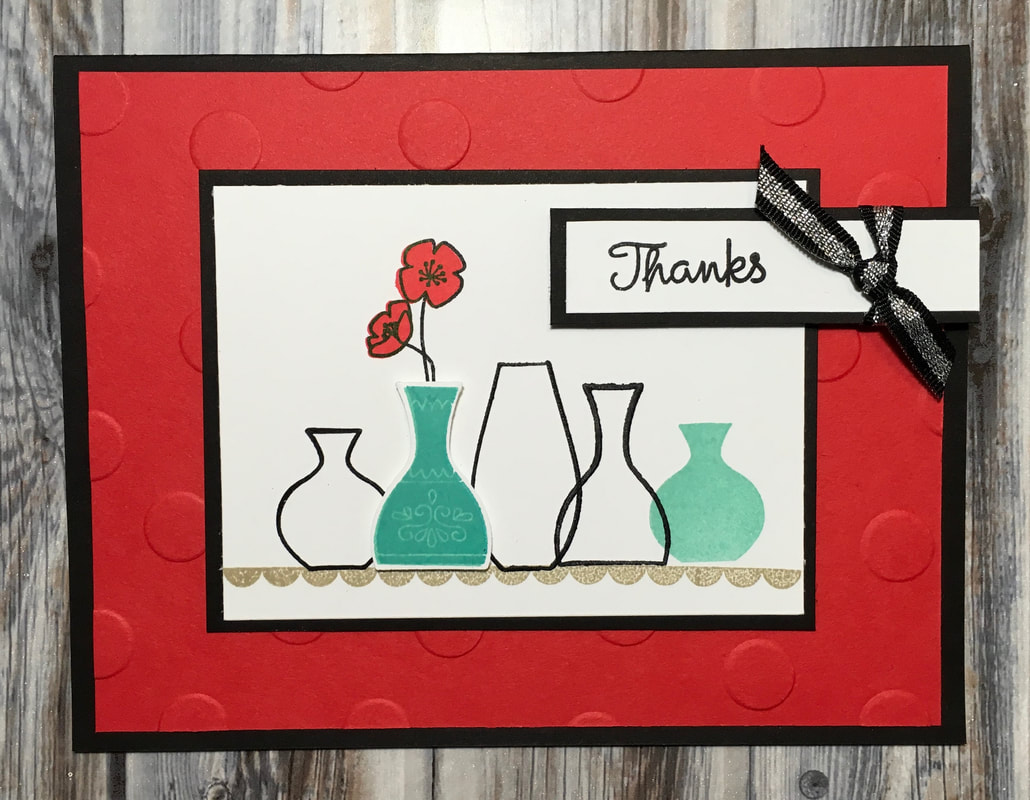
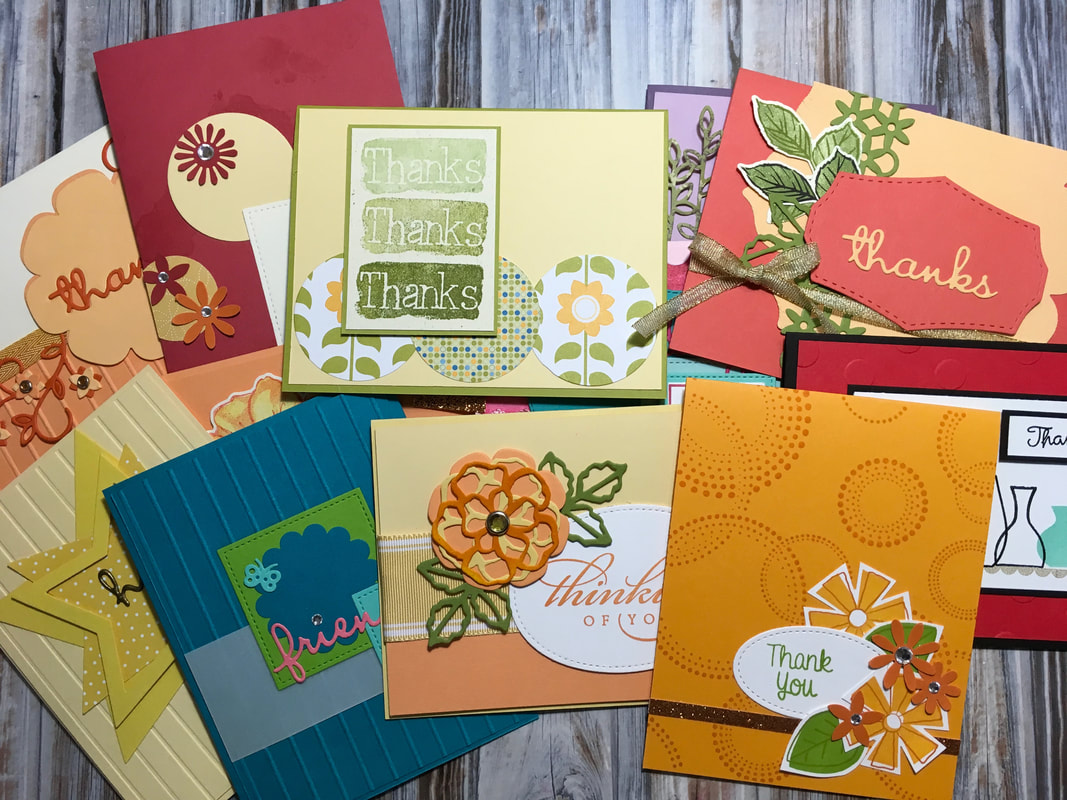
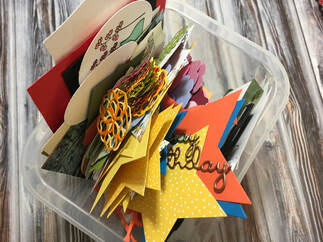
The craziness of Mondays can zap your inspiration and make creating cards difficult. For today's quick and easy cards, I headed to my scrap bin for help.

If you're like me, you have a bin that looks something like this. Whenever I make a card and have extra bits that don't quite work, stamped images or die-cut shapes, I throw them in my scrap bin thinking they will be useful someday. Well, someday is today!

I started by dumping my bin out on the table so I could dig through all the goodies a little easier. As I looked through things, I started grouping items that I thought would work well together. I tried different shapes and colors together. Put images with shapes. Combined images. The beauty of the scrap bin was that I started putting things together that I wouldn't have normally thought would work. Working with all the bits and pieces sparked so many ideas!

I made a dozen cards in a few hours. Some were more successful than others, but it was a great way to use some scraps and put together some quick cards on a Monday!
0 Comments

Enamel Dot hack

6/21/2019

0 Comments

 
Picture
Picture
Every other page on the internet seems to have a hack for something. Sometimes the use of these hacks is dubious, but today's tip and technique for the weekend is a little stamping hack that may come in handy some day. 

Enamel dots can add that little something that every card seems to need. But, what do you do if don't have just the right color of enamel dot for your project? Make your own of course!

For this card, I wanted some beautiful Bermuda Bay enamel dots to match the ring at the center of the card. (Btw, check back next week for directions on how to make this really fun gate-fold card.) 
Picture
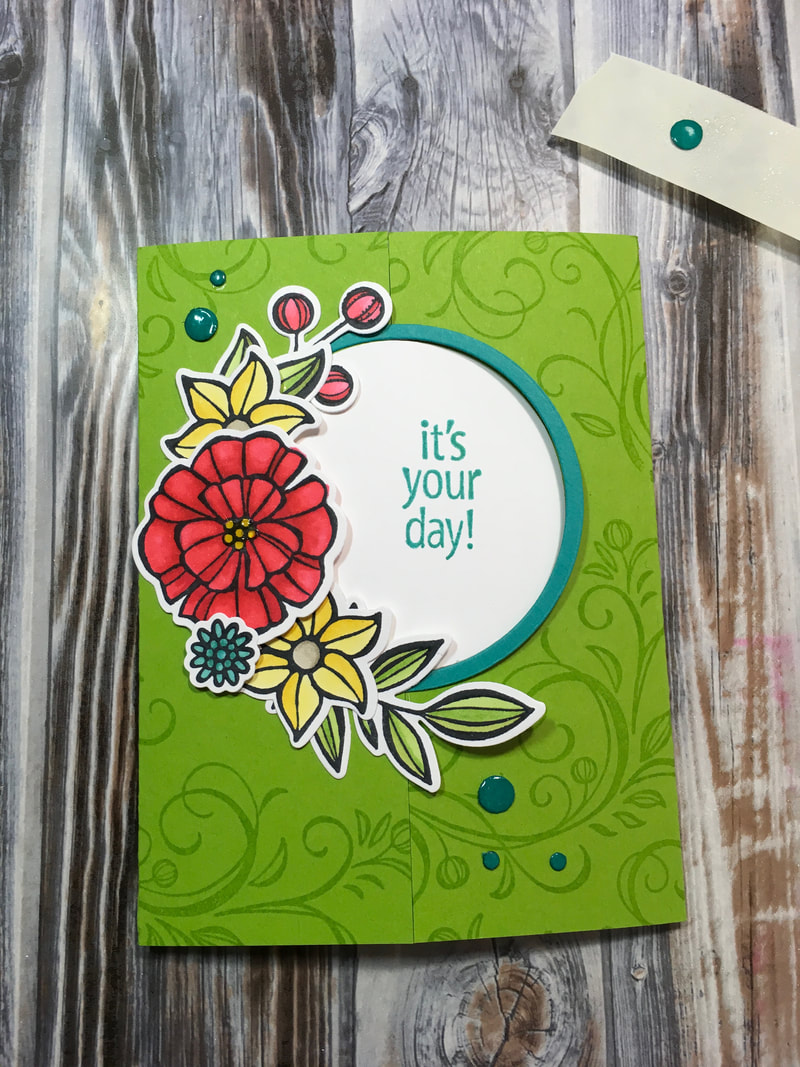
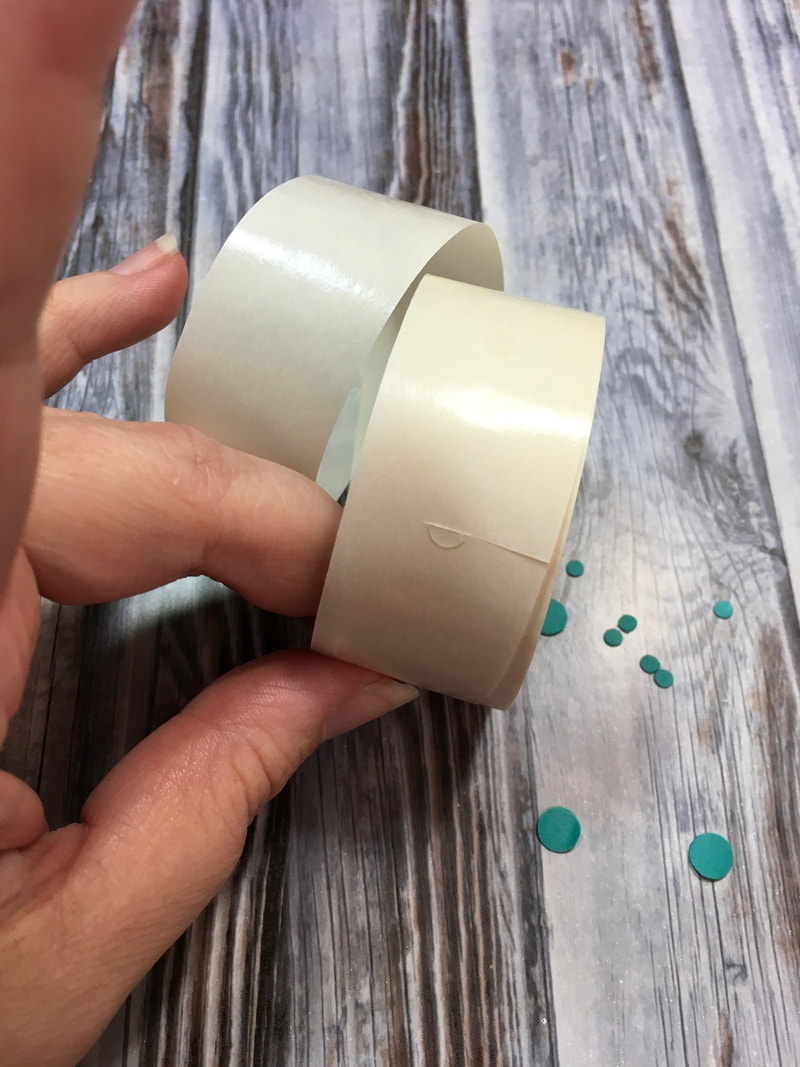
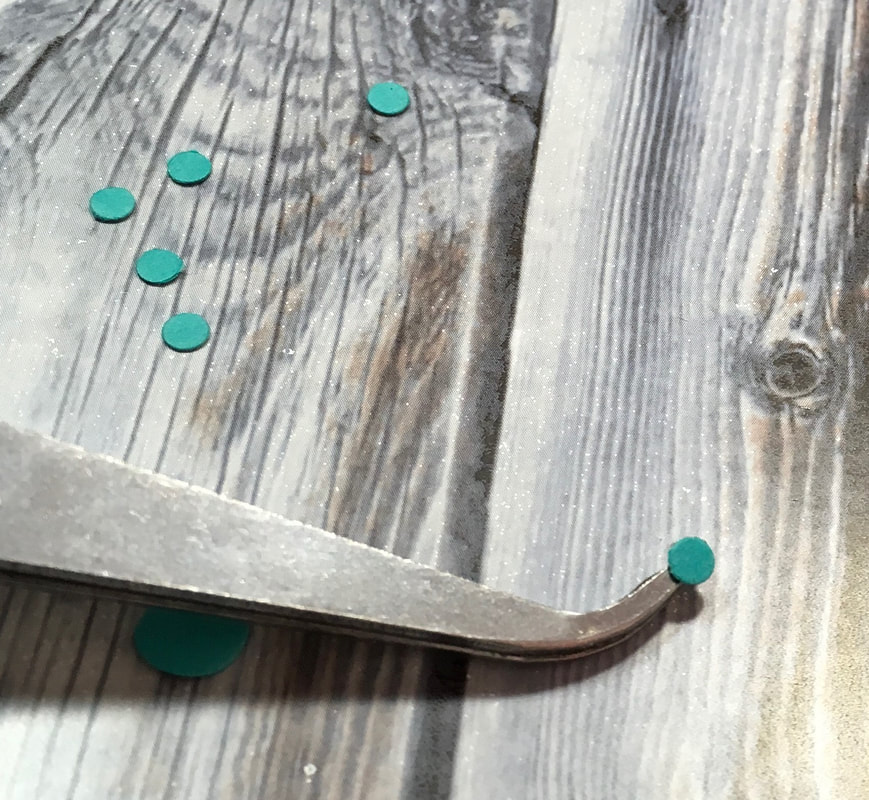
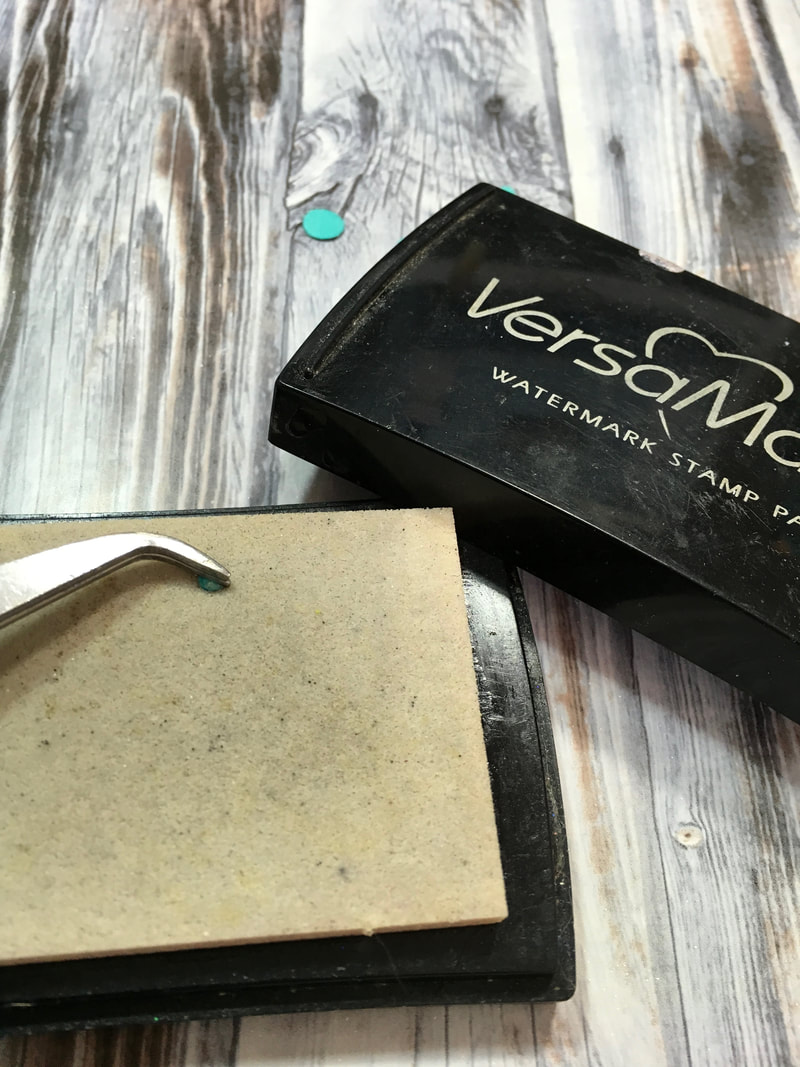
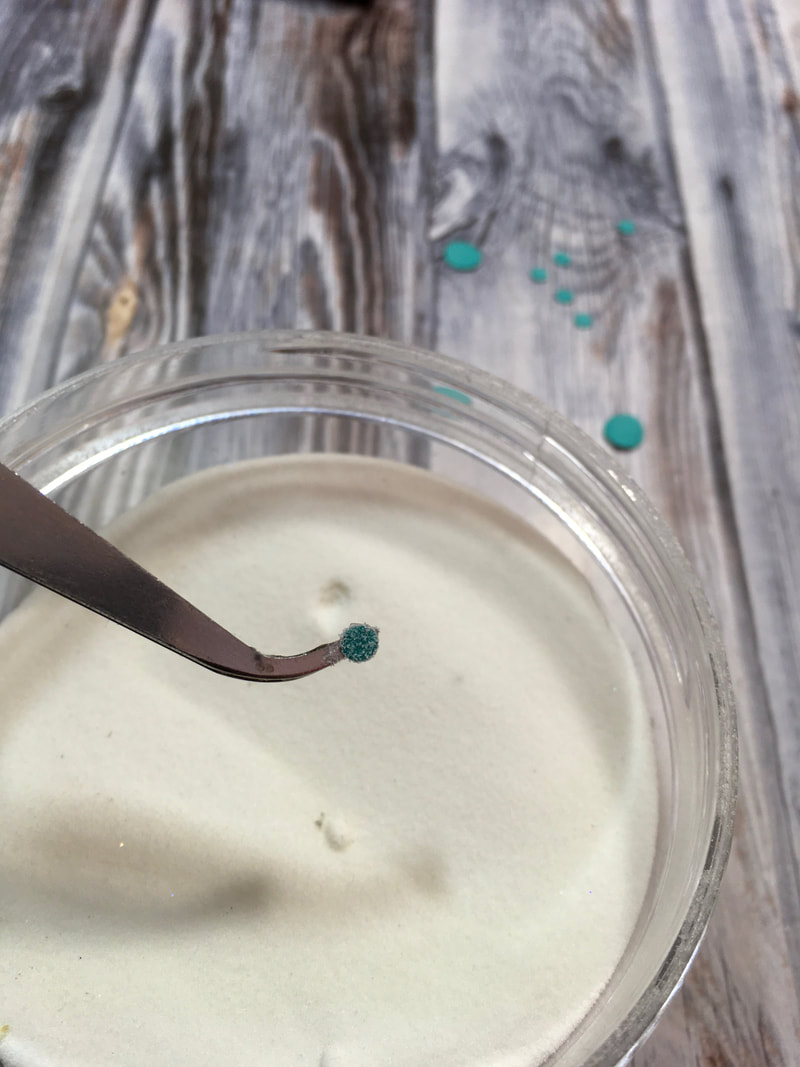
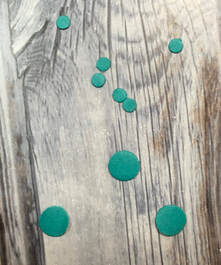
Heat embossing to the rescue! I embossed some small circles to mimic the look for enamel dots.

To start, I punched some Bermuda Bay circles using handheld circle punches in 1/8 and 1/4" sizes. 

For the 1/8" circles, I used half of a glue dot to stick them on a pair of tweezers. Then I dabbed them on my Versamark pad and dip them in my container of clear embossing powder. I zapped them with my heat gun and went through the steps a second time to get a thick coat of embossing. 

Picture
The larger dots were a little easier because I simply attached them to the strip of glue dots. Then, I dabbed them on the Versamark pad. Some of the ink went on the backing sheet, but I pressed down primarily on the dots, so the paper didn't get lots of embossing powder on it. The little powder that was there didn't cause any problems for the creating the dots. 

For the large dots, I embossed them three times instead of two to get the level of embossing I wanted. I think the final product looks a lot like a regular enamel dot!
Picture
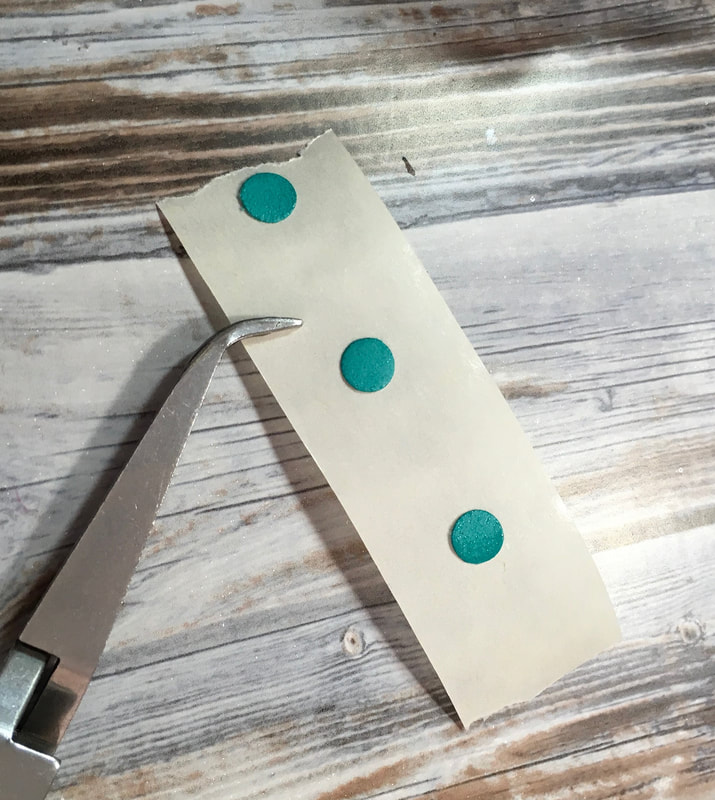
I did something similar on the window card from Wednesday's blog post. However, that time I used Stampin' Up!'s Glimmer Paper. Instead of embossing, I simply punched out some small circles and attached them to the card. 

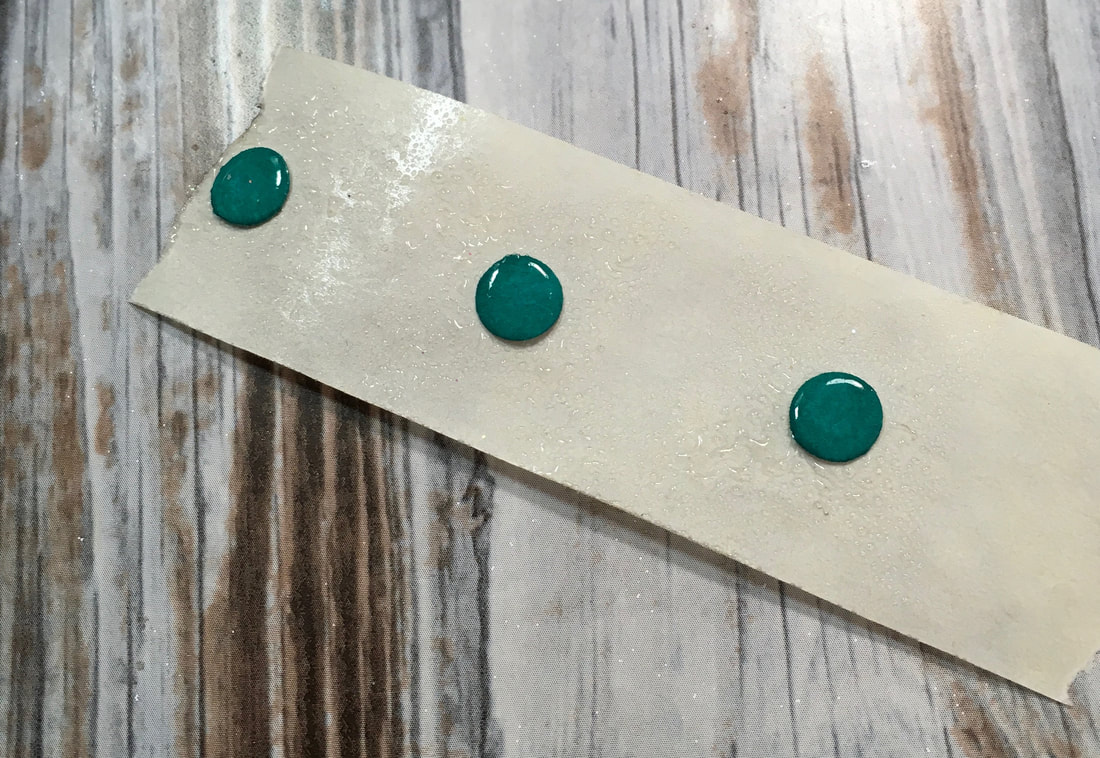
They added just the right extra touch of glitz to the card and since I made them myself, they matched the the other paper used on the card perfectly. 

So, while regular enamel dots are quick and easy to use, if you're in a bind or want just the right color, making your own may be just the hack you need!

0 Comments

See Through with glitz

6/19/2019

0 Comments

 
Picture
Picture
Picture
 Sometimes you want to make cards that are a little extra - extra intricate, extra flashy, extra special. Today's Wow Wednesday card delivers all of that! 

A glitzy gold circle frames a window to the inside of the card. The frosted window, created by adding a piece of vellum, adds a hint of elegance. Vellum is a very thin paper that softens the appearance of the image under it. 

I began this card by stamping the rose image from Stampin' Up!'s To a Wild Rose stamp set in Tuxedo Black Memento ink on Whisper White card stock. I then masked the rose and stamped the leaves in Tuxedo Black as well. Coloring the rose was so quick and easy with Stampin' Up!'s blends. These are alcohol markers that come in packs of two with a light and dark marker for each color. This allows you to easily blend the colors to give dimension to the image by adding shading and highlights. I used Mango Melody blends for the rose and Old Olive blends for the leaves. 

I then cut a circle in the Mango Melody card stock using the layering circles. To give the circle a frame of bling, I used two dies to cut a thin circle outline from glitter paper and adhered it to the card. 

I finished the card with a die cut thank you sentiment from Stampin' Up!'s Well Written dies. After cutting the words, I embossed them three times using a Versamark pad and black embossing powder. This gives the sentiment an enameled look. 

This card gives a high class look, but is still pretty quick and easy. 
0 Comments

CASE - Copy and steal everything

6/17/2019

0 Comments

 
Picture
Picture
​Does Monday leave you with a lack of inspiration? One of the best ways to get started stamping is by CASE-ing – Copy and Steal Everything. The Stampin’ Up! Annual Catalog provides tons of inspiration, like this gorgeous card using the To a Wild Rose stamp set found on page 140. You can copy the ideas exactly (or nearly exactly like I did on this card) or you can use the samples as inspiration. Maybe you like the colors or the layout or the way the sample card uses a piece of thread. Use these ideas to make your own creations. Spending some time browsing the catalog will have your stamp inspiration flowing in no time!
0 Comments

Simple Stamping - Mambo Wild Rose

6/9/2019

0 Comments

 
Picture
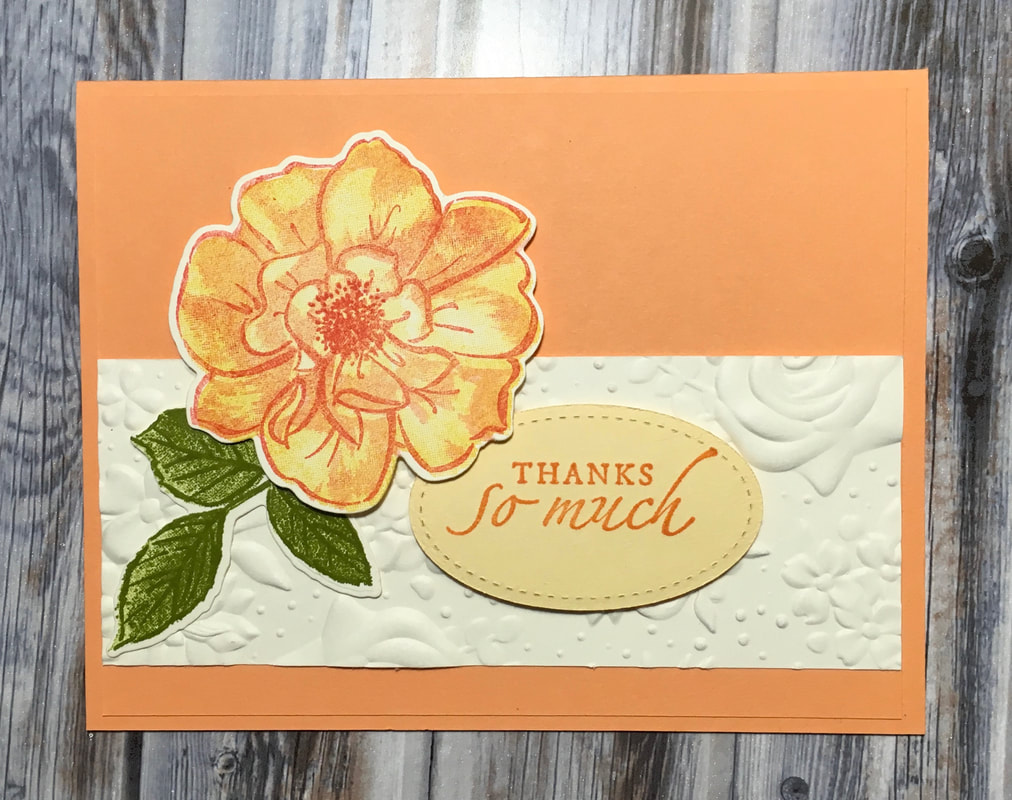
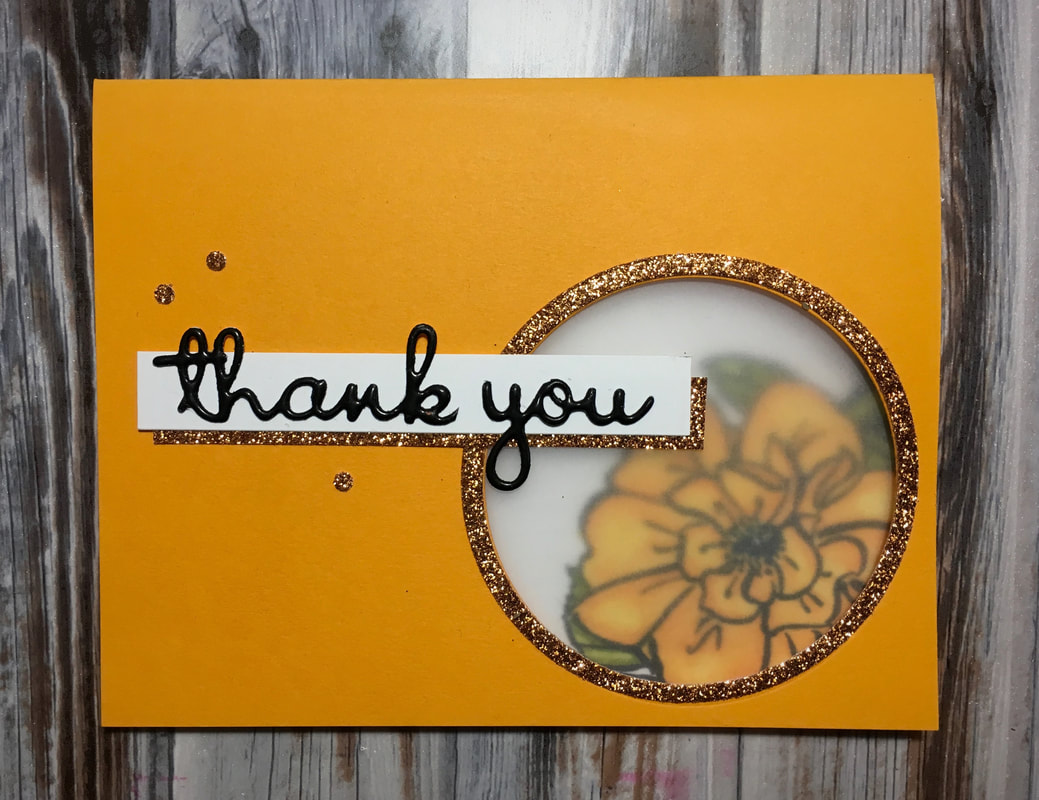
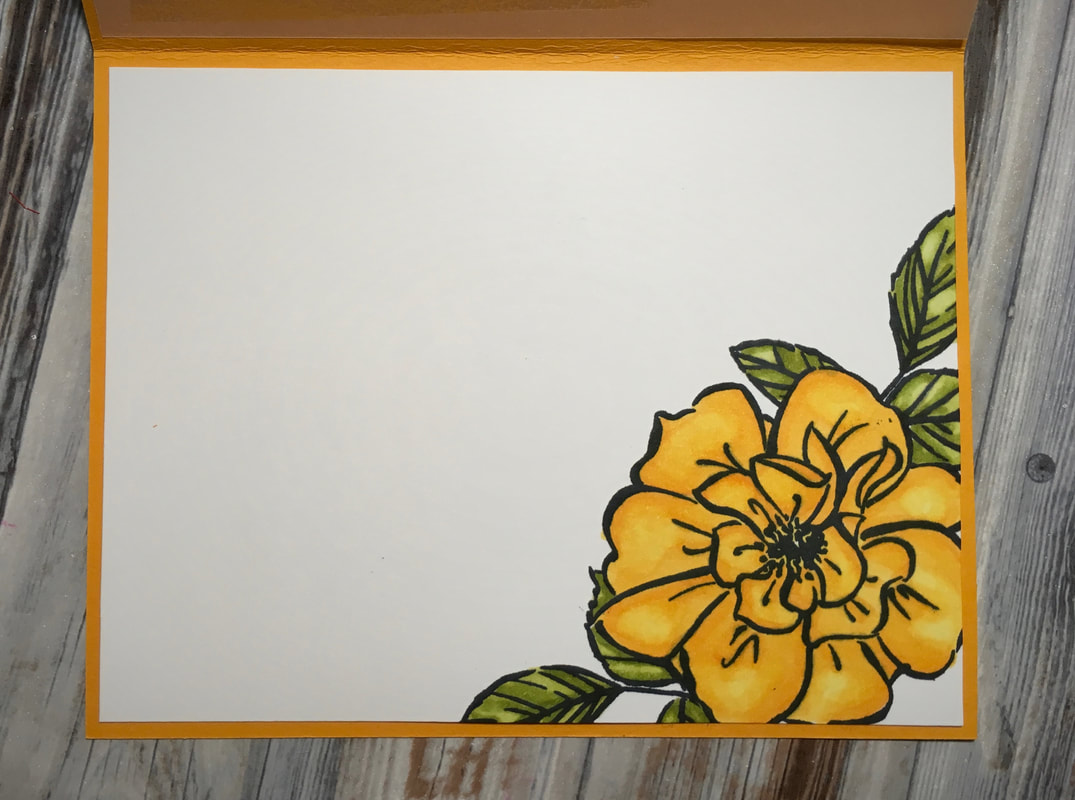
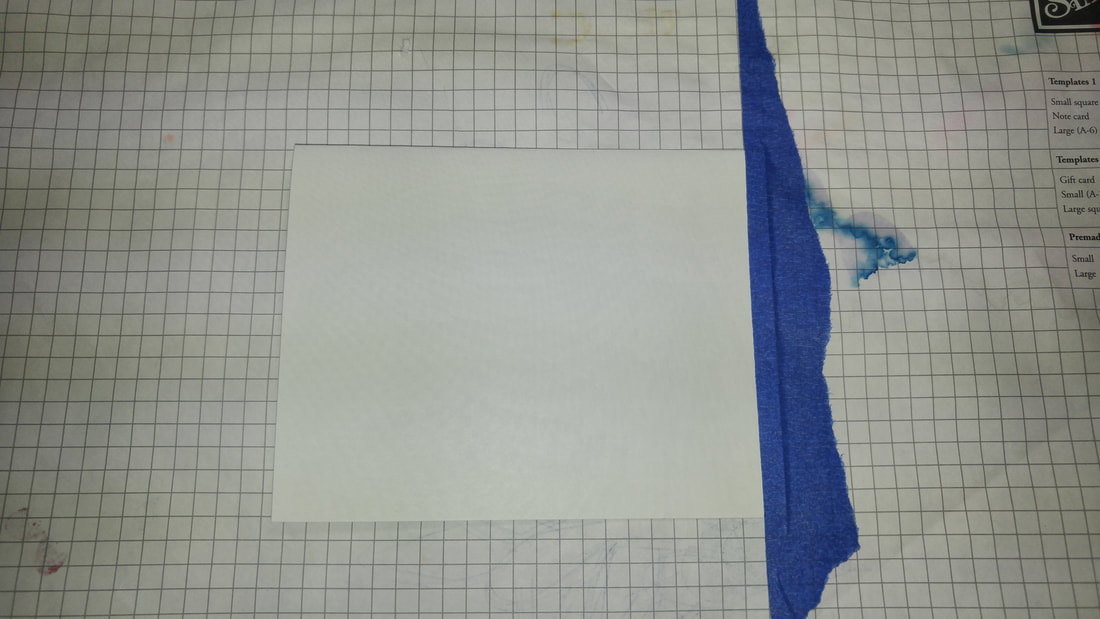
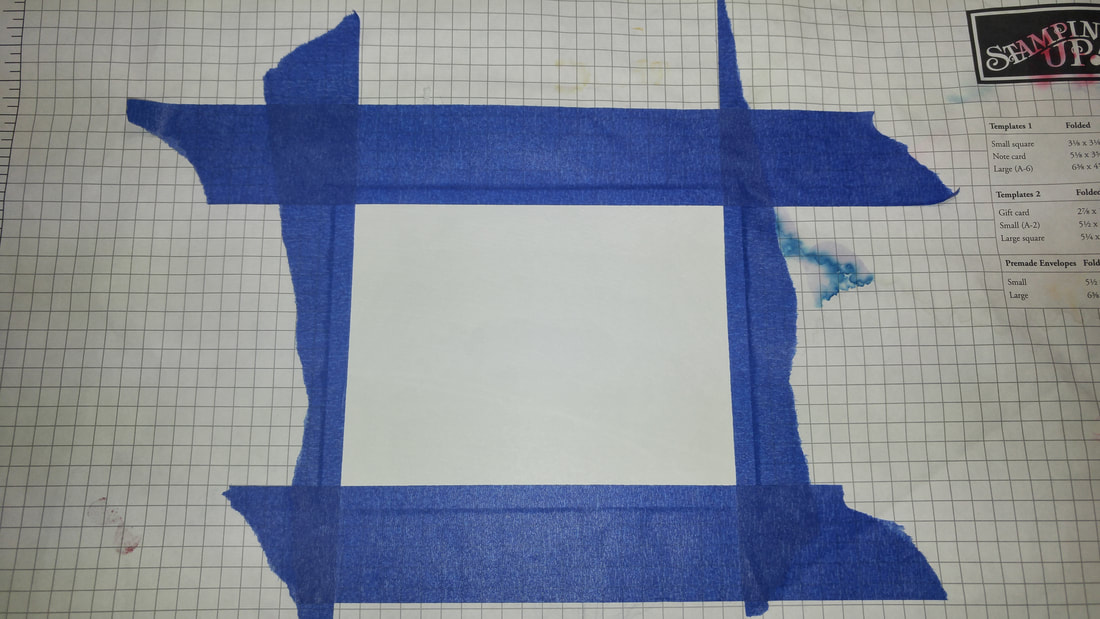
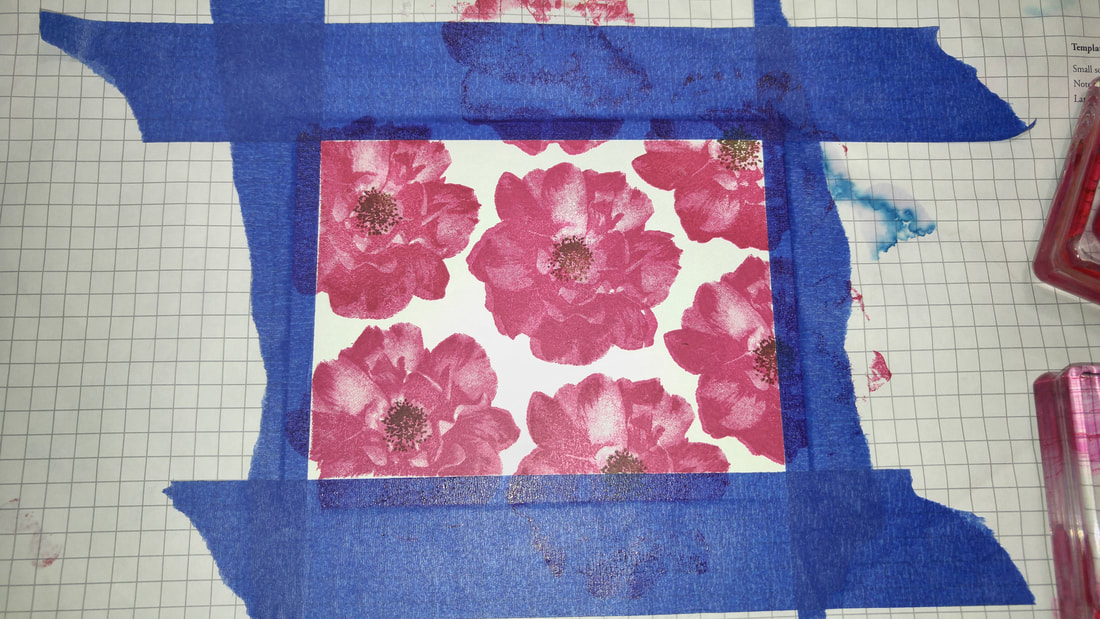
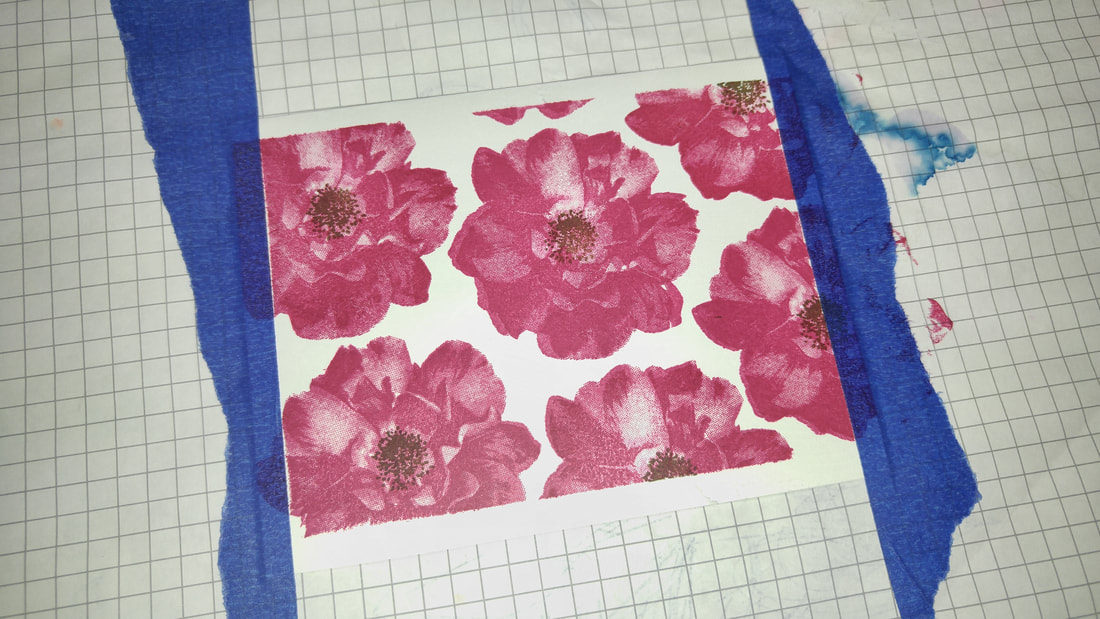
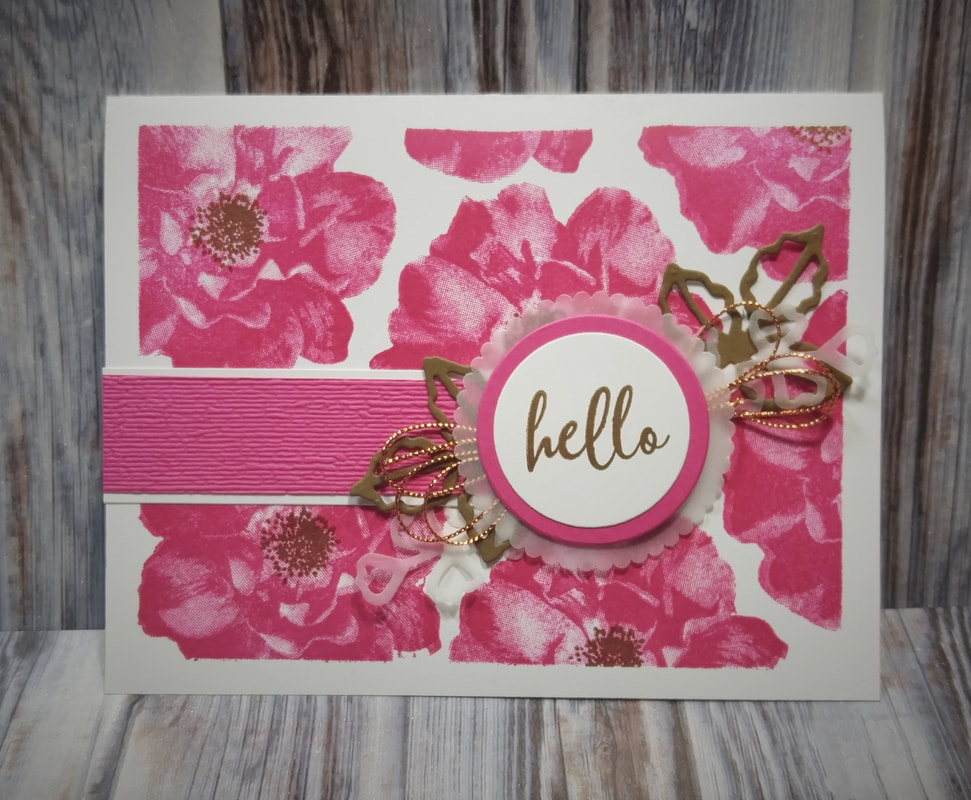
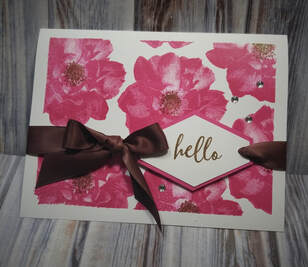
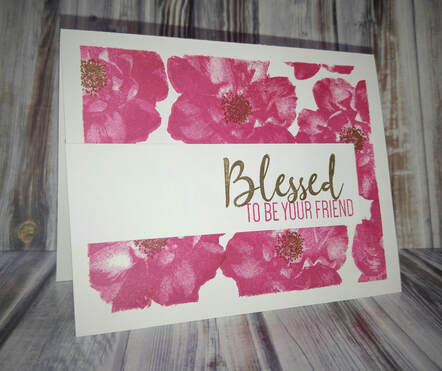
You don’t need a craft room overflowing with supplies to create beautiful cards. All it takes is stamps, ink, and paper. It’s as simple as that! I created this gorgeous card using the To a Wild Rose stamp set, Melon Mambo and Soft Suede ink, and whisper white card stock – plus a little bit of painter’s tape. ​
Picture


​To create the white edge on your card, use painter’s tape to cover the outside edges of the card. Then stamp your images.

Picture

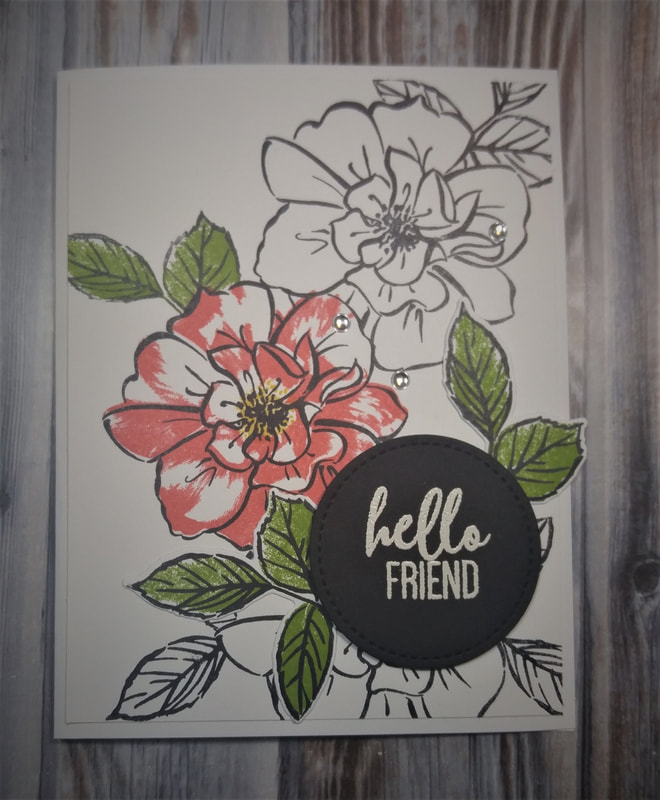
The To a Wild Rose stamp set has three stamps for the rose and coordinating leaves. The stamps are made to create variations in color. For this card, I only used two of the stamps. The third stamp is an outline stamp. I love the way this rose looks without the outline though! (Ok, I love it with the outline too. It’s simply a gorgeous stamp set!)
​
The stamps are also Dist-Ink-Tive stamps. The images have a photographic appearance. Because of this, you can use the same color ink (like I did) to stamp both of the layers, and it will still give you variations in colors. 
​
Picture
​Back to our card. If you remember, I had taped the edges and stamped the roses. 
​When you peel away the tape, you are left with a clean white edge, perfectly framing your stamped images. 
​
Picture
Picture
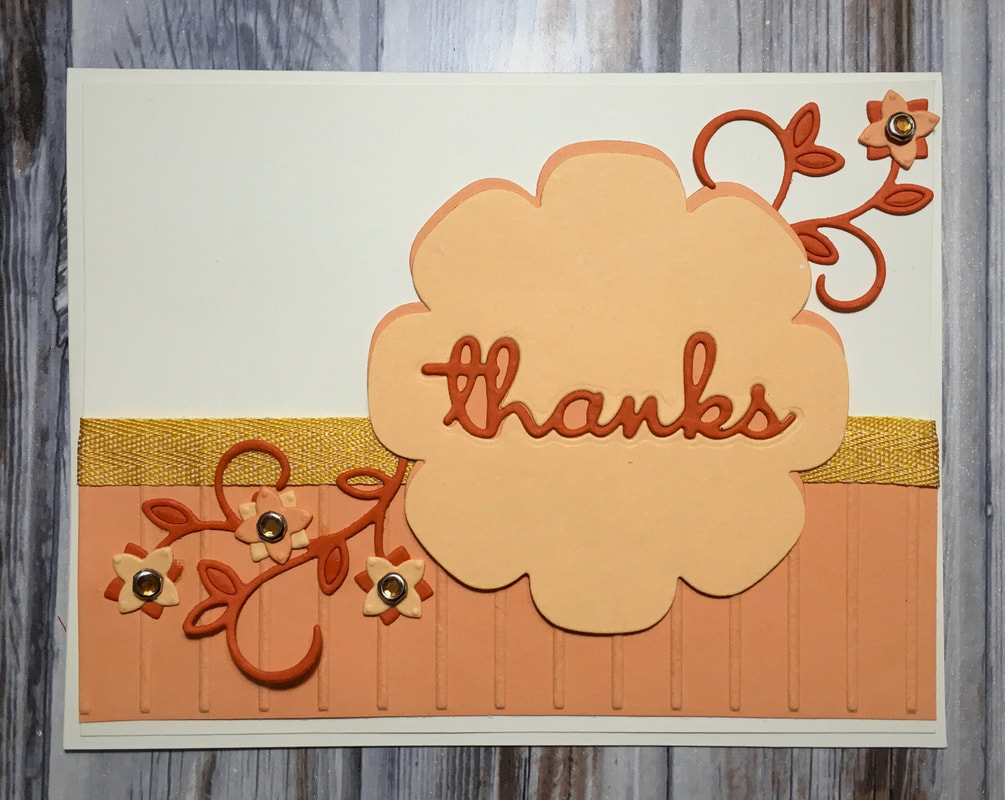
To finish this card, I added a strip of whisper white cardstock that I had stamped the greeting on. It’s as quick and easy as that!
​
While it’s simple to create beautiful cards with limited supplies, I have trouble stopping there! So, I created two more cards using the same background. 
​

​​For the second card, I used a punch to cut out the greeting and attached it with satin ribbon and some Stampin’ Dimensionals. I also added a few rhinestone jewels to give it a little sparkle. 


​
​
Picture
Picture
​The final card isn’t any more difficult to make, it just uses even more supplies which allowed me to give it even more texture. I used the coordinating Wild Rose dies to cut out the leaves and little branches from Soft Suede and velum cardstock. I also used the Layering Circle dies to cut out the greeting and mount it on Melon Mambo and vellum cardstock. I added a strip of white and Melon Mambo cardstock to the card and used the Subtle embossing folder on the Melon Mambo to give it the look of rough fabric.

All three cards are elegant and easy to create!
0 Comments
<<Previous
    Heidi Collins, Independent Stampin' Up! Demonstrator with On Y Go! Stamping
    Get updates and ideas on my Facebook group
    Heidi Collins, Independent Stampin' Up! Demonstrator and Owner of On Y Go! Stamping
    Shop for Stampin' Up! stamps, inks, paper, tools, and embellishments with Heidi Collins and earn points towards FREE stamps!
    Picture
    Picture
    On Y Go! Stamping YouTube channel with Card Making Videos on how to do rubber stamping, card making, scrapbooking, and paper crafting

    Archives

    March 2023
    February 2023
    January 2023
    December 2022
    November 2022
    October 2022
    September 2022
    August 2022
    July 2022
    June 2022
    May 2022
    April 2022
    March 2022
    February 2022
    January 2022
    December 2021
    November 2021
    October 2021
    September 2021
    August 2021
    July 2021
    June 2021
    May 2021
    April 2021
    March 2021
    February 2021
    January 2021
    December 2020
    November 2020
    October 2020
    September 2020
    August 2020
    July 2020
    June 2020
    May 2020
    April 2020
    March 2020
    February 2020
    January 2020
    December 2019
    November 2019
    October 2019
    September 2019
    August 2019
    July 2019
    June 2019

Powered by Create your own unique website with customizable templates.
  • About
  • Online Card Classes
  • Card Making Ideas
  • Stampin' Up! Catalogs
  • Card Tutorials
  • Contact
  • Shopping Rewards
  • Shop
  • Join Stampin' Up!