• About
  • Online Card Classes
  • Card Making Ideas
  • Stampin' Up! Catalogs
  • Card Tutorials
  • Contact
  • Shopping Rewards
  • Shop
  • Join Stampin' Up!
ON Y GO! STAMPING
  • About
  • Online Card Classes
  • Card Making Ideas
  • Stampin' Up! Catalogs
  • Card Tutorials
  • Contact
  • Shopping Rewards
  • Shop
  • Join Stampin' Up!

Honey Bees are Golden

1/31/2020

2 Comments

 
Picture
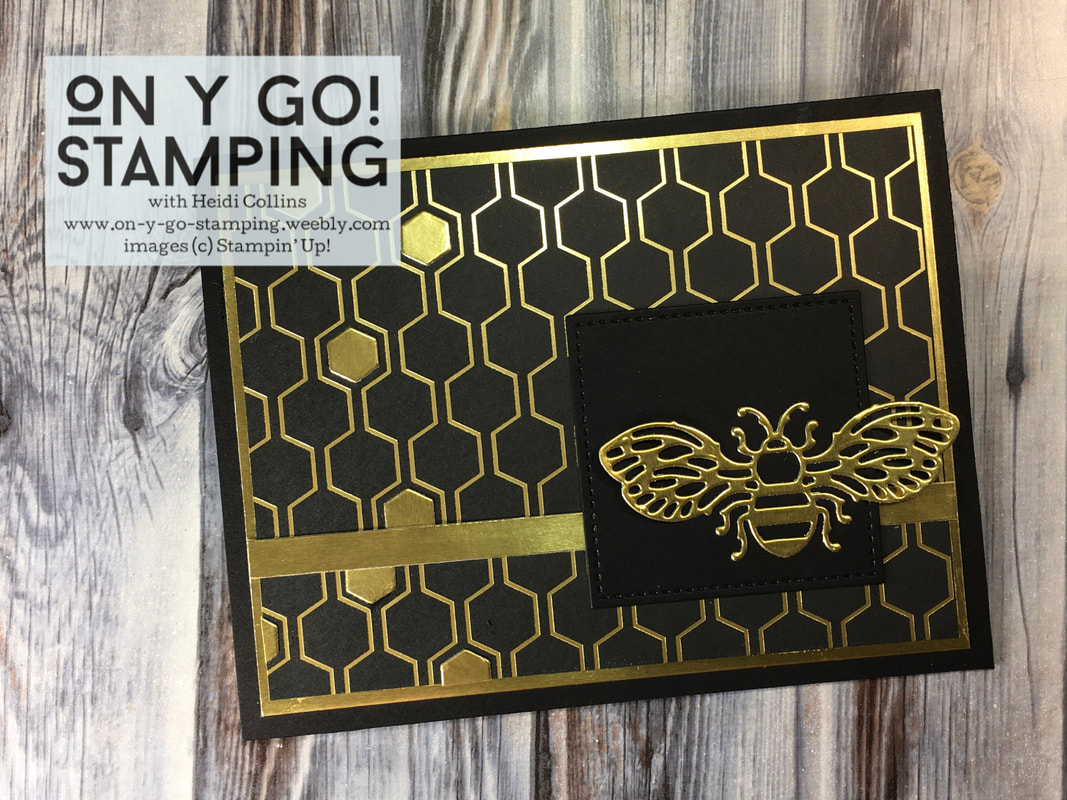
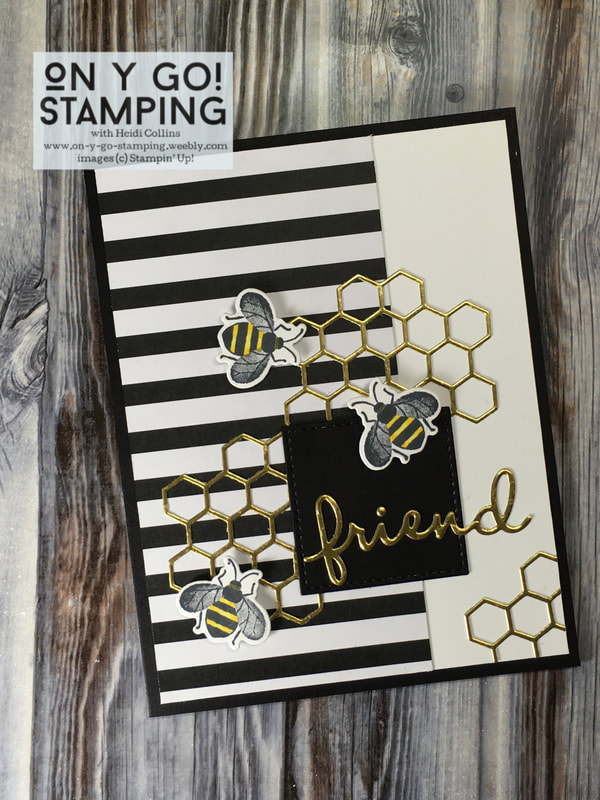
The Golden Honey Bee Specialty Designer Series Paper is golden goodness! (Plus, you can get it FREE with any $50 order. More about that later!) I couldn't resist making these elegant cards drenched in gold. Make sure to read all the way through to the end for a bonus 4th card.
​
Picture
The pure black and gold of this card is absolutely stunning! It's like a glam neo-art deco 70s pattern. (Is that a thing?) I used the black and gold honeycomb pattern paper from the package of DSP. I added a few hexagons of gold cardstock. These were cut with the honeycomb pattern die in the Detailed Bee dies. I also cut the bee from gold foil sheets using the same dies. I used a square die from the Stitched Shapes dies to cut the square for the card front and added a strip of gold cardstock underneath it. The card front is layered on gold cardstock and adhered to a Basic Black card base. 
I started with a Whisper White card front for the next card. I added a strip of black and white striped patterned paper from the package of DSP. Then, I cut the honey comb pattern from a gold foil sheet using the Detailed Bee dies. I stamped the small bees from the Honey Bee stamp set on Whisper White cardstock using Jet Black Memento ink. I colored them with Daffodil Delight Stampin' Blends. 

The Basic Black square is cut with the Stitched Shape dies and the "friend" greeting is cut from Gold cardstock using the Well Written dies. I layered everything on the card front and used Stampin' Dimensionals to help the bees fly off the page. All this is layered on a Basic Black card base. 
Picture
Picture
My third card also uses a Whisper White card front. The patterned paper, both from the Golden Honey Bee DSP, includes a white with gold honeycomb and a black and gold stripe. The two together are gorgeous! I cut more honeycomb from gold cardstock and stamped the larger bee from the Honey Bee stamp set on Whisper White cardstock with Jet Black Memento ink. Once again I colored it with Daffodil Delight Stampin' Blends and cut it using the Detailed Bee dies. 
​
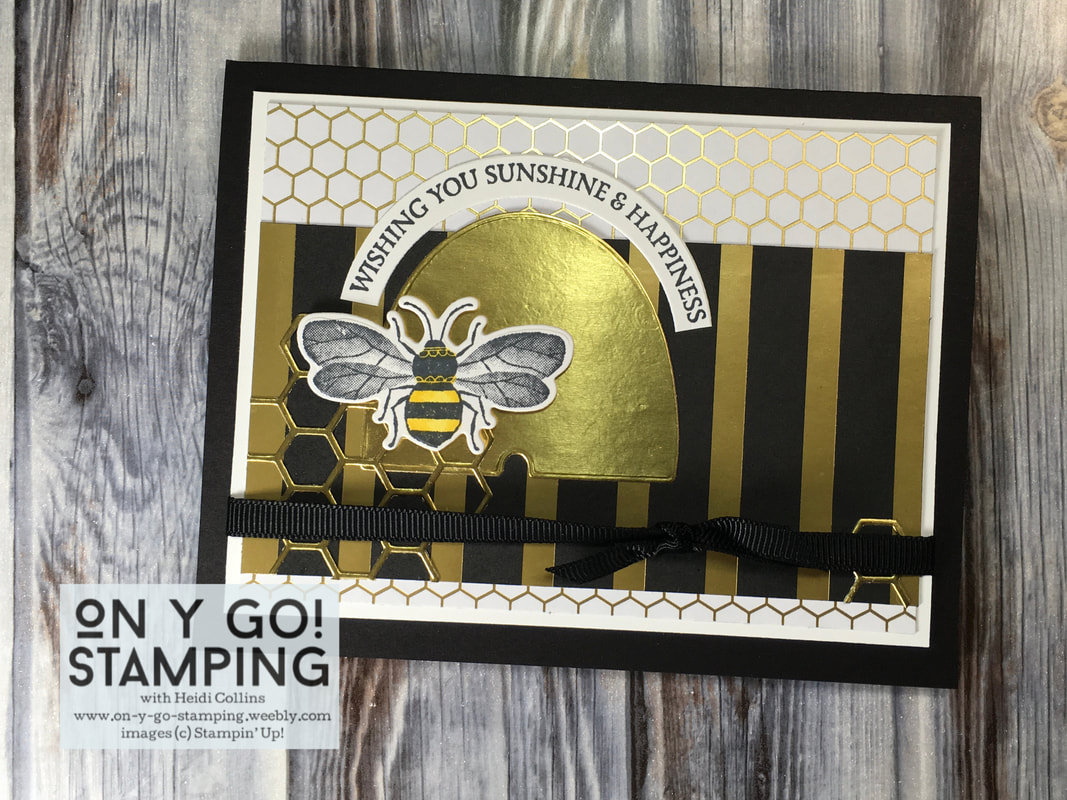
I stamped the curved greeting from the Honey Bee stamp set on Whisper White with the same Memento ink pad. To cut it out, I used two different circles from the Layering Circles dies. Then, I trimmed the sides to the right length. I cut the hive from gold cardstock with the Detailed Bee dies as well. I layered everything and added some black grosgrain ribbon from my stash. The card front is adhered to a Basic Black card base.
​
My final card returns to the pure black and gold color combination of the first card. In fact, it uses many of the same elements.

I had so many gold hexagons left over from all of the honeycombs I cut out, that I couldn't just throw them in the trash. Instead I added them randomly to another piece of black and gold honeycomb paper from the Golden Honey Bee DSP.
​
Picture
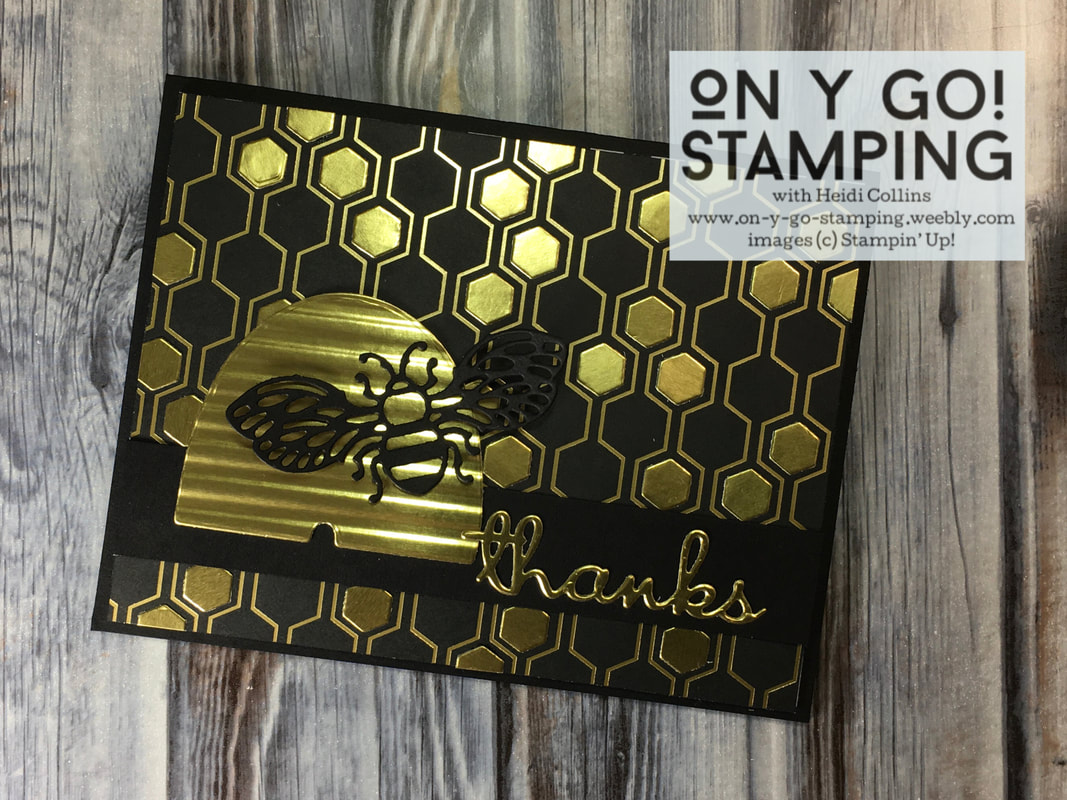
After I cut the hive from gold cardstock, I embossed it with the Corrugated 3D embossing folder. I love this look! It really gives the hive dimension. The "thanks" is cut using the Well Written dies. Everything is layered on a Basic Black card base with a black strip and a black bee cut with the Detailed Bee dies.

One of the best things about the Golden Honey Bee Specialty DSP is that you can get it FREE during Sale-A-Bration. If you order the Honey Bee Bundle (the stamp set and dies) plus a package of gold foil sheets and a combo pack of Daffodil Delight Stampin' Blends, you can choose the Golden Honey Bee DSP as your FREE Sale-A-Bration item!

​I just can't get enough of the Golden Honey Bee Specialty DSP. It is just so elegant and striking. It makes me want to gobble it up, just like honey!
Complete Supply List and Ordering
2 Comments

Black, White, and Red Poppies

1/29/2020

0 Comments

 
Picture
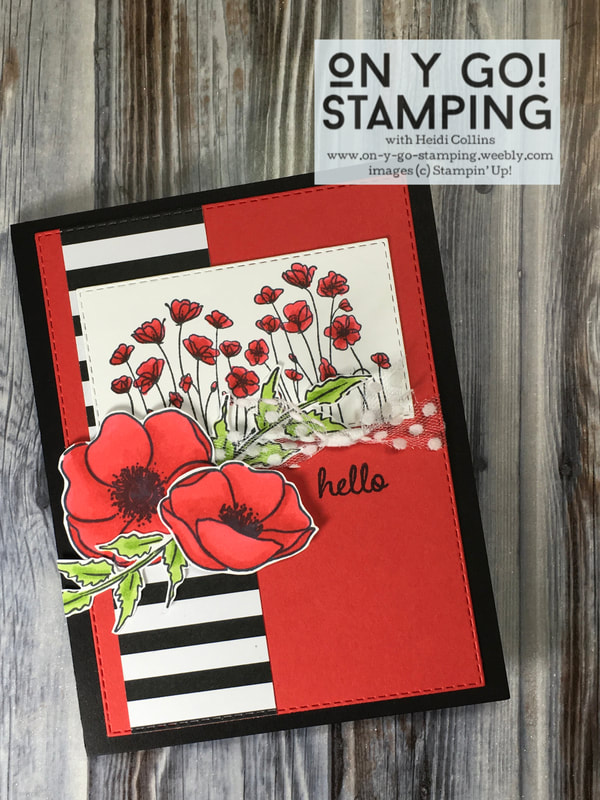
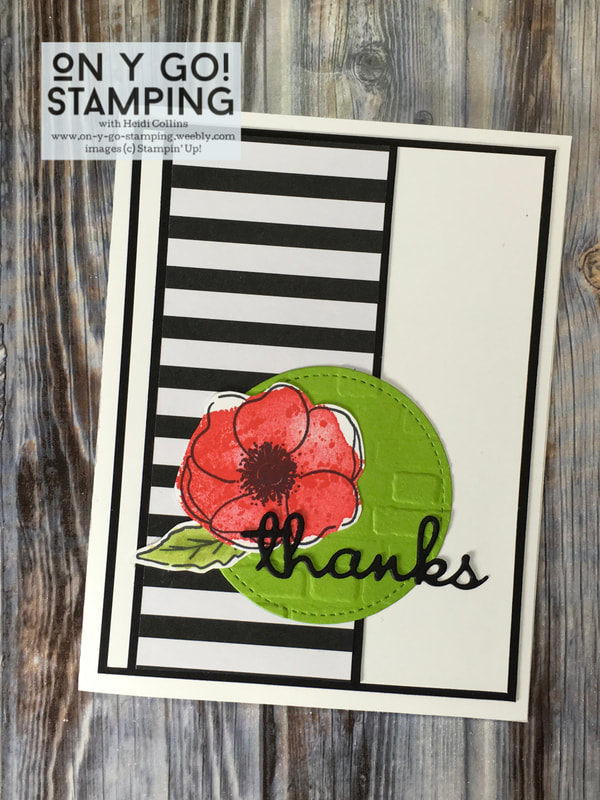
It's hard to resist the classic color scheme of red, white, and black - with just a hint of bright green thrown in. The colors really pop! So, when I opened my package of Golden Honey Bee Specialty Designer Series Paper (which you can get FREE during Sale-A-Bration), I knew I had to use the black and white patterned papers with the Painted Poppies stamp set. All of these cards use Whisper White, Basic Black, Poppy Parade, and Granny Apple Green.
Picture

For the first card, I stamped the group of poppies on Whisper White cardstock using Jet Black Memento ink. I cut them using the Stitched Rectangle dies and colored them with Poppy Parade Stampin' Blends. The larger poppies and leaves are stamped and colored similarly, using the Granny Apple Green blends for the leaves, and then cut out.

For the front of the card, I used Poppy Parade cardstock with a strip of black and white striped paper from the Golden Honey Bee Specialty DSP. After adhering the patterned paper to the cardstock, I cut them both with the largest rectangle from the Stitched Rectangle dies. I added the rectangle of poppies and tied Polka Dot tulle around the front before adhering the larger poppies. I stamped the "hello" from the Timeless Tulips set using Jet Black Memento ink. Finally, I attached the card front to a Basic Black card base.
For my second card, I started by applying embossing paste over one of the Basic Pattern Decorative masks on Basic Black cardstock. I set this aside to dry while I made the rest of the card.

For the card front, I embossed a piece of Poppy Parade cardstock with the Subtle 3D embossing folder. I added pieces of black and white patterned paper from the Golden Honey Bee DSP. I stamped the poppy on Whisper White cardstock using Jet Black Memento ink and colored it with Poppy Parade and Granny Apple Green Stampin' Blends. I cut this out using an oval from the Stitched Shapes dies and adhered it to the Basic Black cardstock that I had put embossing paste on. 
Picture

The piece of Basic Black cardstock was then layered on Whisper White cardstock before being added to the card front. I added three Basic Rhinestones to the side to give it a little extra bling. Finally, I attached the card front to a Poppy Parade card base.
​
Picture
My final card today has a red poppy on a circle of green. I began by stamping the poppy on Whisper White cardstock. I stamped the outline using Jet Black Memento ink. Then, I stamped the inside of the poppy with the texture stamps from the stamp set using Poppy Parade ink. I colored the leaf with Granny Apple Green Stampin' Blends. I then cut out the flower and leaf. 

Next, I cut a circle of Granny Apple Green cardstock using a circle from the Stitched Shapes dies. I embossed it with the Brick & Mortar embossing folder. I cut the "thanks" from Basic Black cardstock using a die from the Well Written set.

The front is Whisper White cardstock layered on Basic Black. I added a strip of black and white striped paper, also layered on black, to the front before layering on the circle, the poppy, and the greeting. I finished by attaching the card front to a Whisper White card base. 

All this black, white, red, and green is so fresh and bright it makes me think of summer, despite the piles of snow outside my door!
0 Comments

Manic Monday: Patterned Papers for Cards in a Jiffy

1/27/2020

0 Comments

 
Picture
I'm like a kid in a candy store when it comes to patterned paper. It's so pretty that I want it all! Patterned paper also makes it easy to create cards quickly. 

​Did you know, when you purchase a Stampin' Up! starter kit between now and March 31, in addition to all of the awesome product you get to choose for yourself, you will receive a fabulous mini guillotine cutter and a sample pack of 6" x 6" Designer Series Paper (Stampin' Up!'s name for patterned paper). As a demonstrator, I was able to get this sample pack of DSP as well. Stampin' Up!'s DSP is amazing not only because it is double sided and high quality, but it also has coordinating stamp sets. However, since this is a sample pack, I don't have all of the stamp sets that coordinate with this paper. However, that's no problem because patterned paper paired with a greeting can make gorgeous cards all on its own. 
Picture
E-Mail me to order a Starter Kit
Picture
The first couple of cards feature the Country Club DSP from the January-June Mini Catalog. For this first one, I cut the different papers using 2 dies from the Stitched Rectangle dies. I layered these on a piece of Night of Navy cardstock that I had embossed with the Subtle 3D embossing folder. I stamped the greeting from the Broadway Birthday stamp set on another rectangle cut from Whisper White cardstock. I punched holes in the ends and threaded White Baker's Twine through them before adhering the greeting to the front of the card. I tied the twine in a bow and attached the whole card front to a Night of Navy card base. 
For the second card, I punched the paper using the Tailored Tag punch. I adhered the pieces to Garden Green cardstock in a pattern and trimmed off the edges. I stamped another greeting from the Broadway Birthday stamp set in Garden Green ink on Whisper White cardstock. I layered this on Night of Navy and Garden Green cardstock before attaching it to the card front. I wrapped two pieces of white baker's twine around the card front and tied them in a bow. Finally, I attached the whole piece to a Garden Green card base. 
Picture

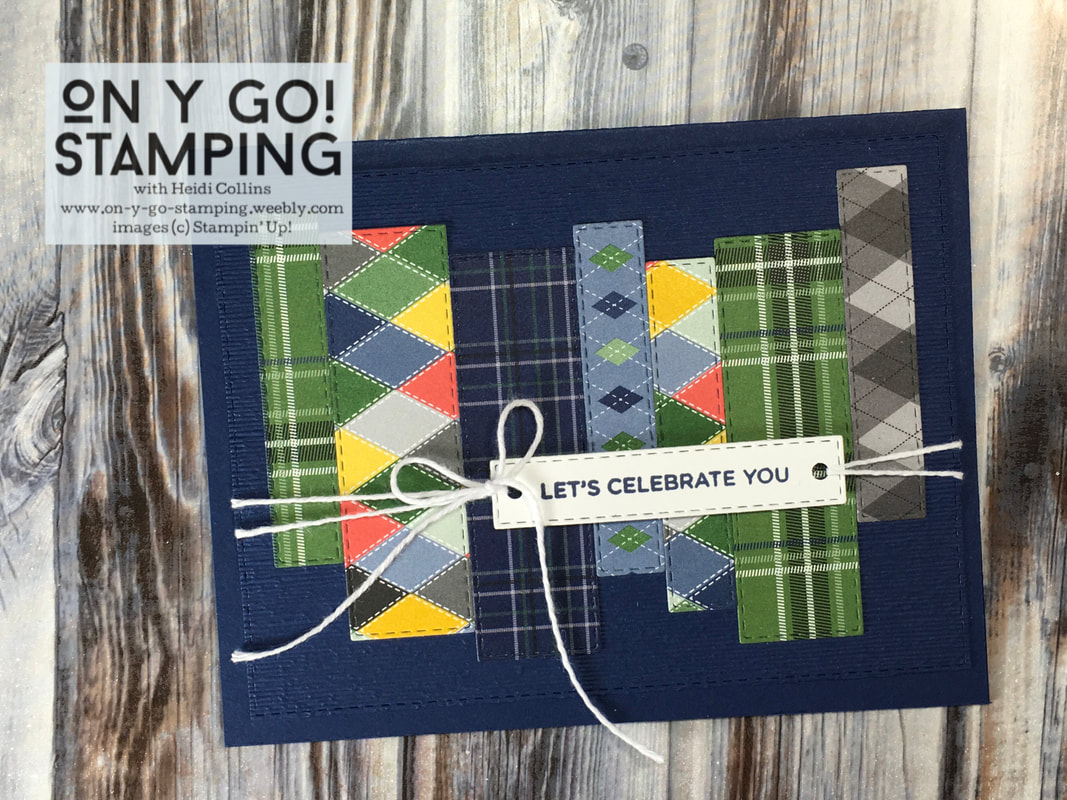
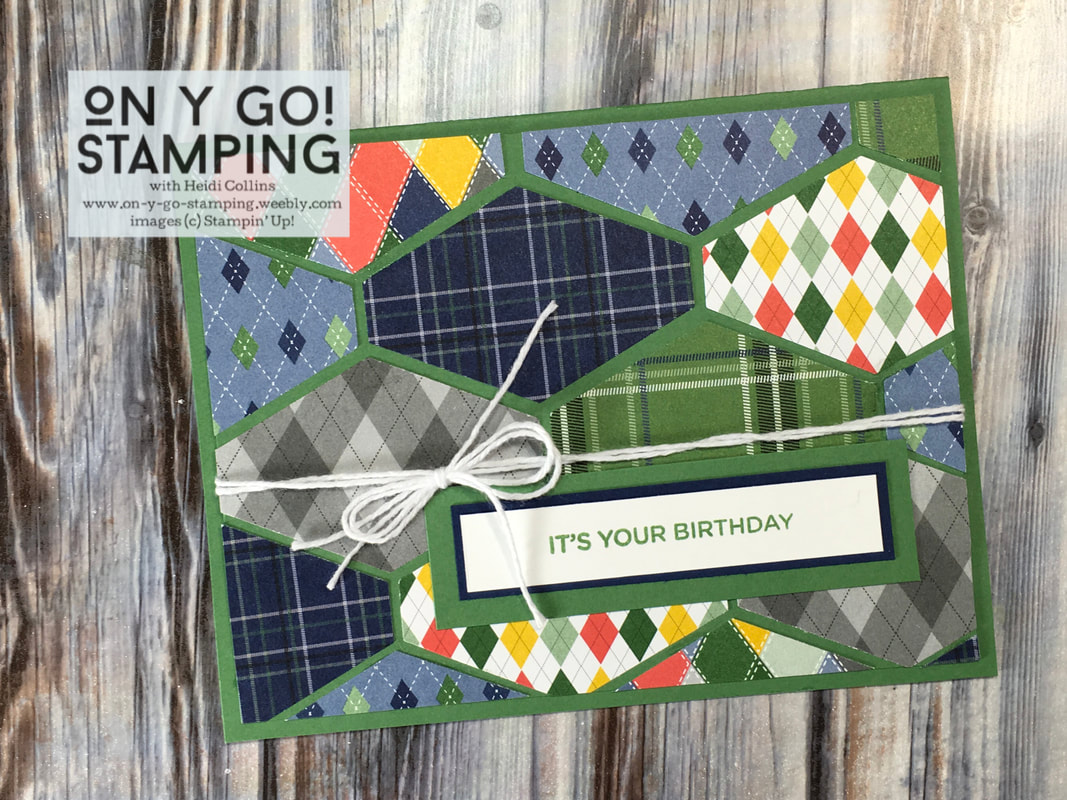
The next set of cards feature patterned paper from three different sets of DSP. On some of the cards, I even mixed paper from different sets.
Picture
Picture
This first card uses papers from the Best Dressed DSP. This packet coordinates with the Dressed to Impress stamp set that has images of make-up, perfume, and shoes. I chose to use some of the floral paper from the DSP pack. I cut a rectangle of the Purple Posy floral pattern and adhered it to a piece of Purple Posy cardstock. Then, I cut a circle of the brightly colored floral paper using the Stitched Shapes dies. I stamped a greeting from the Timeless Tulips stamp set in Lovely Lipstick ink on Whisper White cardstock and cut it with a die from the Stitched Rectangle dies. 

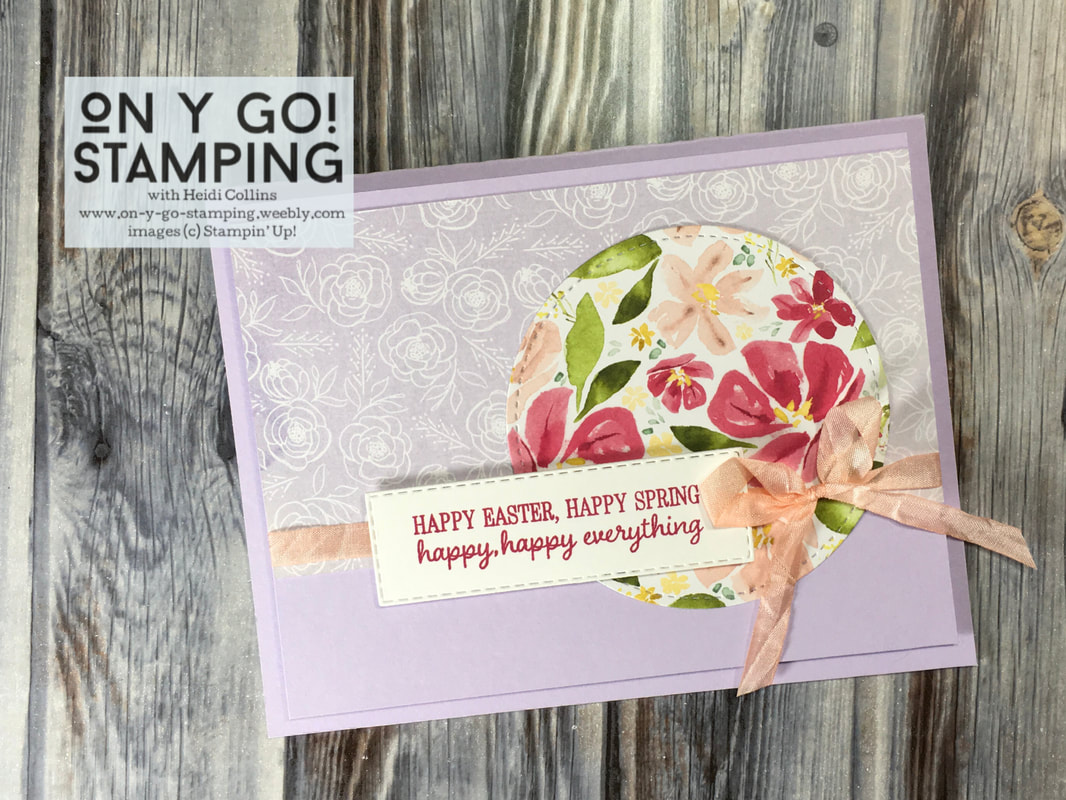
The ribbon on the front is the Whisper White Crinkled Seam Binding Ribbon from the January-June Mini Catalog. However, I wanted Petal Pink ribbon. Luckily, the Stampin' Blends color this ribbon beautifully. I held it to the brush tip of the dark Petal Pink Stampin' Blend and pulled the ribbon across the marker. In just a few moments it was dry and ready to tie around my card front. I then attached the whole thing to a Purple Posy card base.

This card uses papers from the Tropical Oasis DSP pack in the January-June Mini Catalog and the Lily Impressions DSP which is one of the items you can earn for FREE during Sale-A-Bration with a $50 order. 

I embossed the tropical floral paper with the Subtle 3D embossing folder which gives a beautiful texture that is hard to see in this photo. Then I layered it on a piece of Daffodil Delight cardstock. I added a strip of the Melon Mambo patterned paper to this card front. I clipped the end with the Tailored Tag punch. Then I colored the White Crinkled Seam Binding Ribbon in the same way that I did on the previous card using the dark Daffodil Delight Stampin' Blend. 
Picture

I stamped a greeting from the Friend Like You stamp set in Melon Mambo ink on a circle of Whisper White cardstock cut with the Layering Circles dies. I added this to the card front with Stampin' Dimensionals. Finally, I attached the card front to a Melon Mambo card base.
Picture

My last card uses the Lily Impressions DSP (the one you can get FREE during Sale-A-Bration). I cut a piece of the purple lily paper and a piece of the Melon Mambo paper using the Stitched Rectangle dies. I attached these to a piece of Blackberry Bliss cardstock that I had embossed with the Subtle 3D embossing folder. 

I stamped a greeting from the Here's a Card stamp set with Blackberry Bliss ink on Whisper White cardstock and cut it using the Layering Circle dies. Before adhering it to the card front, I put Stampin' Dimensionals on the back of it. Then, I wound silver thread around my fingers three times. I slid the thread off, twisted it, and adhered it to the dimensional in the center of the circle. I then adhered the circle to the card front before adhering the card front to a Blackberry Bliss card base. 

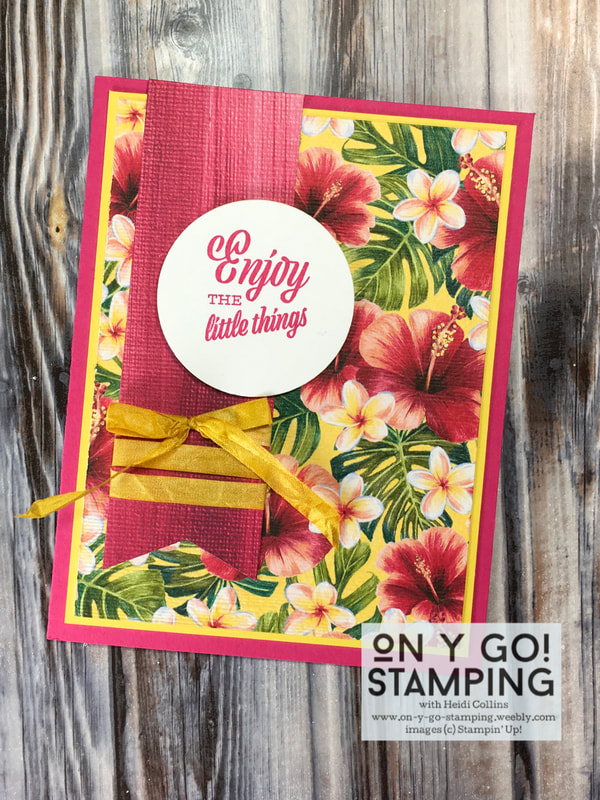
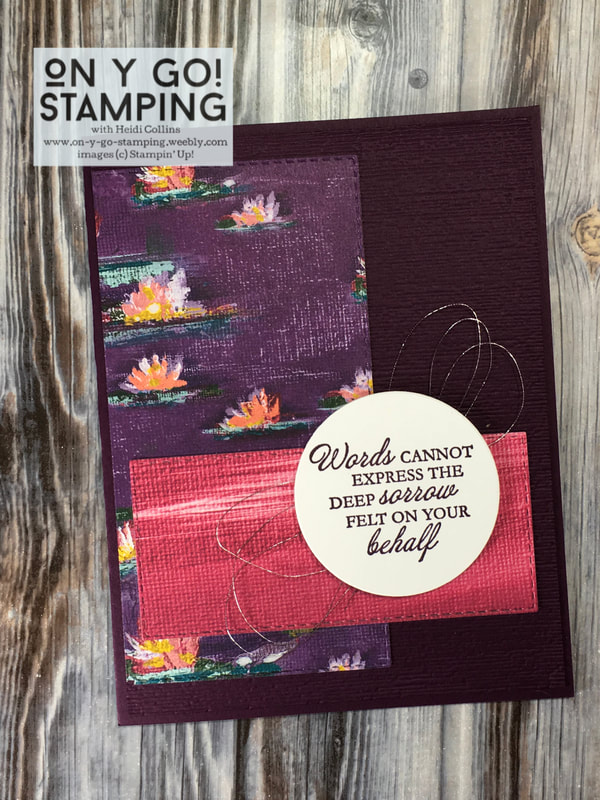
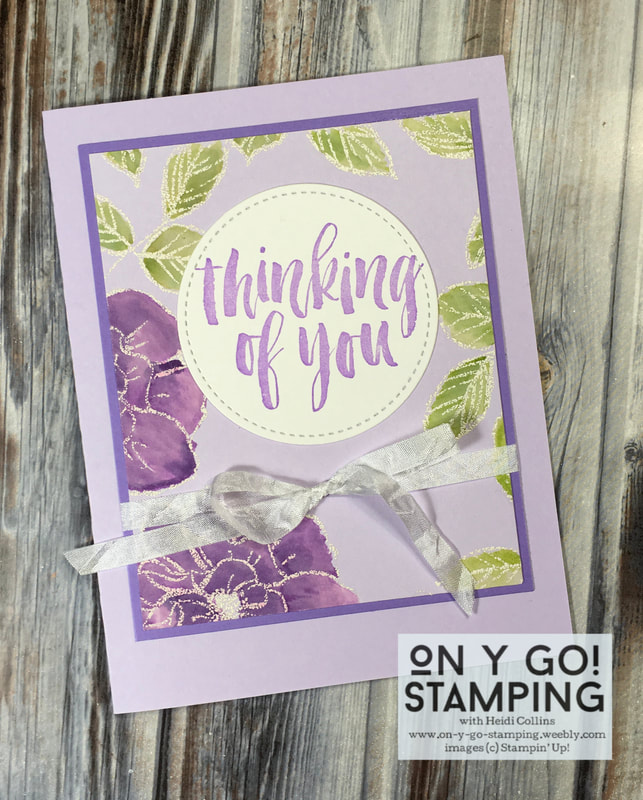
​I absolutely love using patterned papers and letting it shine as the star of the show on my cards. I hope that I've inspired you to pull out some of your own patterned paper and use it!
0 Comments

Watercoloring on Colored Cardstock

1/24/2020

0 Comments

 
Picture
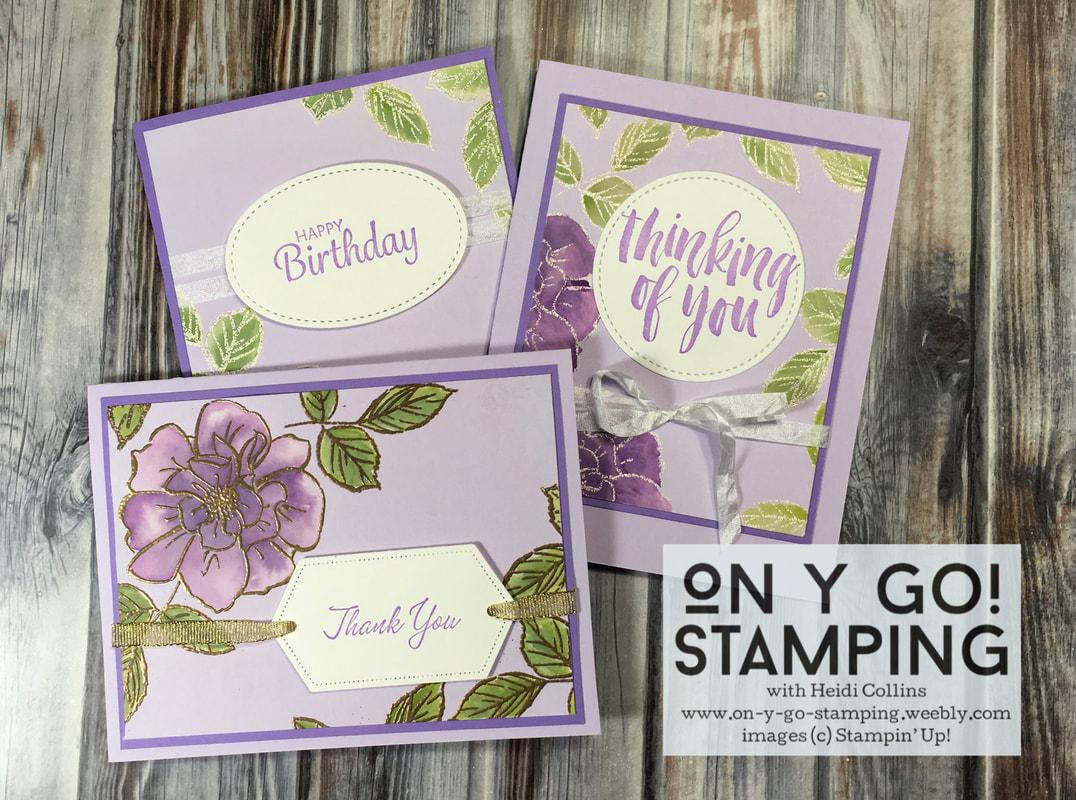
Last week, I talked about making cards from my scrap bin. These card fronts were languishing in my bin waiting to be turned into cards. I had tried this technique a while back and for some reason I never finished off the cards. 
Picture
Picture
Picture
For this technique, I began by embossing the outline stamp from the To a Wild Rose stamp set in either white or gold. (For more directions about embossing, check out this blog post.) 

Then, I used my Whisper White craft ink pad to put some ink on a clear acrylic block. I used the clear block as a palette to do the watercoloring. Using an aqua painter, I picked up some of the white ink and colored in the flowers and leaves.

​If you've never used an aqua painter before, it is like a watercolor brush with a built-in water reservoir. You fill the end with water and then, give it a little squeeze to get the water flowing to the brush tip. You swish your brush in the ink just like you would a watercolor brush. When the ink is gone, you pick up some more. When you're done with a color, wipe the aqua painter on some scrap paper to get the white ink out of the tip. All the fun of watercolor, with a lot less mess. I used to give these to my kids when they were in upper elementary/middle school so I didn't have to worry about them knocking over glasses of water while painting.

Next, I put Gorgeous Grape and Granny Apple Green ink on clear blocks as well. I then scooped up some ink with my aquapainter and colored in the flowers and leaves. I put down more color in the areas that I wanted to be darker, like the centers of the flowers and along the stems of the leaves. 

I let everything dry and then finished off my cards. (Well, I finished off the cards months later.) 
Supplies used:
  • To a Wild Rose stamp set
  • Rooted in Nature stamp set (Thinking of You)
  • Here's a Card stamp set (Birthday)
  • Retired greeting set (Thank You)
  • Purple Posy cardstock
  • Retired Lovely Lilac ink (for sentiments) and cardstock
  • Gorgeous Grape ink
  • Granny Apple Green ink
  • Clear block
  • Aqua painter
  • White Embossing Powder
  • Gold Embossing Powder
  • Versamark stamp pad
  • Whisper White crinkled seam binding
  • Stitched Shapes dies
  • Retired gold grosgrain ribbon
  • Stitched Nested Labels dies
Purchase Stampin' Up! Product (January Host Code: 64VNA3YR)
0 Comments

Dino Days

1/22/2020

0 Comments

 
Picture
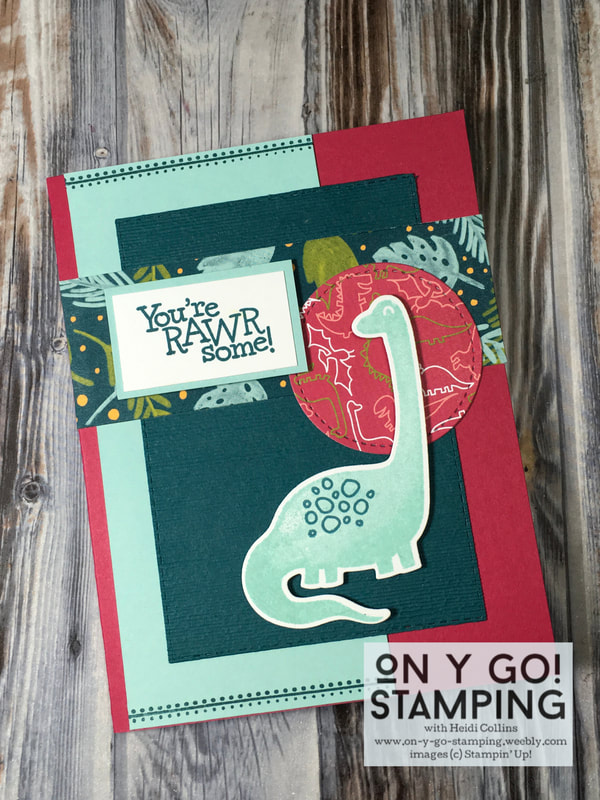
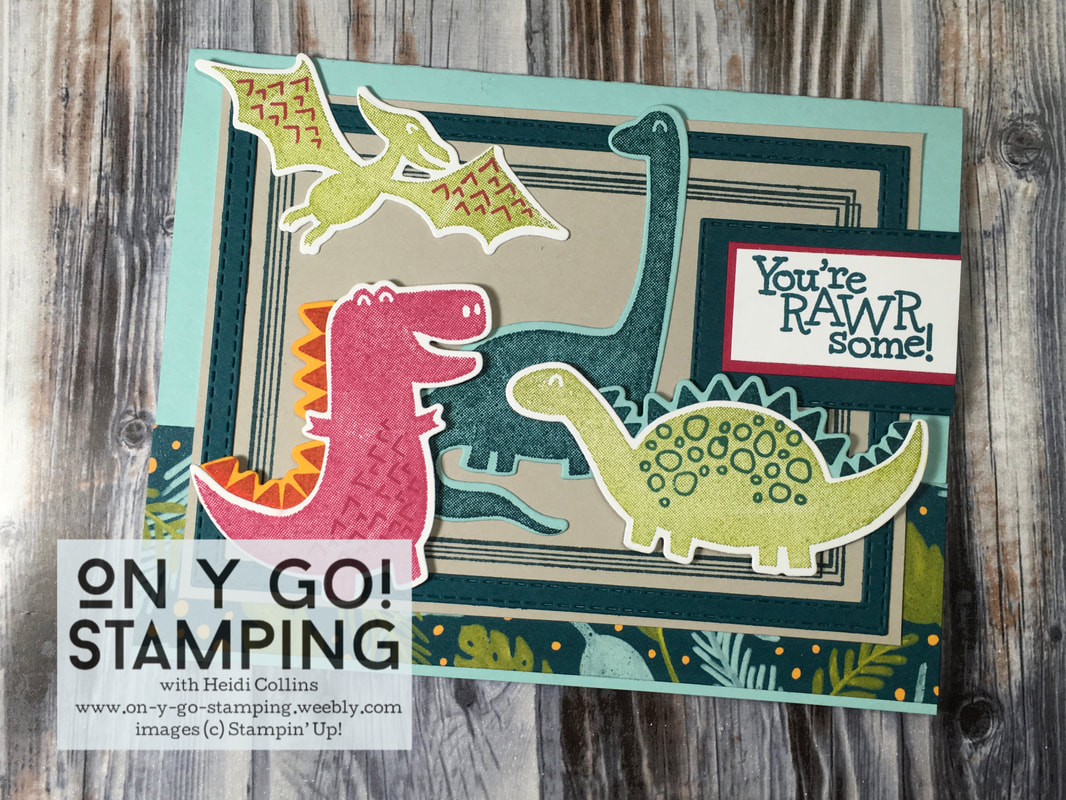
I'm in love with these dinosaurs! They are so much fun and the sentiments that go with them really take the cake. While these stamps are great for little kids, big kids will love them too! I think this is my go-to stamp set for sending cards to college kids. 

Both of these cards use elements from the Dinoroar Suite: the Dino Days stamp set, the Dinoroar Designer Series Paper, and the Dino Dies. The cardstock colors match those of the Dinoroar DSP: Lovely Lipstick, Pool Party, Pretty Peacock, Sahara Sand, Mango Melody, and Whisper White. The inks coordinate with the patterned paper as well: Lovely Lipstick, Pool Party, Pretty Peacock, and Old Olive. 

The shapes were cut with the Stitched Rectangle dies and the Stitched Shapes dies. In addition, I used the Swirly Frames stamp set to create the rectangle frame on the card above and the lines of stitching on the card to the right.
Picture

The Dino Days stamp set is Roarsome!
​
Order Stampin' Up! Products (January host code: 64VNA3YR)
0 Comments
<<Previous
    Heidi Collins, Independent Stampin' Up! Demonstrator with On Y Go! Stamping
    Get updates and ideas on my Facebook group
    Heidi Collins, Independent Stampin' Up! Demonstrator and Owner of On Y Go! Stamping
    Shop for Stampin' Up! stamps, inks, paper, tools, and embellishments with Heidi Collins and earn points towards FREE stamps!
    Picture
    Picture
    On Y Go! Stamping YouTube channel with Card Making Videos on how to do rubber stamping, card making, scrapbooking, and paper crafting

    Archives

    March 2023
    February 2023
    January 2023
    December 2022
    November 2022
    October 2022
    September 2022
    August 2022
    July 2022
    June 2022
    May 2022
    April 2022
    March 2022
    February 2022
    January 2022
    December 2021
    November 2021
    October 2021
    September 2021
    August 2021
    July 2021
    June 2021
    May 2021
    April 2021
    March 2021
    February 2021
    January 2021
    December 2020
    November 2020
    October 2020
    September 2020
    August 2020
    July 2020
    June 2020
    May 2020
    April 2020
    March 2020
    February 2020
    January 2020
    December 2019
    November 2019
    October 2019
    September 2019
    August 2019
    July 2019
    June 2019

Powered by Create your own unique website with customizable templates.
  • About
  • Online Card Classes
  • Card Making Ideas
  • Stampin' Up! Catalogs
  • Card Tutorials
  • Contact
  • Shopping Rewards
  • Shop
  • Join Stampin' Up!