• About
  • Online Card Classes
  • Card Making Ideas
  • Stampin' Up! Catalogs
  • Card Tutorials
  • Contact
  • Shopping & Rewards
  • Join Stampin' Up!
  • Color Picker
ON Y GO! STAMPING
  • About
  • Online Card Classes
  • Card Making Ideas
  • Stampin' Up! Catalogs
  • Card Tutorials
  • Contact
  • Shopping & Rewards
  • Join Stampin' Up!
  • Color Picker

A Little Star Power

10/30/2019

2 Comments

 
Picture
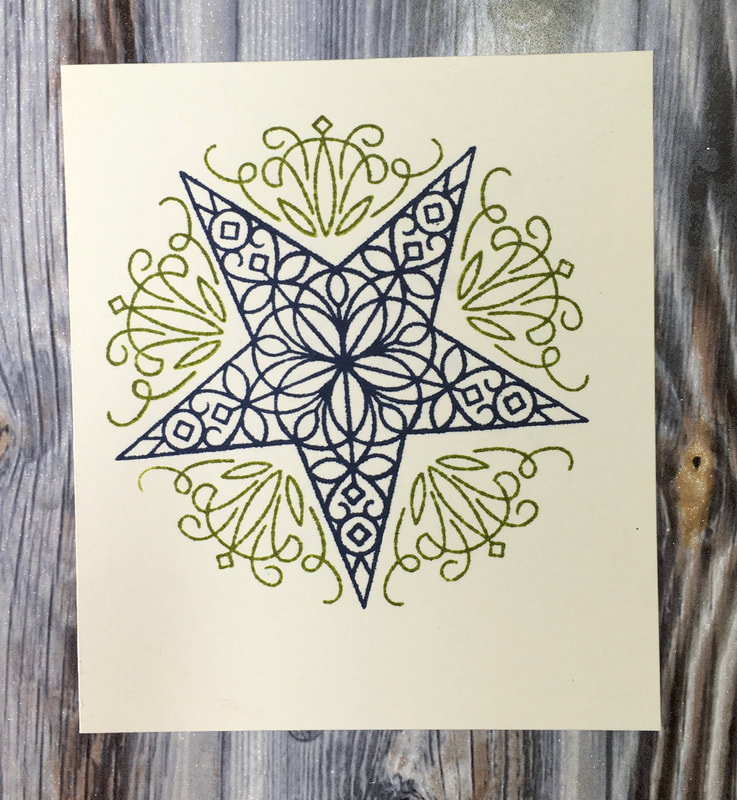
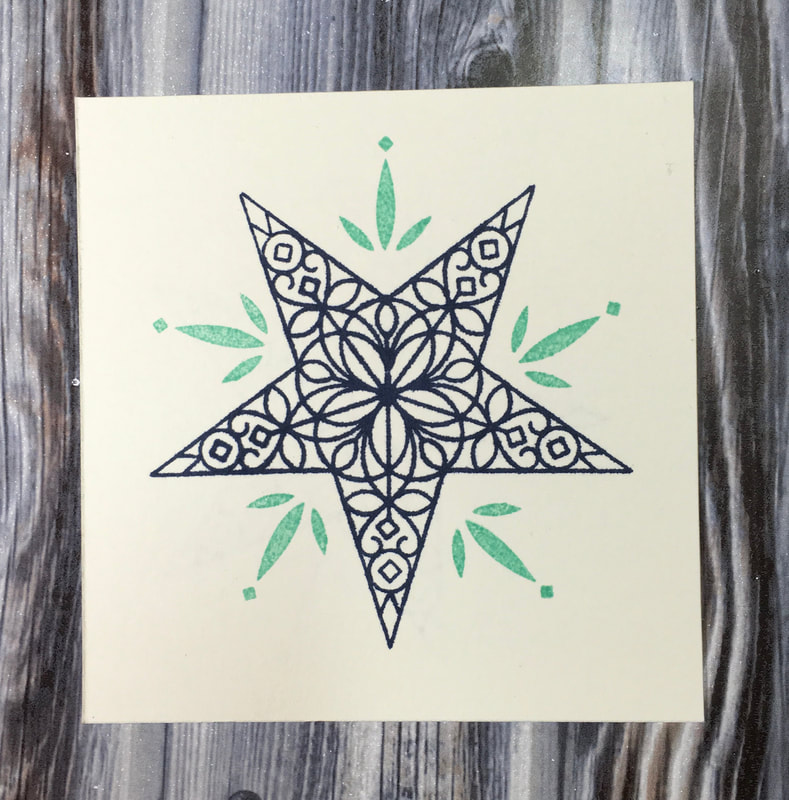
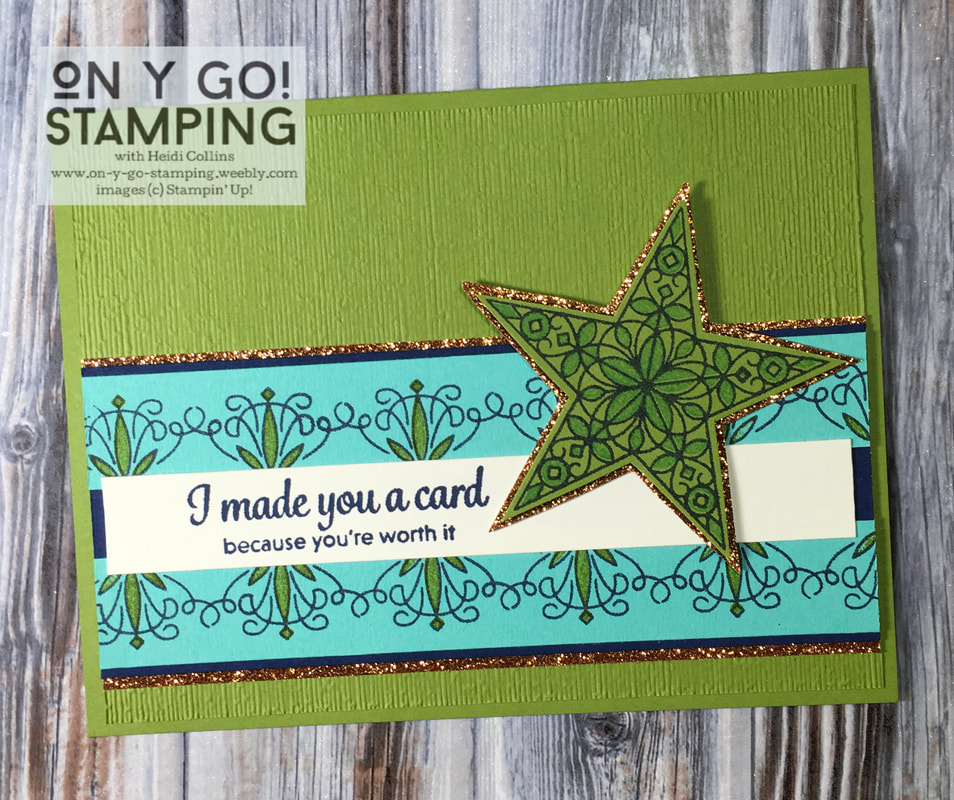
I have been using the So Many Stars stamp set from the 2019 Holiday Catalog a lot lately. Well, I've been using the matching Stitched Stars dies a lot and adding on a greeting or one stamped image from the stamp set. I haven't really been using the stamp set, at least not to its fullest. So, today, for this week's Color Throwdown Challenge (ctd567), I pulled out the stamp set and challenged myself to make a card with it and without using the Stitched Stars dies. Boy oh boy, am I glad that I did! I figured out some fun tricks with this stamp set that I hadn't noticed before.
​
Picture
This week's Color Throwdown is to use the colors Teal, Olive, Rust, and Navy on a card. I pulled out Coastal Cabana, Old Olive, Night of Navy, and Gold Glimmer paper for the rust color. 
The So Many Stars stamp set has these pieces that I thought were just to make radiance lines for the stars. I had used them with some solid stars that I cut with the Stitched Stars dies, but since that die set was off the table, I tried stamping them with a stamped star image. The results were a little busy. 
Picture
Picture
Picture
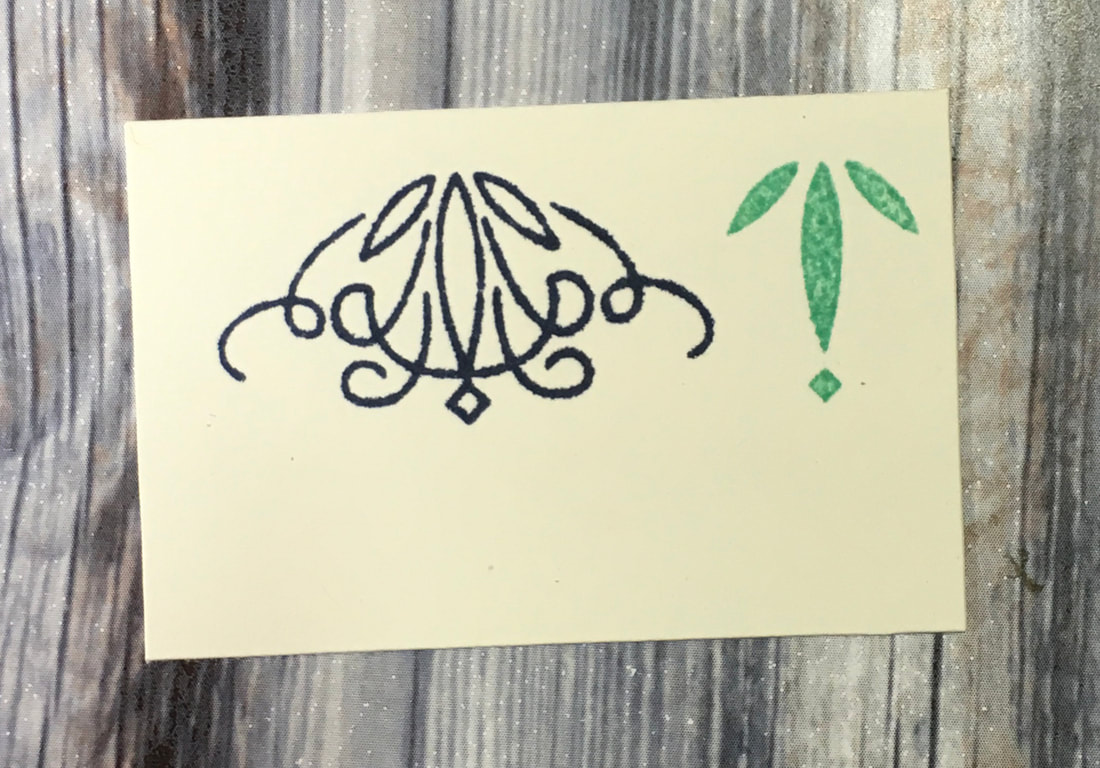
I didn't realize that when the curly radiance line stamp is stamped in a line, the curls on the ends meet up and create a continuous pattern. On top of that, the more solid radiance stamp can be used to fill in the center of the curly one. This makes an awesome pattern for the edge of a card!
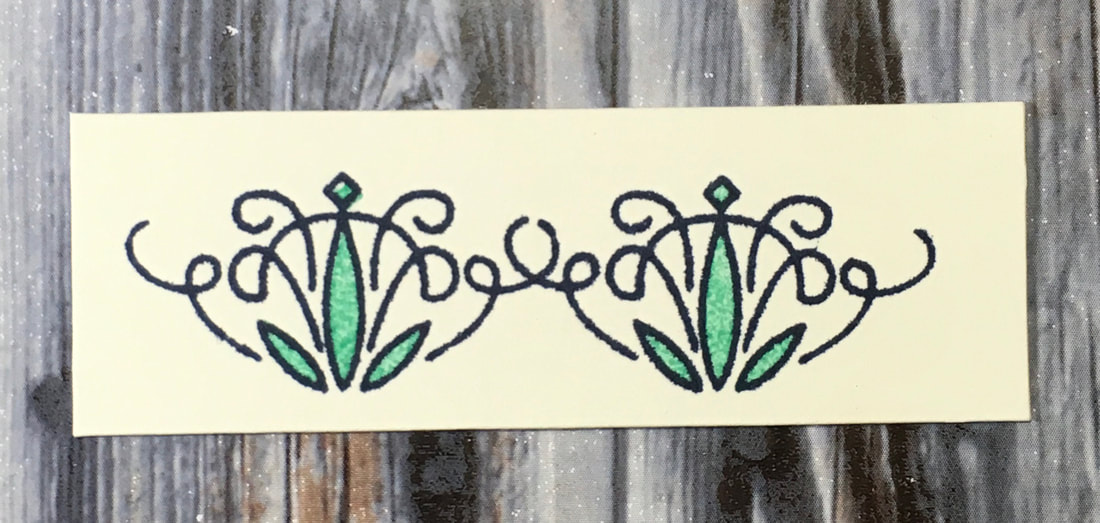
Picture
Picture
You can see on the finished card that I used these stamps to make a pattern that accents the greeting I pulled from the Here's a Card stamp set. I'm so glad I sat down to really play with this stamp set. I can't wait to use these stamps on other cards!
Complete Supply List
2 Comments

Easy Halloween Treats

10/29/2019

0 Comments

 
Picture
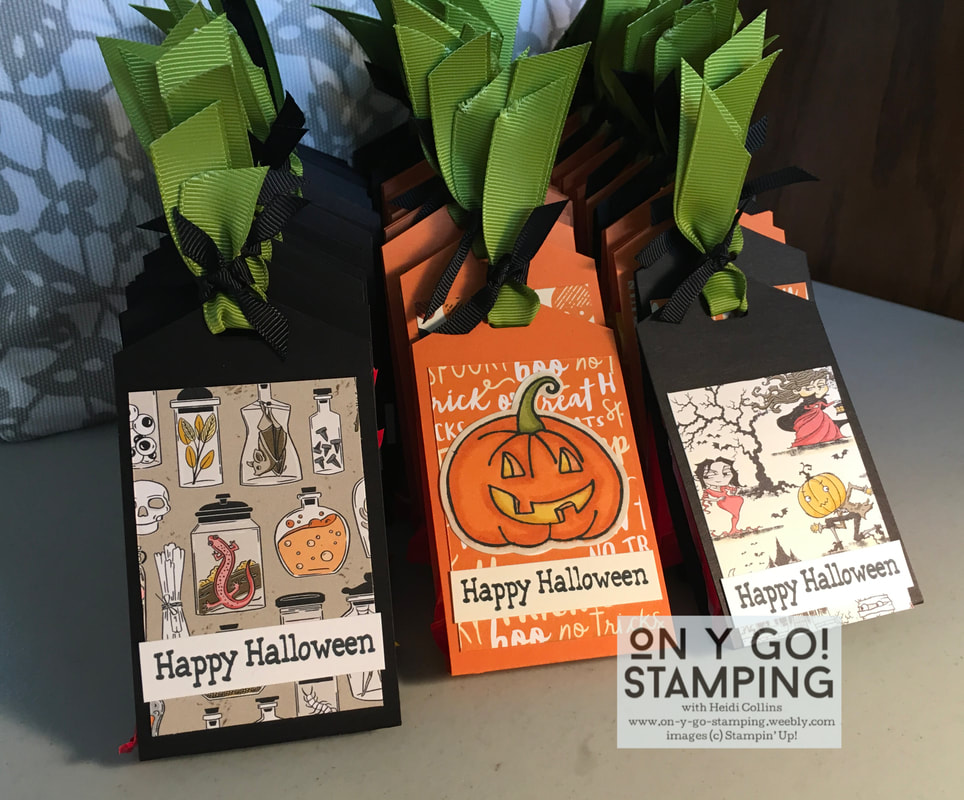
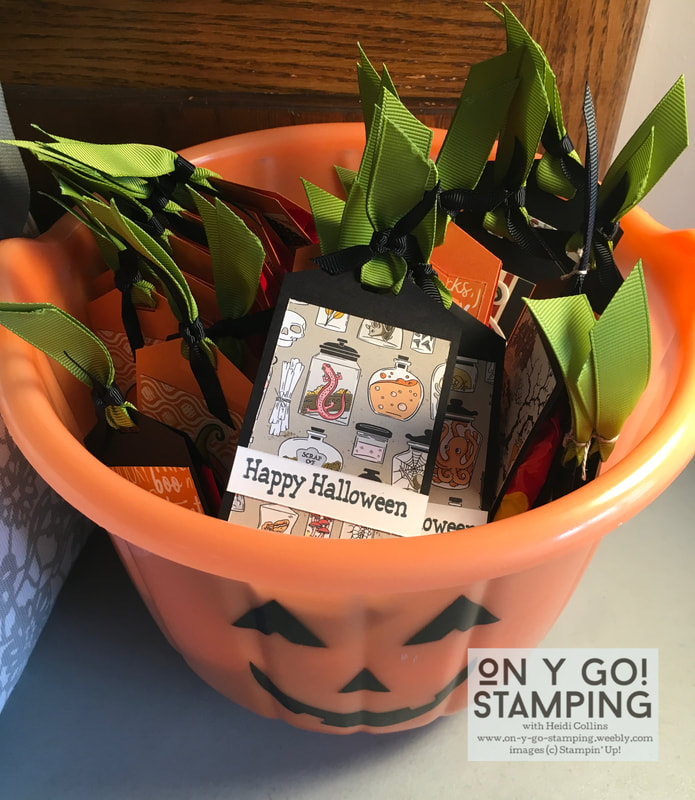
We don't get tons of Trick-or-Treaters at our house, so I wanted to make something a little special for the ghosties and ghoulies who knock on our door. However, not very many is still a fair number, so I needed the treats to be quick and easy. I came up with these little packages that fit two mini packages of starbursts. I was able to finish off 30 or so in just a couple hours. 
​
I cut strips of Pumpkin Pie and Basic Black cardstock that were 8.5" x 2.25". Then I scored each strip at 4" and 4.5". Because the strips were 8.5" long - the width of a piece of cardstock - I only had to make one cut for each strip. 

I slipped each end of the strip through my Tailored Tag punch in order to create a pointed end on each side. You can see how this works in this photo from a previous project.
​
Picture
Picture
I folded the sides up and stapled two mini starburst packages inside. Then I punched a hole at the top and closed it up with a piece of grosgrain ribbon from my stash. Instead of tying a knot directly, I used a second, skinnier grosgrain ribbon from my stash and tied a knot around the wider Old Olive ribbon. 

To finish it off, I added a piece of 2" x 3" patterned paper to the front and a "Happy Halloween" greeting. For a few of them, I also added a pumpkin stamp that I pulled from my stash. 
​
Quick and easy and ready for the kiddos to come knocking!
0 Comments

Birds of a Feather Flocked Together

10/23/2019

0 Comments

 
Picture
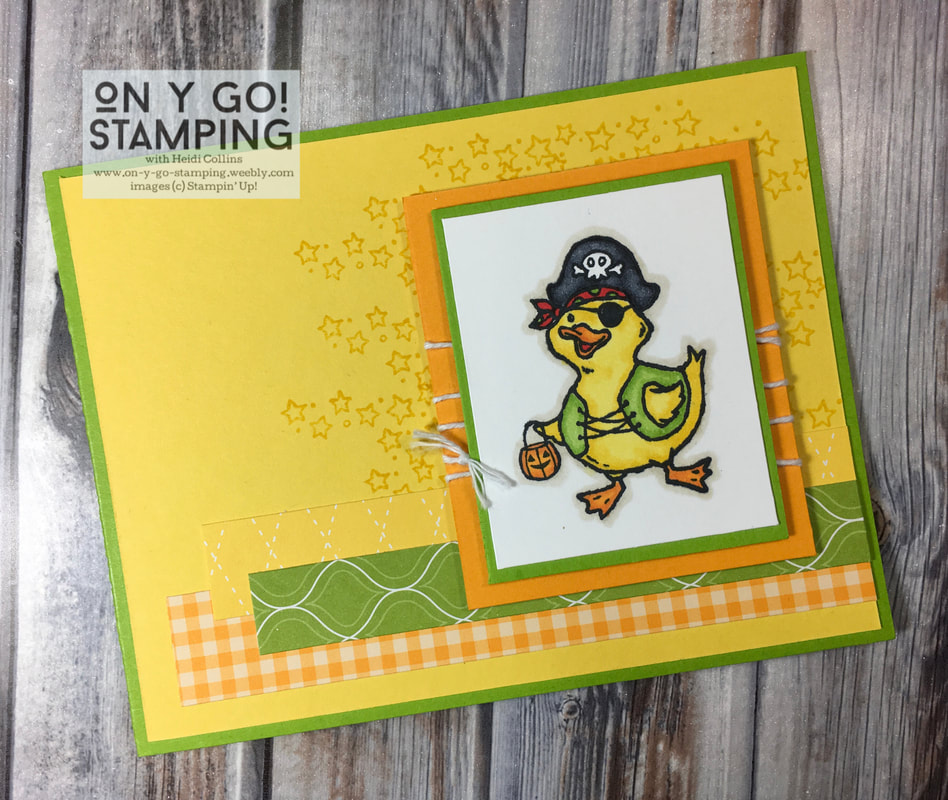
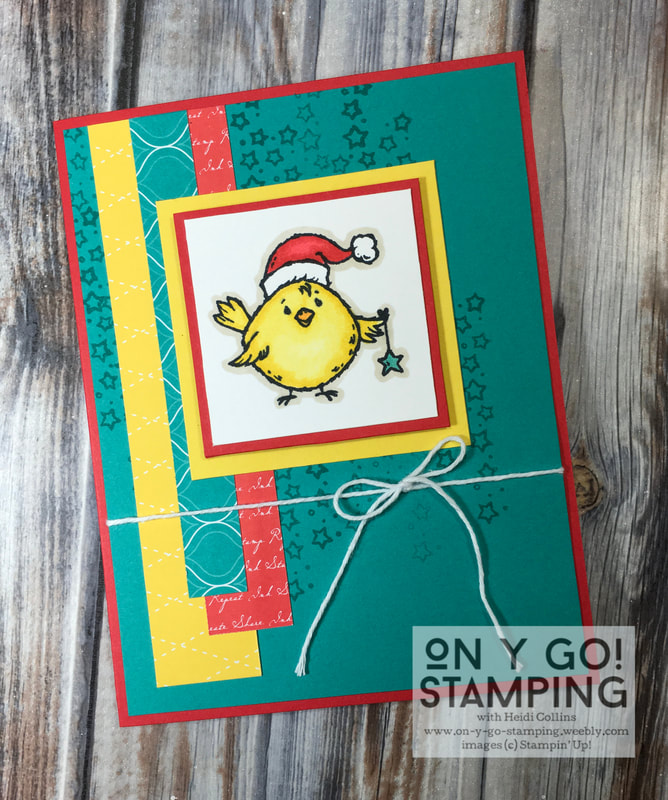
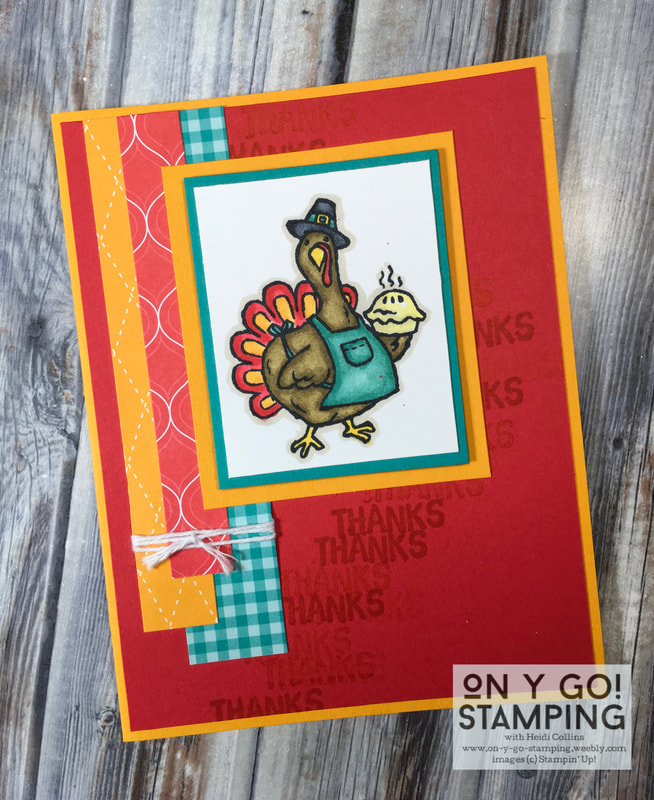
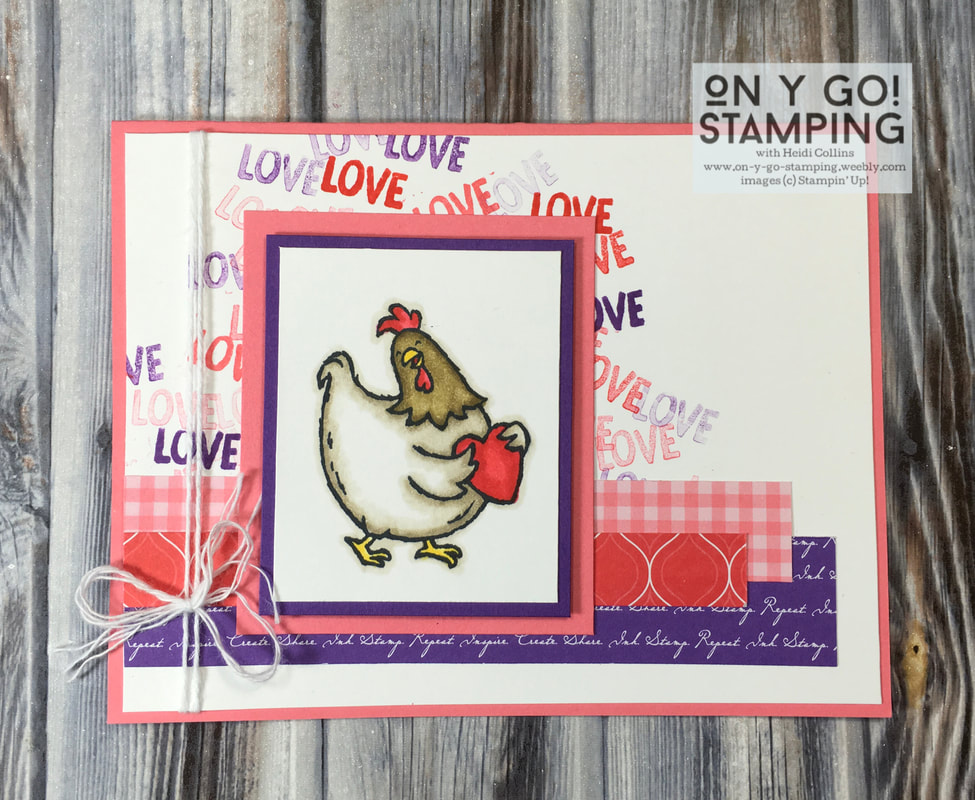
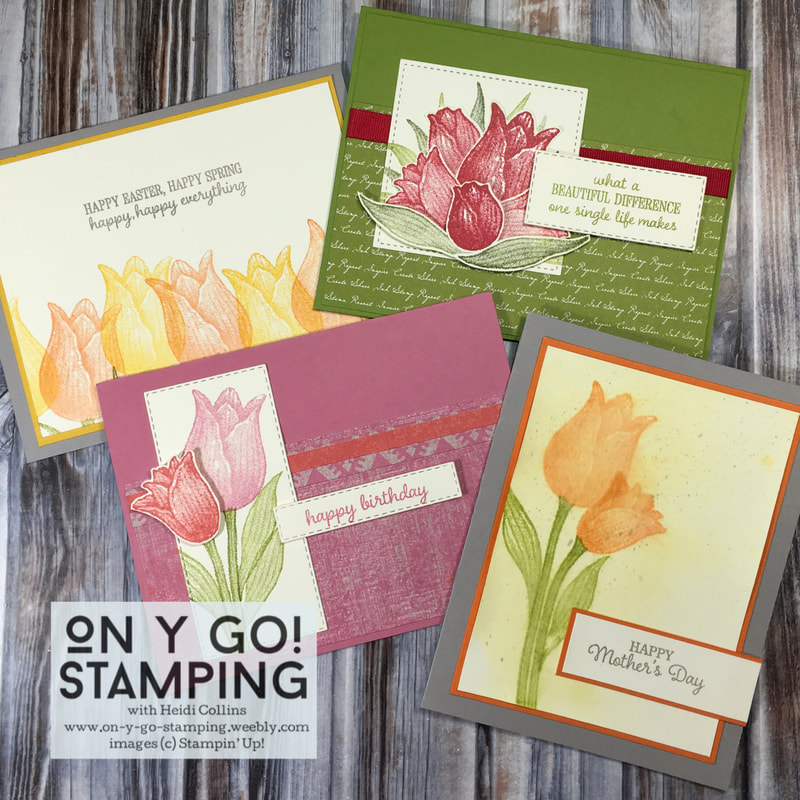
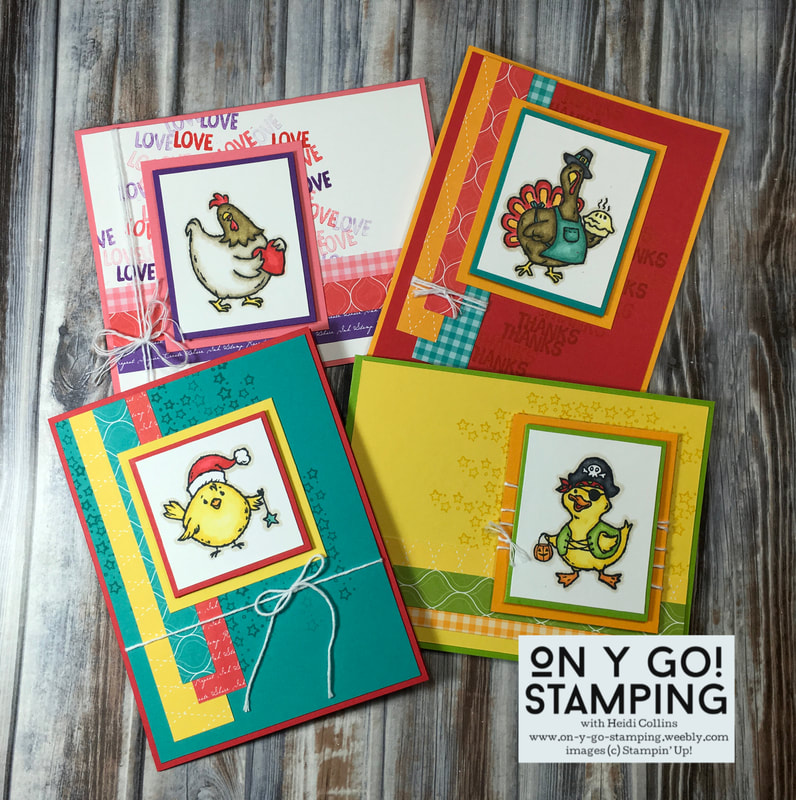
Today, I have four adorable cards to show you using the Birds of a Feather stamp set. This set is in the 2019 Holiday Catalog by Stampin' Up! and is a 4-season set as it has four different birds - a duck, a chick, a turkey, and a hen - for four different holidays - Halloween, Christmas, Thanksgiving, and Valentine's Day. I used my Stampin' Blends on the cards for some quick and easy coloring and the Brights 6" x 6" Designer Series Paper. So easy and so fun!
Supply List for all 4 Cards

​First up is the pirate duck. All set for Halloween, this cute little duck is dressed as a pirate. I simply stamped the duck on white cardstock, added a couple layers, and then put it on the Daffodil Delight card front. I stamped a few stars from the set behind the duck to add a little background interest and added strips of the Designer Series Paper at the bottom to pull in the colors from the duck.

Picture
Coloring these images with the Stampin' Blends is so easy! The Blends are available in a light and a dark version of each color. I simply colored the image with the light version, then went around the outside and where there should be shadows with the dark version. Then I switched back to the light version again to smooth out the lines. 

It's hard to see in the photo, but I used the light Crumb Cake Stampin' Blend around the outside edges of the image. This gives it a slight shadow all around and helps it pop out from the page. 
Picture

The next card features a cute little chick decked out with a Santa hat and a star. You'll notice I used the same layout on all four of these cards. I simply changed the orientation. But each one features strips of the patterned paper along the bottom or side and the image stamped on white and mounted on coordinating cardstock.
For each one, I also stamped something on the card front using the same color ink as the cardstock. For the chick and duck, it was the stars, but for the turkey and the hen, I did something a little different. The set contains greetings for each season as well. For Thanksgiving, there is a stamp that says: "give THANKS." I carefully  inked up just the "THANKS" portion of the stamp and stamped it on my card front. (It actually wasn't hard!) I stamped it three times each inking to give different densities of color. 
Picture
Picture
I did the same on the Valentine's Day card, but instead of using one color, I used Poppy Parade, Gorgeous Grape, and Flirty Flamingo to tie in all of the colors of the card. 

These cards really were quick, easy, and fun to make!
0 Comments

Scrappy Cards

10/21/2019

0 Comments

 
Picture
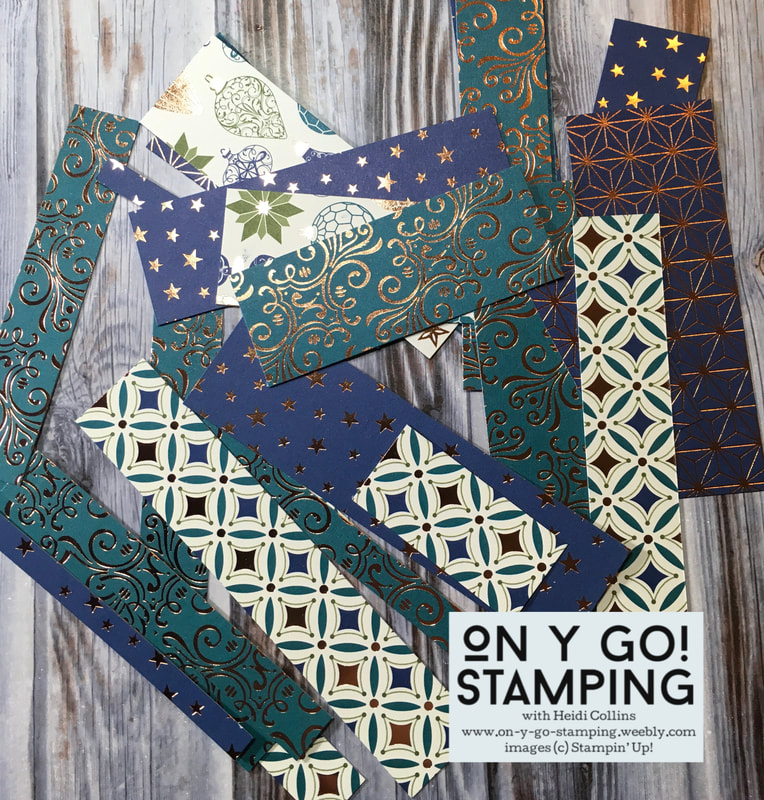
I have been making a bunch of cards of the same design, which has left me with a bunch of scraps. You know, those thin, 1/4" to 1 1/4" strips that seem too good to throw away, but are still pretty skinny? So, I decided to design a couple of cards to use up some of the scraps. 
Picture
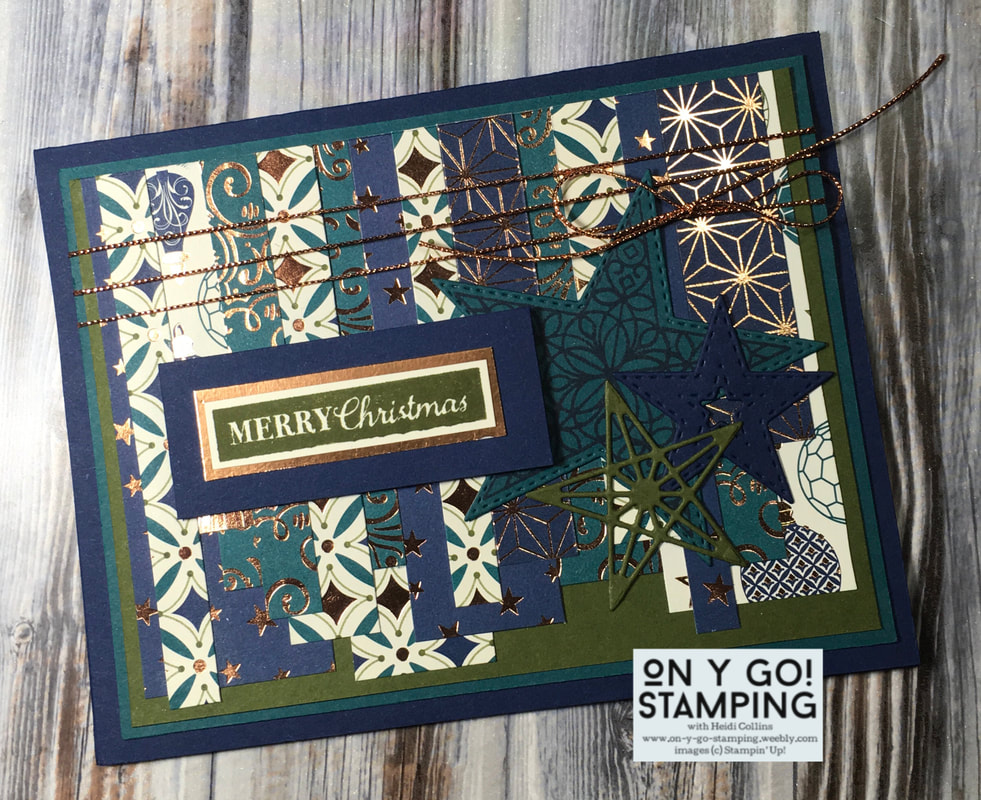
First, I made this Christmas card using the Brightly Gleaming Designer Series Paper. I layered the strips across a piece of Mossy Meadow, leaving uneven lengths along one edge. Then, I wrapped it in some old copper cord I had, added a couple stars cut with the Stitched Stars dies, and popped on a greeting from the Christmas Gleaming stamp set. Quick and easy and made good use of those gorgeous coppery scraps that were too good for the trash.
Supply List for Scrappy Christmas Card
Picture
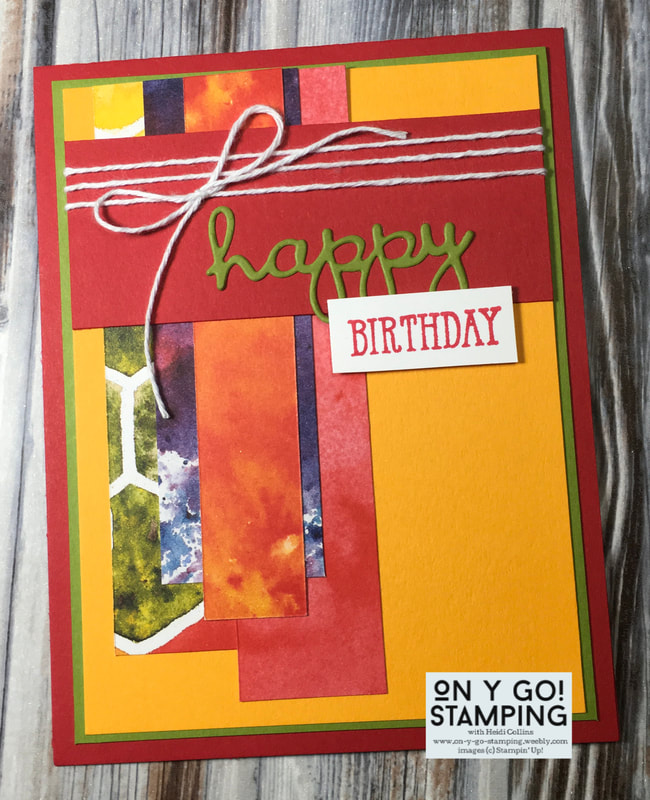
Then, I made this birthday card using scraps of the See a Silhouette Designer Series Paper. I layered four strips on the side of a piece of Mango Melody cardstock. These strips were a little wider and didn't cover the whole card front. Horizontally across the card front, I put a strip of Real Red cardstock and wrapped it with some white Baker's Twine tied with a bow. I used the Well Written dies to cut "happy" from Old Olive card stock and stamped "Birthday" from the Well Said stamp set in Real Red on Whisper White cardstock. Again, a quick and easy card that made good use of some pretty scraps.
SupplY List for Scrappy Birthday Card
0 Comments

A Harvest of Cards

10/18/2019

0 Comments

 
Picture
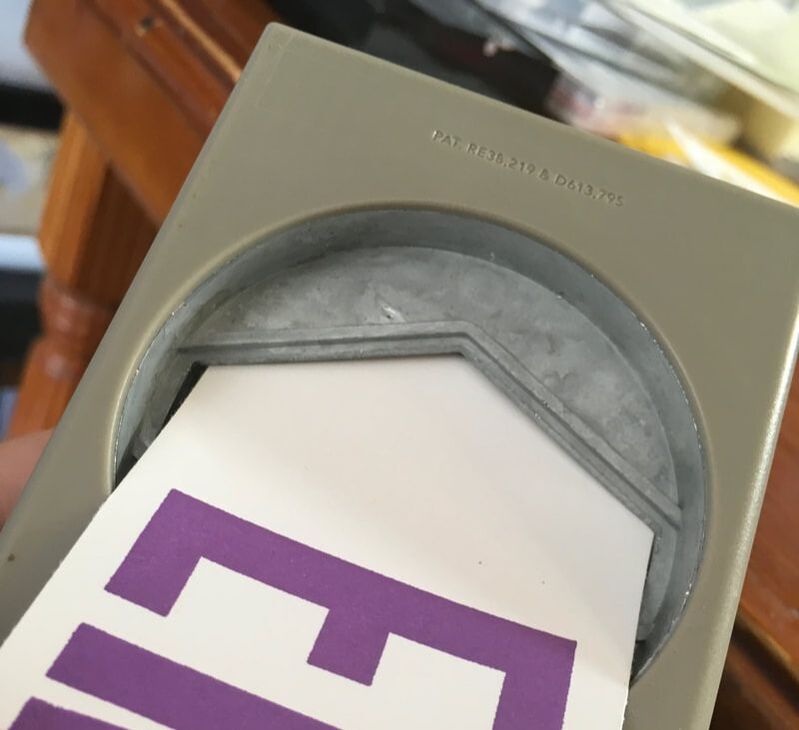
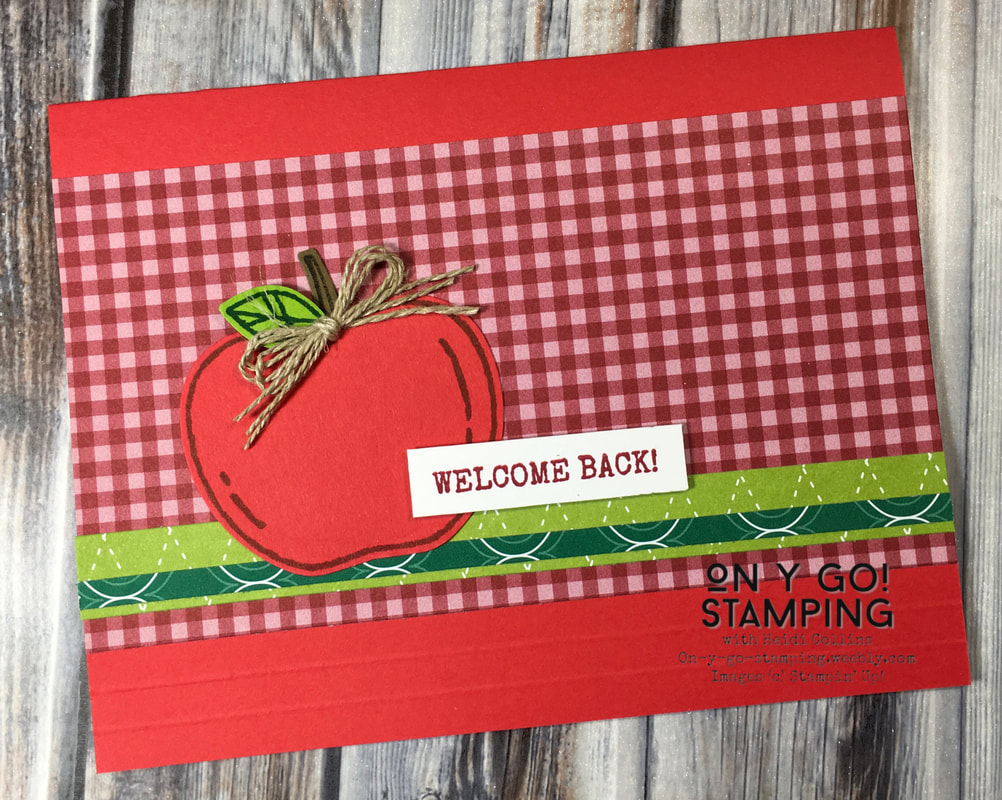
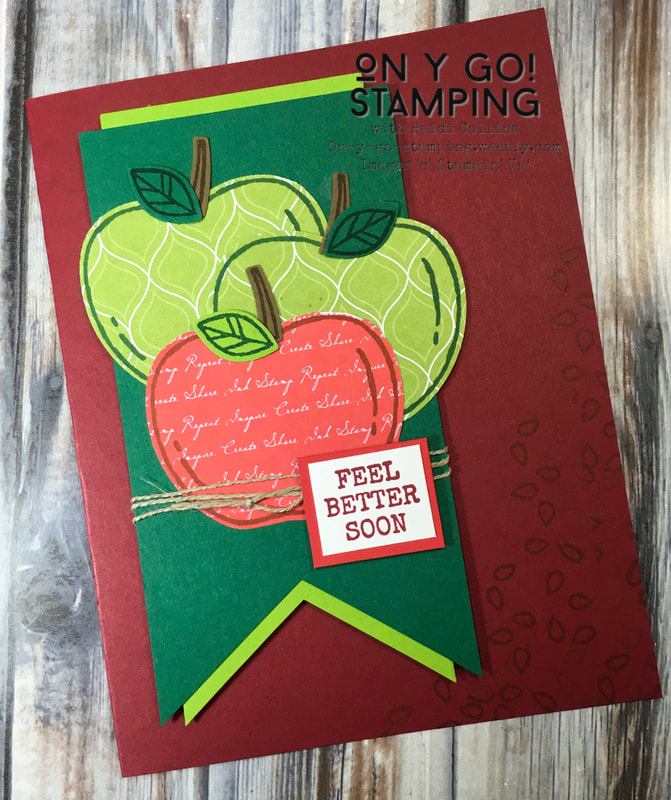
This week, I have been elbows-deep in designing Christmas cards for the upcoming Christmas Cardmaking Day that I am hosting with my Mom. So, I needed some quick and easy cards for the blog post today since I'm not ready to share all those Christmas card samples yet. The Harvest Hellos stamp set and Apple Builder punch are perfect for quick and easy cards! (Don't forget when you buy both in a bundle, you get 10% off!) There are both apples and pumpkins in the set and since they are the same shape, the punch will punch both of them out in a jiffy.
Supply list
Picture

First up is this cute little apple card. I actually made this back in September as a back-to-school card. All of these cards use the 6"x6" Designer Series Paper in Brights and Regals as a backdrop to the fruit. Patterned paper is a quick way to make a really sharp and pulled-together card. I love layering strips of the different designs like you see here! Since the paper is 6" x 6" and most cards have a finished size of 5 1/2" x 4 1/4", there always seems to be little strips of the Designer Series Paper left over. This is a great way to use them up.

If you look very closely, you can see some raised lines on the bottom edge of the card. These are just done with the scoring blade on my paper trimmer. Again, a quick and easy way to give my card a little more texture. 
The second card features pumpkins. I stamped them with Pumpkin Pie ink on Mango Melody and Pumpkin Pie cardstock. Once again, I used the 6"x6" Designer Series Paper to make the background and then tied it with linen thread in a simple bow. I love the contrast between these colors and how truly simple this card was to make. 
Picture
Picture
For the next two cards, I stamped the apple images directly on the patterned paper. This adds some great texture to the card. For this one, I layered the banner strips, but I put the skinnier banner inside the wider banner. And can you see the apple seeds stamped with Cherry Cobbler ink on the Cherry Cobbler cardstock?
The last card has the apples stamped on the 6" x 6" Designer Series Paper again. I stamped with Shaded Spruce ink on Granny Apple Green paper and with Cherry Cobbler ink on Poppy Parade paper. To give the linen thread a little more oompf, I frayed the ends.  I stamped the sentiment in two different colors and then cut out the words with my scissors. This card also features strips of cardstock that were in my scrap bin. I just layered them and used them to anchor my apples on the page. 
Picture

So fun and so easy! Four cards made with the Harvest Hellos stamp set and Apple Builder punch that I whipped up in a flash. I'd love to see what you've made with the Harvest Hellos stamp set. Leave me a comment below or join my Facebook group and share it there. 
0 Comments
<<Previous
    Heidi Collins, Independent Stampin' Up! Demonstrator with On Y Go! Stamping
    Get updates and ideas on my Facebook group
    Heidi Collins, Independent Stampin' Up! Demonstrator and Owner of On Y Go! Stamping
    Picture
    Picture
    On Y Go! Stamping YouTube channel with Card Making Videos on how to do rubber stamping, card making, scrapbooking, and paper crafting

    Archives

    June 2025
    May 2025
    April 2025
    March 2025
    February 2025
    January 2025
    December 2024
    November 2024
    October 2024
    September 2024
    August 2024
    July 2024
    June 2024
    May 2024
    April 2024
    March 2024
    February 2024
    January 2024
    December 2023
    November 2023
    October 2023
    September 2023
    August 2023
    July 2023
    June 2023
    May 2023
    April 2023
    March 2023
    February 2023
    January 2023
    December 2022
    November 2022
    October 2022
    September 2022
    August 2022
    July 2022
    June 2022
    May 2022
    April 2022
    March 2022
    February 2022
    January 2022
    December 2021
    November 2021
    October 2021
    September 2021
    August 2021
    July 2021
    June 2021
    May 2021
    April 2021
    March 2021
    February 2021
    January 2021
    December 2020
    November 2020
    October 2020
    September 2020
    August 2020
    July 2020
    June 2020
    May 2020
    April 2020
    March 2020
    February 2020
    January 2020
    December 2019
    November 2019
    October 2019
    September 2019
    August 2019
    July 2019
    June 2019

Proudly powered by Weebly
  • About
  • Online Card Classes
  • Card Making Ideas
  • Stampin' Up! Catalogs
  • Card Tutorials
  • Contact
  • Shopping & Rewards
  • Join Stampin' Up!
  • Color Picker