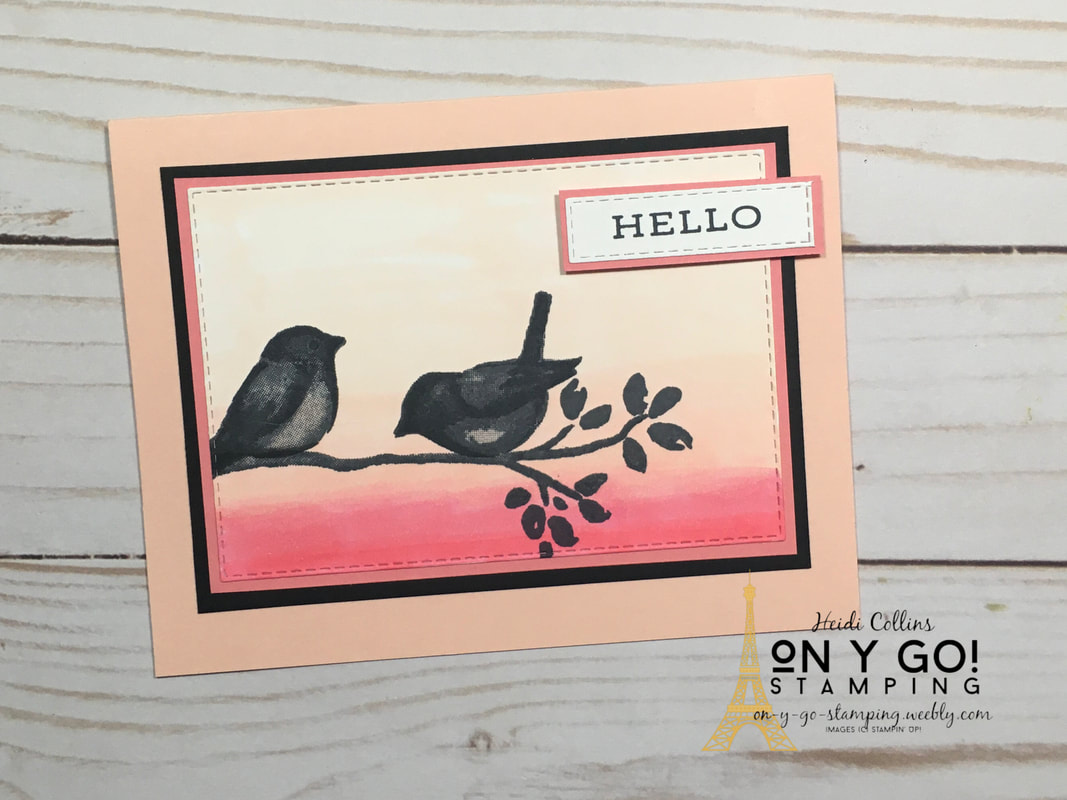
...that the Birds & Branches stamp set is too stinking cute! I just love these little birds. Today I have sunset birds and mid-day birds. Two very different looks, but both are striking. So, on y go! Let's get stamping.
Sunset Birds:
For the card above, I created the sunset (or sunrise?) by coloring a piece of Whisper White cardstock with Petal Pink and Flirty Flamingo Stampin' Blends. I went from lightest to darkest to give the feel of the setting (or rising) sun. I then cut this piece with a die from the Stitched Rectangle dies to give it a finished edge. I stamped the branch and birds with Tuxedo Black Memento ink. The image is layered on Flirty Flamingo and Basic Black cardstock before being attached to a Petal Pink card base. The greeting is from the Forever Fern stamp set. Cardstock Dimensions: Petal Pink: 8 1/2" x 5 1/2", scored at 4 1/4" Basic Black: 4 3/4" x 3 7/8" Flirty Flamingo:
Cardstock Dimensions:
Crumb Cake: 8 1/2" x 5 1/2", scored at 4 1/4" Pear Pizzazz: 4" x 5 1/4" with the edge cut with the Birds & More dies Whisper White:
Product List


Share What You Love Artisan Pearls
[146927]
$6.00
0 Comments
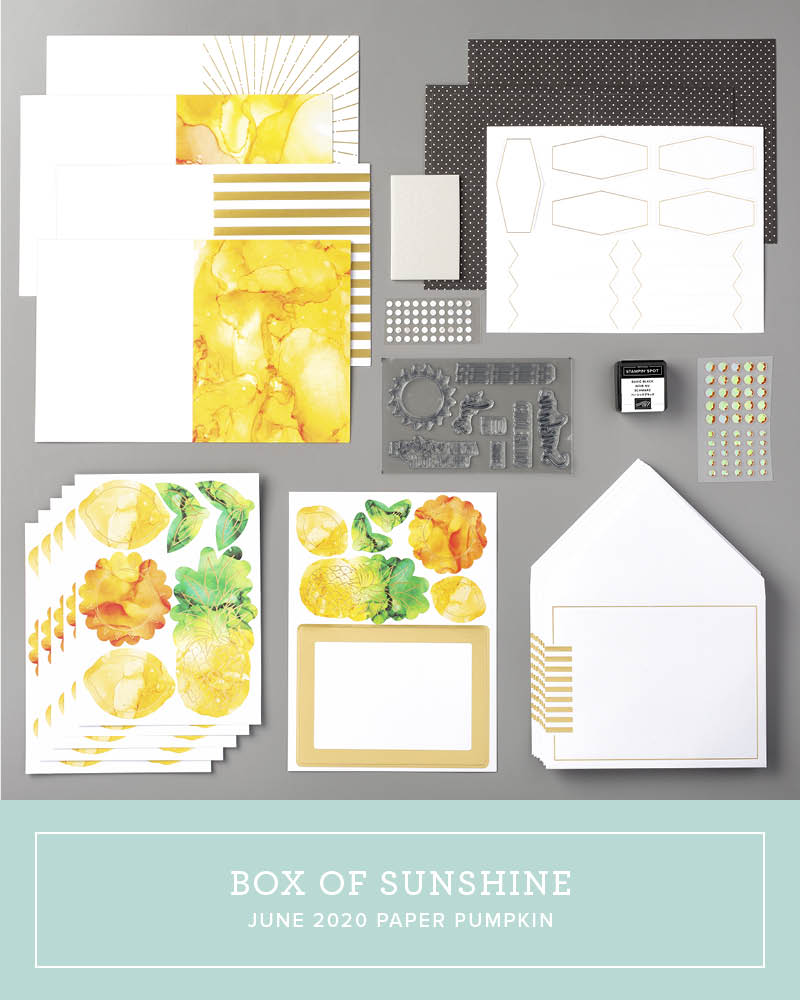
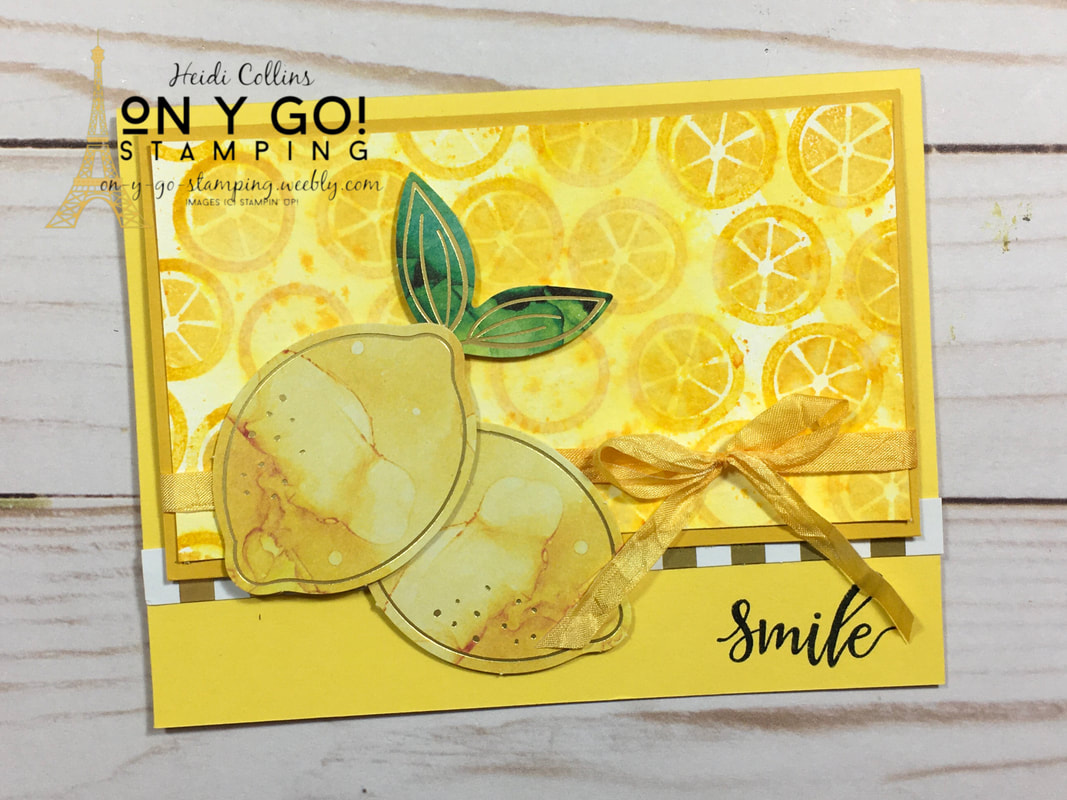
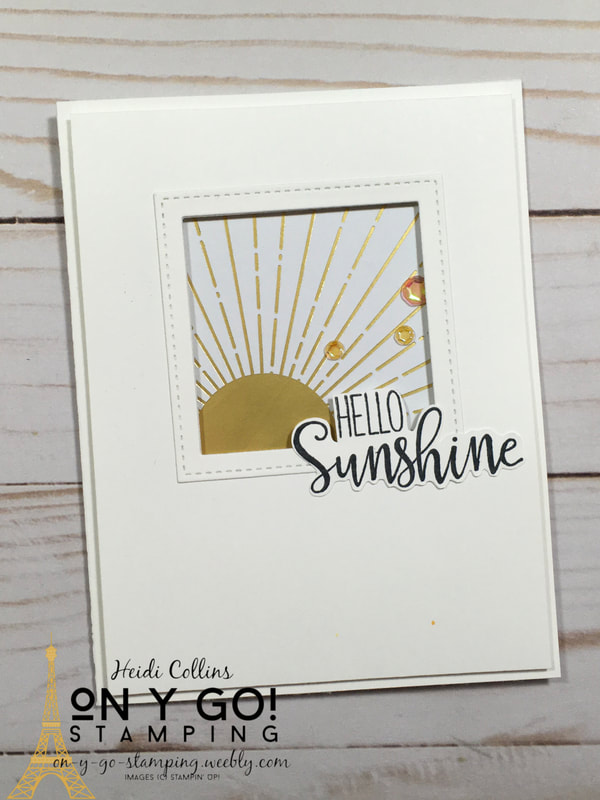
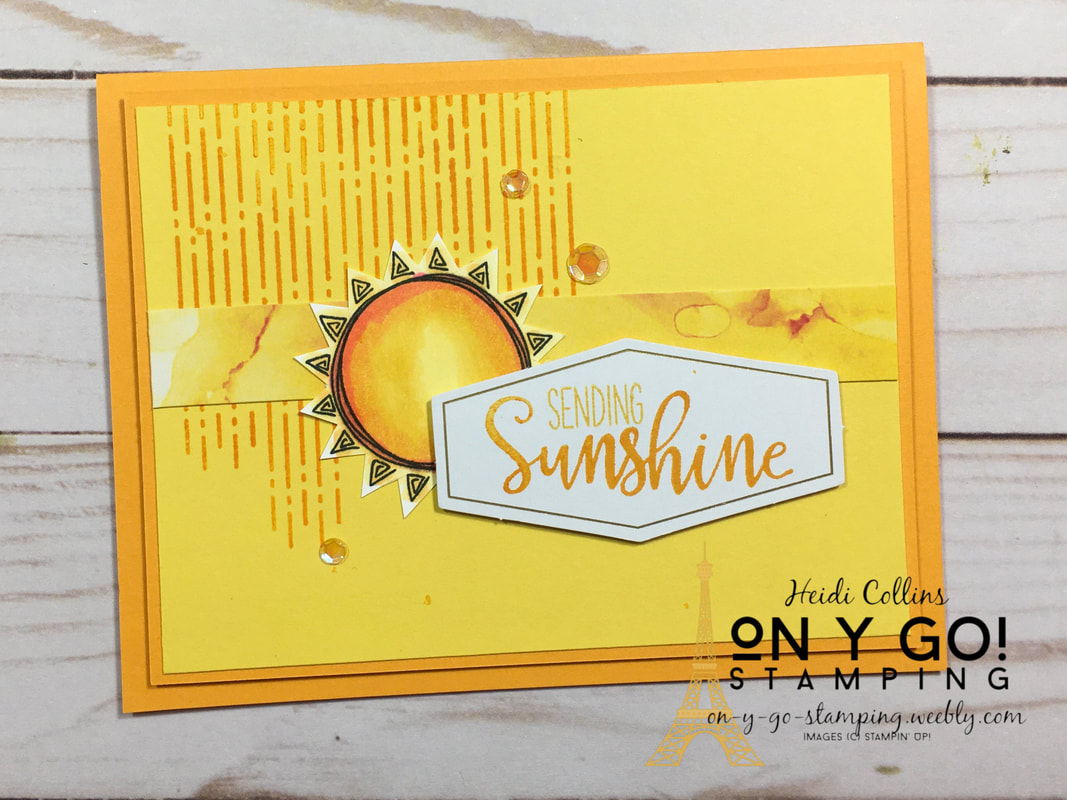
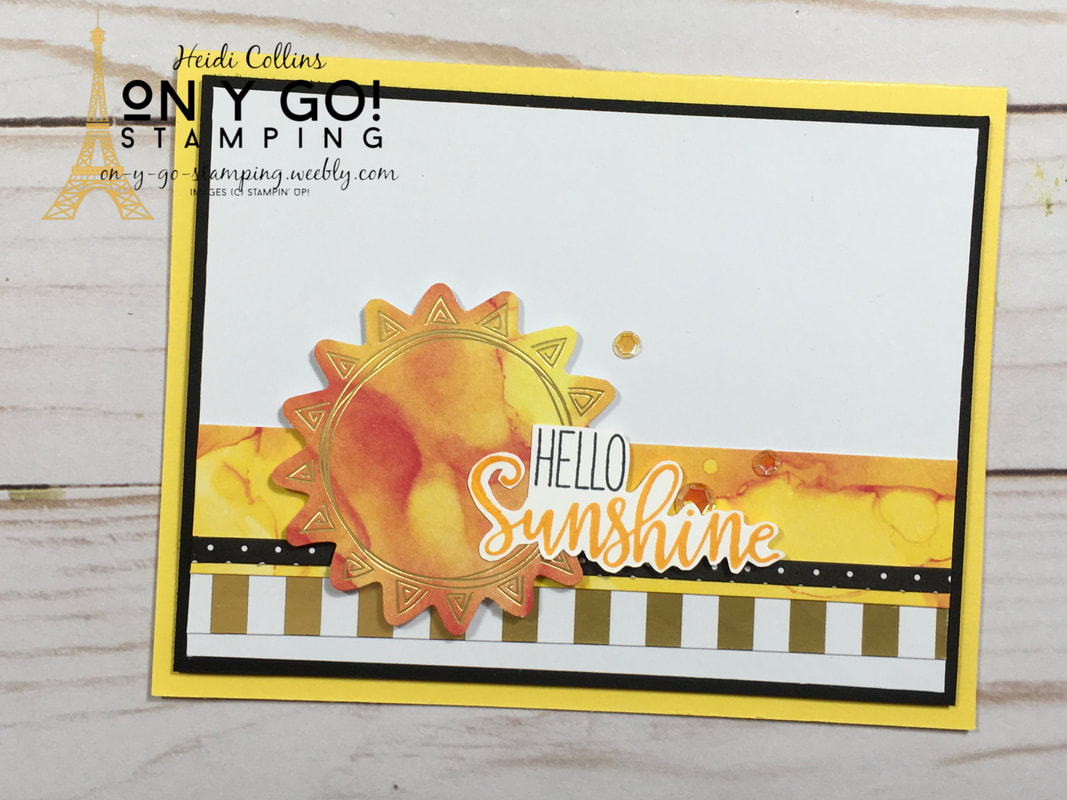
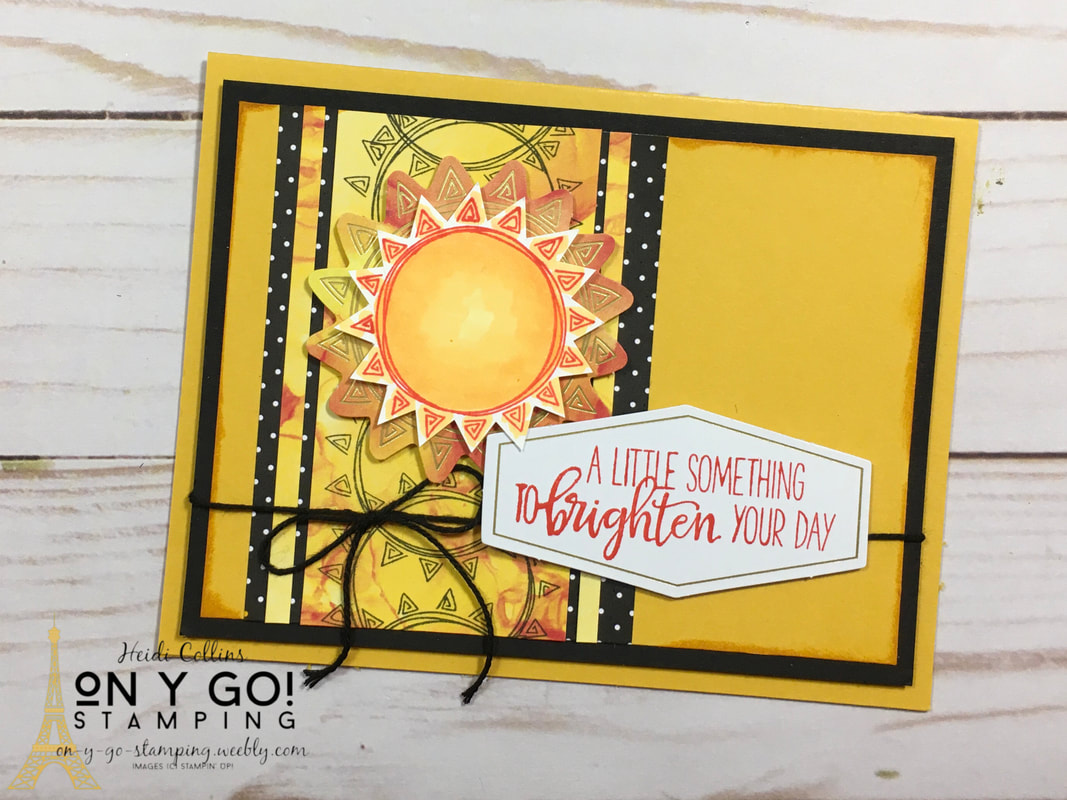
 I am lovin' the June Paper Pumpkin! It is all about sharing sunshine to brighten someone's day. It's so bright and cheery and the stamps that are included with this month's kit are awesome! If you're already familiar with Paper Pumpkin, be sure to check out more photos of the Paper Pumpkin alternatives at the end. Paper Pumpkin is a monthly subscription kit offered by Stampin' Up! Each month, you receive a box in the mail that includes an exclusive stamp set, an ink spot, and all of the paper, adhesive, and accessories to make that month's projects.
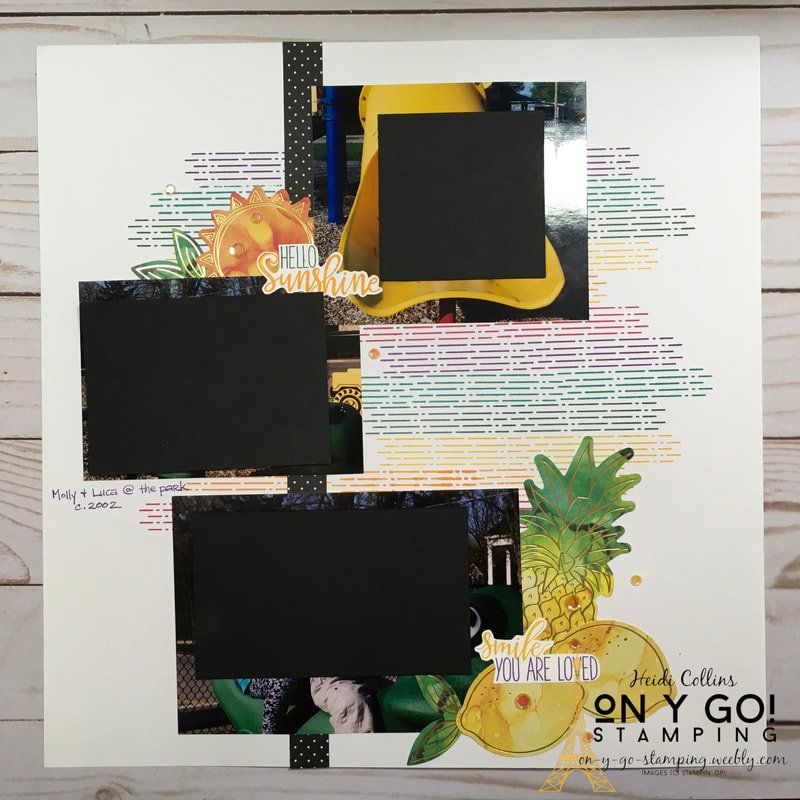
If you like to imagine and create your own card designs, Paper Pumpkin is perfect for that too! Nobody says you have to use the supplies in the box to create the suggested projects. You can combine those supplies with items from your own stash to create even more amazing projects! Here are the cards as they were designed to be put together: 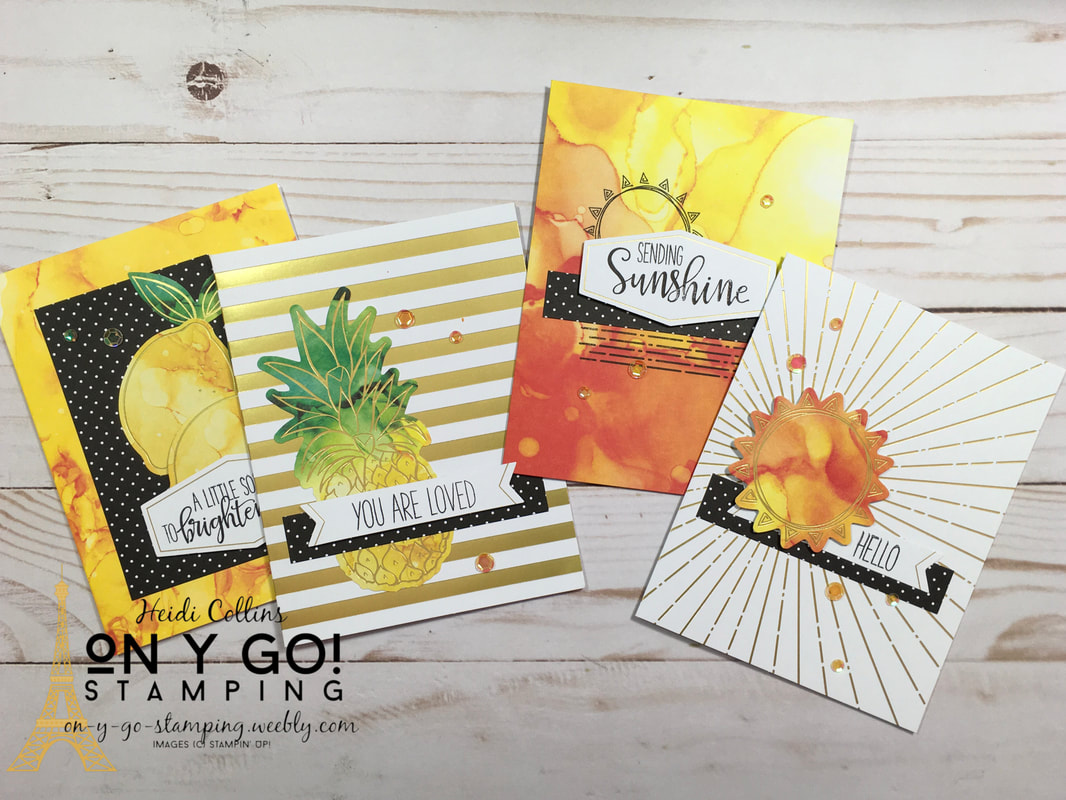 And here are all the other cards (and scrapbook page) that I created:
And, there are still lots of pieces left in my Paper Pumpkin box!
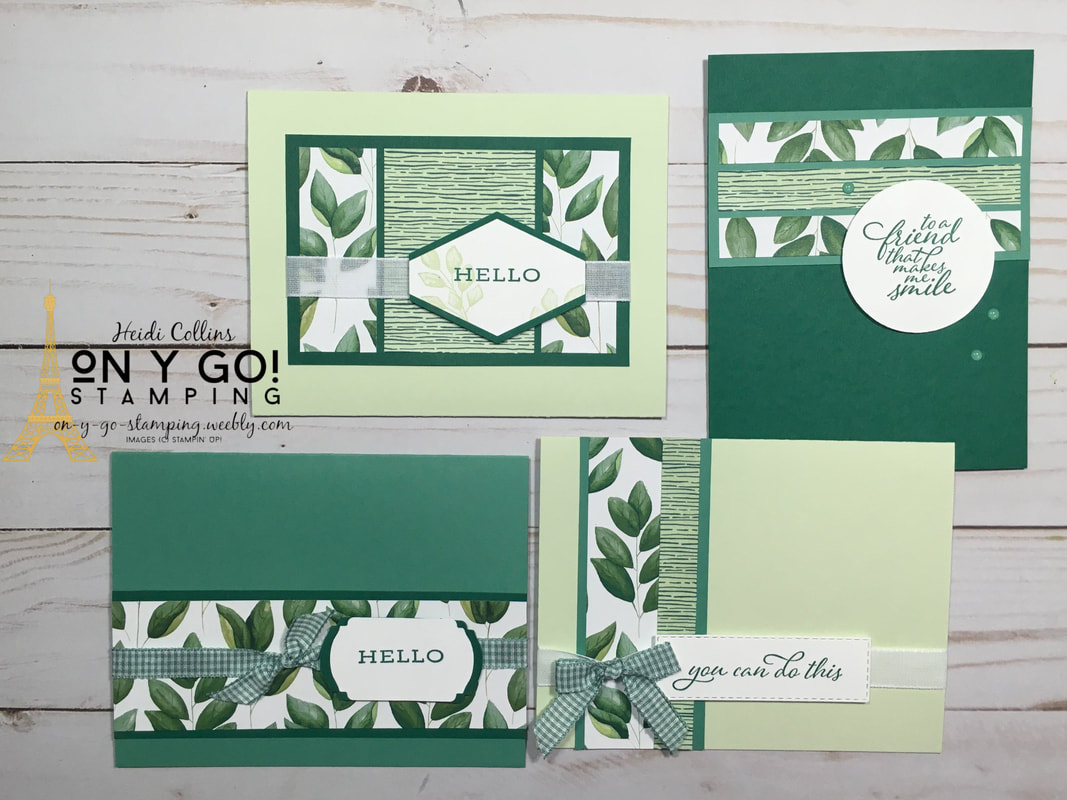
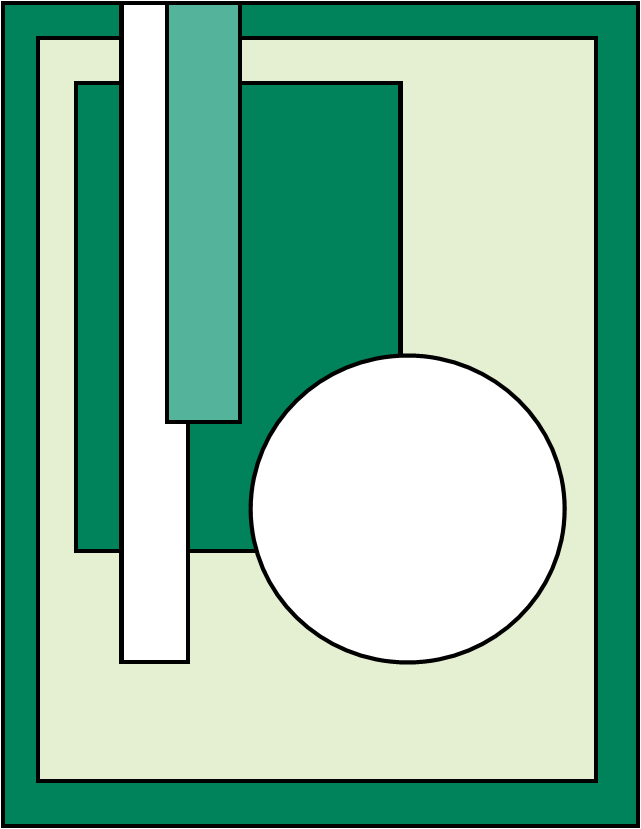
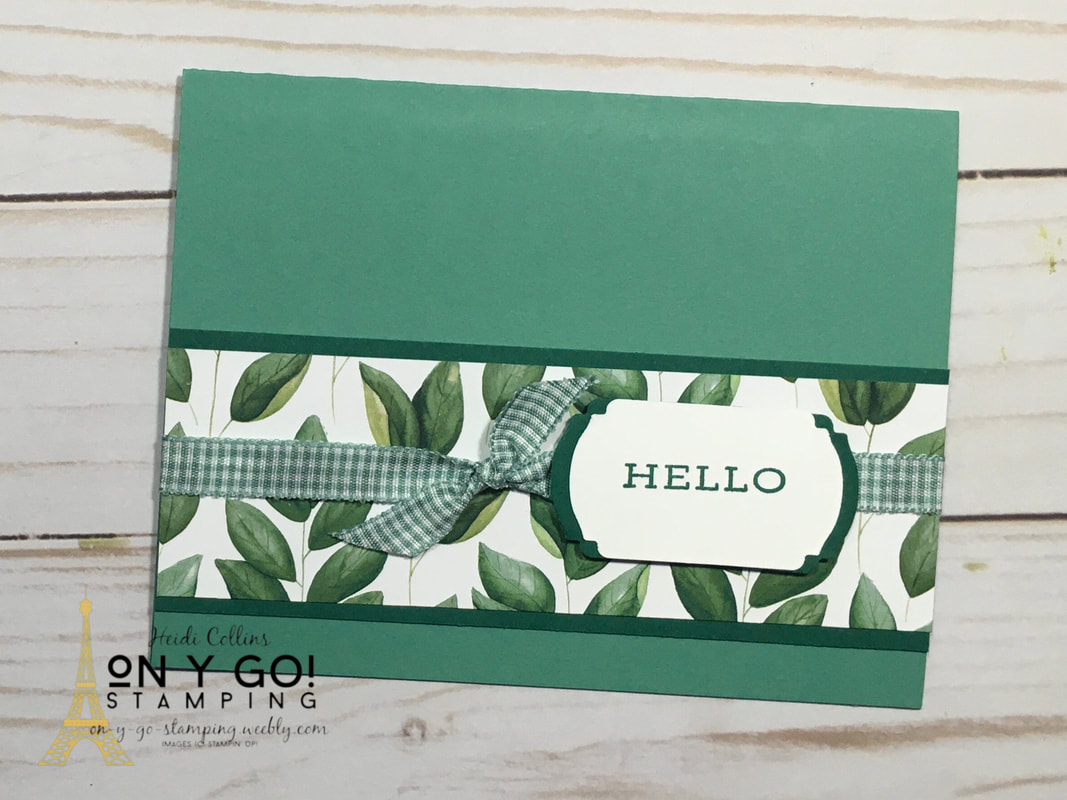
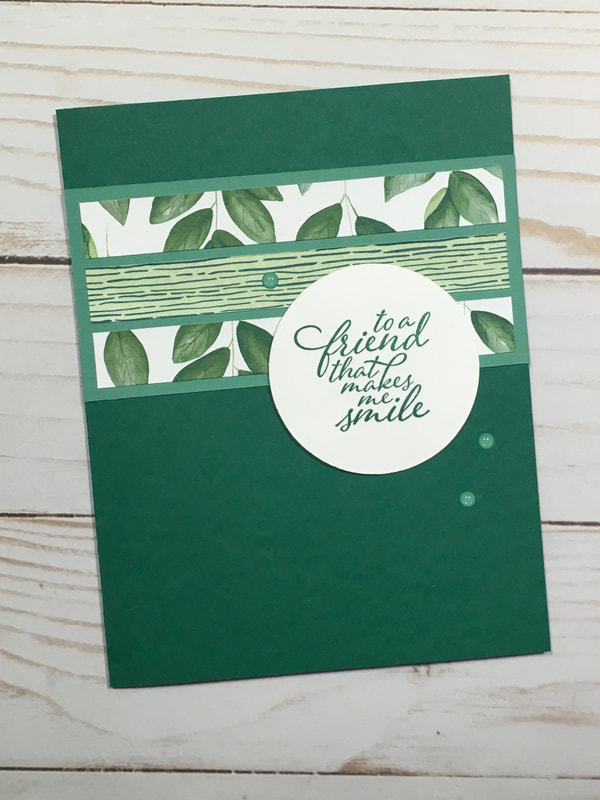
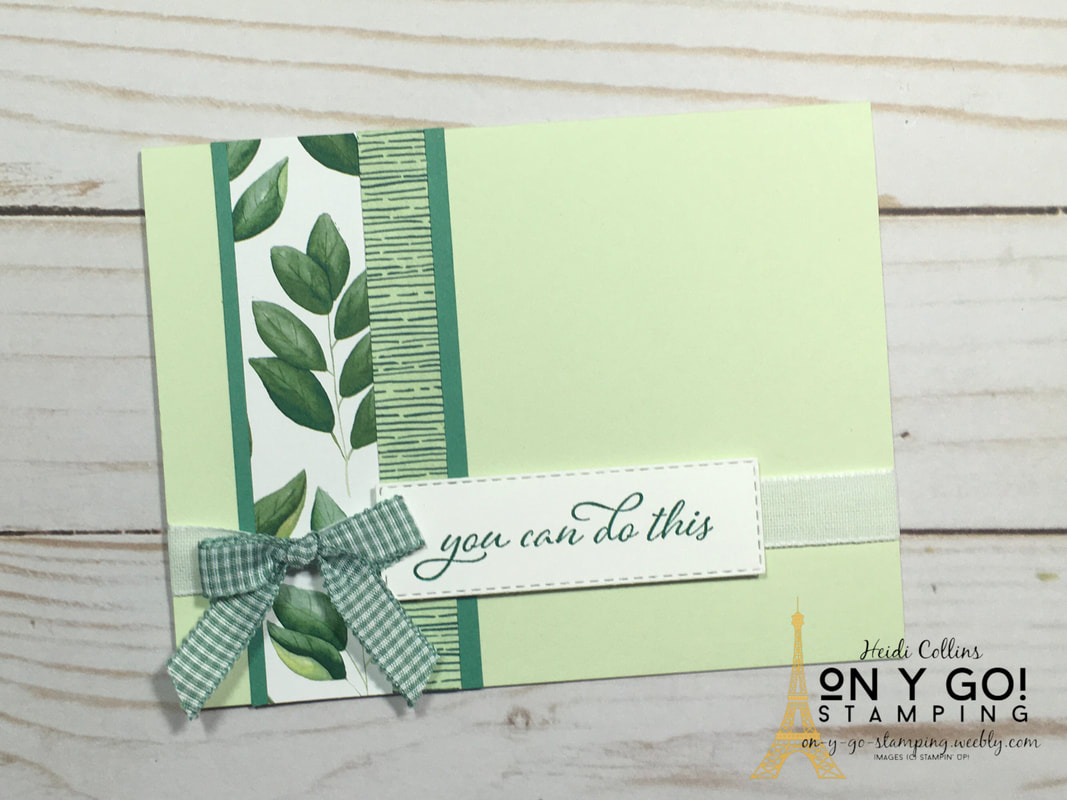
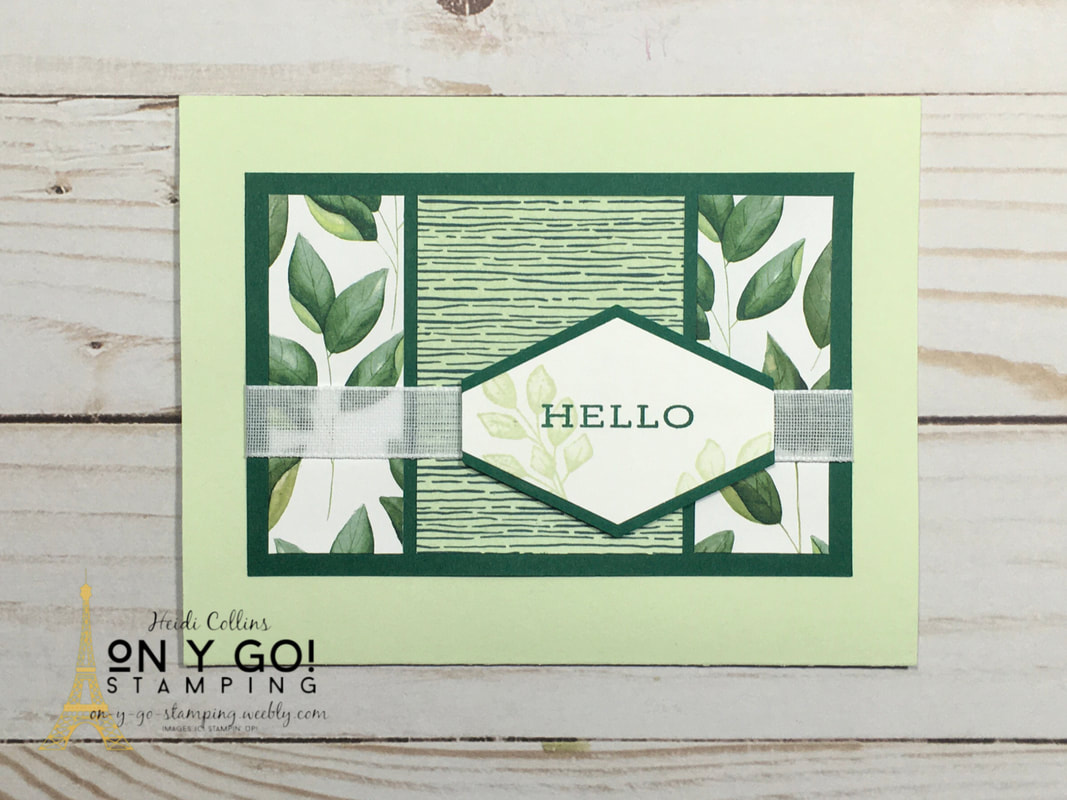
My Mom joined me last night as a special guest host for Mystery Stamping. This is the awesome card design she came up with. You can combine different cardstocks and Designer Series Papers to create a unique layered look. So, on y go! Let's get stamping.
Product List


Product List


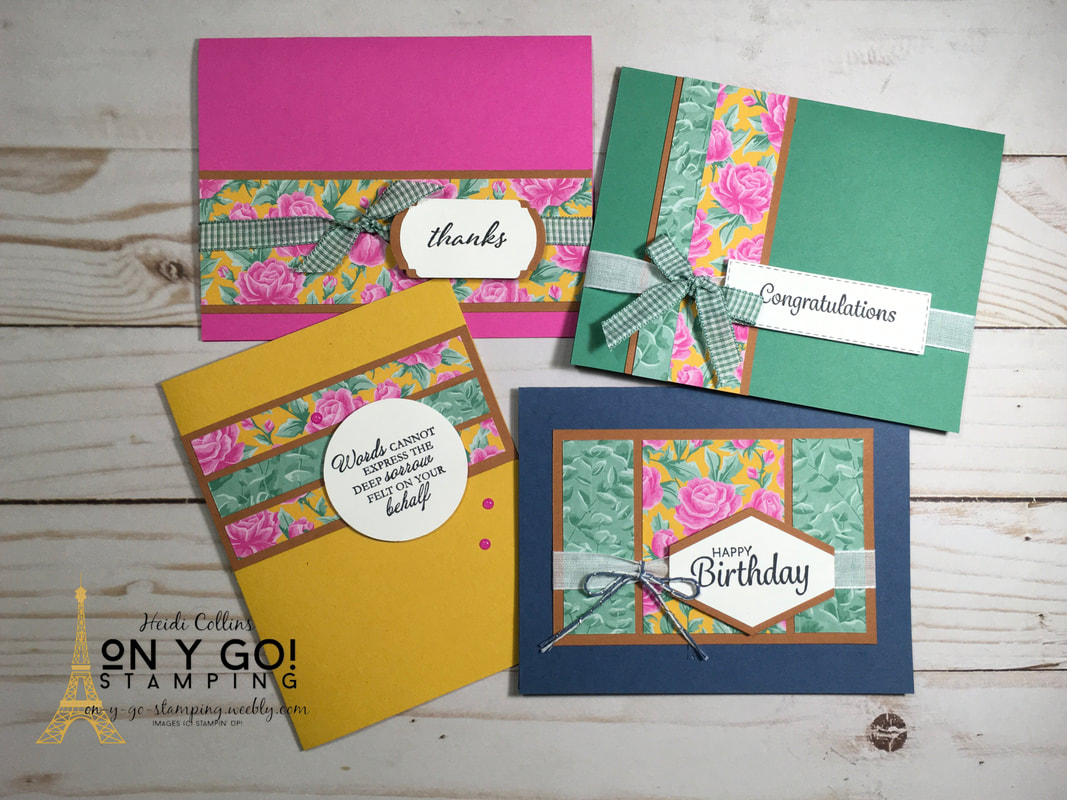
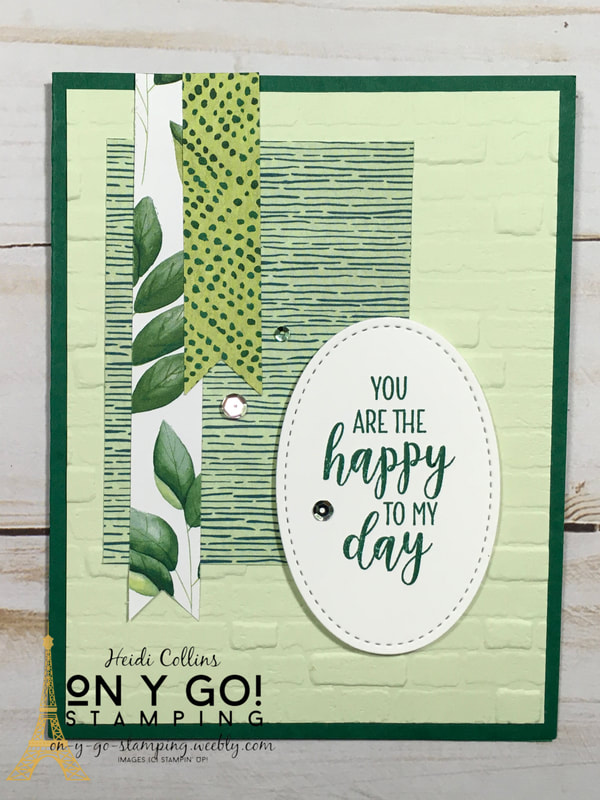
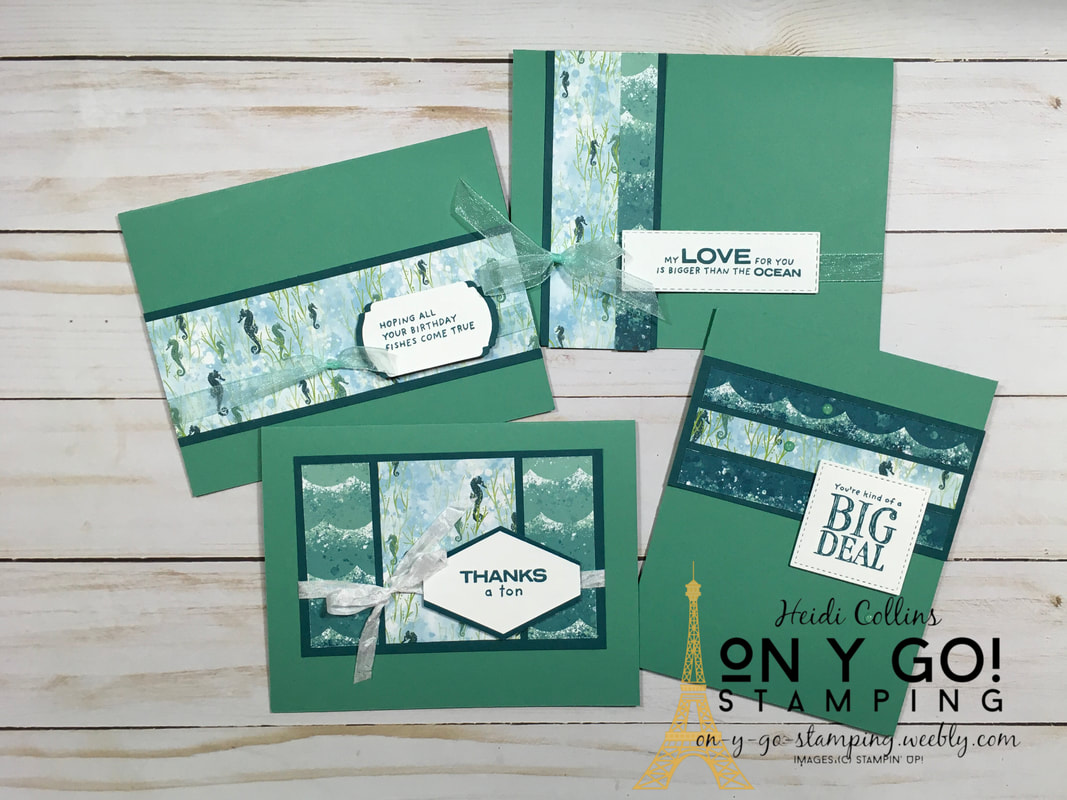
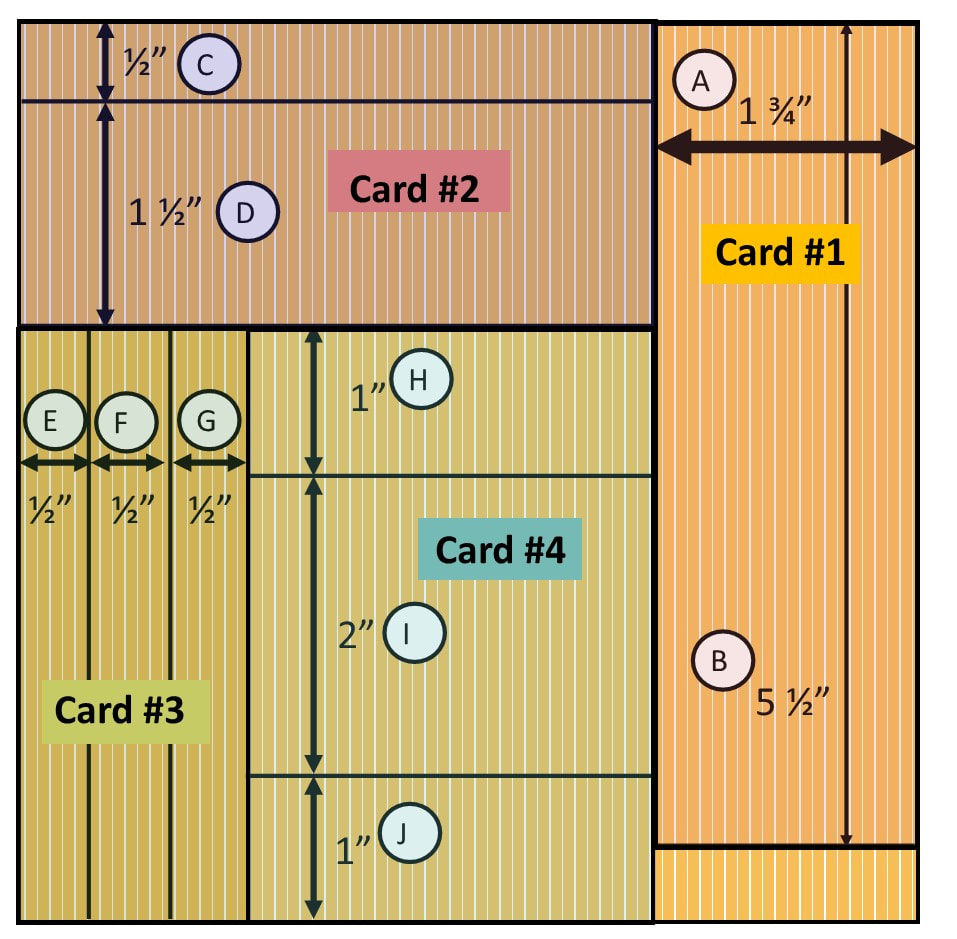
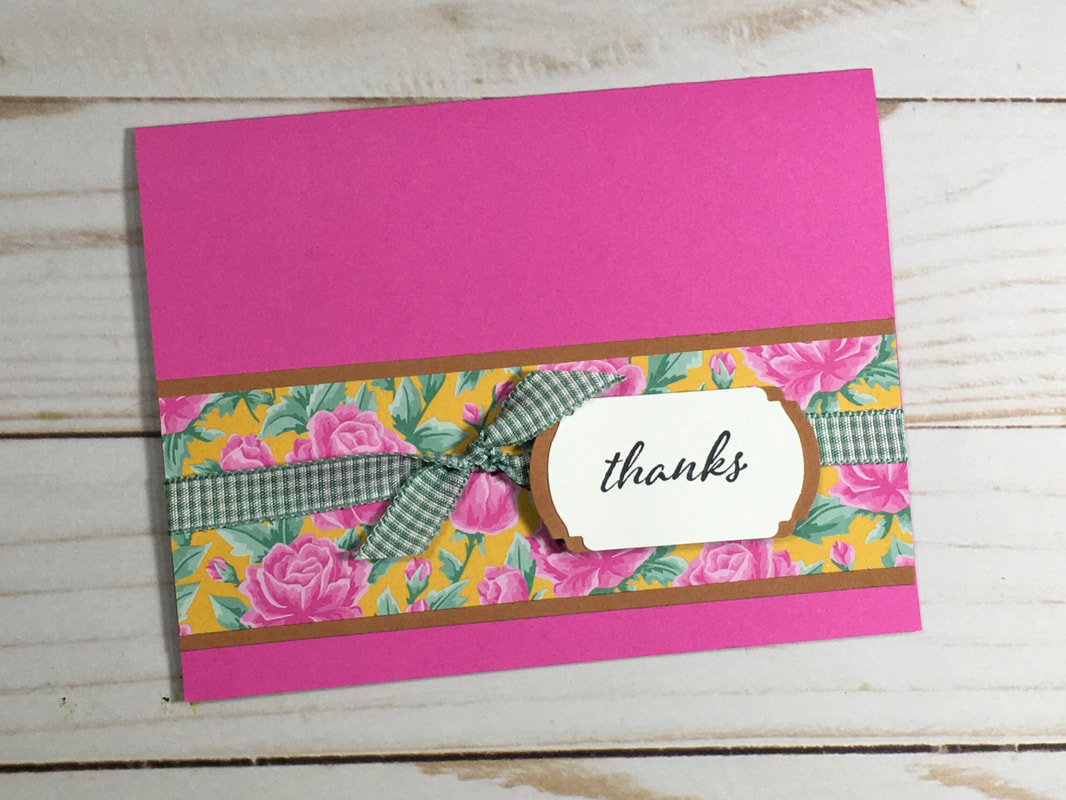
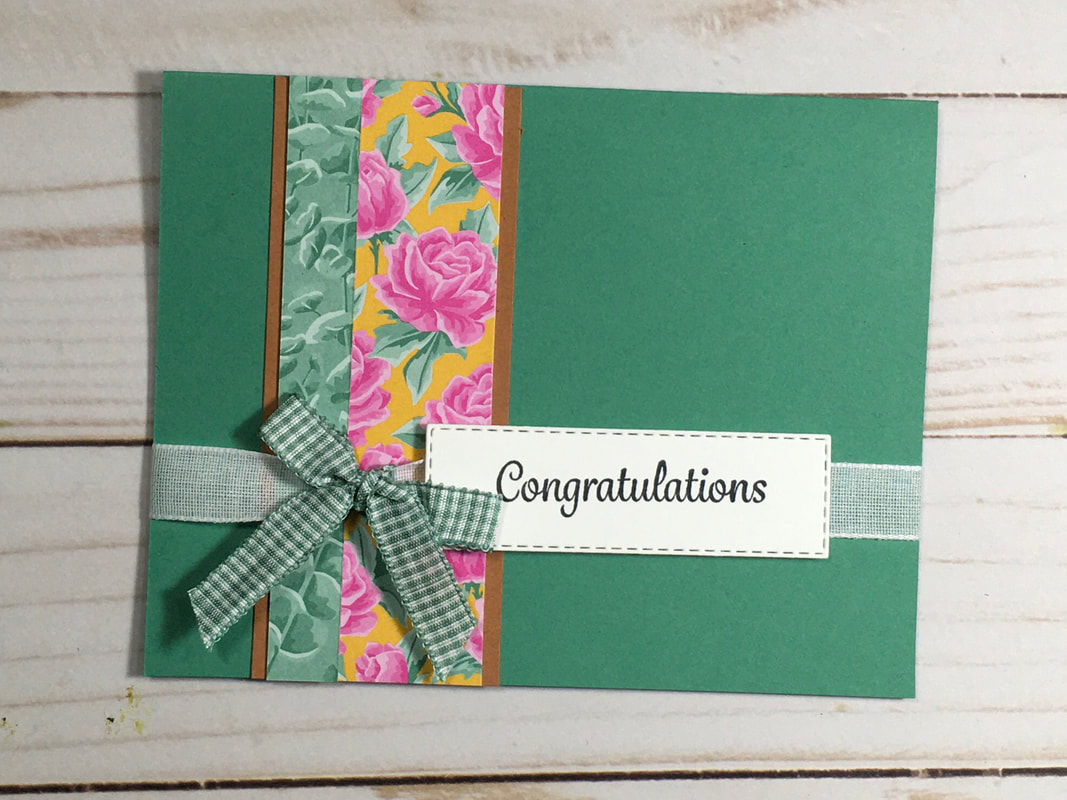
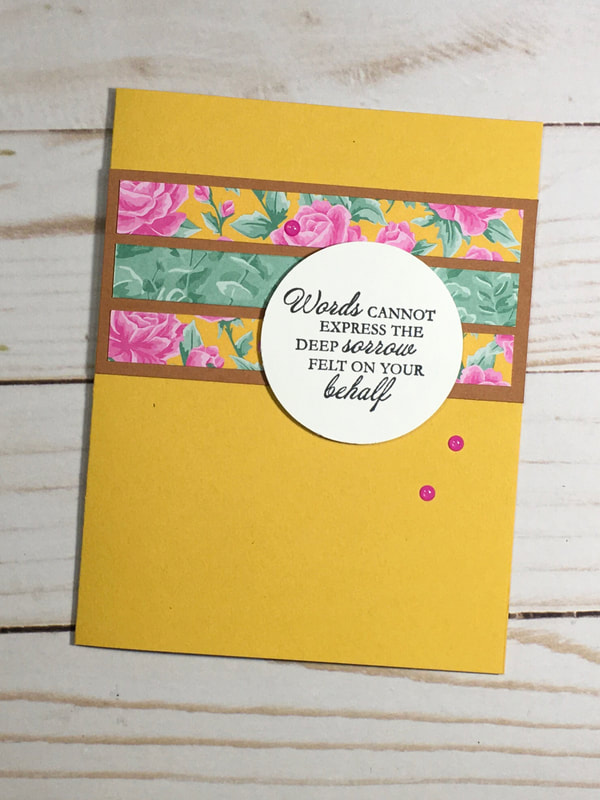
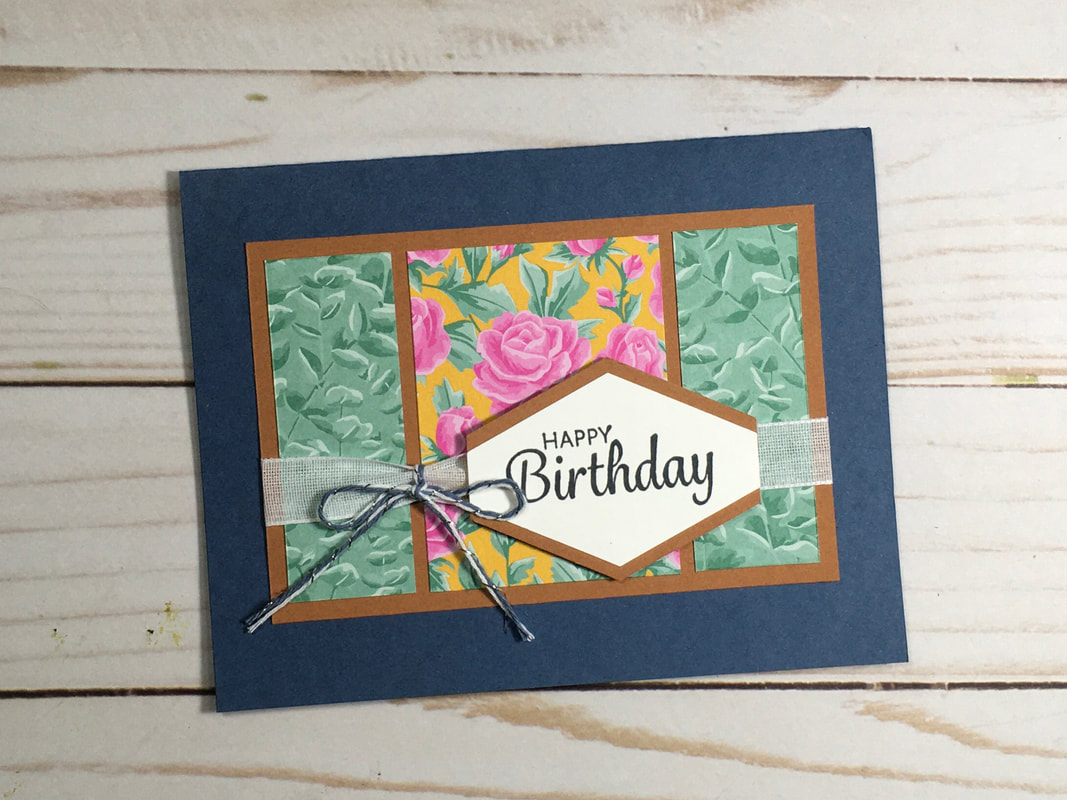
I created these four cards using one sheet of Flowers for Every Season 6" x 6" Designer Series Paper. I used four different 2020-2022 In Colors for the card bases (Bumblebee, Misty Moonlight, Just Jade, and Magenta Madess) and the fifth color (Cinnamon Cider) for the contrasting color. Follow all the way to the bottom for a second set using the Forever Greenery DSP. So, on y go! Let's get stamping.
Product List


Product List
Product List
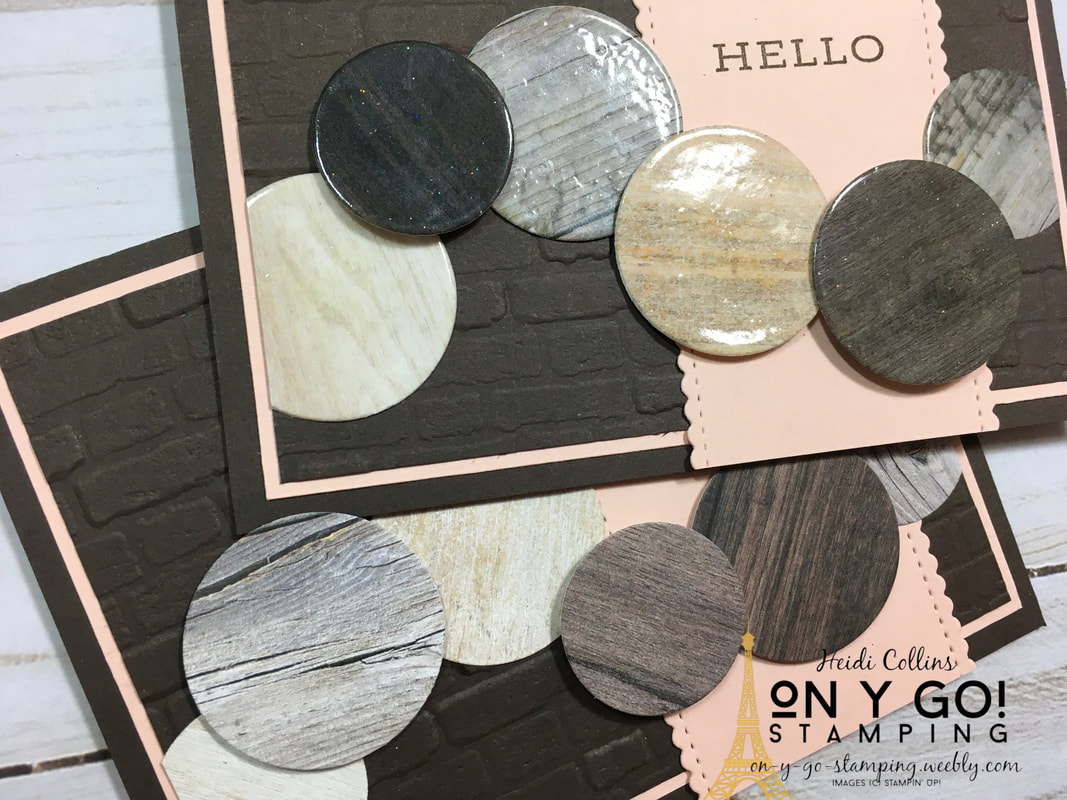
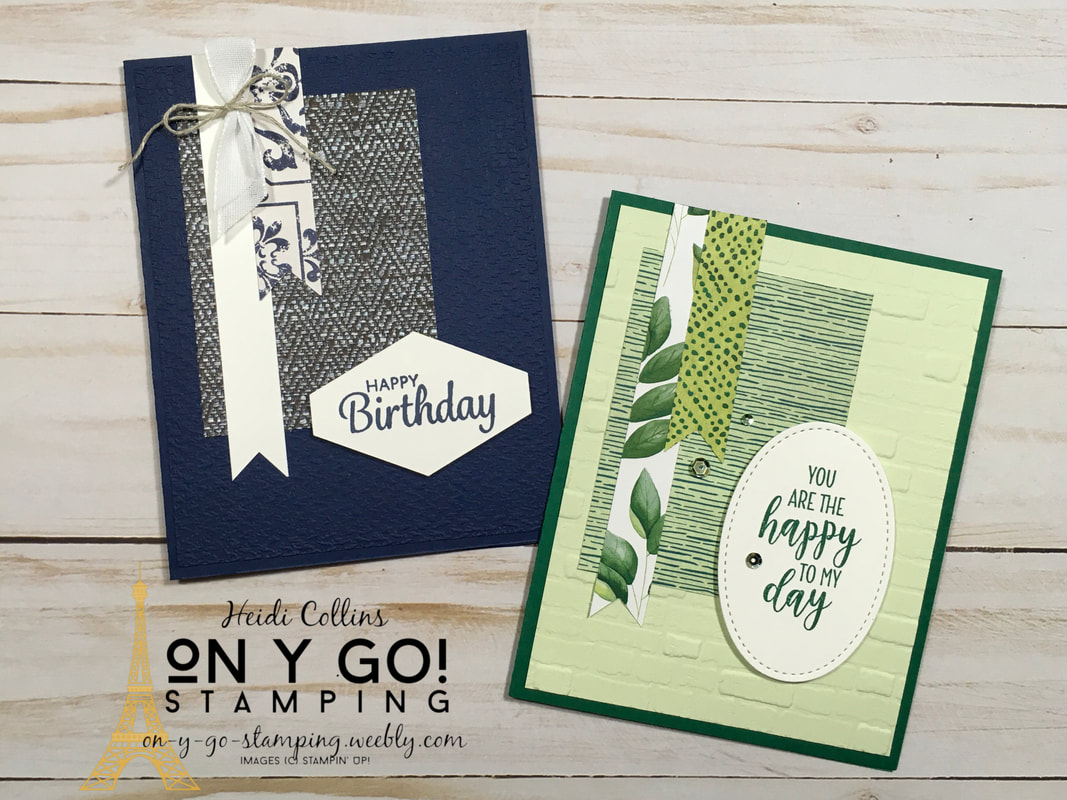
Have you seen the new In Good Taste Designer Series Paper? It's a super-sized package of patterned paper with 12 different double-sided designed and 2 pieces of each design for a total of 24 pieces of patterned paper! Wow! The pack is filled with different wood grains, tiles, and textiles. It is so pretty and versatile.
Today, I have a card design that you could easily use with any package of Designer Series Paper, but I think it works particularly well with the In Good Taste DSP. 
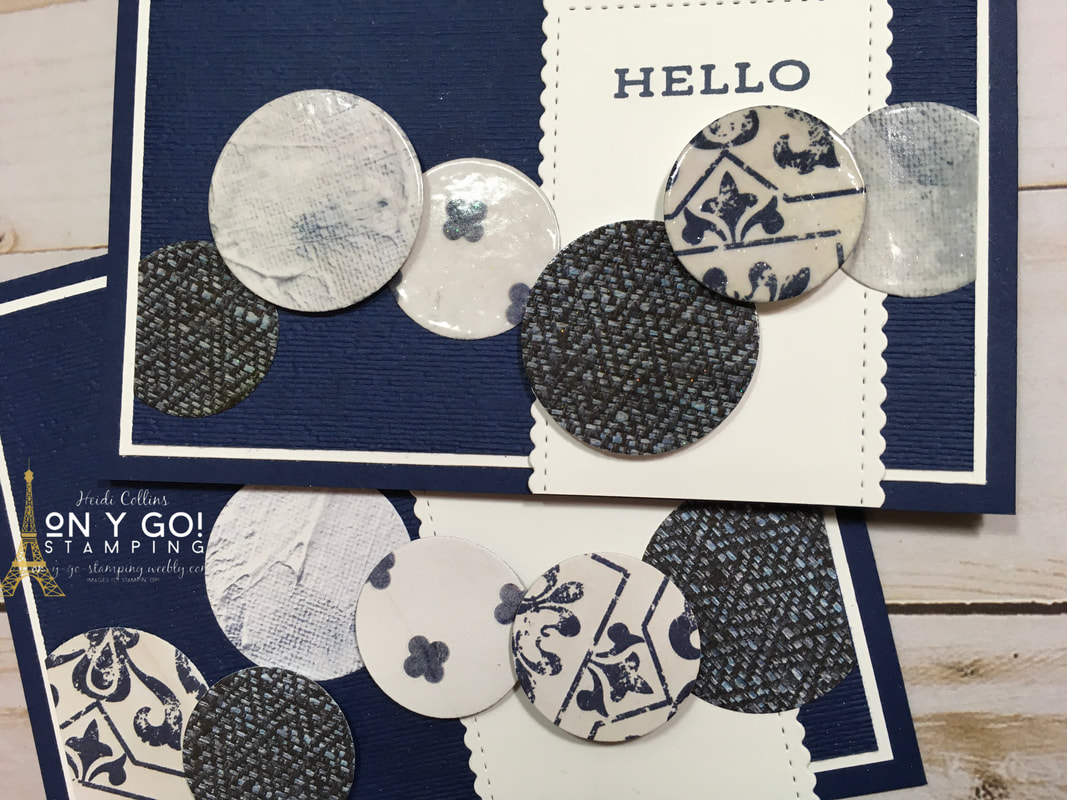
I am so excited to be joining an amazing International group of bloggers for the Pretty Cards & Paper blog hop. Each of these designers has created some really cool projects with the In Good Taste DSP. So, after you've had a look through here, be sure to hop around the world and visit each of these other fabulous cardmakers. The full list of designers and links can be found further down.
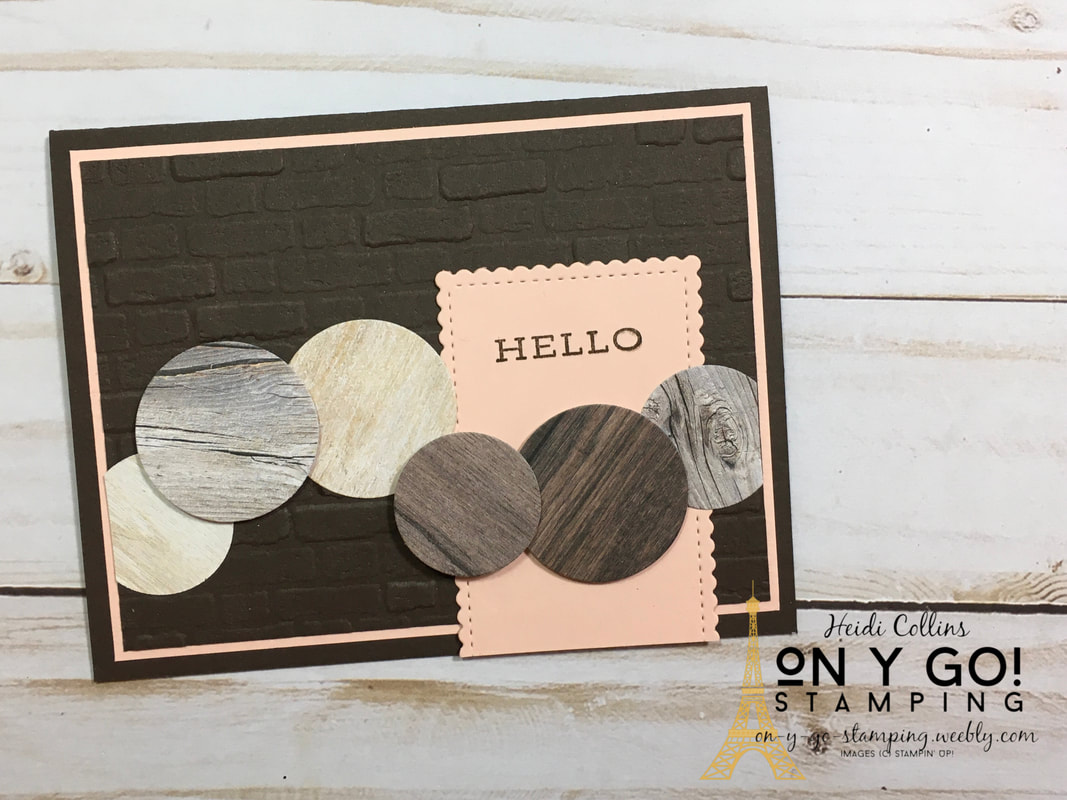
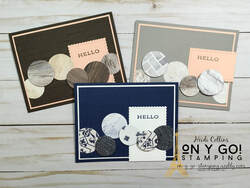
My cards today all use the same basic design with a wave of 6 circles across the front. Here are the dimensions:
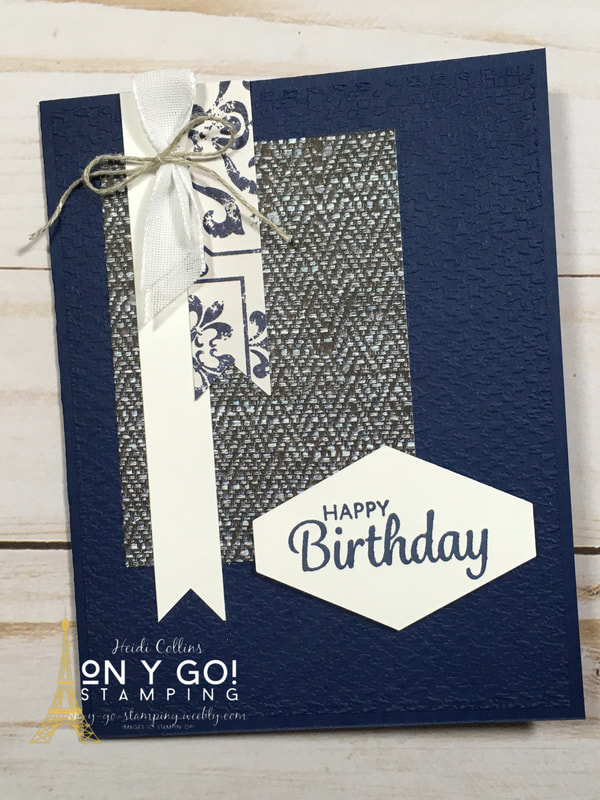
My second card uses the tile patterns from the DSP on a Gray Granite background. Here, I embossed the card front with the Tasteful Textile 3D embossing folder and I turned the greeting. The piece for the greeting in all three cards has been cut with the Stitched So Sweetly dies. I then used my paper trimmer to cut one end off straight instead of scalloped so that it appears that this piece extends off the edge of the card.
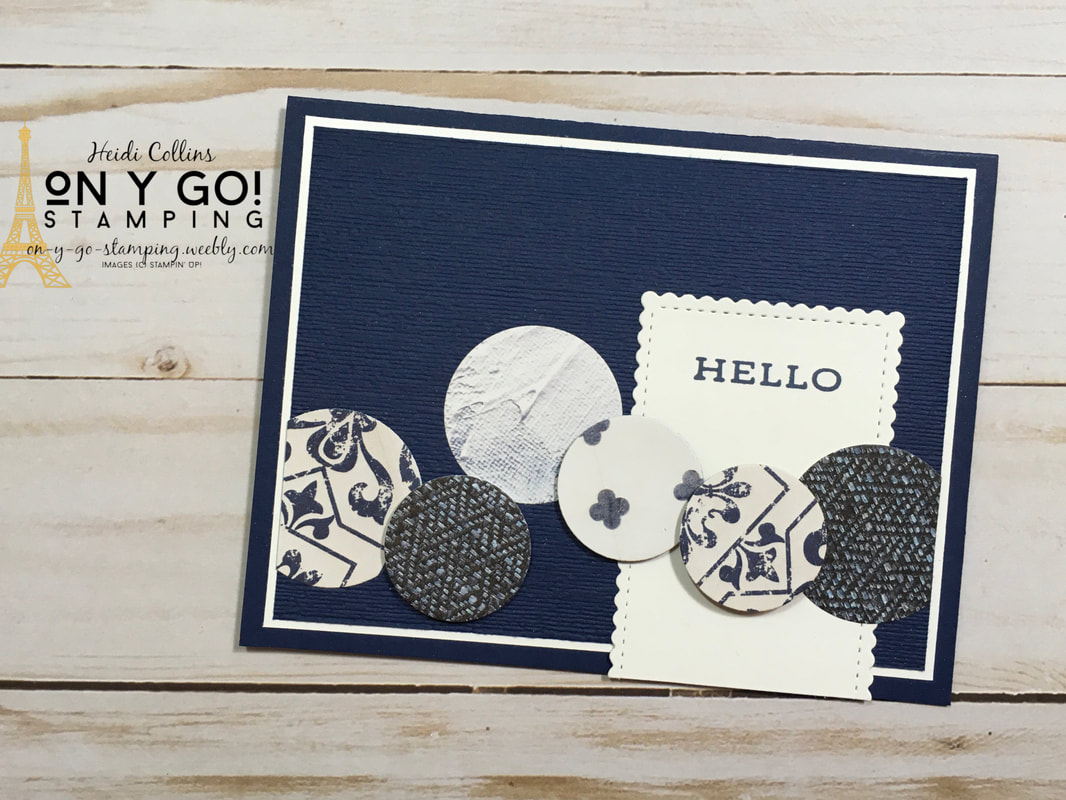
My third card uses a mixture of tile, textile, and paint canvas patterns, but all of them have a blue tone. I layered these circles on Night of Navy cardstock that I embossed with the Subtle 3D embossing folder.
When I finished these three cards, I stepped back and thought: "Well, that's pretty good, but what if the circles were shiny like actual tiles?" So, I decided to find out. 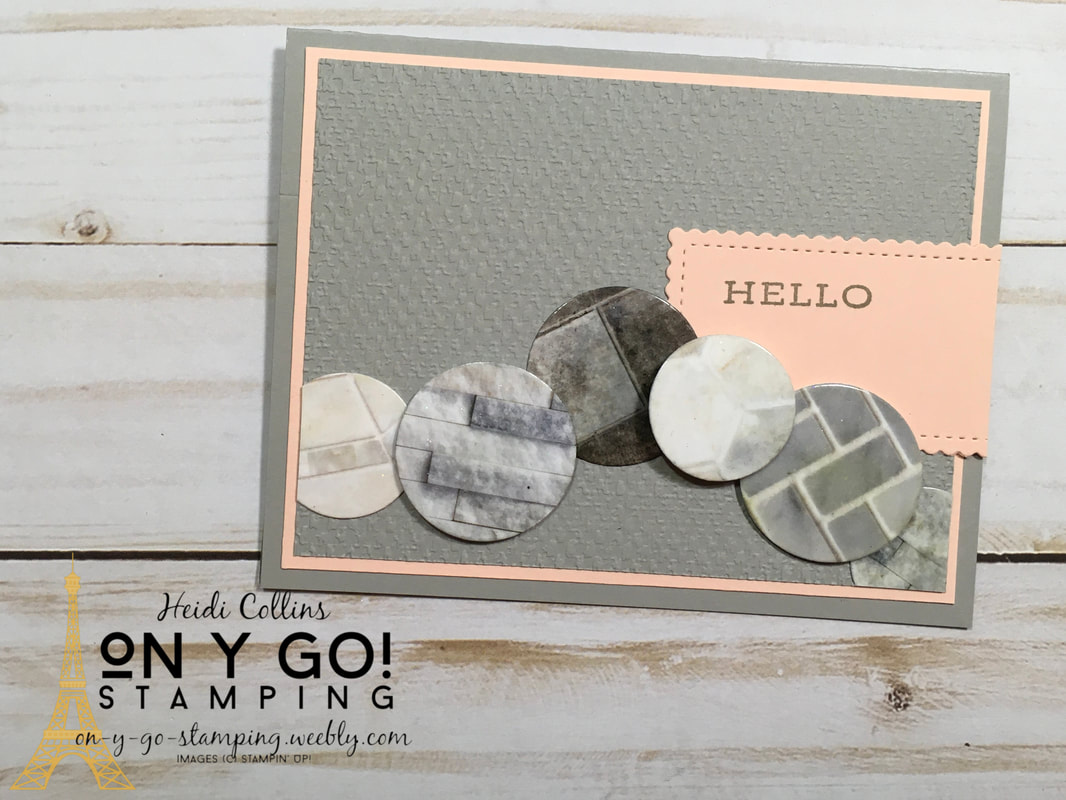
It's a bit hard to see, but I embossed each of the circles with two layers of clear embossing powder. I found I needed to adhere a circle of Whisper White cardstock behind each circle to help keep the colors true. In the video, I explain this further and show you examples with and without the extra Whisper White cardstock. The shiny look really makes the patterns pop.
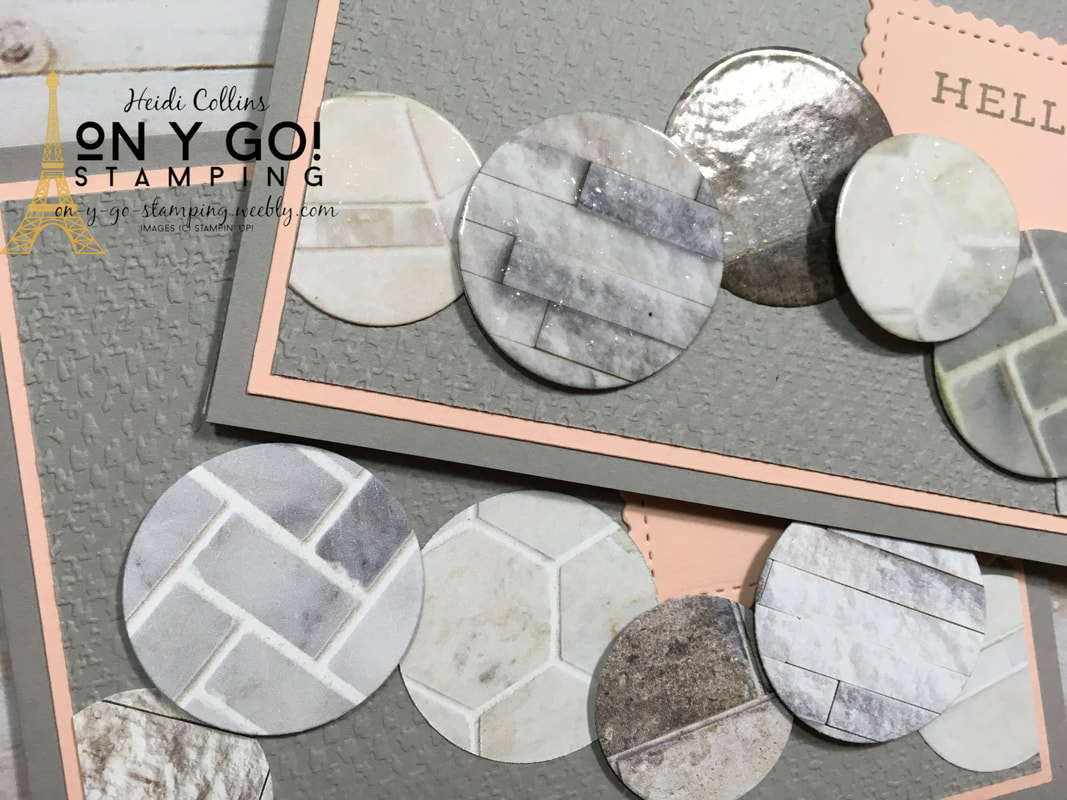
Hopefully you can see the difference a little bit better in these side-by-side comparisons. Both of them look pretty, the embossing powder just gives the cards a little different look.
Now, I hope you'll click through and see the projects of all of these other amazing cardmakers from around the globe. Then, stop back here to see the complete list of supplies I used for my cards below the list of bloggers. If you're in the US, each photo links to my online store.
Product List


")
|


Archives
July 2024
|


 Designer Series Paper")


")
")
 Designer Series Paper")


 Crinkled Seam Binding Ribbon")
 Sheer Ribbon")