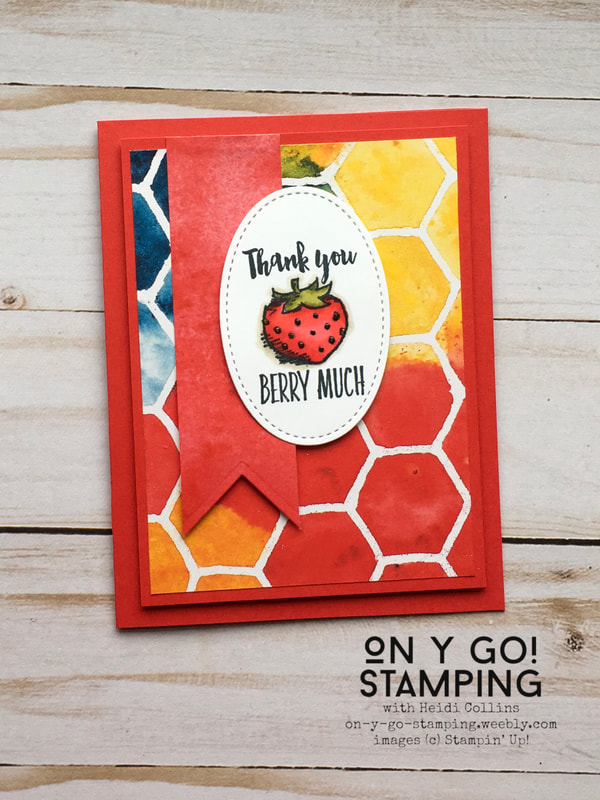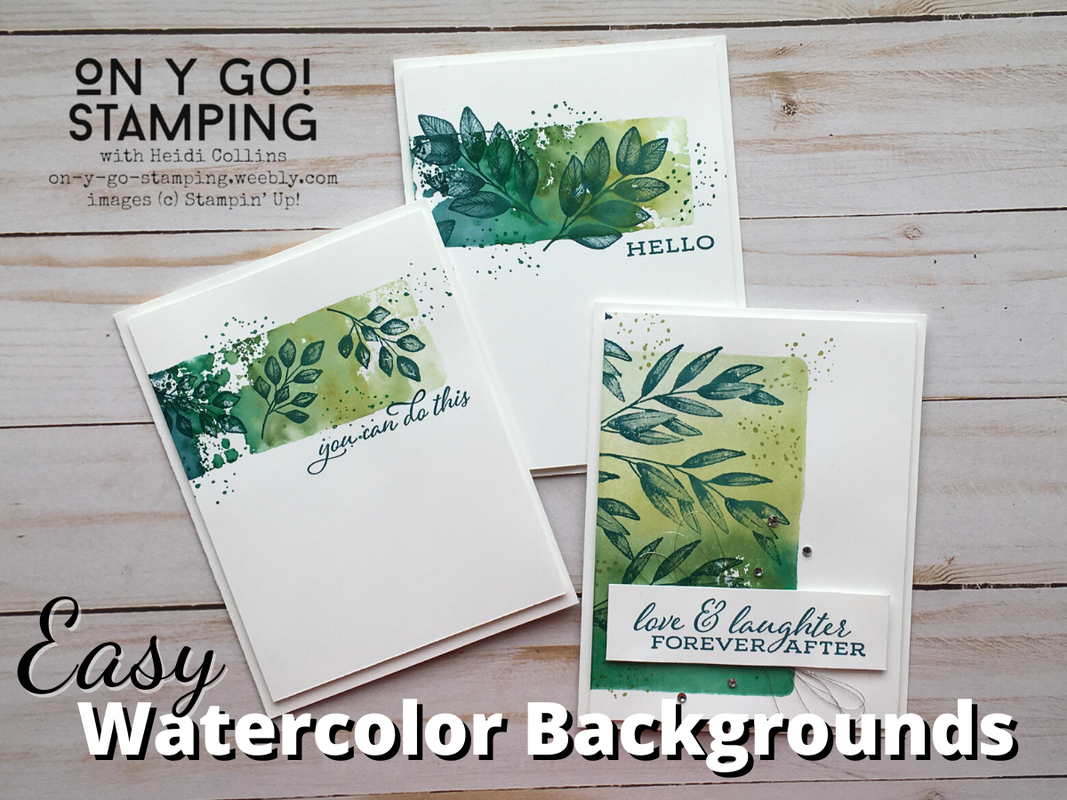
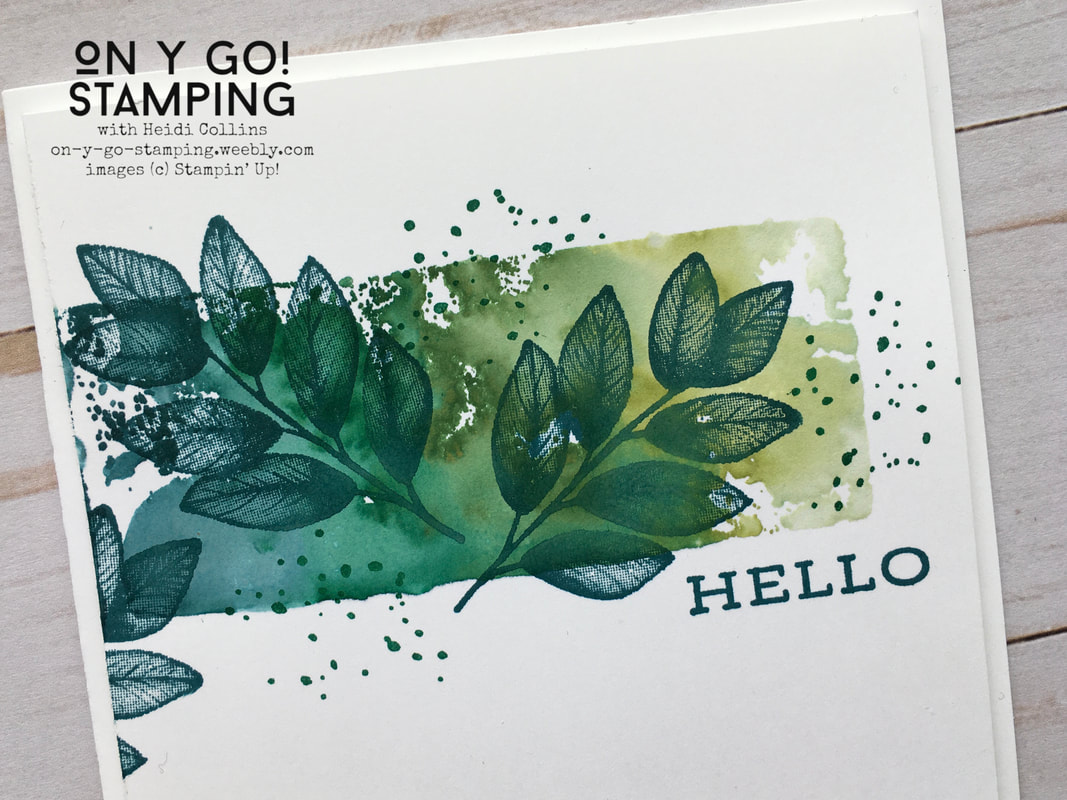
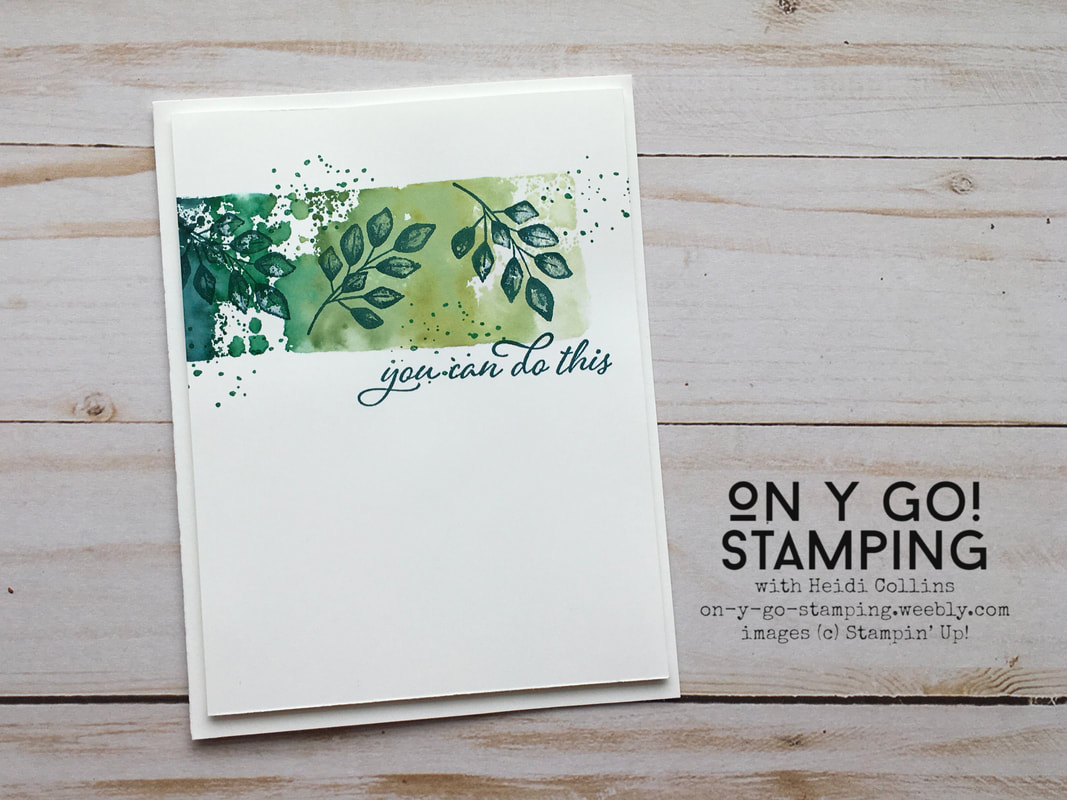
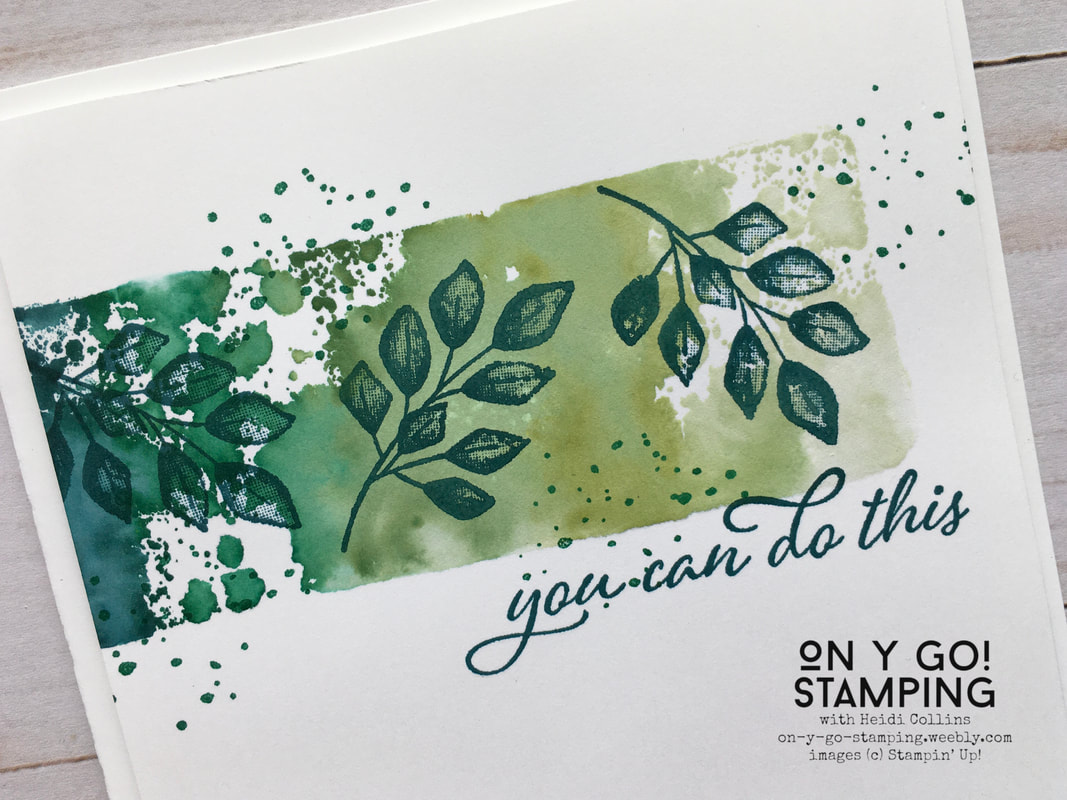
I shared this super simple watercolor technique a couple of weeks ago to make a graduation card, but I just couldn't resist sharing it again with the new Forever Fern stamp set. This set and these colors work beautifully together and these cards were so quick and easy to pull together. So, on y go! Let's get stamping.
Product List


3 Comments
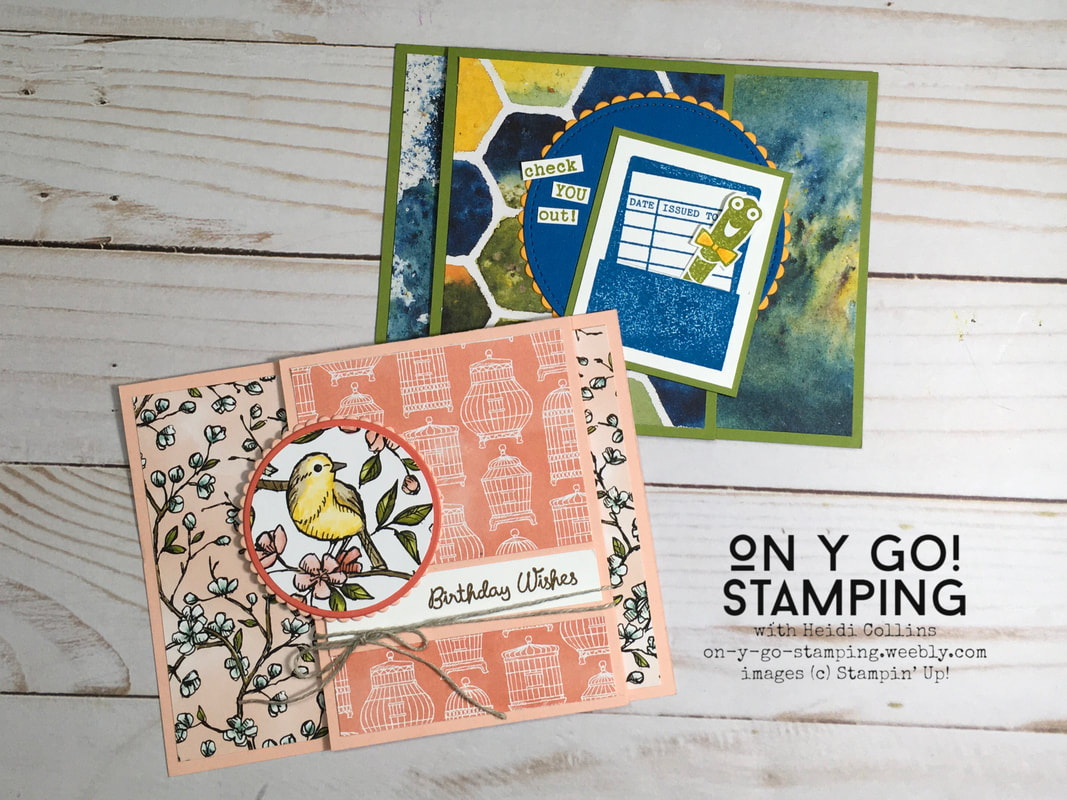
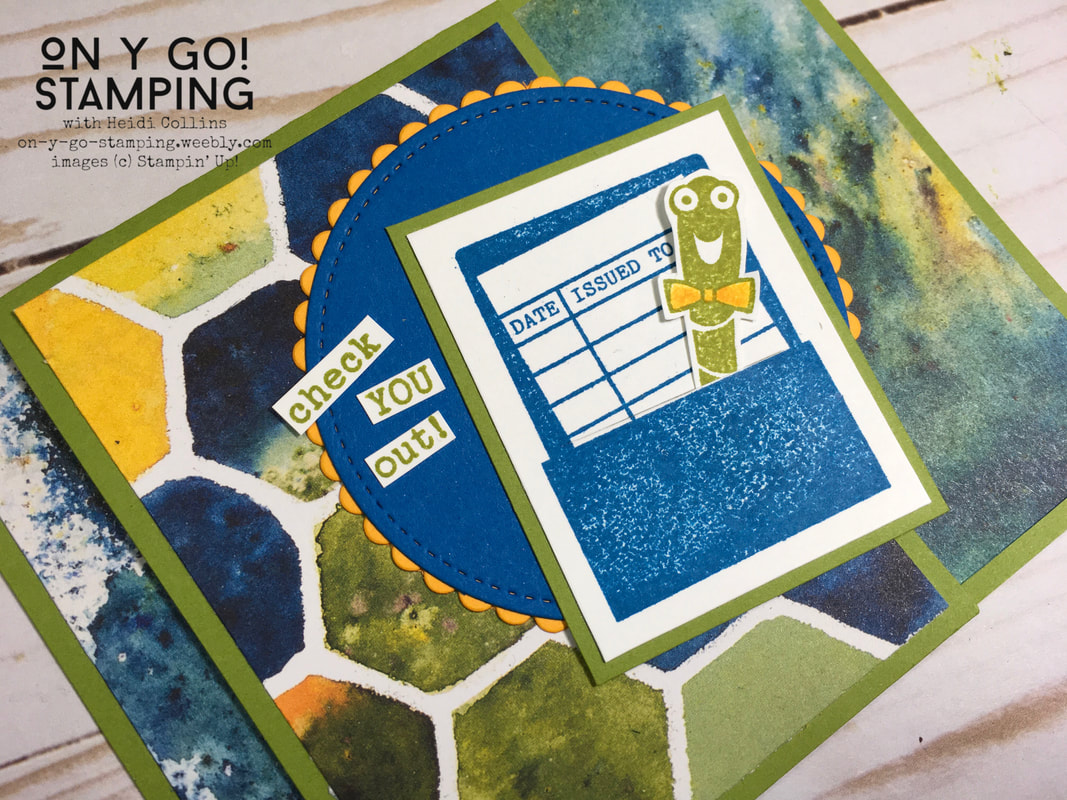
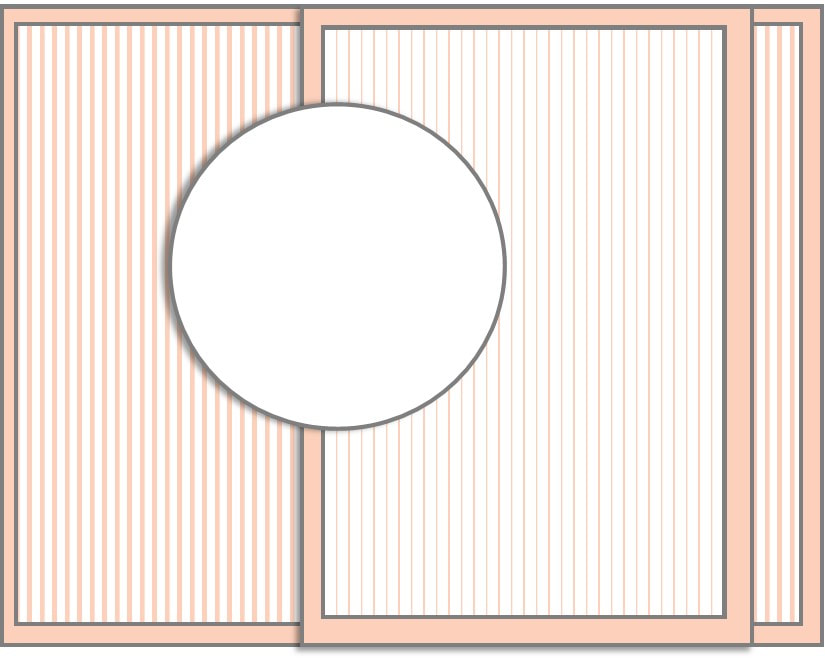
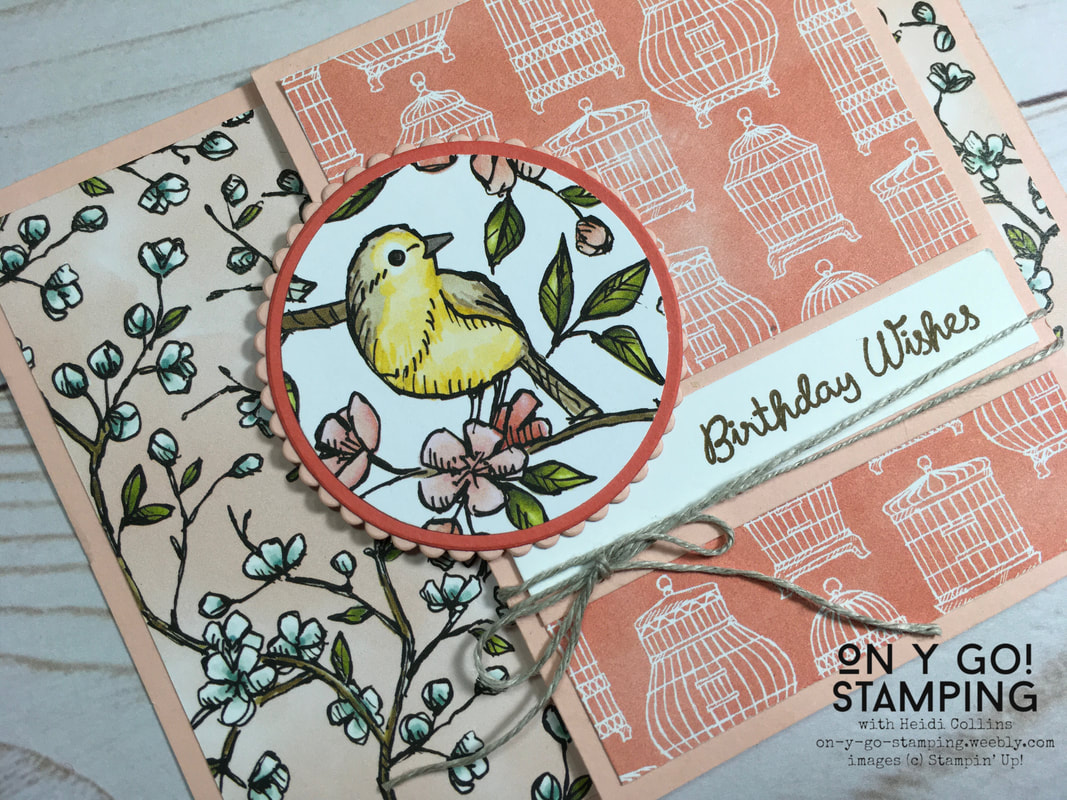
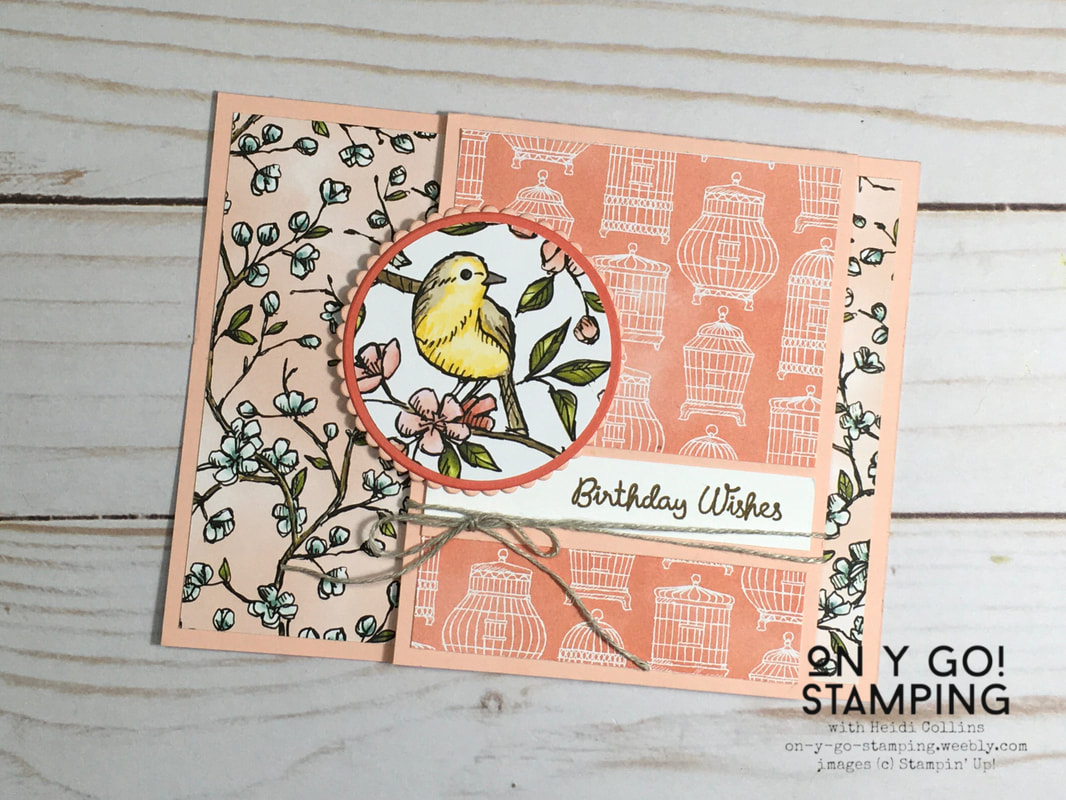
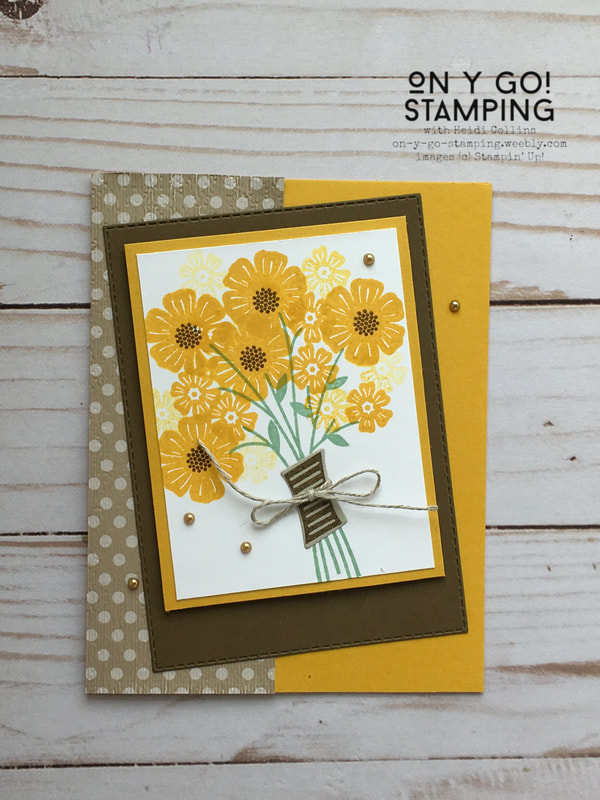
Today's fun fold card is really easy to make as it is basically just a mini card adhered to a flat card back. We had a blast making this card during Mystery Stamping last night. Be sure to join us next Tuesday on my Facebook group to play along!
On y go! Let's get stamping.
Adhere your larger piece of patterned paper to the piece of 4 1/4" x 5 1/2" cardstock. Then, adhere your mini card on top of that. Add the smaller piece of DSP over the front of this and then add images and embellishments as desired.
Product List


Product List


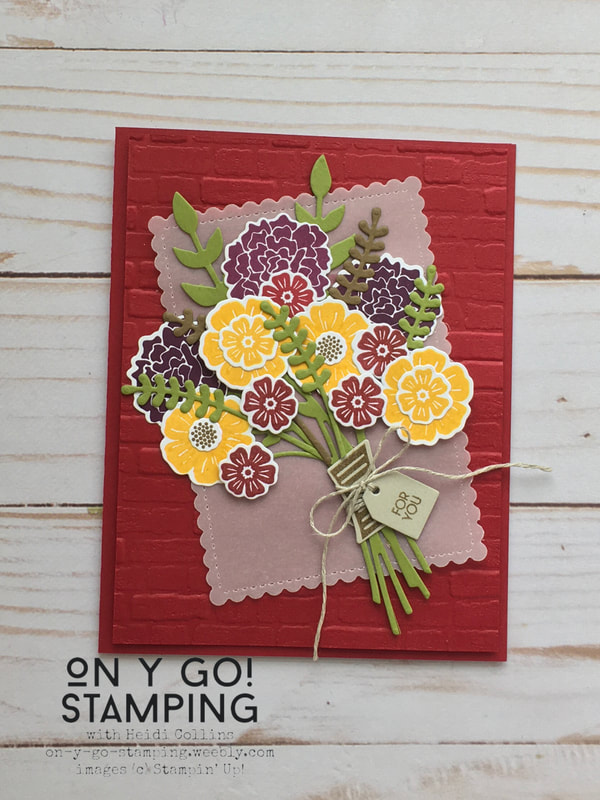
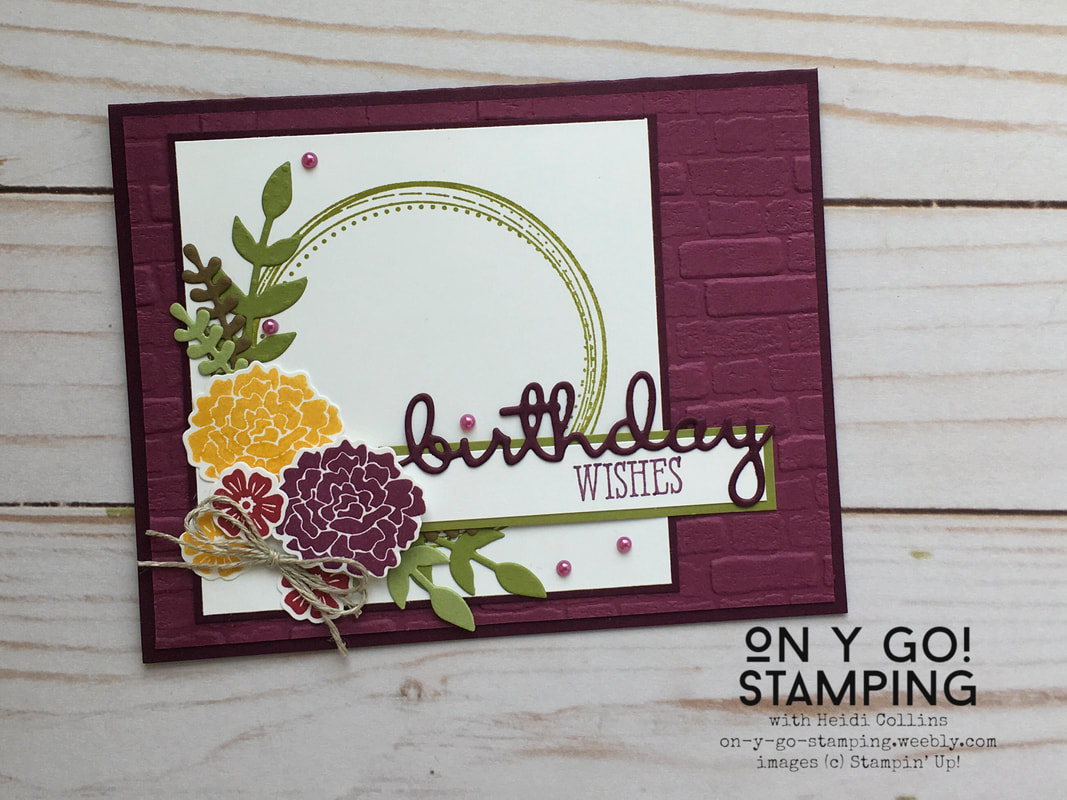
I absolutely love the Beautiful Bouquet stamp set and am so sad to see it leaving. The saddest part? I never even bought it. It was one of those sets that was always on the top of my wish list, but somehow kept getting bumped off. Luckily, I stamped a bunch of pieces with the set when I visited my sister last fall, and I finally got around to turning them into cards. One of the best thing about this set, is the variety of sentiment stamps it has. Sadly, I didn't stamp any of the sentiments while I was visiting, so I had to use other sets instead.
If this stamp set is on your wish list, be sure to get it before it's gone. All of the stamps and accessories on the Stampin' Up! Retirement List will no longer be available after June 2, and they are currently only available while supplies last. Many things have already sold out! Speaking of retirement, old stamps leaving means lots of new stuff is coming. If you haven't already, be sure to register for my New Catalog Virtual Launch Party by clicking the link to the right and down a bit. It happens live on Facebook June 6, but if you're registered, you can go back and catch up any time. I have lots of great stuff planned and I am soooo excited to share it all with you! Ok, enough chit chat. On y go! Let's get stamping.
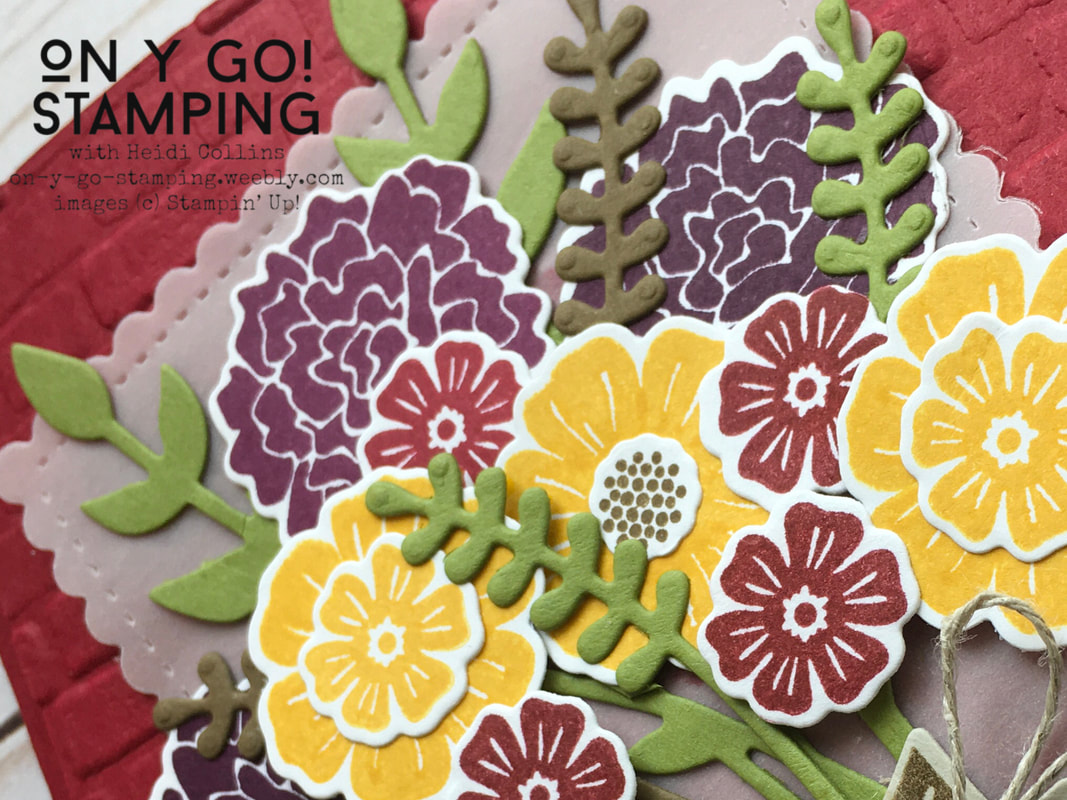
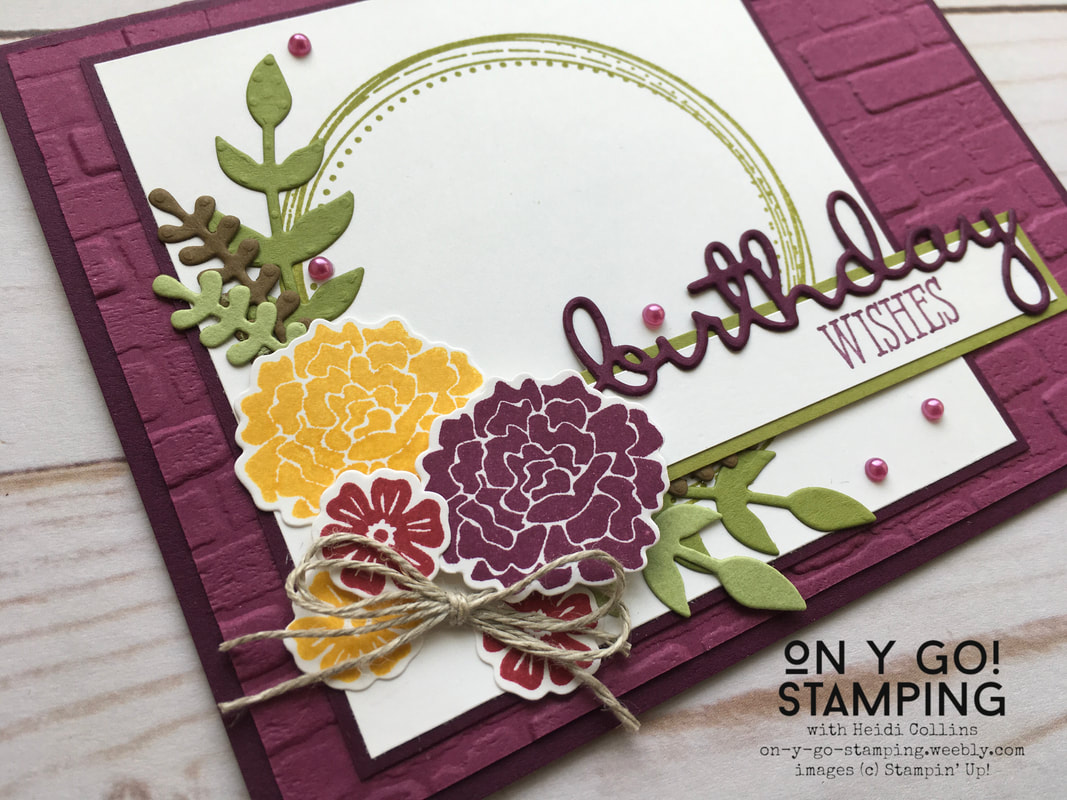
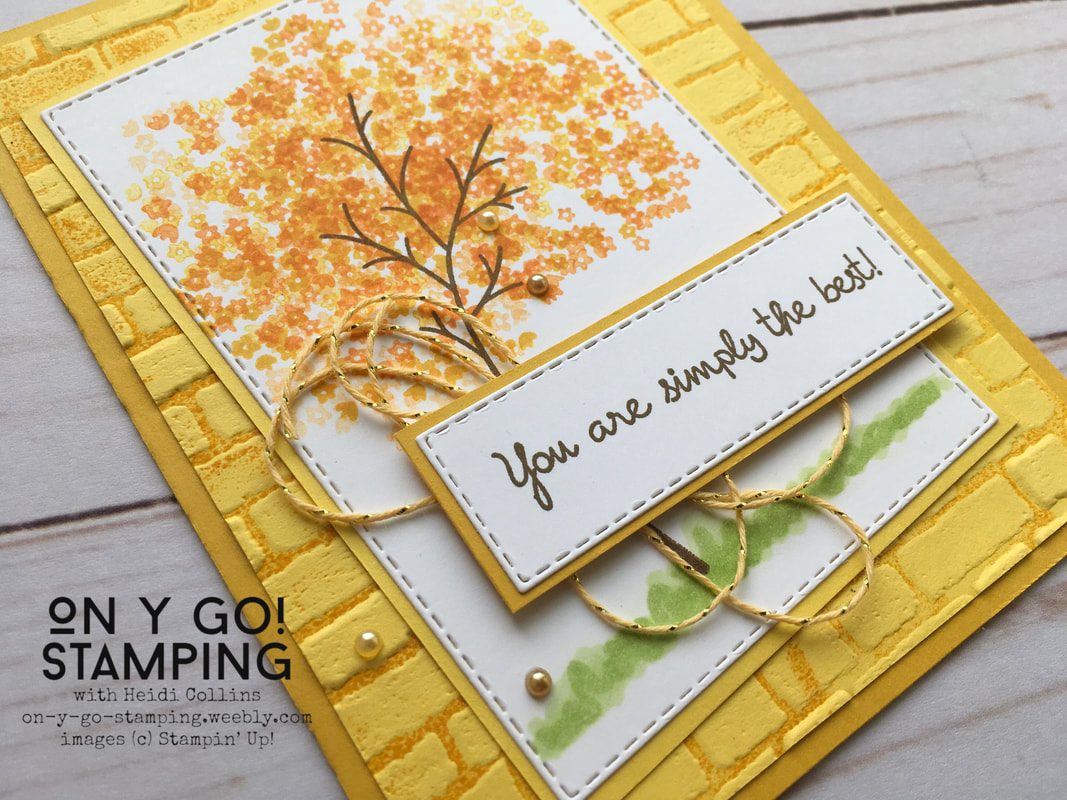
The sentiment for this card comes from the Timeless Tulips stamp set. I added some Daffodil Delight Metallic Bakers Twine that was available during Sale-A-Bration. I absolutely love this twine and I've nearly used up my package of it! Along with that I added some gold metallic pearls and some yellow pearls from the Share What You Love Artisan Pearls.
Product List


Share What You Love Artisan Pearls
[146927]
$6.00


If you're following the Stampin' Friends Blog Hop, you've reached me from Anne Marie Hile's wonderful blog. I hope after looking at my projects, you'll continue on to Melissa Thomas's and all the way through the rest of the hop.
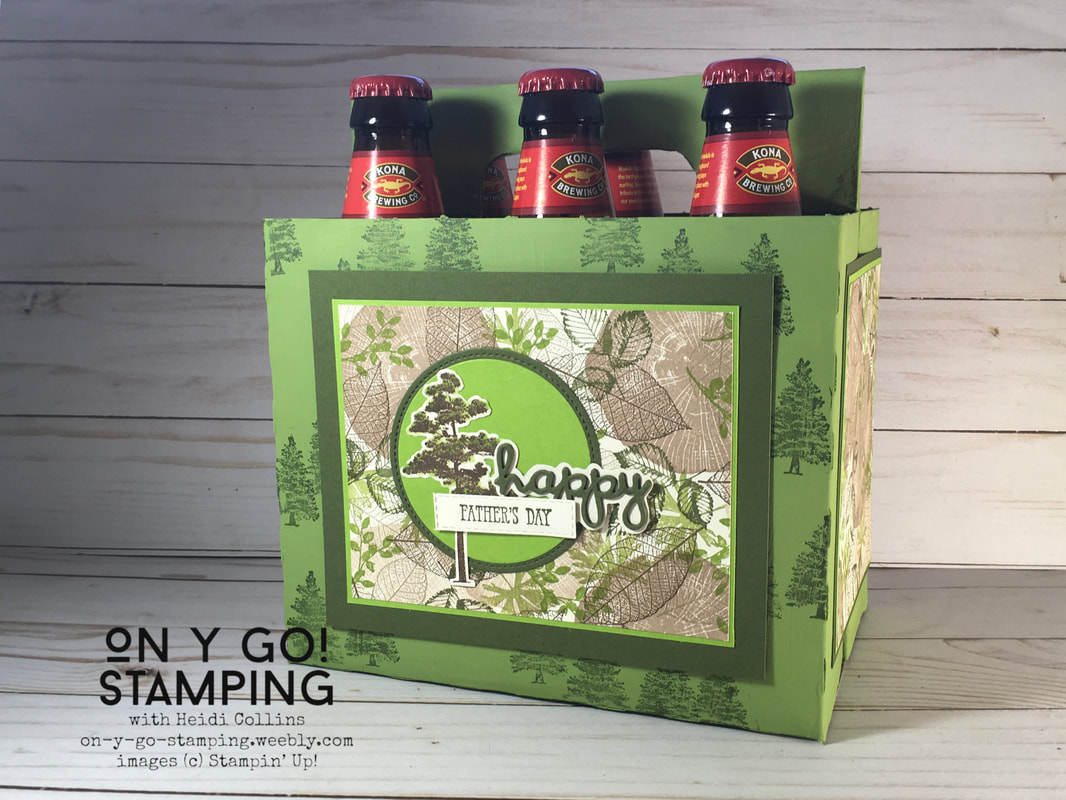
This month's theme for the Stampin' Friends Blog Hop is Masculine or My Guy. The Rooted in Nature stamp set from Stampin' Up! has the perfect stamps for some more masculine looking cards, and with Father's Day coming up in a month, it's the perfect time to get started on some gifts for Dad. So, on y go! Let's get stamping. 
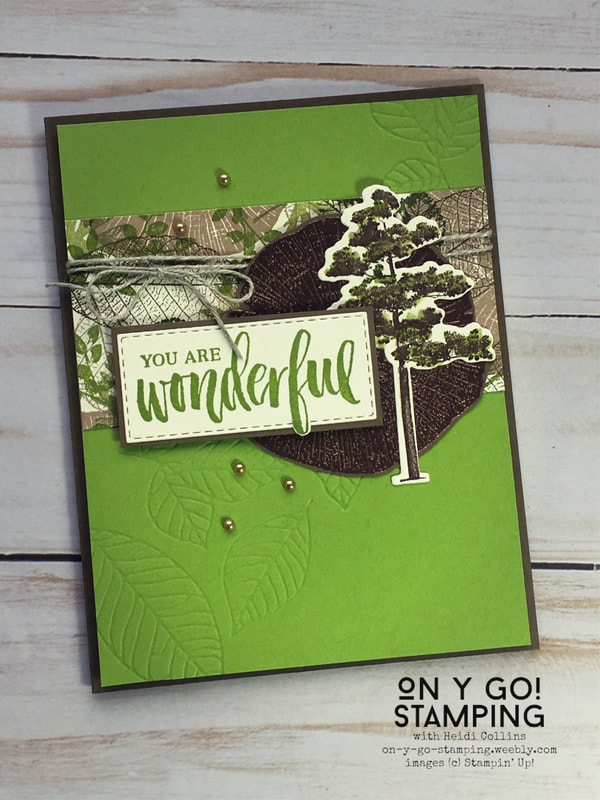
Finding gifts for guys always seems to be a challenge, but I know for my guy, I can't go wrong with some beer. (He's pretty easy to please!) So, to make this six-pack extra special, I added some personalized decoration. To go with the six-pack, I created a card to tell him just how wonderful he is to me and the kids.
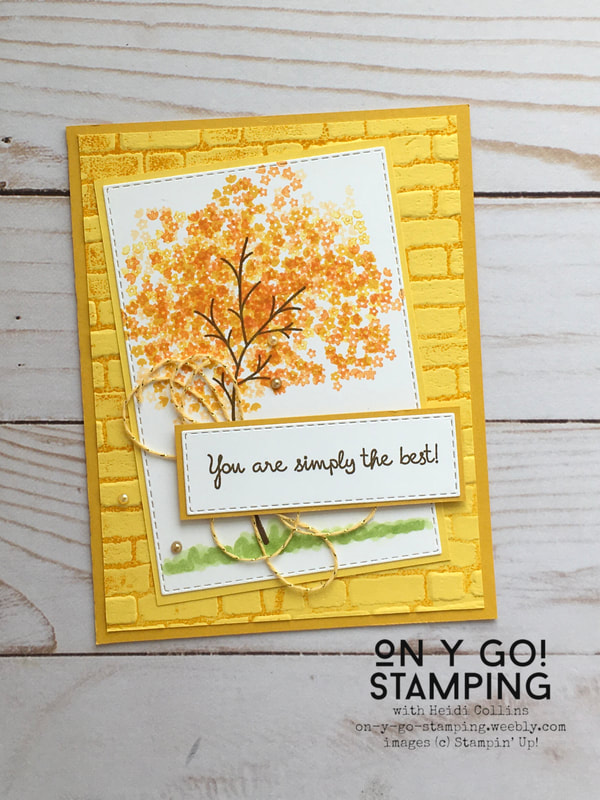
For both of these projects, I created my own patterned paper with the different leaf images from the Rooted in Nature stamp set. I started by stamping the tree rings with Crumb Cake ink. I stamped it off first on a piece of scratch paper to make it a little lighter, and then, I stamped it twice on my paper. I stamped these fairly close together all over a piece of 8 1/2" x 11" Very Vanilla cardstock. After my page was filled with tree rings, I stamped the various leaves in Granny Apple Green, Mellow Moss, Soft Suede, and Crumb Cake inks. I overlapped images and stamped multiple times before re-inking. When creating your own background paper, it is very important to get the images to really cover the page. Since you will be cutting the paper apart into smaller sections, you often need to place the images closer together than you normally would. Once you trim the pieces of cardstock into the sizes you want, you may need to go back and stamp a few more partial images around the edge.
I layered a piece of my handmade patterned paper on Granny Apple Green and Mossy Meadow cardstock. I added layered circles of each of these colors as well. On top of that, I added a tree image from the stamp set that I had stamped in Soft Suede ink. I colored over the needles of the tree with a Granny Apple Green Stampin' Blend. Then I fussy cut the tree and adhered it on top of the circles.
The words were cut with the Well Written dies and stamped with the Well Said stamp set. To create the outline for happy, I traced around the outside of the die on a piece of Very Vanilla cardstock and very carefully cut just within my pencil mark. Then, I layered the cut "happy" pieces on top of the vanilla piece I had cut.
I stamped the greeting with Granny Apple Green ink on Very Vanilla cardstock and cut it out with a Stitched Rectangle die. To let the "f" flow out of the rectangle, I trimmed out just the very bottom of the "f" before die-cutting the sentiment. When I placed my rectangle die, I lifted the tail of the edge so that it rested on top of the die instead of underneath it. This way, the bottom of the "f" was not cut with the rest of the rectangle.
To finish the card, I added some linen thread and a few Gold Metallic Pearls. The greeting is mounted on Soft Suede cardstock and adhered with Stampin' Dimensionals. Likewise, the entire card front is attached to a Soft Suede card base with Stampin' Dimensionals. This special card is filled with texture and dimension. The perfect gift for a wonderful guy! Thanks again for visiting the On Y Go! Stamping blog. I hope you will continue on to Melissa Thomas's amazing blog and then on through the rest of the blog. Here's a complete list of bloggers: 1. Jean Bolen Beaulieu 2. Teri Pocock 3. Katja Ettig 4. Steph Jandrow 5. Tiziana Milano 6. Kim Quade - US 7. Kim Lamos 8. Maureen Rauchfuss - US 9. Anne Marie Hile - US 10. Heidi Collins <--- YOU ARE HERE 11. Melissa Thomas 12. Rachael Rife
Product List


")


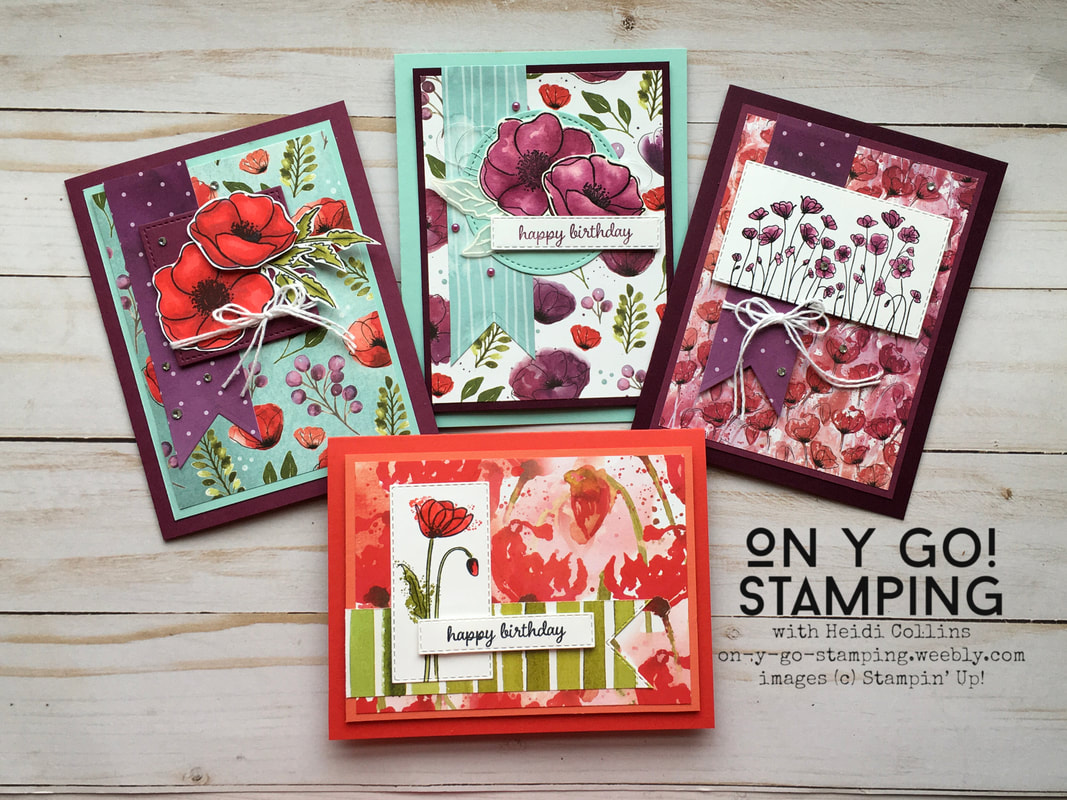
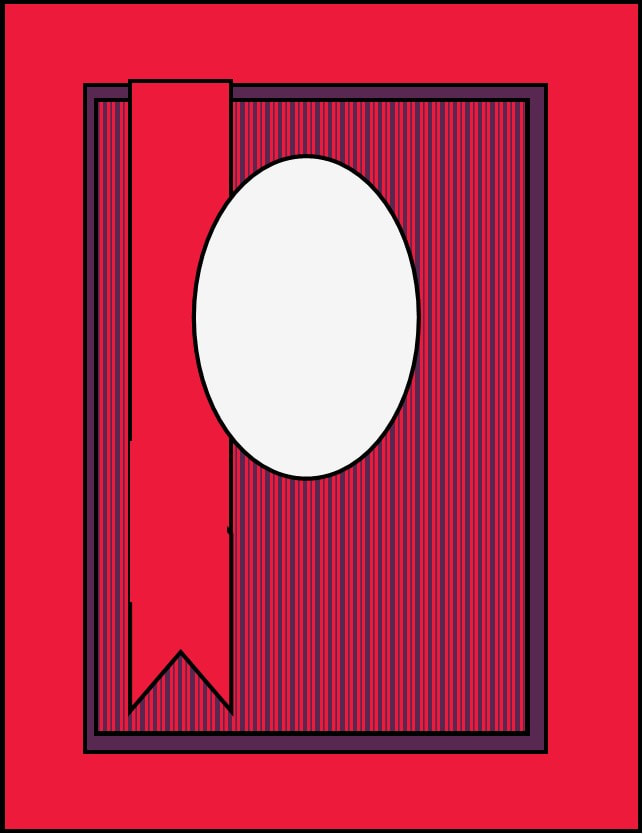
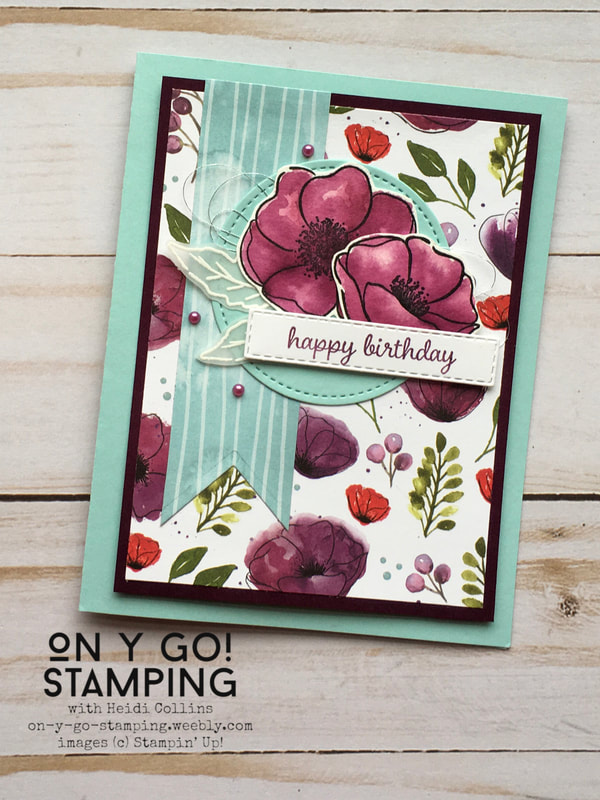
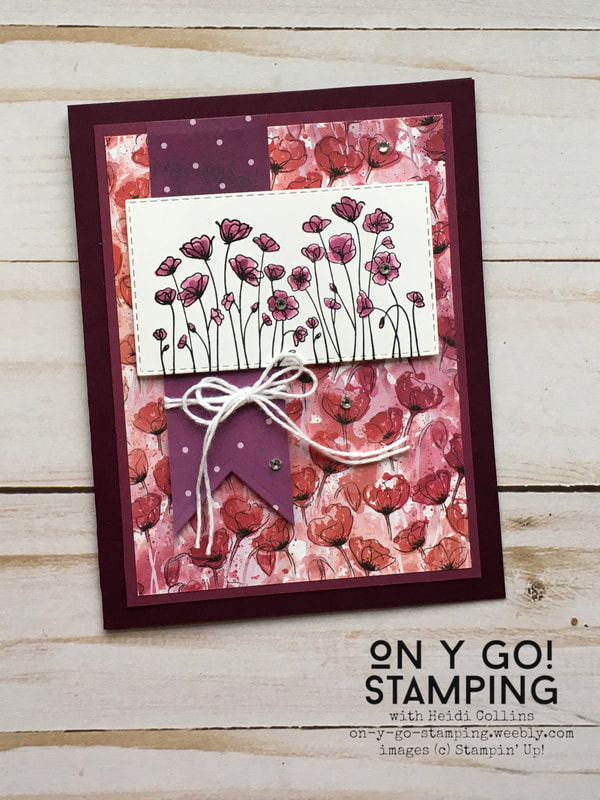
I may have gone a little overboard on the number of variations I made for last night's Mystery Stamping, but once I pulled out the Peaceful Poppies Designer Series Paper, I just couldn't stop! I love, love, LOVE this paper, but I realized that I've hardly used it. That's because I love the poppies in other color combinations as well, like the Pumpkin Pie, Real Red, and Mint Macaron ones I did Monday. But that means that there were tons of color combinations to try. So, on y go! Let's get stamping.
Product List


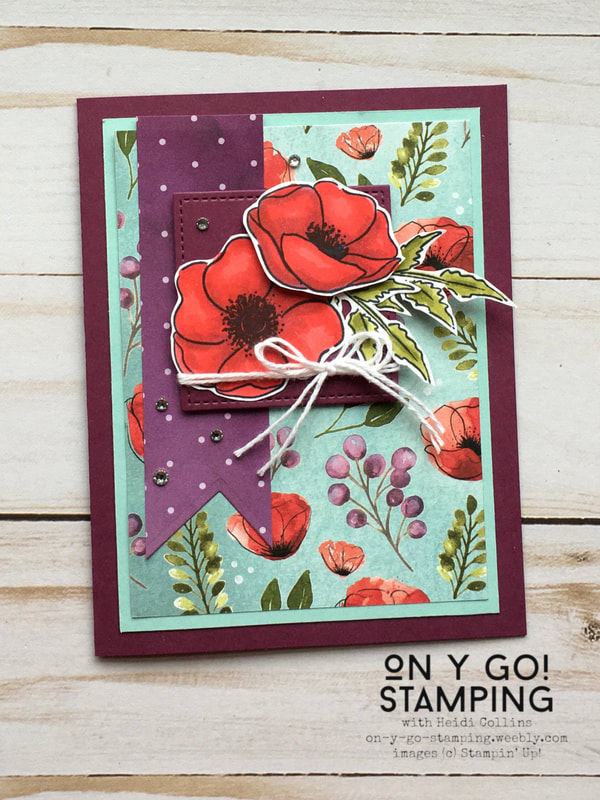
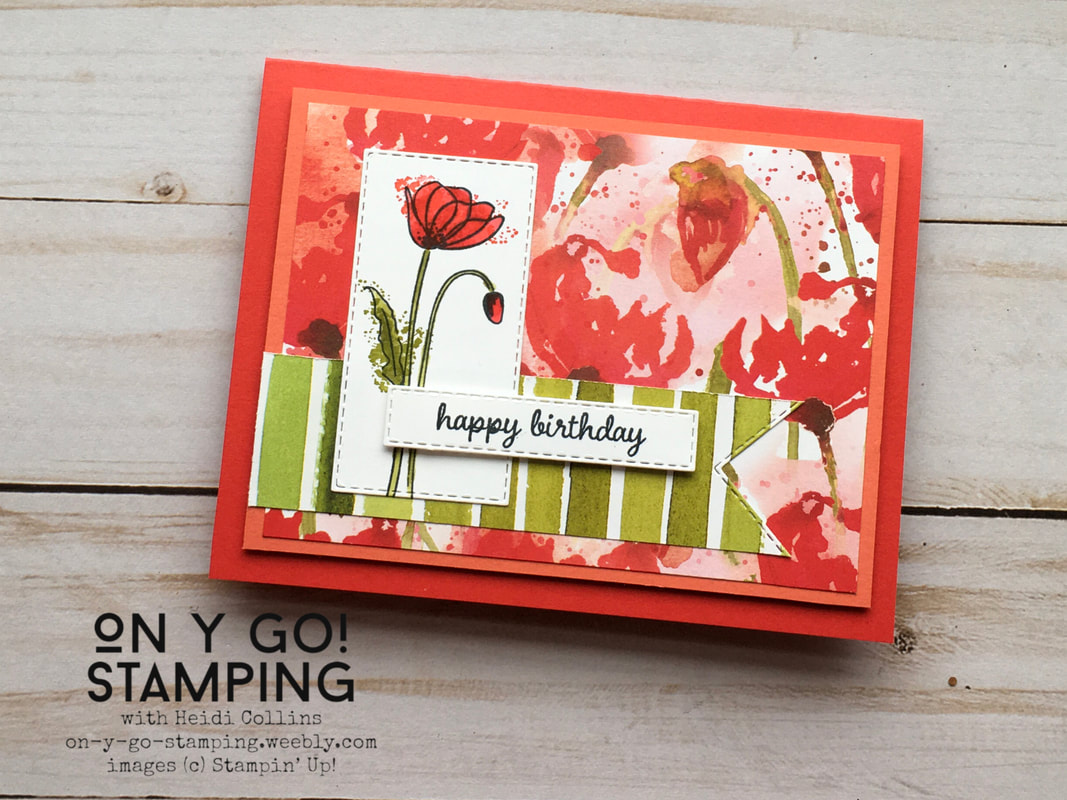
The rest of my cards for this sketch use the Painted Poppies stamp set and the Peaceful Poppies Designer Series Paper. While the stamps are carrying over into the new catalog (yay!) the paper will be retiring.
For the first two cards, I water colored the poppies using Rich Razzleberry and Blackberry Bliss ink and an Aqua Painter. Remember, when water coloring, you should always use a Stazon ink pad.
Product List


Share What You Love Artisan Pearls
[146927]
$6.00
|


Archives
July 2024
|
")


")