• About
  • Online Card Classes
  • Card Making Ideas
  • Stampin' Up! Catalogs
  • Card Tutorials
  • Contact
  • Shopping Rewards
  • Shop
  • Join Stampin' Up!
ON Y GO! STAMPING
  • About
  • Online Card Classes
  • Card Making Ideas
  • Stampin' Up! Catalogs
  • Card Tutorials
  • Contact
  • Shopping Rewards
  • Shop
  • Join Stampin' Up!

Check It Out - Gift Tags

8/31/2019

0 Comments

 
Picture
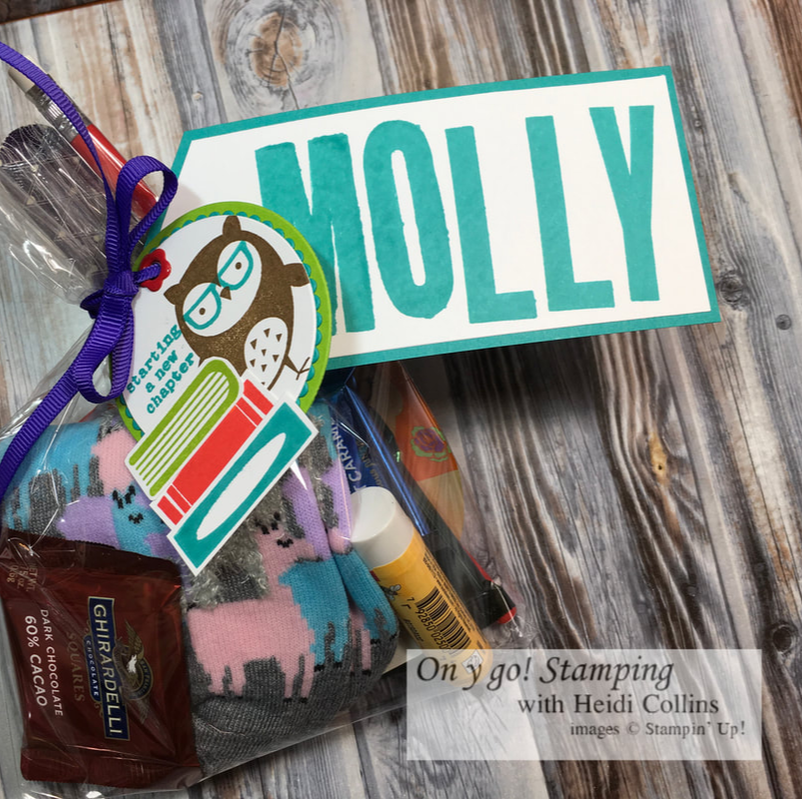
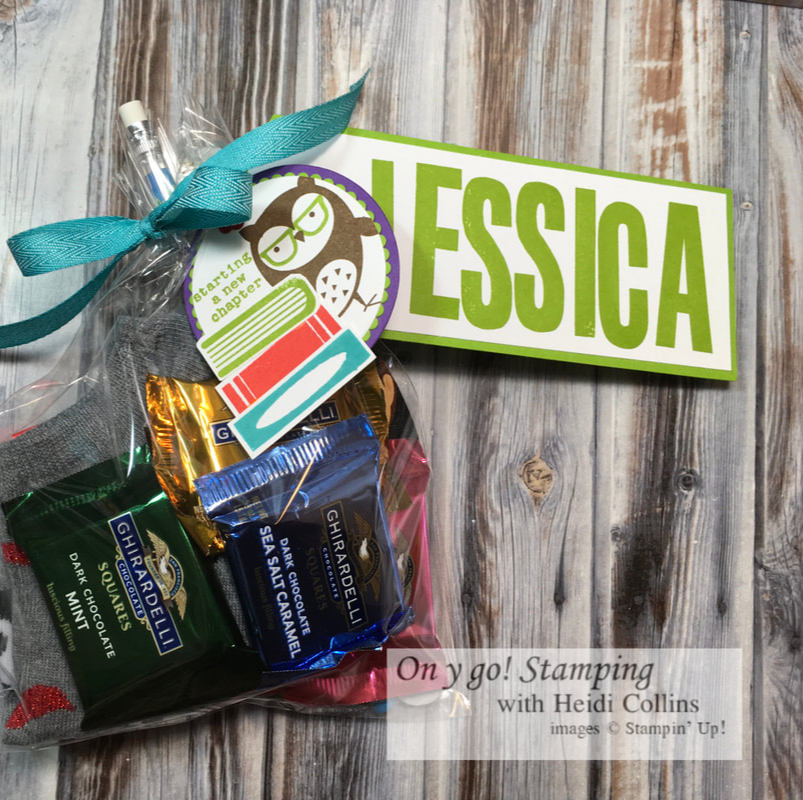
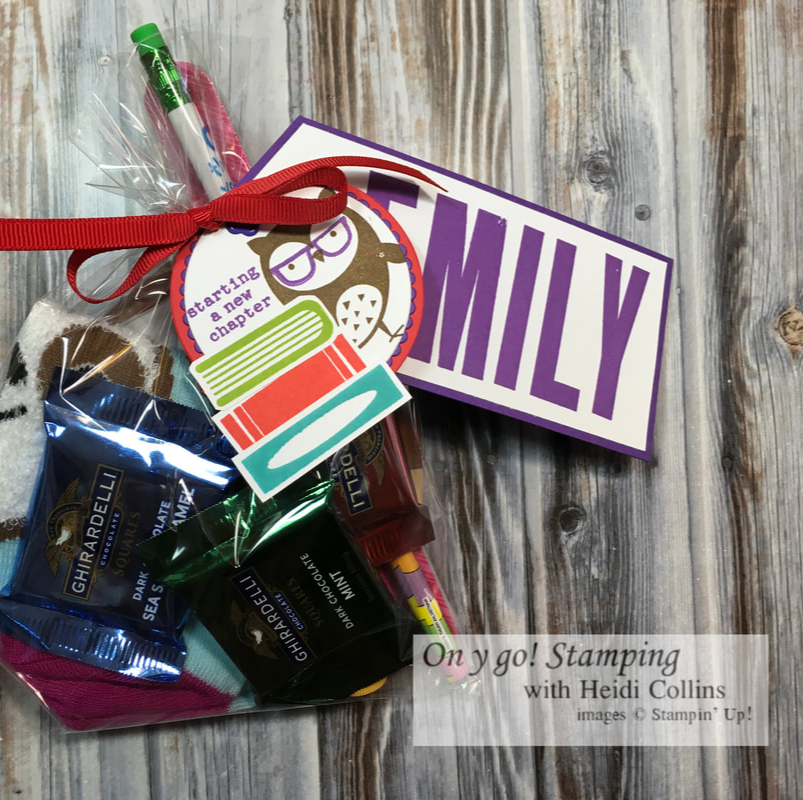
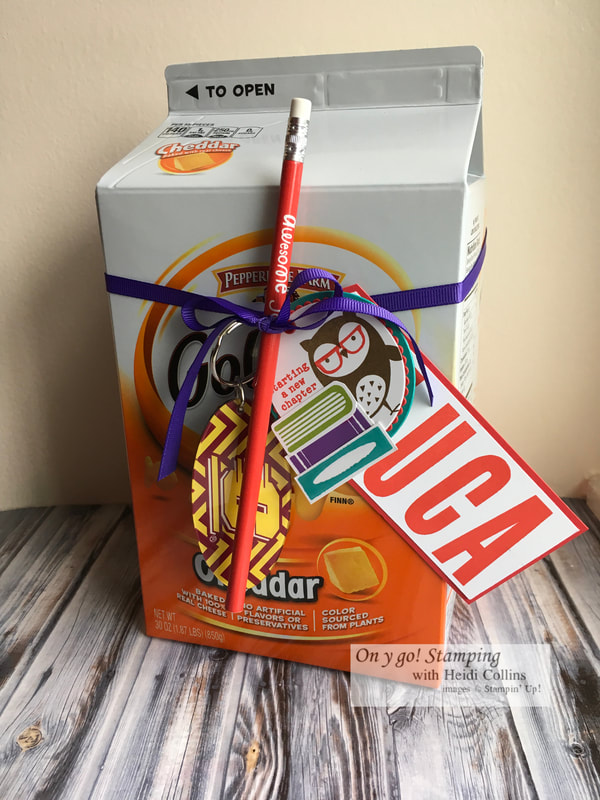
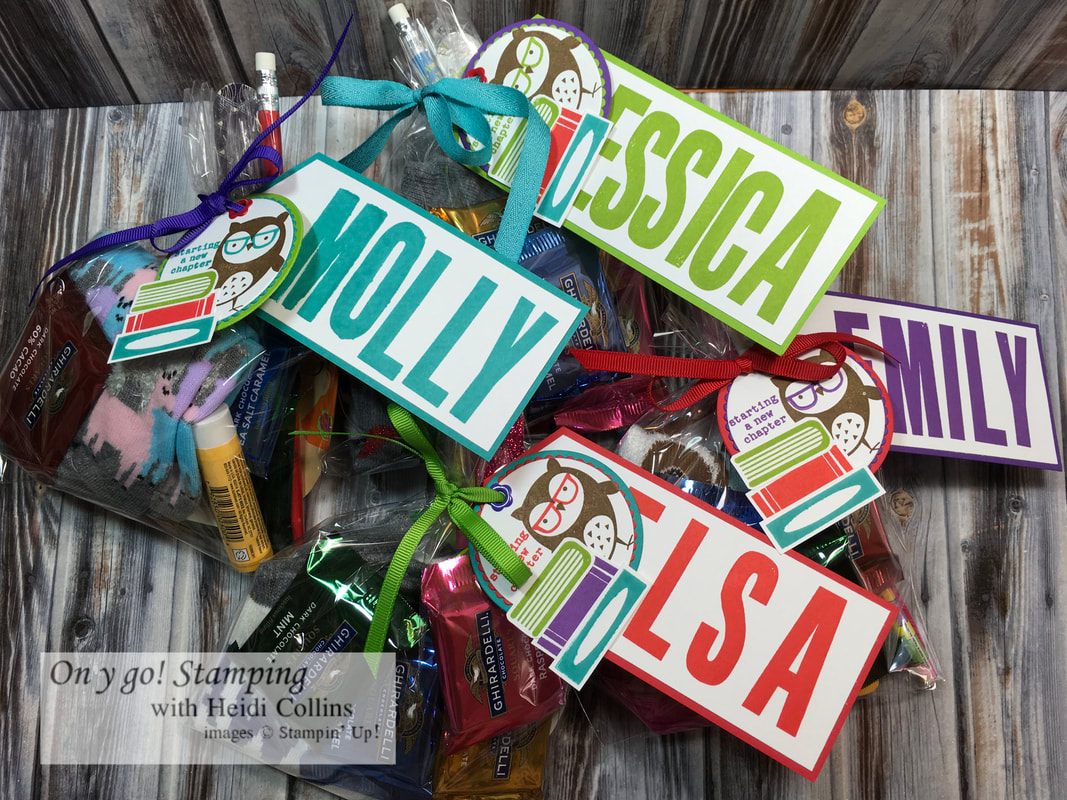
Since all four of us work for or attend a University, it was Back-to-School week for the whole family this week. (Well, technically, my daughter was supposed to start last Thursday, but since she somehow managed to schedule all of her classes on Monday and Wednesday, she didn't have class until this week.) To celebrate my daughter's senior year, I made these fun goody bags for her and her roommates. 

​She has a great group of friends who she is rooming with again this year. They met the first day of band camp her Freshman year. I know lots of people make life-long friends in college, but I also know it doesn't necessarily happen for everyone.  I am so thankful she found this great group of buddies to spend these four years with.

​I bundled up some fun girly goodies and put them in 6"x8" cello bags (102210), tied each up with a ribbon, and added a some fun tags. I used a color combination of Gorgeous Grape, Bermuda Bay, Poppy Parade, and Granny Apple Green. I stamped each of their names in a different color and then varied the cardstock and images so that each tag has a mix of the four colors. 

Picture
Picture
Picture
Picture
Picture
Picture
To stamp their names, I used the *very* retired Headline Alphabet. I trimmed the edges and then threaded the strip through my Tailored Tag punch (145667) to cut only one end of it and create a tag that looked like a shipping label. 


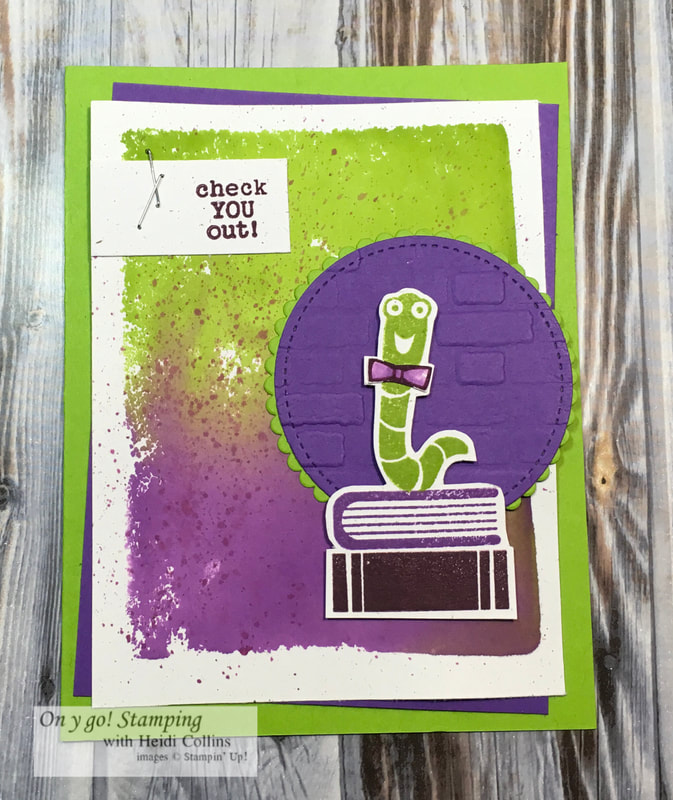
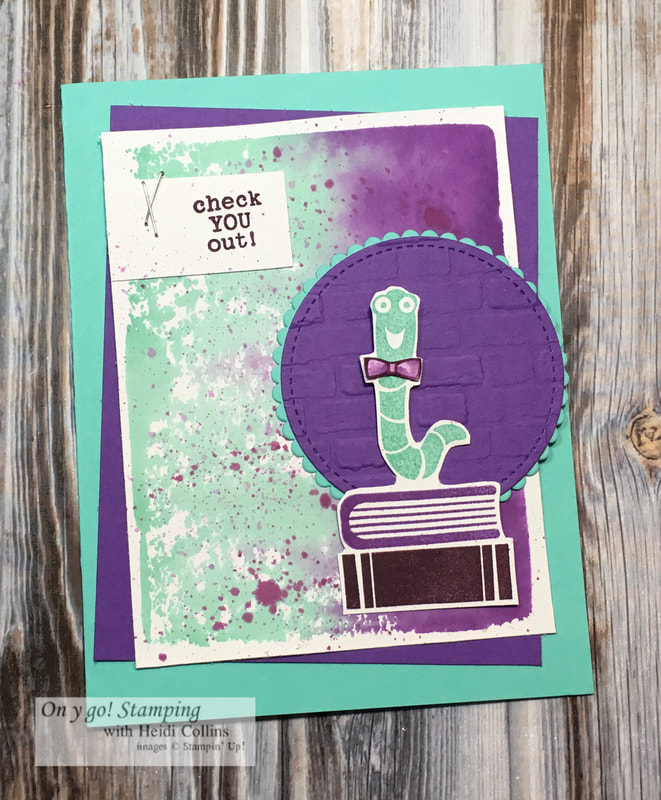
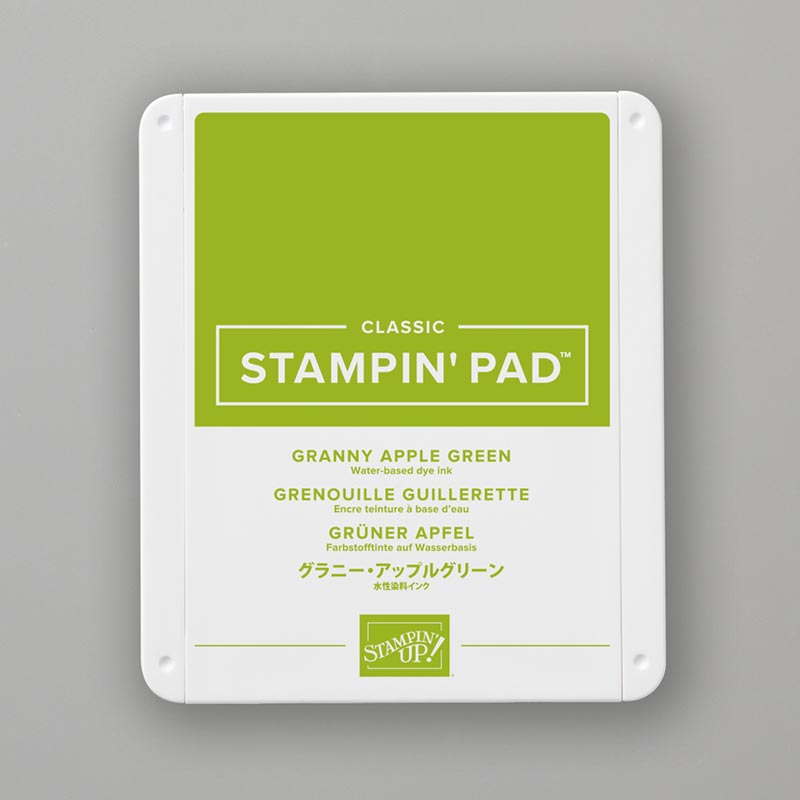
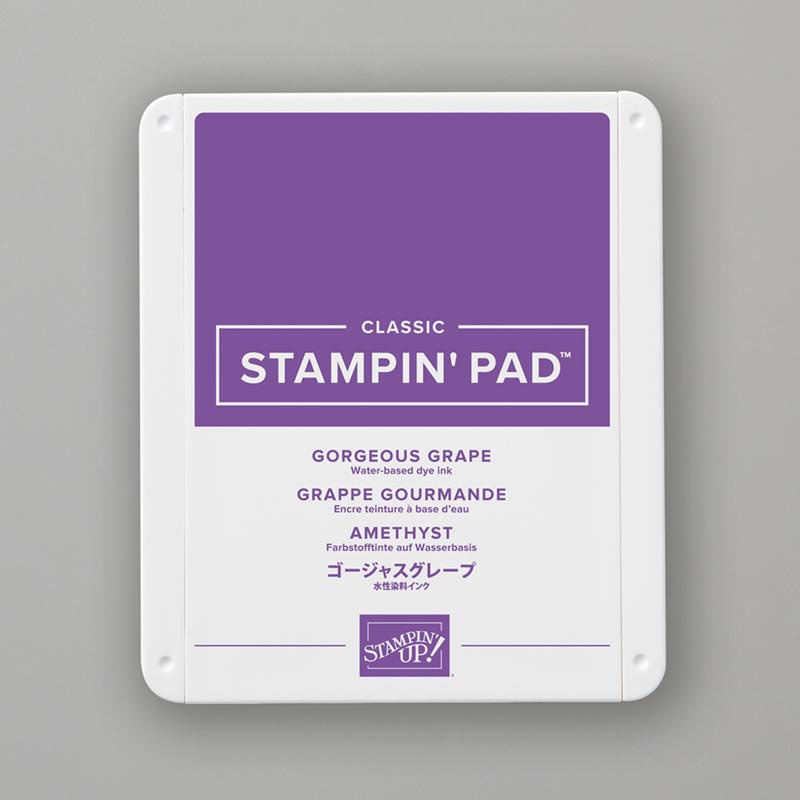
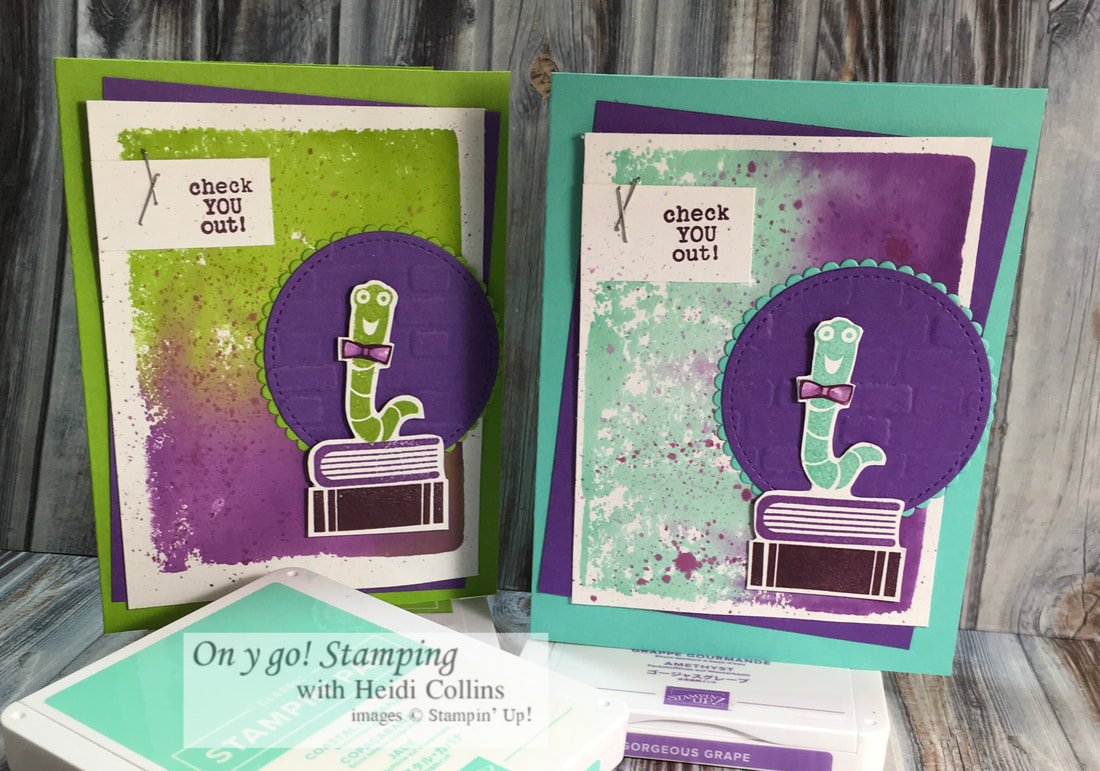
Then, I used the new Check You Out stamp set (149462) to stamp the owl in Soft Suede ink and cut it with the Layered Circle dies (141705). I love this new stamp set! It has been on my wish list since the day the catalog was released and I am so glad I finally got it. It is great for making cards for students, teachers, or any of your favorite bookworms. I stamped the books in Bermuda Bay, Poppy Parade, Gorgeous Grape, and Granny Apple Green. I cut them out with my scissors and stacked them up. I angled and overlapped the books just a little so I could adhere them to one another with a little liquid glue. Then I attached them to the owl circle. I used some *very* retired flower eyelets to reinforce the holes at the top and tied it together with ribbon from my stash.

Hopefully the girls will enjoy receiving a package in the mail and it will be a great start to a great senior year!

​Don't worry, the boy was not left out. I made a similar tag for my son and used it to wrap a big box of his favorite treats. And as a bonus,  the hubby and I get to eat up all the extra candy I bought. I think we might need it to get through the first week!

If you or your kiddos are headed back to school, I hope you have an amazing first week too!
Picture
0 Comments

Technique: Acetate and Tissue

8/28/2019

0 Comments

 
Picture
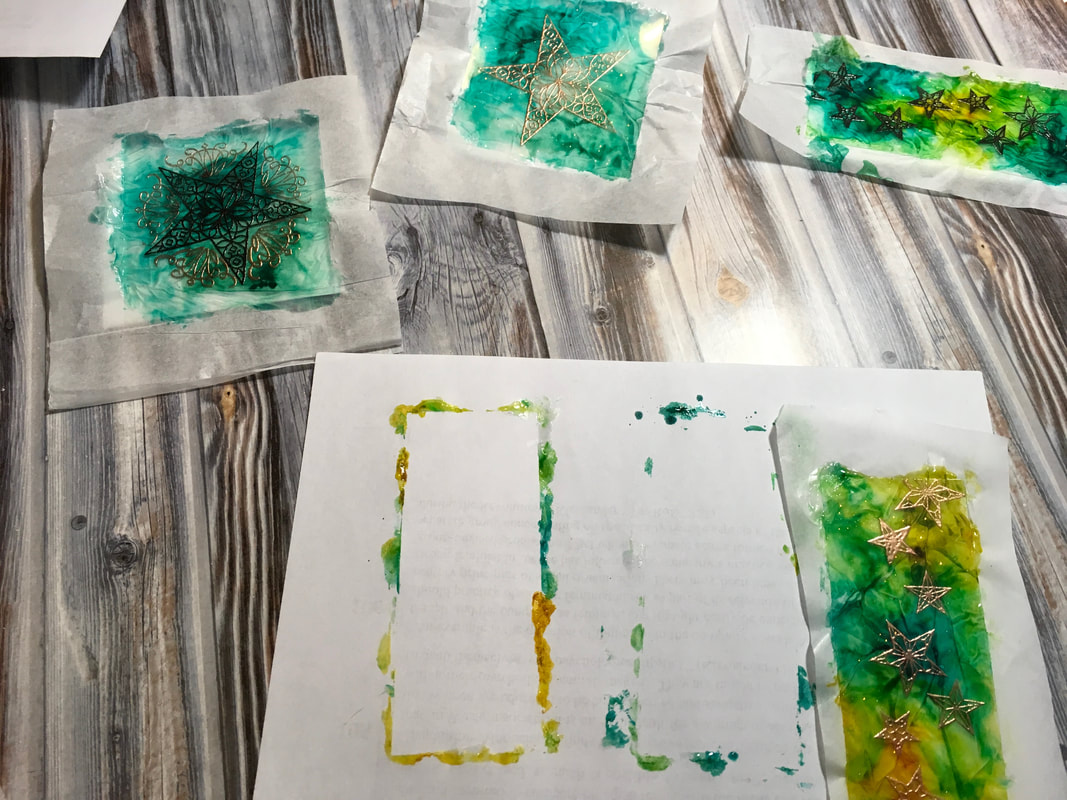
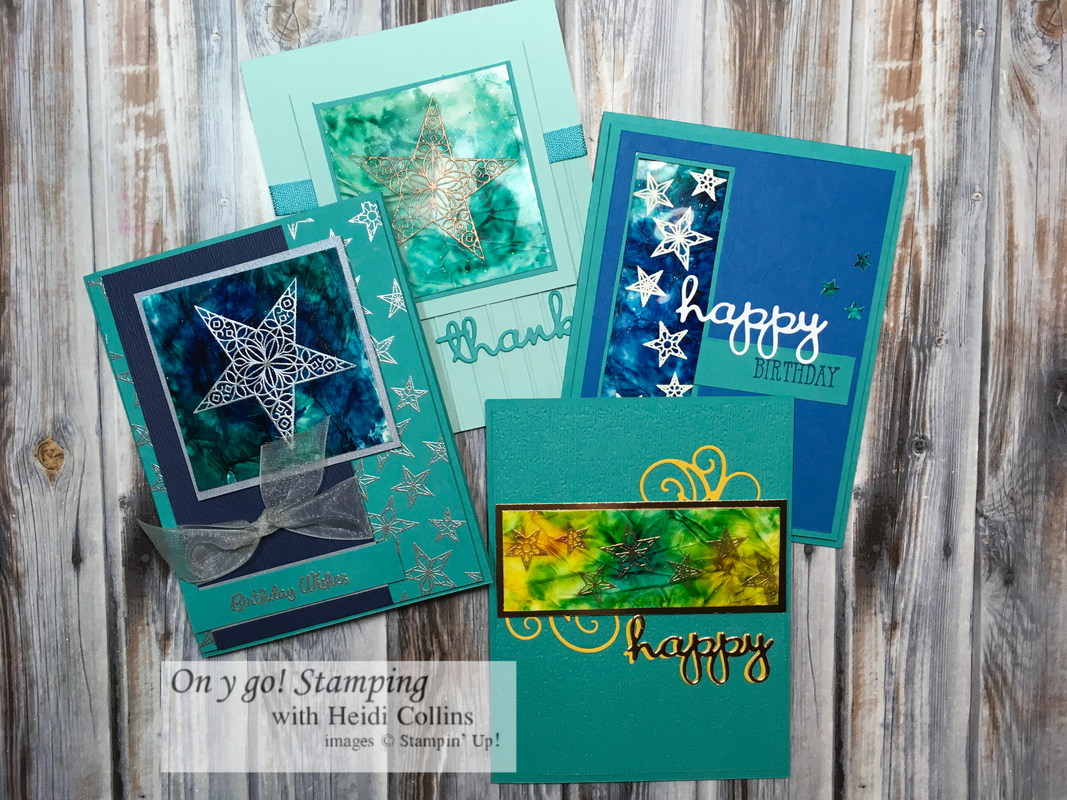
Are you ready to get messy? Today's technique involves quite a bit of mess, but lots of fun and beautiful results! 

Supplies needed:
  • Window Sheets (142314), acetate sheets, or Photocopier Transparency Film
  • Shimmery Crystal Effects (Holiday Catalog p. 41, 150892)
  • White tissue paper
  • Re-inkers (I used Bermuda Bay 131156, Pacific Point 111840, Pool Party 122933, and Crushed Curry 131158)
  • Light colored cardstock
  • Versamark ink (102283)
  • Embossing powder (I used white 109132, copper 141636, gold 109129,  black 146956, and white 109132)
  • Heat tool 129053
  • Embossing buddy (103083)
​
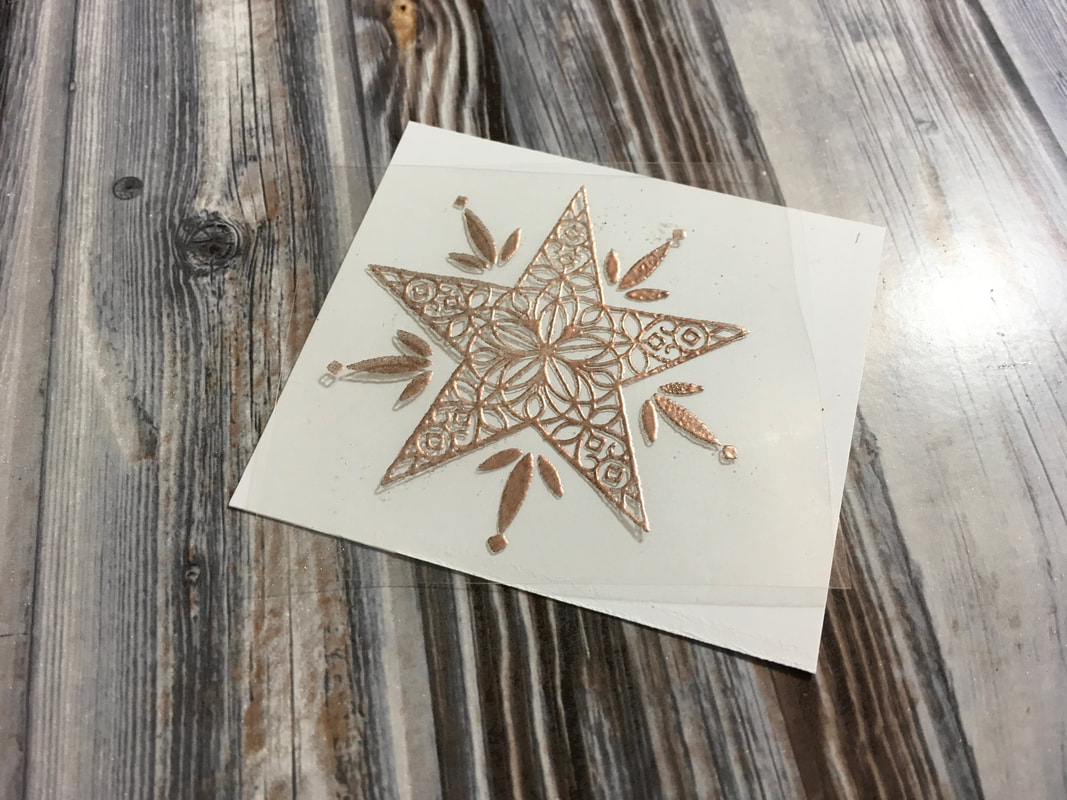
Years ago (10+), I bought a package of Plain Paper Copier Transparency Film on clearance. I've trucked it through at least 5 moves, including twice across country. I knew that some day - some day! - I could use it to make window cards. Since I still hadn't used 1 sheet out of the hundred in the package, I decided it was high time I used it for something. I browsed through some technique tutorials on SplitCoastStampers and came across this gem by Beatte. It's an oldie, but since Stampin' Up! has Shimmery Crystal Effects in there upcoming Holiday catalog, it seemed like perfect timing. 
Picture
Picture
Picture
Picture
I started by cutting a piece of the window sheet down to a size I thought I would use. Then, I used the new So Many Stars (150496) stamp set from the upcoming Holiday catalog to heat emboss star images on these pieces. The clear plastic has unbelievable static, so it's extremely important to use an Embossing Buddy (103083) for this project. 
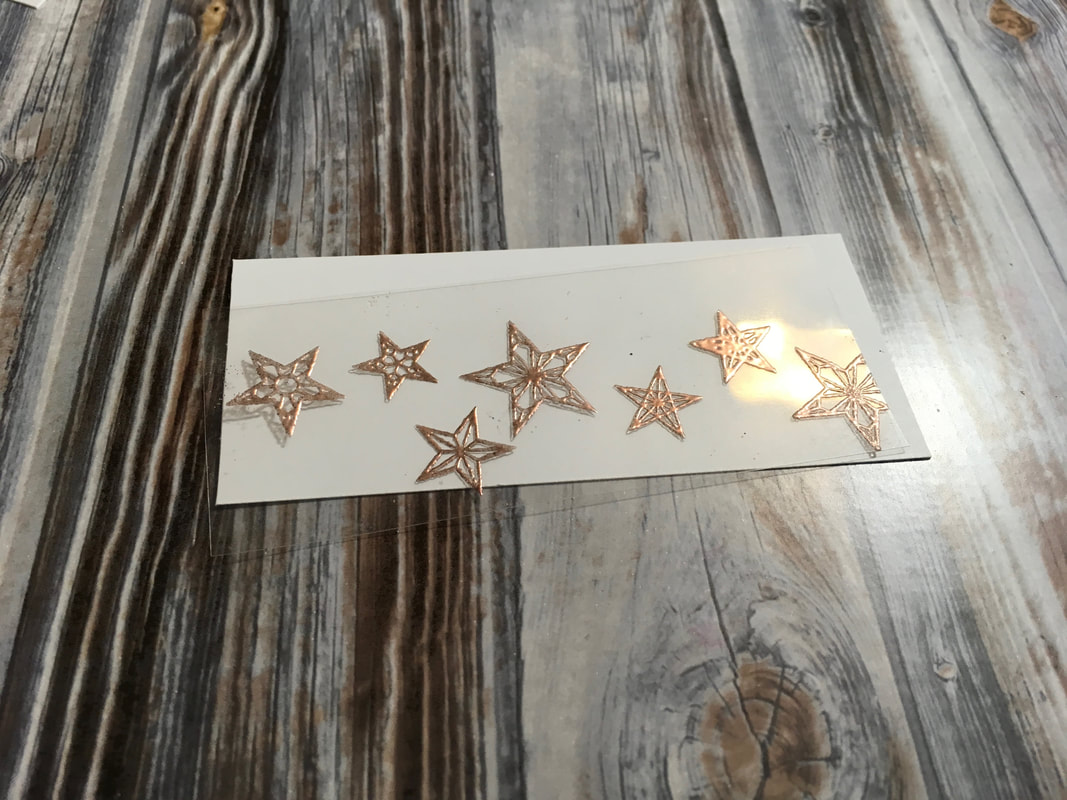
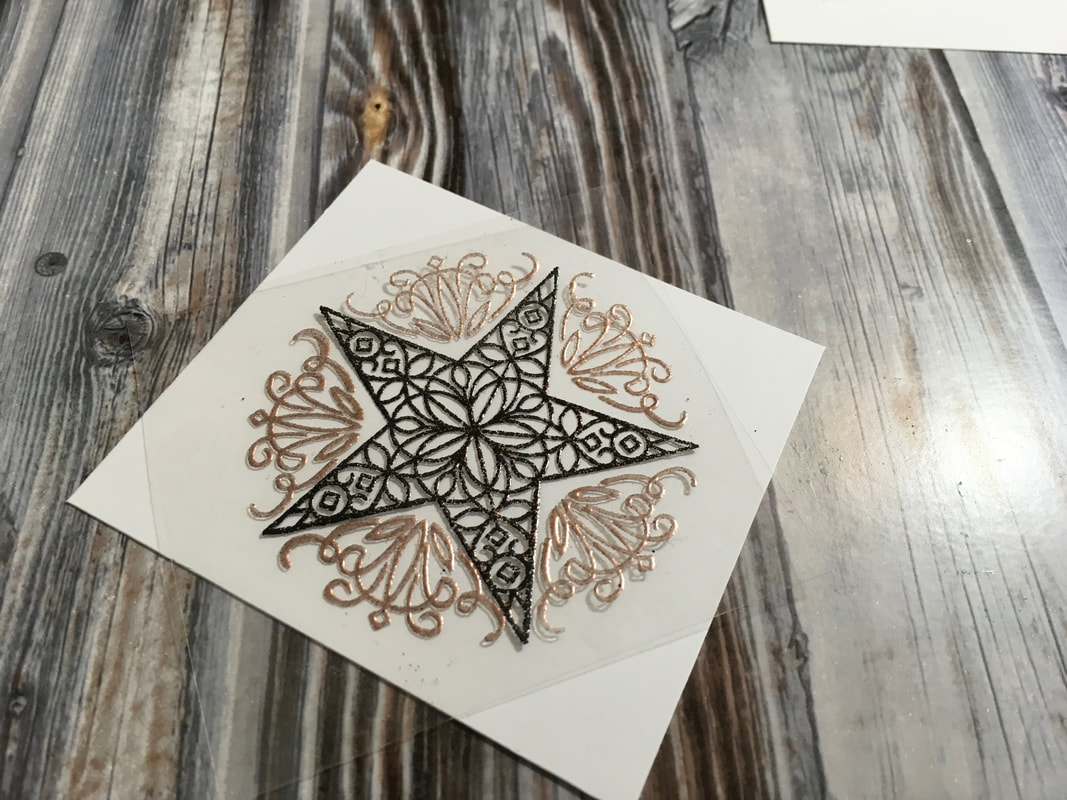
I stamped a number of different pieces to try out different color combinations. ​

Cut a piece of light colored cardstock just a smidge bigger than your piece of window sheet and a piece of tissue paper that has about a half inch overhang on all sides. 
​
Now comes the fun messy part! After you have heat embossed your images, turn your piece of window sheet over and squirt on a fair amount of Shimmery Crystal Effects (150892). Crystal Effects is basically a clear glue. When it dries, it leaves a shiny wet look. The Shimmery Crystal Effects has glitter in it and is a great way to add sparkle to a project without the mess of glitter. Be sure to shake the bottle well before you start so that the glitter is evenly dispersed in the glue. 
Picture

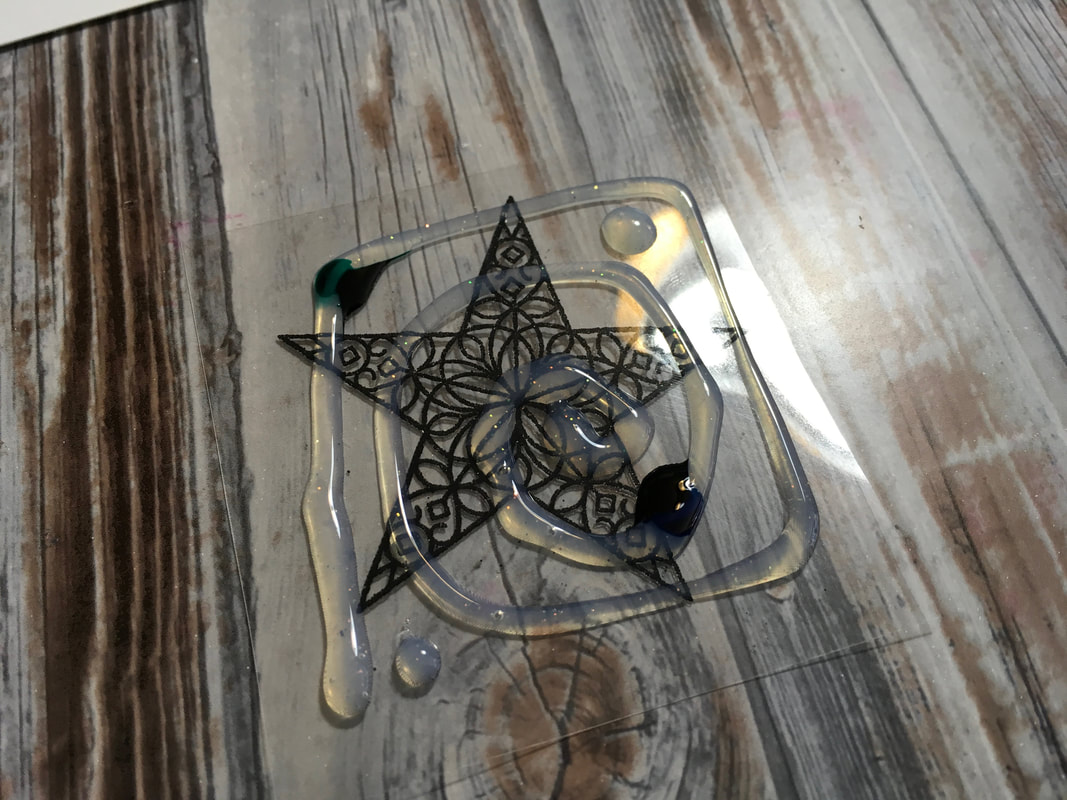
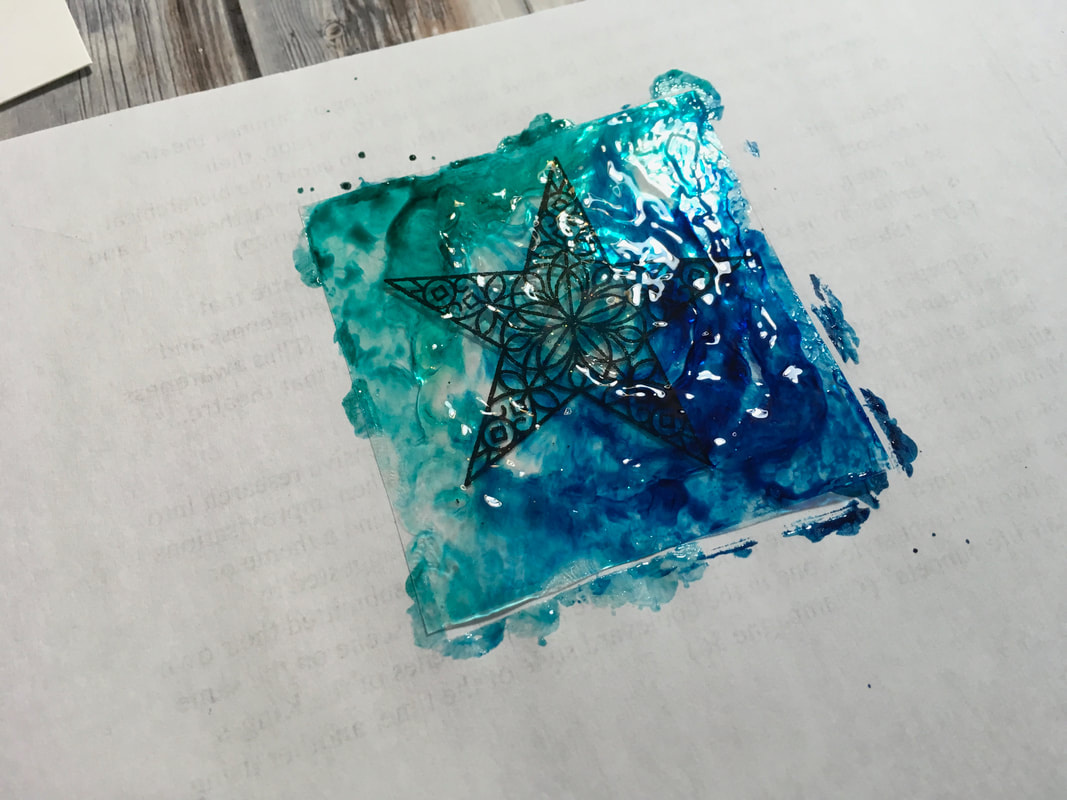
After you've applied the Shimmery Crystal Effects, put a couple of drops from your re-inkers on different areas of the glue. I used two different colors and added one drop of each. Start with just a drop or two. If it's too dark, you can add more. 
Picture
Take your finger and dab it all over the ink and Shimmery Crystal Effects. Smart people would wear gloves to do this, I couldn't be bothered, so my fingers were a little blue when I finished. (No worries - it washed off in a day or two.) You want to overlap the colors a little bit, but not so much that it just mixes into one color. 
Take your piece of tissue paper and lay it over the back of your window sheet in the Crystal Effects. You can press it down and let it crinkle and pucker up a little. You'll want to play around with it to get the look you are going for. Then, lay the piece of light colored cardstock over the tissue paper. 

I found that I didn't use enough Crystal Effects that it would completely adhere to the light colored cardstock. But It did stick in places, and once it was dry, I used a little Snail Adhesive to stick it down completely. 
Picture
Picture
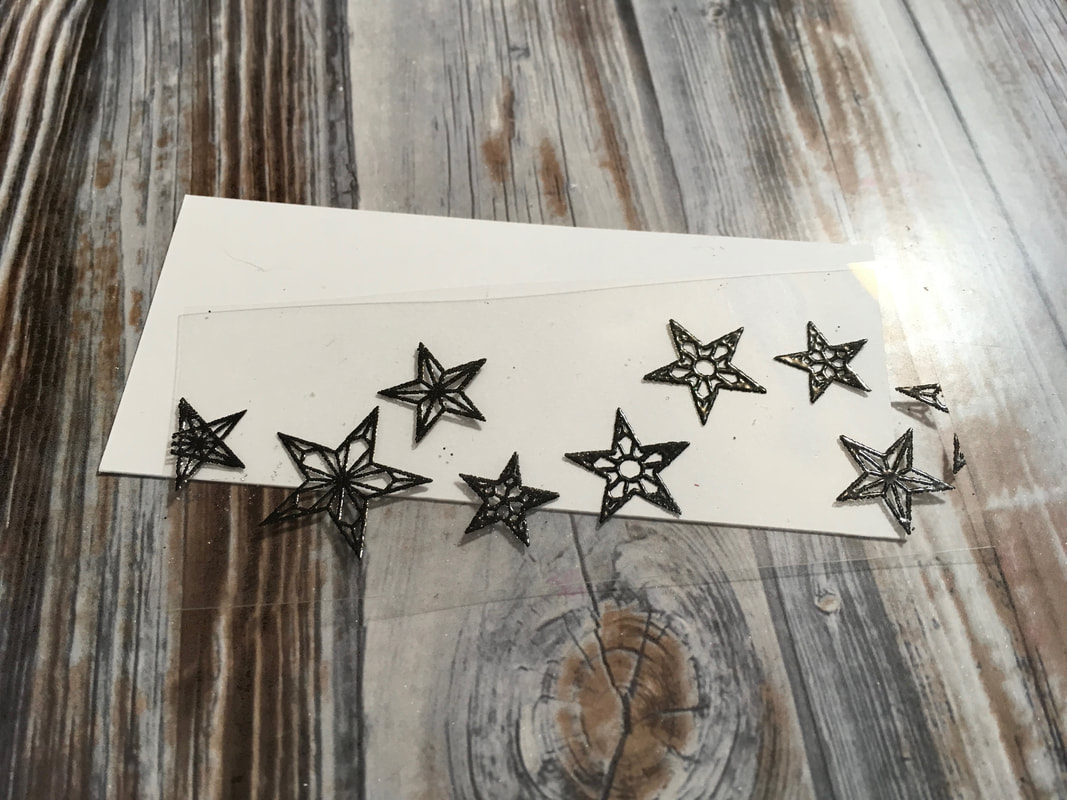
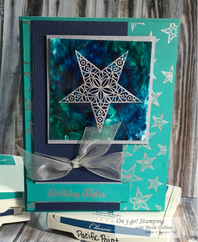
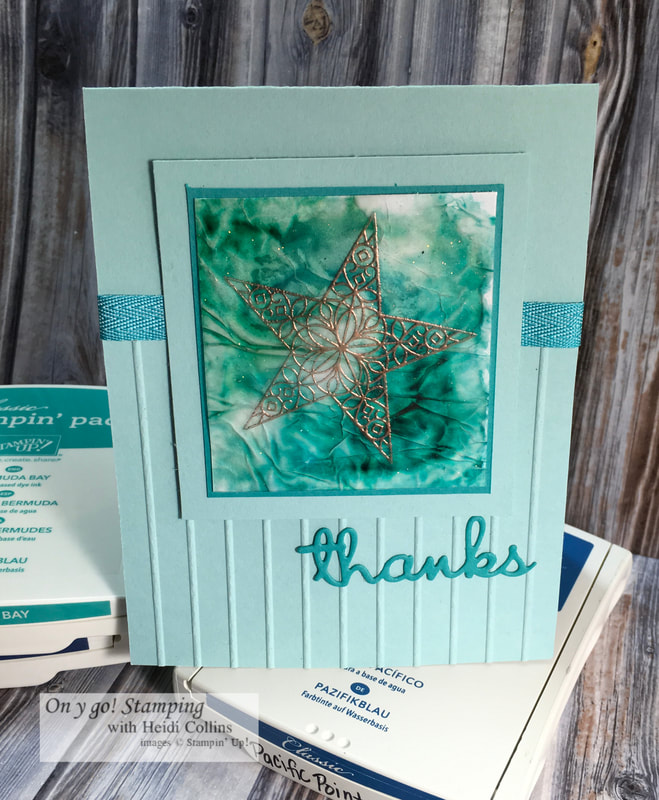
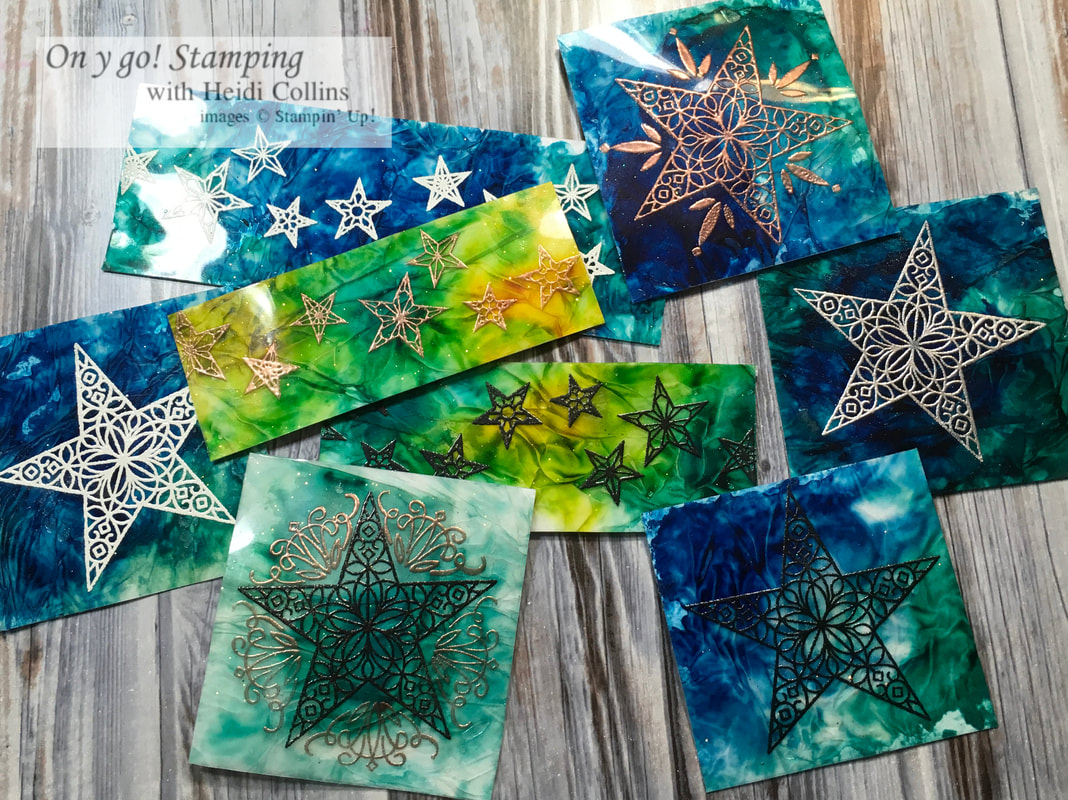
When your image is dry, trim off the excess tissue paper and cut the image to the size you desire. I found that the white and silver embossing powders showed up the best. The black, gold, and copper tended to get lost in the background design unless you turned them to the light just right. 
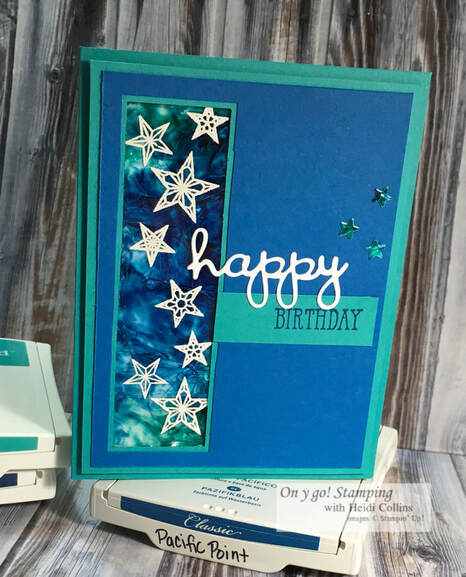
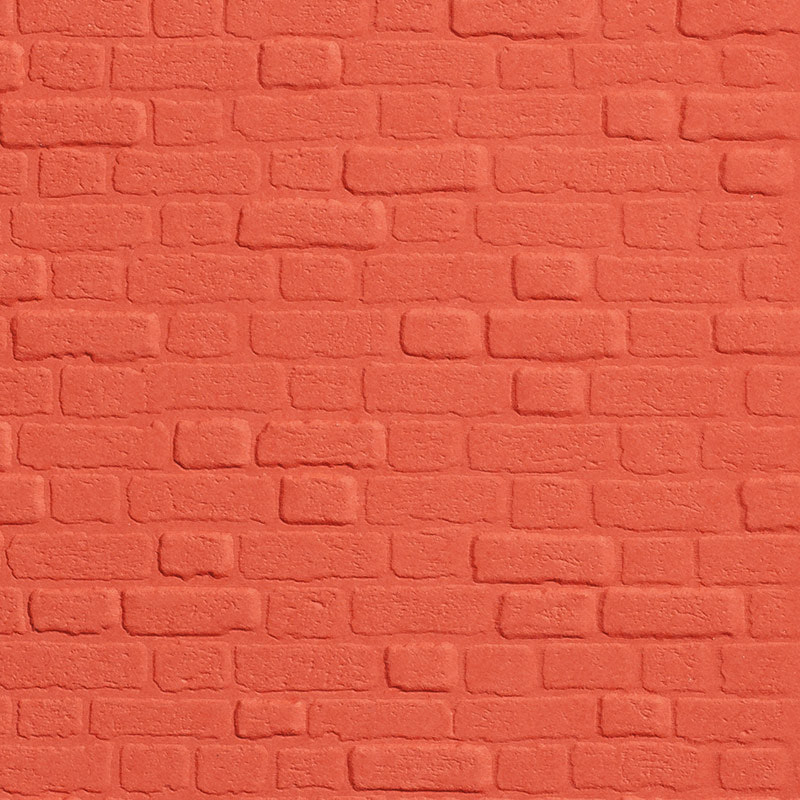
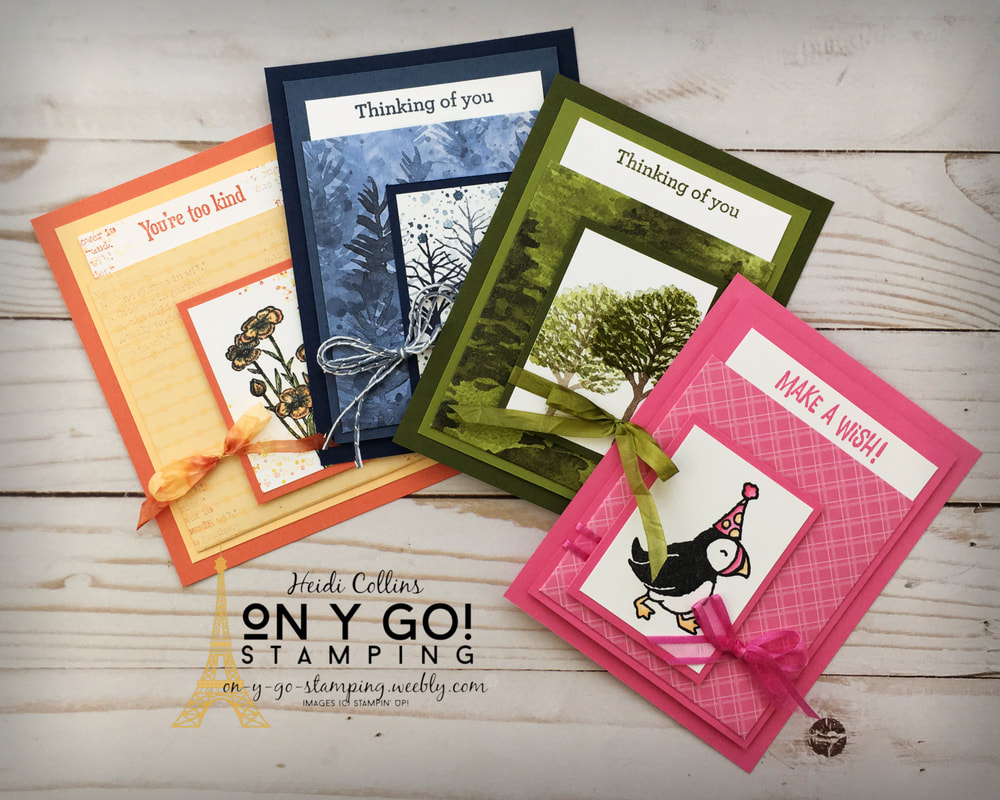
Picture
Picture
Picture
I finished up the cards using Bermuda Bay, Night of Navy, Pool Party, and Crushed Curry cardstock, Copper Foil Sheets (142020), some old Brushed Silver cardstock, and various ribbons. I also added greetings with the Well Written dies (148534) and the Varied Vases stamp set (146644) and accents with the Stitched Stars dies (150653) from the upcoming Holiday Catalog.
Picture
Picture
As a variation, I used this same technique to create a card with the Friend Like You stamp set (149237). Instead of embossing the image of the cattails on the window sheet, I stamped it using a Jet Black Stazon Pad (101406). I used Flirty Flamingo and Poppy Parade for this card as well as Basic Black cardstock and some old Black grosgrain ribbon I had in my stash. 
Picture
0 Comments

Splattering a little ink

8/26/2019

2 Comments

 
Picture
Looking for some new ideas, I responded to the TGIF Challenges Technique Challenge (#TGIFC226) to use splatters. While using a splatter stamp was allowed, I decided to go old school and use a paintbrush and ink. 

​
Picture
Picture
I started by stamping a background using the easy watercolor technique I described in this post. For the card on the left, I used Granny Apple Green and Gorgeous Grape and for the card on the right, I replaced the green with Coastal Cabana. To create the splatters, I dabbed some Blackberry Bliss ink onto an acrylic block. I dipped a paintbrush in water and left it as wet as I could without it dripping water. I swirled the brush over the acrylic block picking up the Blackberry Bliss ink. Then I ran the bristles of my brush over my fingernail so that the splatters went (mostly) in the direction of my cardstock. 


To finish my cards off, I stamped the worm, books, and greeting from the Check You Out stamp set. I carefully cut out the image of the worm on the books and then set it in front of a circle Gorgeous Grape cardstock that I had cut using the Stitched Shape dies. To add a little more texture to the card, I embossed the circle with the Brick and Mortar embossing folder. I mounted it on a scalloped circle that I'd cut using the Layering Circles dies. 

Go check out the TGIF Challenges page and then create your own splattered cards and post them below. Have fun getting messy!
Picture
Supplies used:
Check You Out Stamps (149462)
Brick and Mortar 3D Embossing Folder (149643)
Acrylic Block E (118484)
Granny Apple Green Ink (147095)
Gorgeous Grape Ink (147099)
Coastal Cabana Ink (147097)
Granny Apple Green Cardstock (146990)
Gorgeous Grape Cardstock (146987)
Coastal Cabana Cardstock (131297)
Stitched Shapes Dies (145372)
Layering Circles Dies (141705)
2 Comments

Batik Backgrounds

8/23/2019

0 Comments

 
Picture
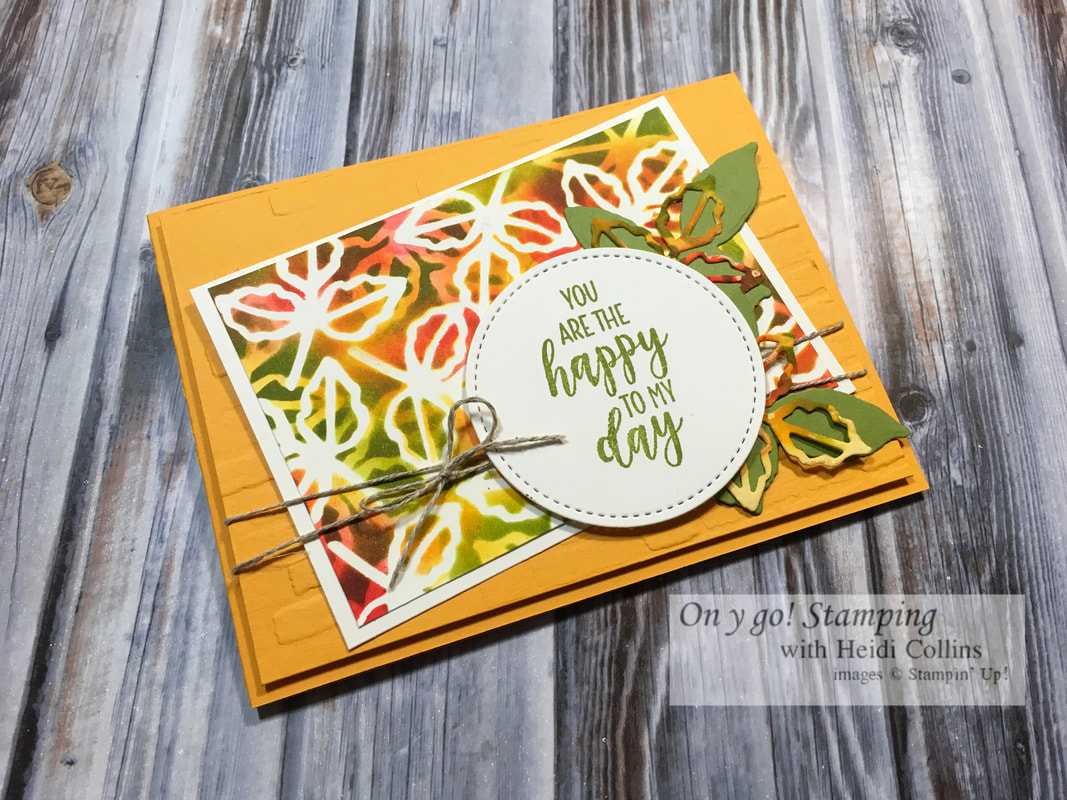
Today I was working on creating Batik backgrounds. This technique, like so many other techniques, isn't hard, but it does take some time. For this card, I used Very Vanilla, Mango Melody, and Old Olive cardstocks. For the ink, I used Mango Melody, Old Olive, and Poppy Parade. I also used the Stitched Shapes and Wild Rose dies and the Brick and Mortar embossing plate. All of these supplies are from Stampin' Up!

Unfortunately, I wasn't thinking while I was working on this and didn't take any process pictures to share with you. Hopefully, the description is enough to help you understand the technique.

I started by cutting a dozen or more leaves from Very Vanilla cardstock. I used non-permanent glue on the back of these leaves and stuck down a single layer of leaves on a piece of Very Vanilla cardstock. If you look at my finished card, the leaves that are still vanilla were where I placed this first layer of cut-out leaves.

Using sponge daubers, I added Mango Melody ink in very areas of the paper, sponging right over the leaves that were adhered to the piece of paper. However, I didn't cover the whole piece of cardstock with ink. Then I did the same with Poppy Parade ink, filling in the rest of the blank areas and overlapping the Mango Melody ink in some areas. 
It will be very tempting, but don't remove this first layer of leaves yet!

You should still have plenty of leaves left over that you didn't attach in the first step. I added these leaves in a second layer over the first leaves. Now, your leaves from the second layer will overlap those from the first layer. 

Repeat the inking steps you did before, but this time, use Poppy Parade and Old Olive ink. When you are done, carefully remove the leaves to reveal the beautiful batik background. 

I used a couple of the leaves that I had used as masking for an embellishment under the greeting. I also used some of those leaves on a second card as well. 

I love the batik technique and think it is worth the extra time it takes to create. I'd love to hear about your own experiences with this technique and see your projects, so leave a comment below. 
Picture
0 Comments

Virtual Stamp party!

8/21/2019

0 Comments

 
Picture
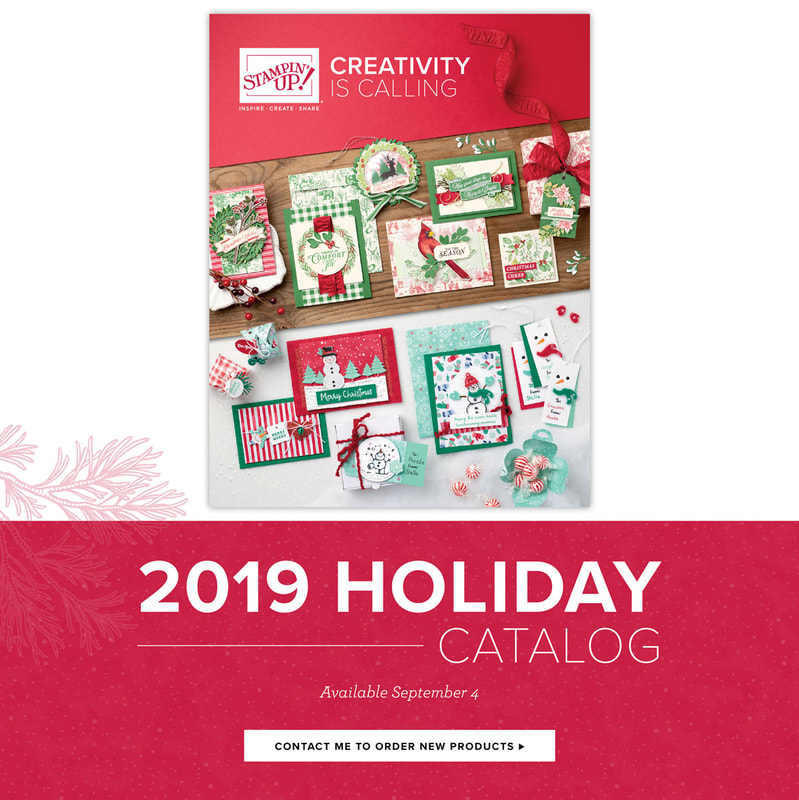
Kids and teachers are heading back to school, the days are getting shorter, soon the weather will turn cooler (at least for those of us in the north), and we are all facing the reality that summer will soon be coming to an end. But that means fall, and pumpkins, and hot cocoa, and Christmas are right around the corner!

And in just a couple of weeks (Sep. 4), Stampin' Up! will release their holiday catalog. There is so much awesome in this catalog. The papers are beautiful and whimsical with splashes of shine. There are all the over-the-top accessories you will want to make beautiful holiday cards and gifts. And, there is a stamp set for every taste and style. You won't want to miss it!
​
Picture
To share all this excitement with you, I will be hosting my first ever virtual stamp party! There will be games, demonstrations, and prizes. I hope you will all join me over on Facebook for the festivities on Thursday, September 5 from 7:00-9:00 pm EST. Join the Facebook group by clicking here, then login on September 5 and participate in the fun and games. ​
0 Comments
<<Previous
    Heidi Collins, Independent Stampin' Up! Demonstrator with On Y Go! Stamping
    Get updates and ideas on my Facebook group
    Heidi Collins, Independent Stampin' Up! Demonstrator and Owner of On Y Go! Stamping
    Shop for Stampin' Up! stamps, inks, paper, tools, and embellishments with Heidi Collins and earn points towards FREE stamps!
    Picture
    Picture
    On Y Go! Stamping YouTube channel with Card Making Videos on how to do rubber stamping, card making, scrapbooking, and paper crafting

    Archives

    January 2023
    December 2022
    November 2022
    October 2022
    September 2022
    August 2022
    July 2022
    June 2022
    May 2022
    April 2022
    March 2022
    February 2022
    January 2022
    December 2021
    November 2021
    October 2021
    September 2021
    August 2021
    July 2021
    June 2021
    May 2021
    April 2021
    March 2021
    February 2021
    January 2021
    December 2020
    November 2020
    October 2020
    September 2020
    August 2020
    July 2020
    June 2020
    May 2020
    April 2020
    March 2020
    February 2020
    January 2020
    December 2019
    November 2019
    October 2019
    September 2019
    August 2019
    July 2019
    June 2019

Powered by Create your own unique website with customizable templates.
  • About
  • Online Card Classes
  • Card Making Ideas
  • Stampin' Up! Catalogs
  • Card Tutorials
  • Contact
  • Shopping Rewards
  • Shop
  • Join Stampin' Up!