• About
  • Online Card Classes
  • Card Making Ideas
  • Stampin' Up! Catalogs
  • Card Tutorials
  • Contact
  • Shopping Rewards
  • Shop
  • Join Stampin' Up!
ON Y GO! STAMPING
  • About
  • Online Card Classes
  • Card Making Ideas
  • Stampin' Up! Catalogs
  • Card Tutorials
  • Contact
  • Shopping Rewards
  • Shop
  • Join Stampin' Up!

Technique: Acetate and Tissue

8/28/2019

0 Comments

 
Picture
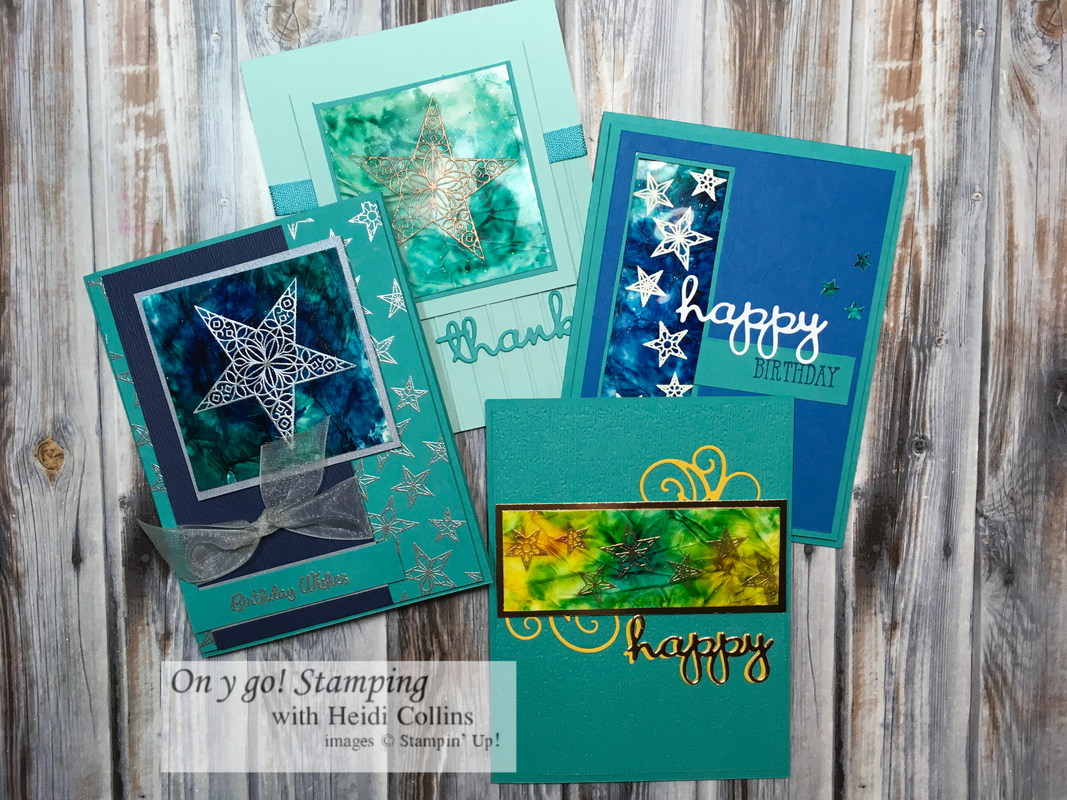
Are you ready to get messy? Today's technique involves quite a bit of mess, but lots of fun and beautiful results! 

Supplies needed:
  • Window Sheets (142314), acetate sheets, or Photocopier Transparency Film
  • Shimmery Crystal Effects (Holiday Catalog p. 41, 150892)
  • White tissue paper
  • Re-inkers (I used Bermuda Bay 131156, Pacific Point 111840, Pool Party 122933, and Crushed Curry 131158)
  • Light colored cardstock
  • Versamark ink (102283)
  • Embossing powder (I used white 109132, copper 141636, gold 109129,  black 146956, and white 109132)
  • Heat tool 129053
  • Embossing buddy (103083)
​
Years ago (10+), I bought a package of Plain Paper Copier Transparency Film on clearance. I've trucked it through at least 5 moves, including twice across country. I knew that some day - some day! - I could use it to make window cards. Since I still hadn't used 1 sheet out of the hundred in the package, I decided it was high time I used it for something. I browsed through some technique tutorials on SplitCoastStampers and came across this gem by Beatte. It's an oldie, but since Stampin' Up! has Shimmery Crystal Effects in there upcoming Holiday catalog, it seemed like perfect timing. 
Picture
Picture
Picture
Picture
I started by cutting a piece of the window sheet down to a size I thought I would use. Then, I used the new So Many Stars (150496) stamp set from the upcoming Holiday catalog to heat emboss star images on these pieces. The clear plastic has unbelievable static, so it's extremely important to use an Embossing Buddy (103083) for this project. 
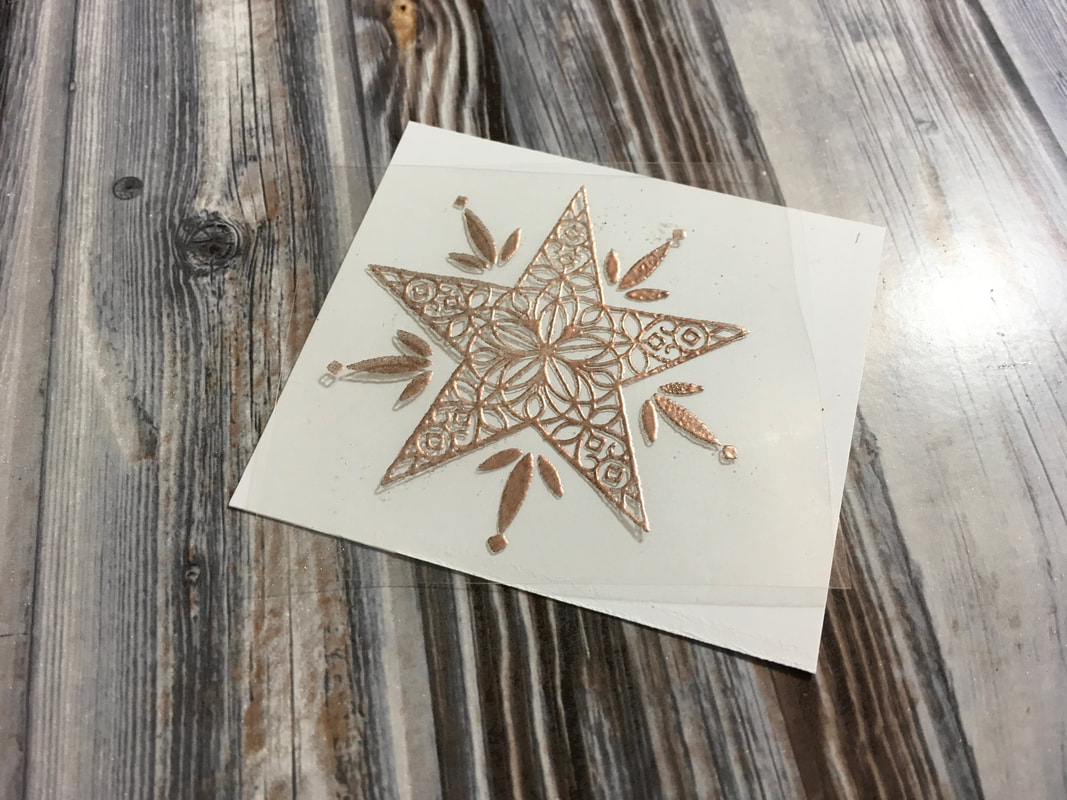
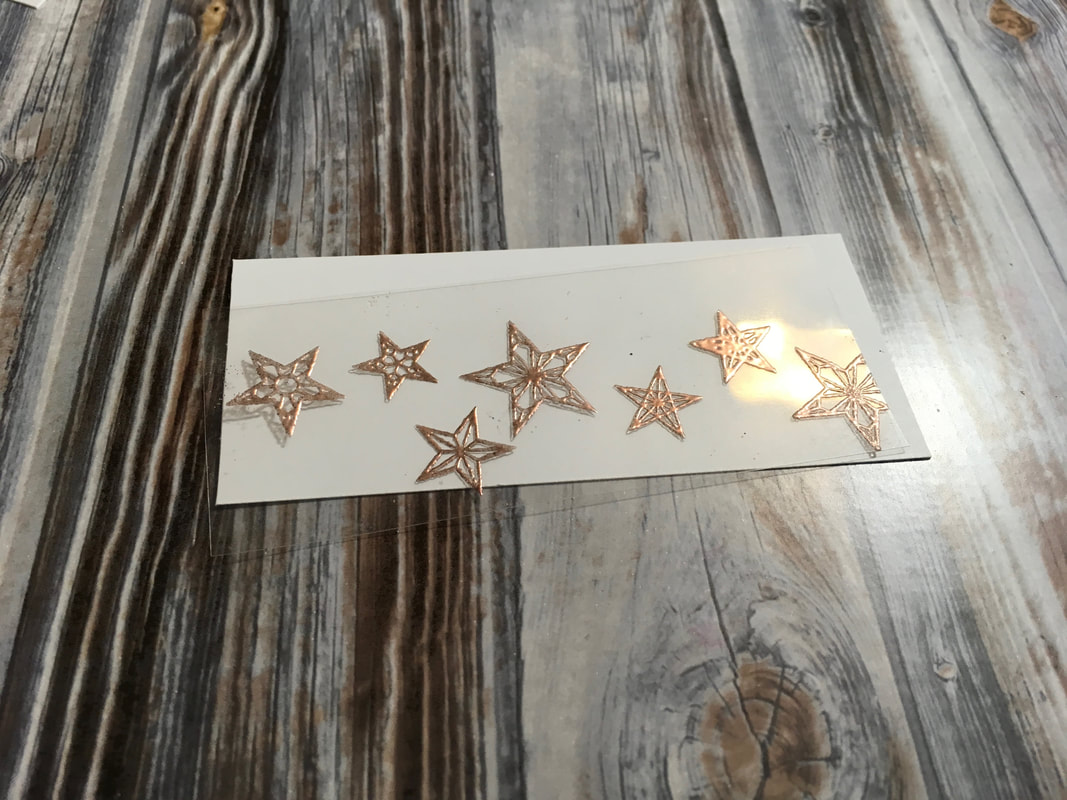
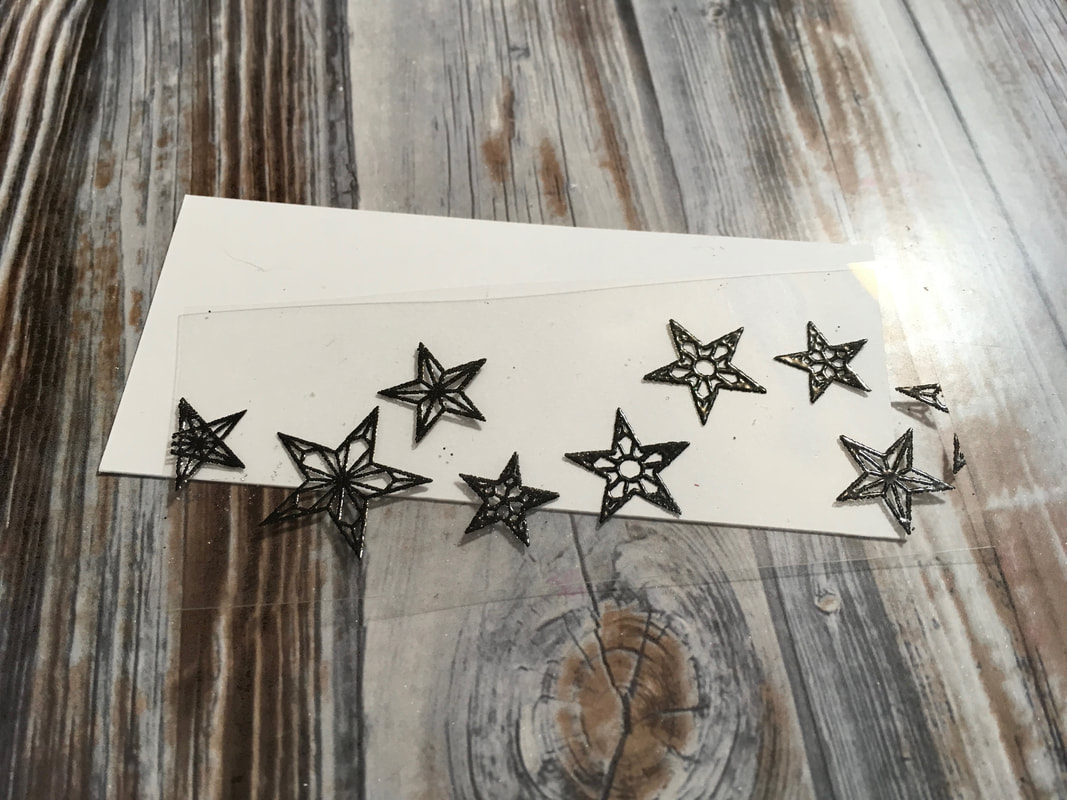
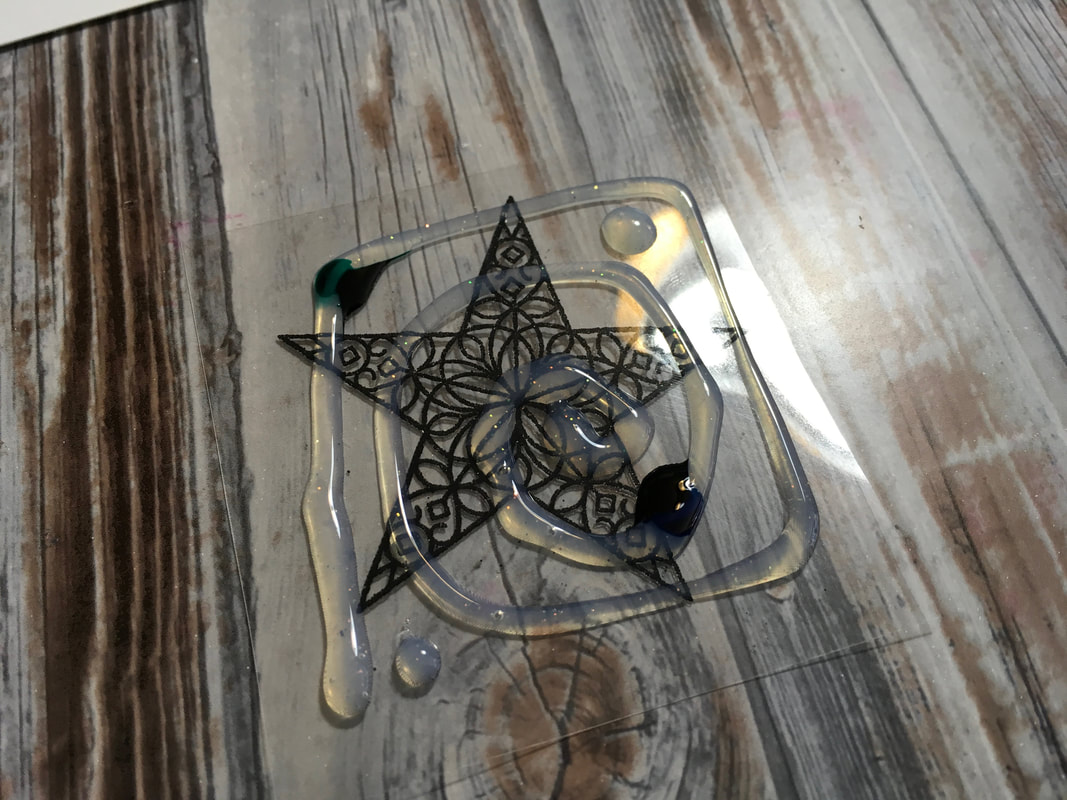
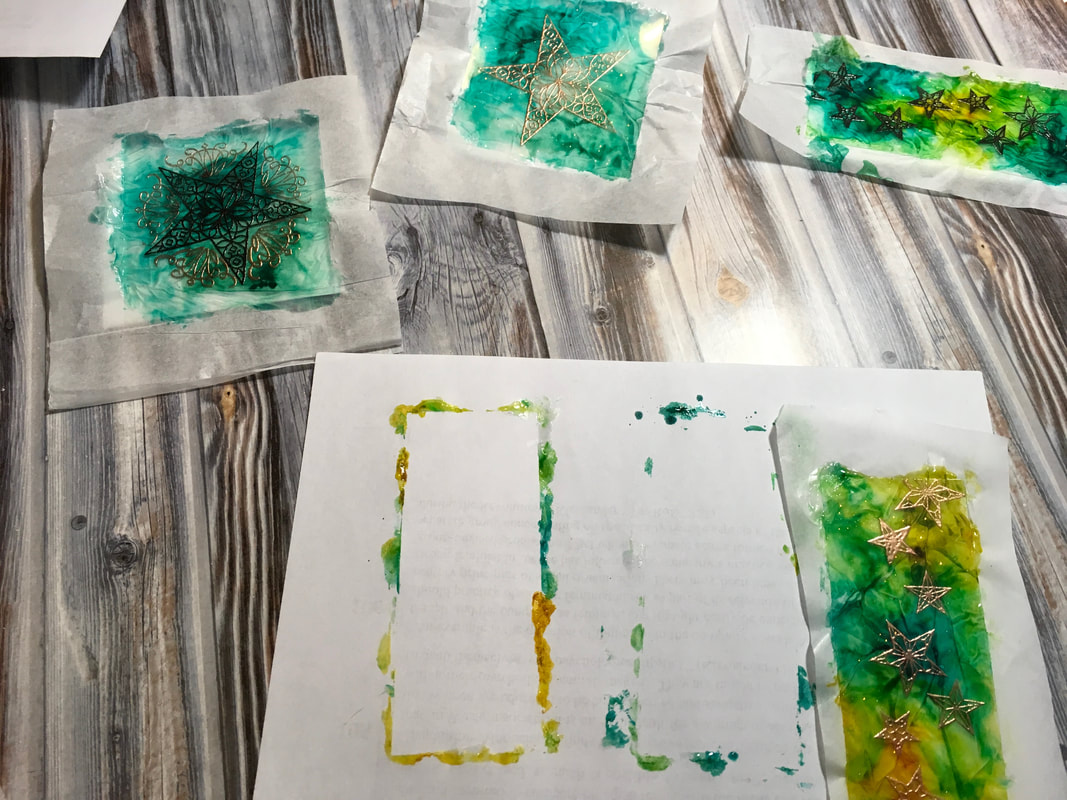
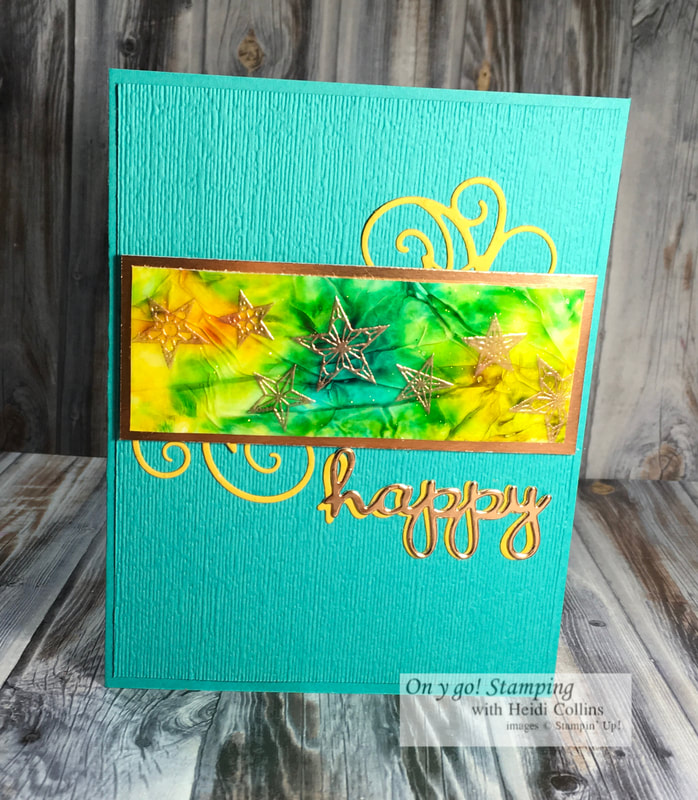
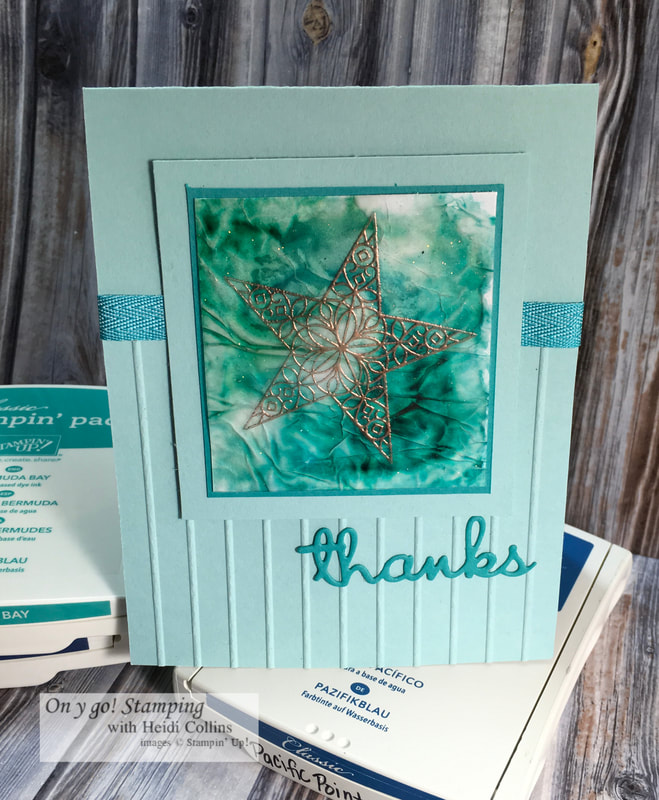
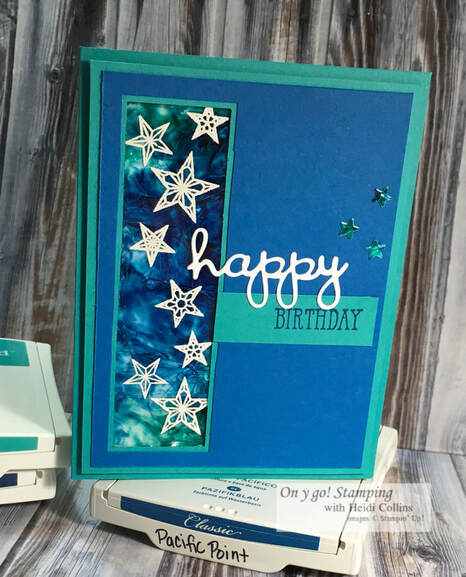
I stamped a number of different pieces to try out different color combinations. ​

Cut a piece of light colored cardstock just a smidge bigger than your piece of window sheet and a piece of tissue paper that has about a half inch overhang on all sides. 
​
Now comes the fun messy part! After you have heat embossed your images, turn your piece of window sheet over and squirt on a fair amount of Shimmery Crystal Effects (150892). Crystal Effects is basically a clear glue. When it dries, it leaves a shiny wet look. The Shimmery Crystal Effects has glitter in it and is a great way to add sparkle to a project without the mess of glitter. Be sure to shake the bottle well before you start so that the glitter is evenly dispersed in the glue. 
Picture

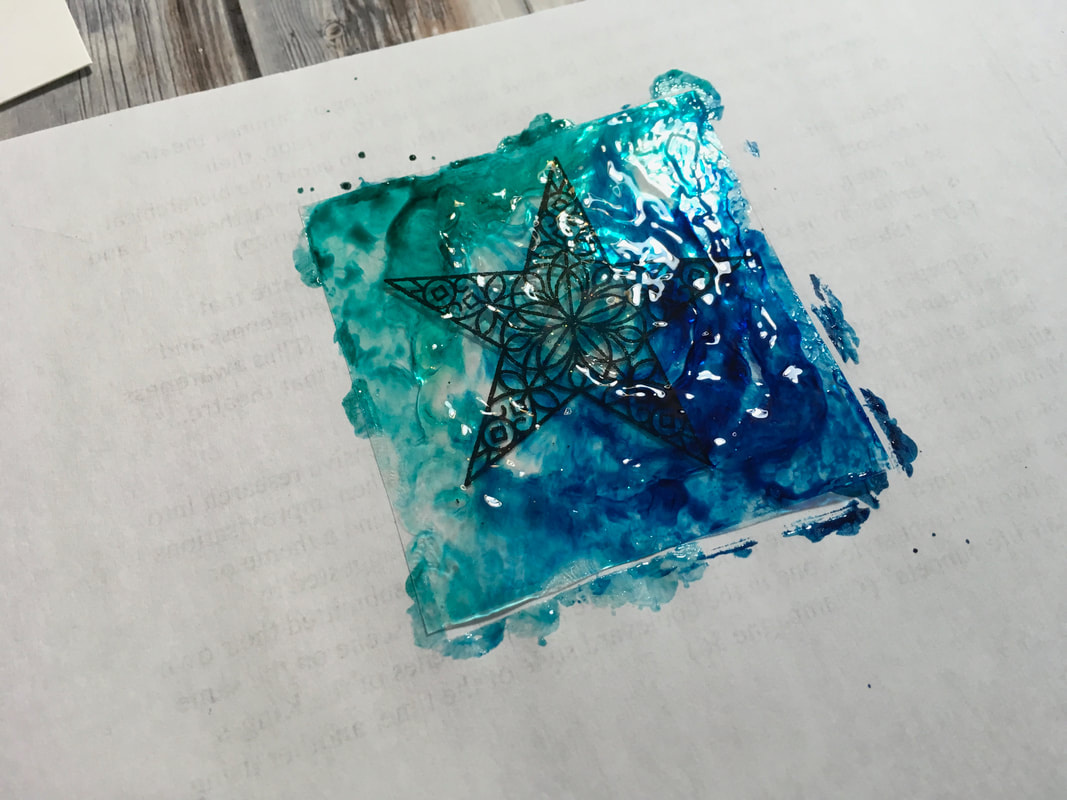
After you've applied the Shimmery Crystal Effects, put a couple of drops from your re-inkers on different areas of the glue. I used two different colors and added one drop of each. Start with just a drop or two. If it's too dark, you can add more. 
Picture
Take your finger and dab it all over the ink and Shimmery Crystal Effects. Smart people would wear gloves to do this, I couldn't be bothered, so my fingers were a little blue when I finished. (No worries - it washed off in a day or two.) You want to overlap the colors a little bit, but not so much that it just mixes into one color. 
Take your piece of tissue paper and lay it over the back of your window sheet in the Crystal Effects. You can press it down and let it crinkle and pucker up a little. You'll want to play around with it to get the look you are going for. Then, lay the piece of light colored cardstock over the tissue paper. 

I found that I didn't use enough Crystal Effects that it would completely adhere to the light colored cardstock. But It did stick in places, and once it was dry, I used a little Snail Adhesive to stick it down completely. 
Picture
Picture
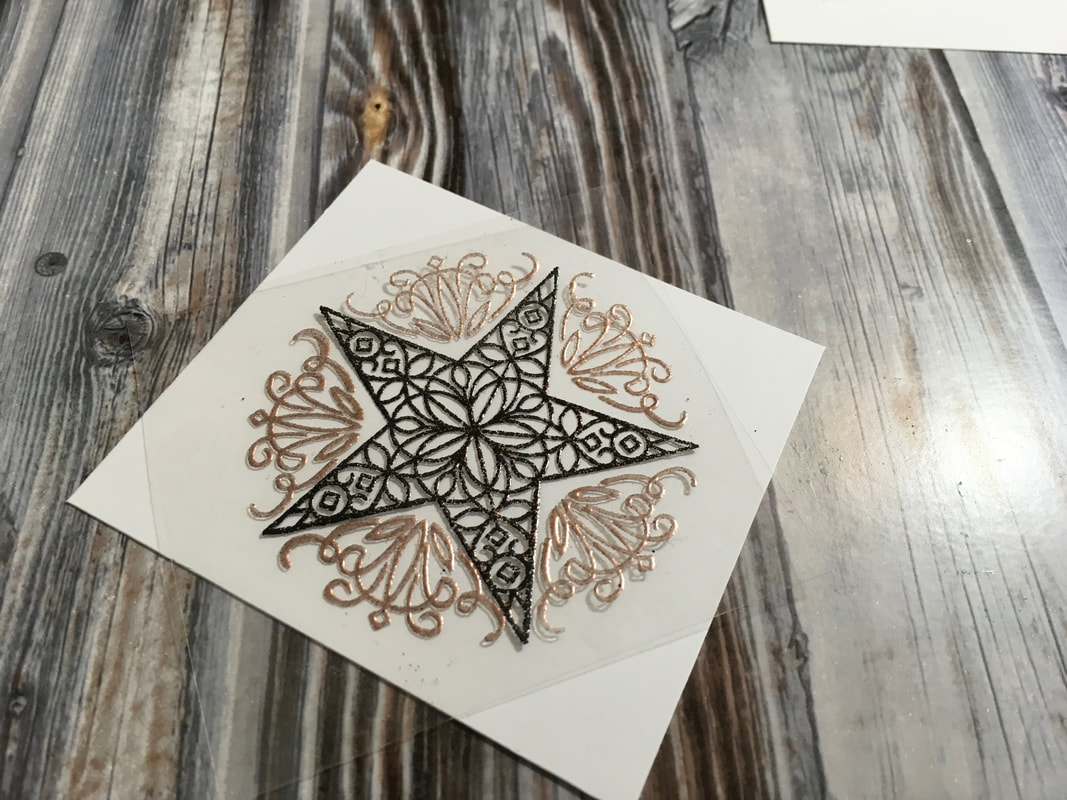
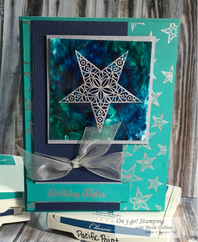
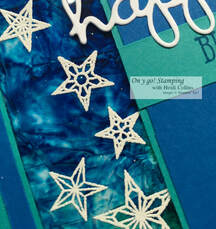
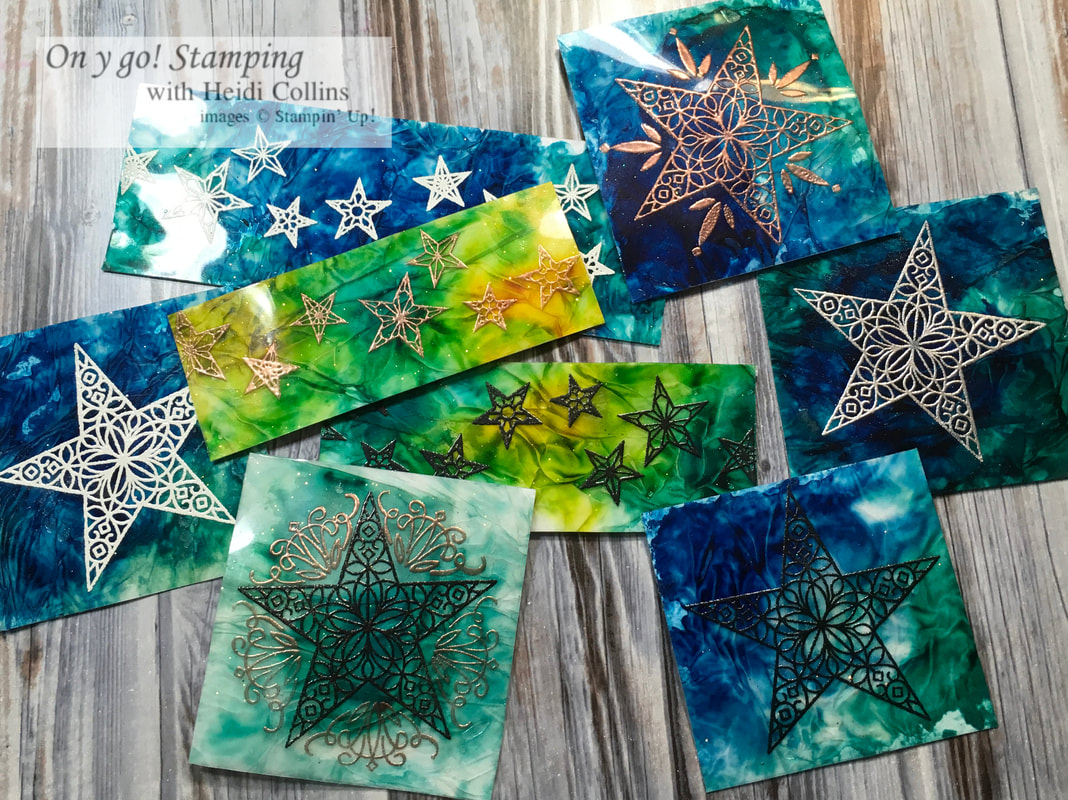
When your image is dry, trim off the excess tissue paper and cut the image to the size you desire. I found that the white and silver embossing powders showed up the best. The black, gold, and copper tended to get lost in the background design unless you turned them to the light just right. 
Picture
Picture
Picture
I finished up the cards using Bermuda Bay, Night of Navy, Pool Party, and Crushed Curry cardstock, Copper Foil Sheets (142020), some old Brushed Silver cardstock, and various ribbons. I also added greetings with the Well Written dies (148534) and the Varied Vases stamp set (146644) and accents with the Stitched Stars dies (150653) from the upcoming Holiday Catalog.
Picture
Picture
As a variation, I used this same technique to create a card with the Friend Like You stamp set (149237). Instead of embossing the image of the cattails on the window sheet, I stamped it using a Jet Black Stazon Pad (101406). I used Flirty Flamingo and Poppy Parade for this card as well as Basic Black cardstock and some old Black grosgrain ribbon I had in my stash. 
Picture
0 Comments

Your comment will be posted after it is approved.


Leave a Reply.

    Heidi Collins, Independent Stampin' Up! Demonstrator with On Y Go! Stamping
    Get updates and ideas on my Facebook group
    Heidi Collins, Independent Stampin' Up! Demonstrator and Owner of On Y Go! Stamping
    Picture
    Picture
    On Y Go! Stamping YouTube channel with Card Making Videos on how to do rubber stamping, card making, scrapbooking, and paper crafting

    Archives

    May 2025
    April 2025
    March 2025
    February 2025
    January 2025
    December 2024
    November 2024
    October 2024
    September 2024
    August 2024
    July 2024
    June 2024
    May 2024
    April 2024
    March 2024
    February 2024
    January 2024
    December 2023
    November 2023
    October 2023
    September 2023
    August 2023
    July 2023
    June 2023
    May 2023
    April 2023
    March 2023
    February 2023
    January 2023
    December 2022
    November 2022
    October 2022
    September 2022
    August 2022
    July 2022
    June 2022
    May 2022
    April 2022
    March 2022
    February 2022
    January 2022
    December 2021
    November 2021
    October 2021
    September 2021
    August 2021
    July 2021
    June 2021
    May 2021
    April 2021
    March 2021
    February 2021
    January 2021
    December 2020
    November 2020
    October 2020
    September 2020
    August 2020
    July 2020
    June 2020
    May 2020
    April 2020
    March 2020
    February 2020
    January 2020
    December 2019
    November 2019
    October 2019
    September 2019
    August 2019
    July 2019
    June 2019

Proudly powered by Weebly
  • About
  • Online Card Classes
  • Card Making Ideas
  • Stampin' Up! Catalogs
  • Card Tutorials
  • Contact
  • Shopping Rewards
  • Shop
  • Join Stampin' Up!