• About
  • Online Card Classes
  • Card Making Ideas
  • Stampin' Up! Catalogs
  • Card Tutorials
  • Contact
  • Shopping Rewards
  • Shop
  • Join Stampin' Up!
ON Y GO! STAMPING
  • About
  • Online Card Classes
  • Card Making Ideas
  • Stampin' Up! Catalogs
  • Card Tutorials
  • Contact
  • Shopping Rewards
  • Shop
  • Join Stampin' Up!

Honey Bees are Golden

1/31/2020

2 Comments

 
Picture
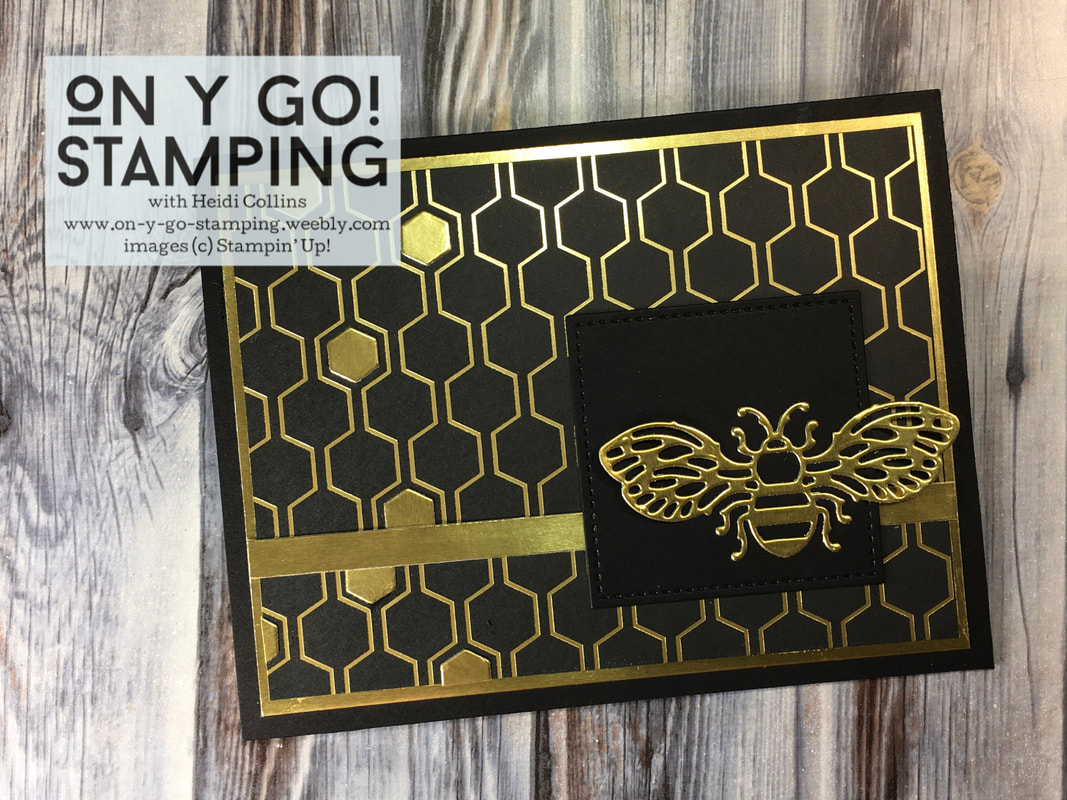
The Golden Honey Bee Specialty Designer Series Paper is golden goodness! (Plus, you can get it FREE with any $50 order. More about that later!) I couldn't resist making these elegant cards drenched in gold. Make sure to read all the way through to the end for a bonus 4th card.
​
Picture
The pure black and gold of this card is absolutely stunning! It's like a glam neo-art deco 70s pattern. (Is that a thing?) I used the black and gold honeycomb pattern paper from the package of DSP. I added a few hexagons of gold cardstock. These were cut with the honeycomb pattern die in the Detailed Bee dies. I also cut the bee from gold foil sheets using the same dies. I used a square die from the Stitched Shapes dies to cut the square for the card front and added a strip of gold cardstock underneath it. The card front is layered on gold cardstock and adhered to a Basic Black card base. 
I started with a Whisper White card front for the next card. I added a strip of black and white striped patterned paper from the package of DSP. Then, I cut the honey comb pattern from a gold foil sheet using the Detailed Bee dies. I stamped the small bees from the Honey Bee stamp set on Whisper White cardstock using Jet Black Memento ink. I colored them with Daffodil Delight Stampin' Blends. 

The Basic Black square is cut with the Stitched Shape dies and the "friend" greeting is cut from Gold cardstock using the Well Written dies. I layered everything on the card front and used Stampin' Dimensionals to help the bees fly off the page. All this is layered on a Basic Black card base. 
Picture
Picture
My third card also uses a Whisper White card front. The patterned paper, both from the Golden Honey Bee DSP, includes a white with gold honeycomb and a black and gold stripe. The two together are gorgeous! I cut more honeycomb from gold cardstock and stamped the larger bee from the Honey Bee stamp set on Whisper White cardstock with Jet Black Memento ink. Once again I colored it with Daffodil Delight Stampin' Blends and cut it using the Detailed Bee dies. 
​
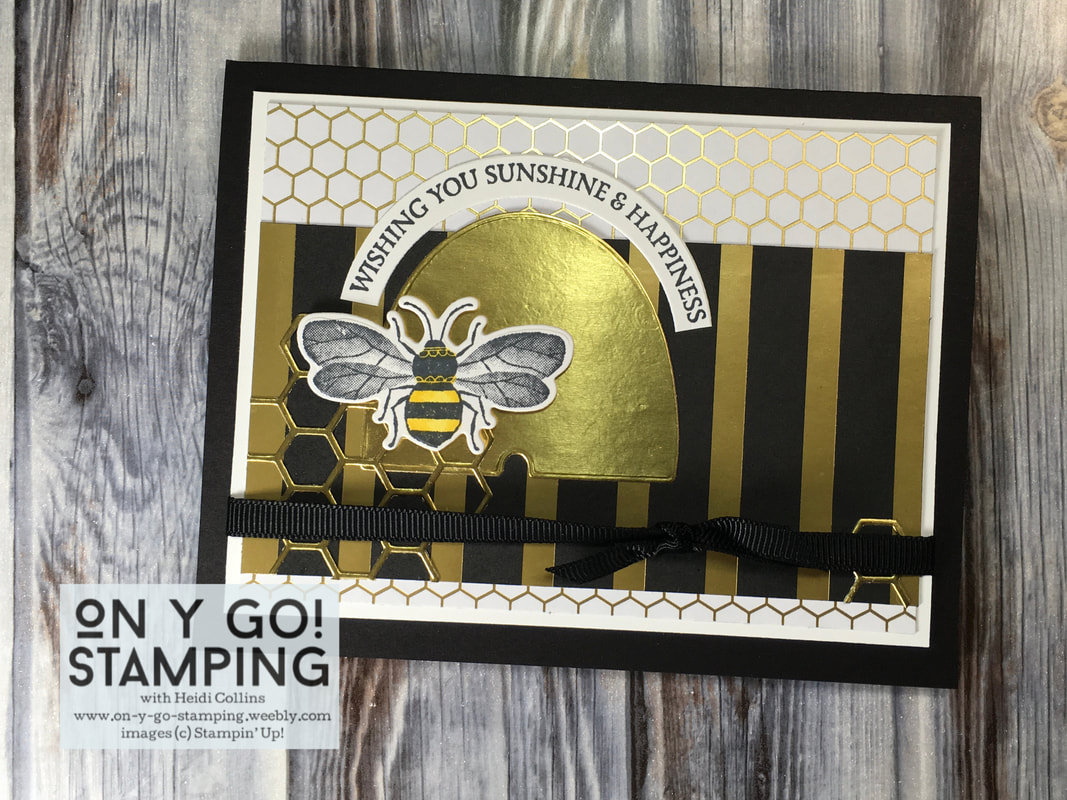
I stamped the curved greeting from the Honey Bee stamp set on Whisper White with the same Memento ink pad. To cut it out, I used two different circles from the Layering Circles dies. Then, I trimmed the sides to the right length. I cut the hive from gold cardstock with the Detailed Bee dies as well. I layered everything and added some black grosgrain ribbon from my stash. The card front is adhered to a Basic Black card base.
​
My final card returns to the pure black and gold color combination of the first card. In fact, it uses many of the same elements.

I had so many gold hexagons left over from all of the honeycombs I cut out, that I couldn't just throw them in the trash. Instead I added them randomly to another piece of black and gold honeycomb paper from the Golden Honey Bee DSP.
​
Picture
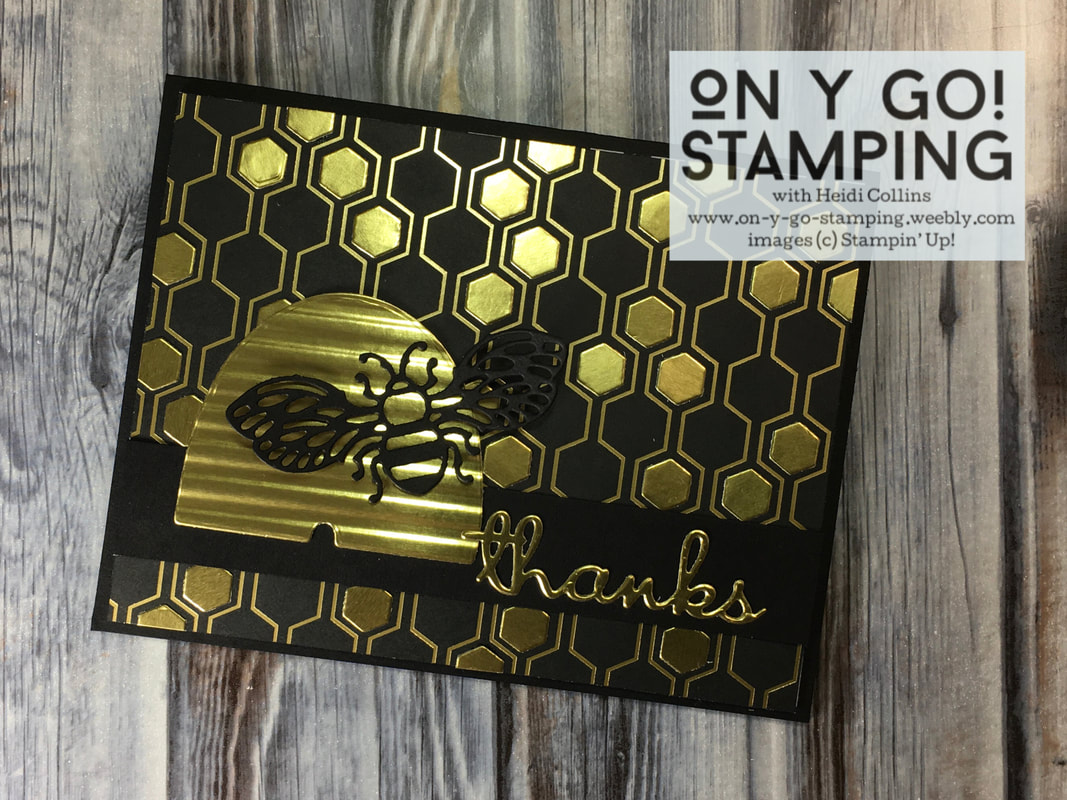
After I cut the hive from gold cardstock, I embossed it with the Corrugated 3D embossing folder. I love this look! It really gives the hive dimension. The "thanks" is cut using the Well Written dies. Everything is layered on a Basic Black card base with a black strip and a black bee cut with the Detailed Bee dies.

One of the best things about the Golden Honey Bee Specialty DSP is that you can get it FREE during Sale-A-Bration. If you order the Honey Bee Bundle (the stamp set and dies) plus a package of gold foil sheets and a combo pack of Daffodil Delight Stampin' Blends, you can choose the Golden Honey Bee DSP as your FREE Sale-A-Bration item!

​I just can't get enough of the Golden Honey Bee Specialty DSP. It is just so elegant and striking. It makes me want to gobble it up, just like honey!
Complete Supply List and Ordering
2 Comments
Martha Ballou
1/31/2020 18:24:52

These are my favorite of everything you've ever posted!

Reply
Heidi Collins
1/31/2020 22:47:51

Thanks Martha! I must admit, while making them, I thought you would hate them since they seem kind of 70s glam to me. I figured they would fall into the same category as Harvest Gold and Avocado Green for you!

Reply

Your comment will be posted after it is approved.


Leave a Reply.

    Heidi Collins, Independent Stampin' Up! Demonstrator with On Y Go! Stamping
    Get updates and ideas on my Facebook group
    Heidi Collins, Independent Stampin' Up! Demonstrator and Owner of On Y Go! Stamping
    Shop for Stampin' Up! stamps, inks, paper, tools, and embellishments with Heidi Collins and earn points towards FREE stamps!
    Picture
    Picture
    On Y Go! Stamping YouTube channel with Card Making Videos on how to do rubber stamping, card making, scrapbooking, and paper crafting

    Archives

    March 2023
    February 2023
    January 2023
    December 2022
    November 2022
    October 2022
    September 2022
    August 2022
    July 2022
    June 2022
    May 2022
    April 2022
    March 2022
    February 2022
    January 2022
    December 2021
    November 2021
    October 2021
    September 2021
    August 2021
    July 2021
    June 2021
    May 2021
    April 2021
    March 2021
    February 2021
    January 2021
    December 2020
    November 2020
    October 2020
    September 2020
    August 2020
    July 2020
    June 2020
    May 2020
    April 2020
    March 2020
    February 2020
    January 2020
    December 2019
    November 2019
    October 2019
    September 2019
    August 2019
    July 2019
    June 2019

Powered by Create your own unique website with customizable templates.
  • About
  • Online Card Classes
  • Card Making Ideas
  • Stampin' Up! Catalogs
  • Card Tutorials
  • Contact
  • Shopping Rewards
  • Shop
  • Join Stampin' Up!