• About
  • Online Card Classes
  • Card Making Ideas
  • Stampin' Up! Catalogs
  • Card Tutorials
  • Contact
  • Shopping Rewards
  • Shop
  • Join Stampin' Up!
ON Y GO! STAMPING
  • About
  • Online Card Classes
  • Card Making Ideas
  • Stampin' Up! Catalogs
  • Card Tutorials
  • Contact
  • Shopping Rewards
  • Shop
  • Join Stampin' Up!

Enamel Dot hack

6/21/2019

0 Comments

 
Picture
Picture
Every other page on the internet seems to have a hack for something. Sometimes the use of these hacks is dubious, but today's tip and technique for the weekend is a little stamping hack that may come in handy some day. 

Enamel dots can add that little something that every card seems to need. But, what do you do if don't have just the right color of enamel dot for your project? Make your own of course!

For this card, I wanted some beautiful Bermuda Bay enamel dots to match the ring at the center of the card. (Btw, check back next week for directions on how to make this really fun gate-fold card.) 
Picture
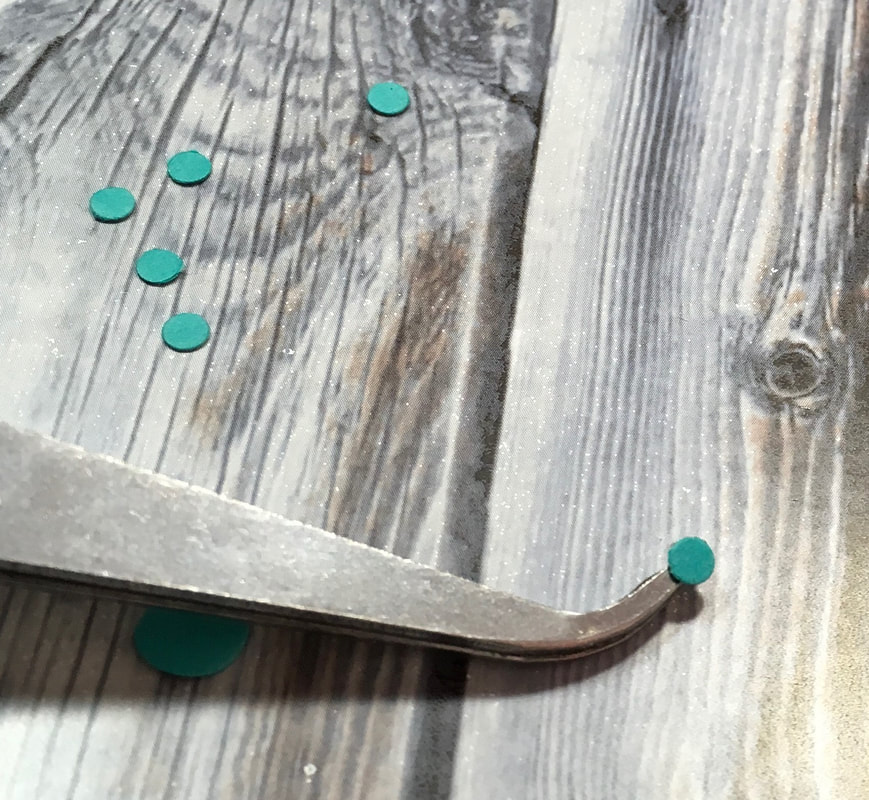
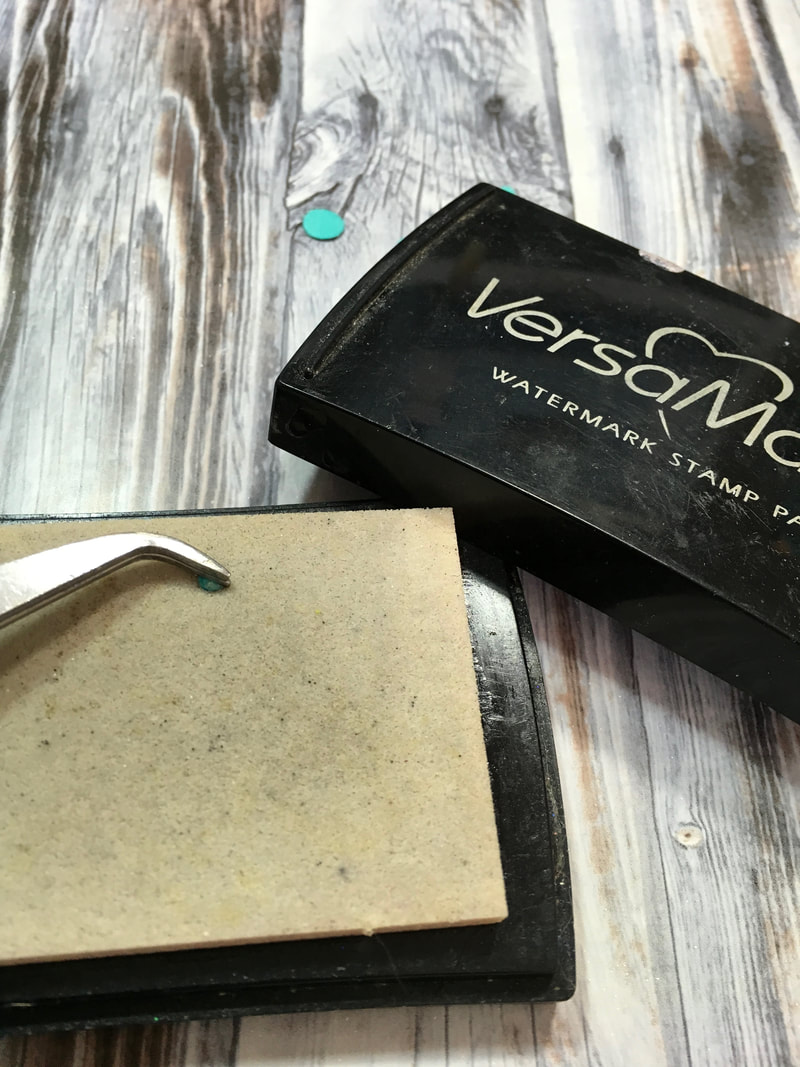
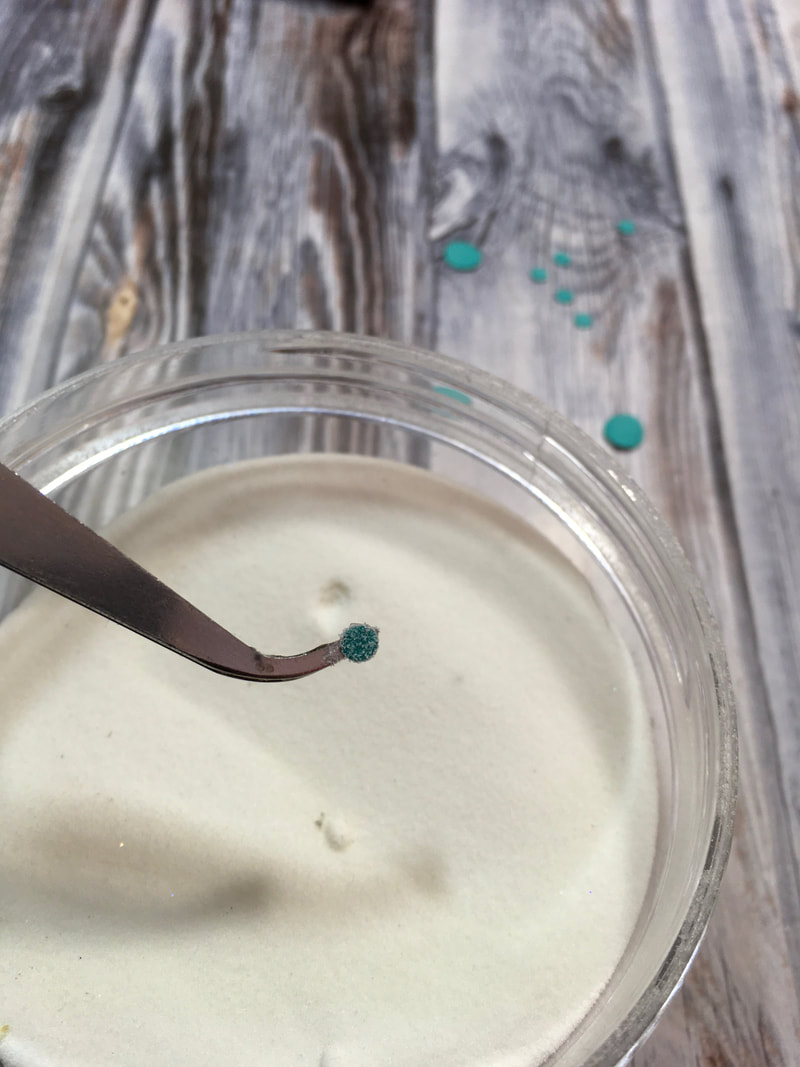
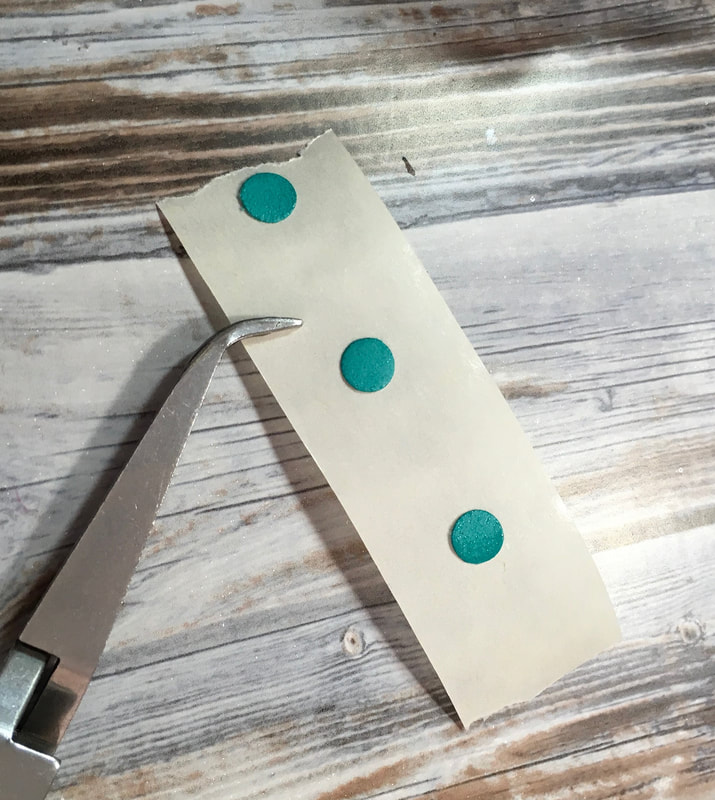
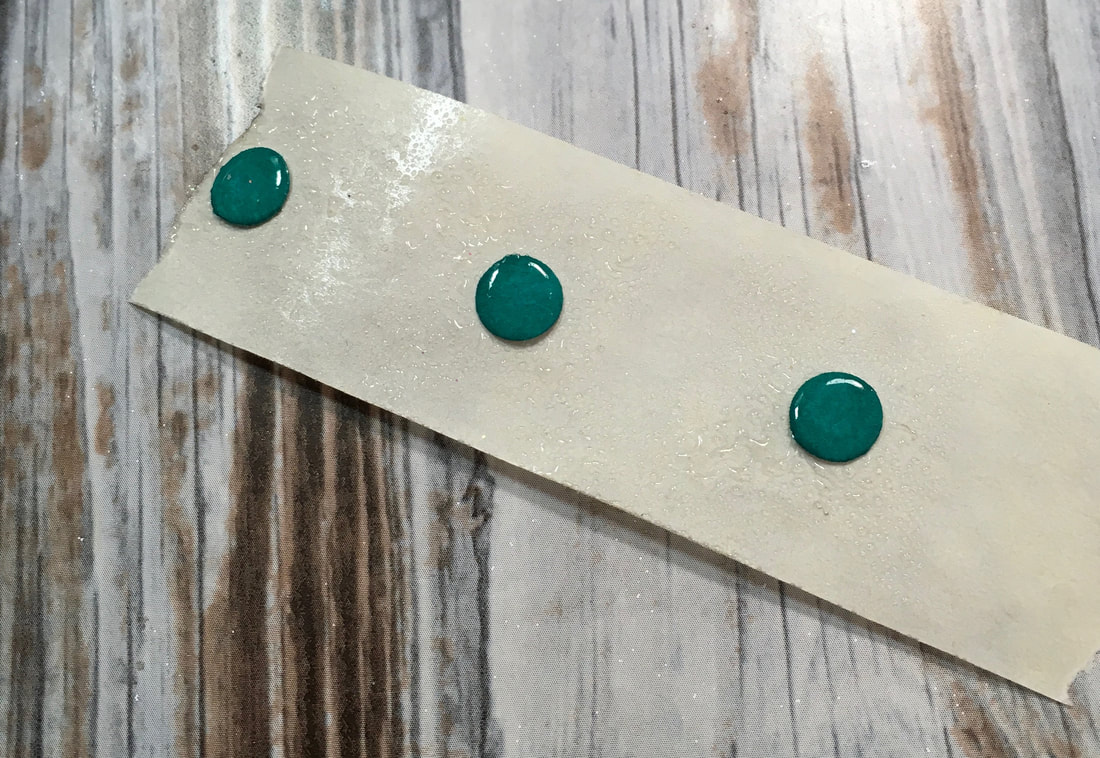
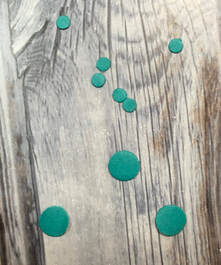
Heat embossing to the rescue! I embossed some small circles to mimic the look for enamel dots.

To start, I punched some Bermuda Bay circles using handheld circle punches in 1/8 and 1/4" sizes. 

For the 1/8" circles, I used half of a glue dot to stick them on a pair of tweezers. Then I dabbed them on my Versamark pad and dip them in my container of clear embossing powder. I zapped them with my heat gun and went through the steps a second time to get a thick coat of embossing. 

Picture
The larger dots were a little easier because I simply attached them to the strip of glue dots. Then, I dabbed them on the Versamark pad. Some of the ink went on the backing sheet, but I pressed down primarily on the dots, so the paper didn't get lots of embossing powder on it. The little powder that was there didn't cause any problems for the creating the dots. 

For the large dots, I embossed them three times instead of two to get the level of embossing I wanted. I think the final product looks a lot like a regular enamel dot!
Picture
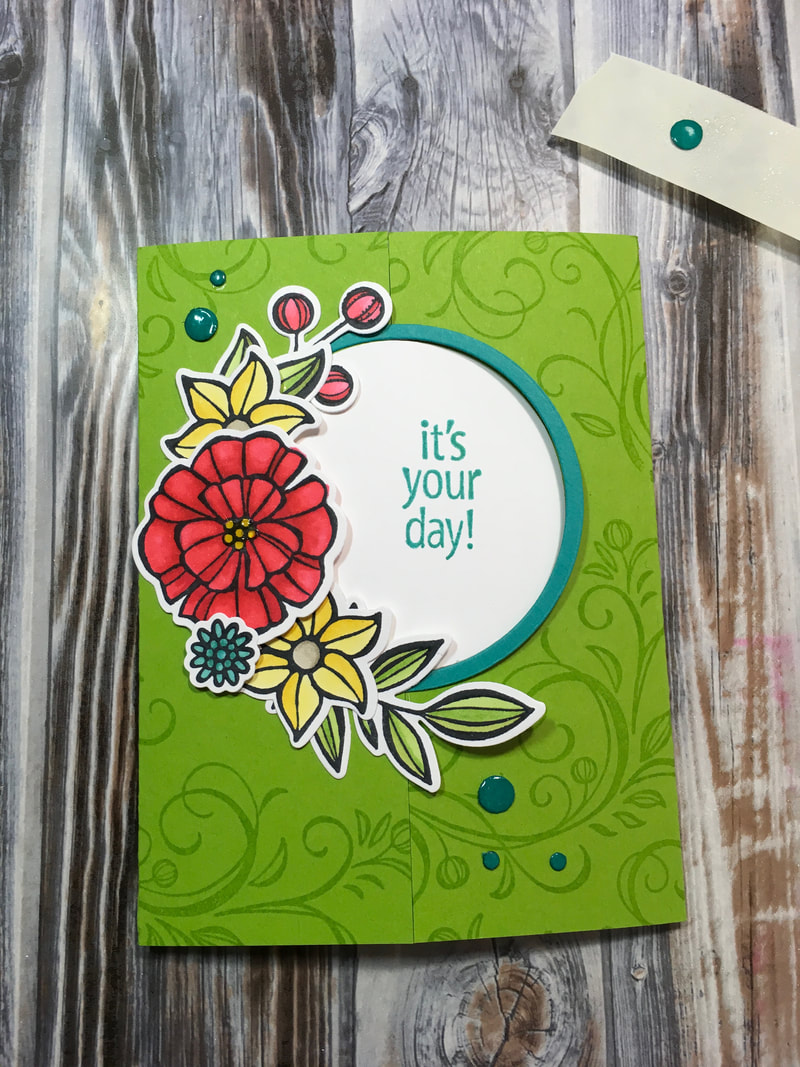
I did something similar on the window card from Wednesday's blog post. However, that time I used Stampin' Up!'s Glimmer Paper. Instead of embossing, I simply punched out some small circles and attached them to the card. 

They added just the right extra touch of glitz to the card and since I made them myself, they matched the the other paper used on the card perfectly. 

So, while regular enamel dots are quick and easy to use, if you're in a bind or want just the right color, making your own may be just the hack you need!

0 Comments

Your comment will be posted after it is approved.


Leave a Reply.

    Heidi Collins, Independent Stampin' Up! Demonstrator with On Y Go! Stamping
    Get updates and ideas on my Facebook group
    Heidi Collins, Independent Stampin' Up! Demonstrator and Owner of On Y Go! Stamping
    Shop for Stampin' Up! stamps, inks, paper, tools, and embellishments with Heidi Collins and earn points towards FREE stamps!
    Picture
    Picture
    On Y Go! Stamping YouTube channel with Card Making Videos on how to do rubber stamping, card making, scrapbooking, and paper crafting

    Archives

    January 2023
    December 2022
    November 2022
    October 2022
    September 2022
    August 2022
    July 2022
    June 2022
    May 2022
    April 2022
    March 2022
    February 2022
    January 2022
    December 2021
    November 2021
    October 2021
    September 2021
    August 2021
    July 2021
    June 2021
    May 2021
    April 2021
    March 2021
    February 2021
    January 2021
    December 2020
    November 2020
    October 2020
    September 2020
    August 2020
    July 2020
    June 2020
    May 2020
    April 2020
    March 2020
    February 2020
    January 2020
    December 2019
    November 2019
    October 2019
    September 2019
    August 2019
    July 2019
    June 2019

Powered by Create your own unique website with customizable templates.
  • About
  • Online Card Classes
  • Card Making Ideas
  • Stampin' Up! Catalogs
  • Card Tutorials
  • Contact
  • Shopping Rewards
  • Shop
  • Join Stampin' Up!