|
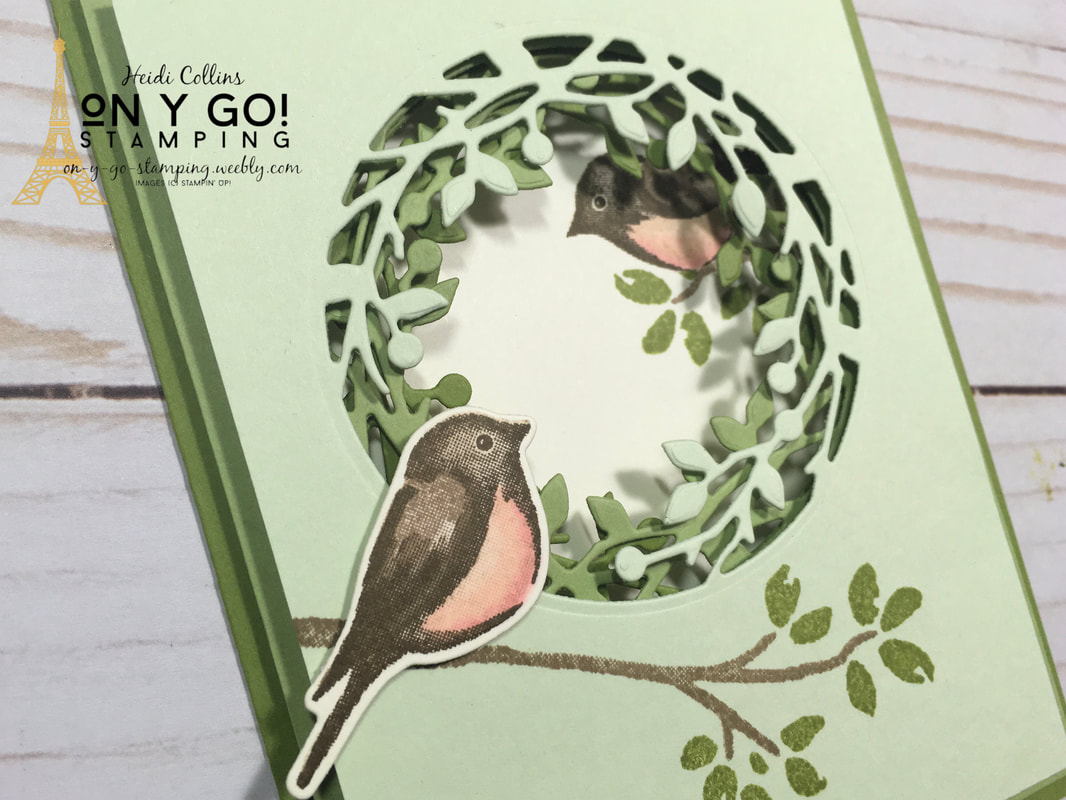
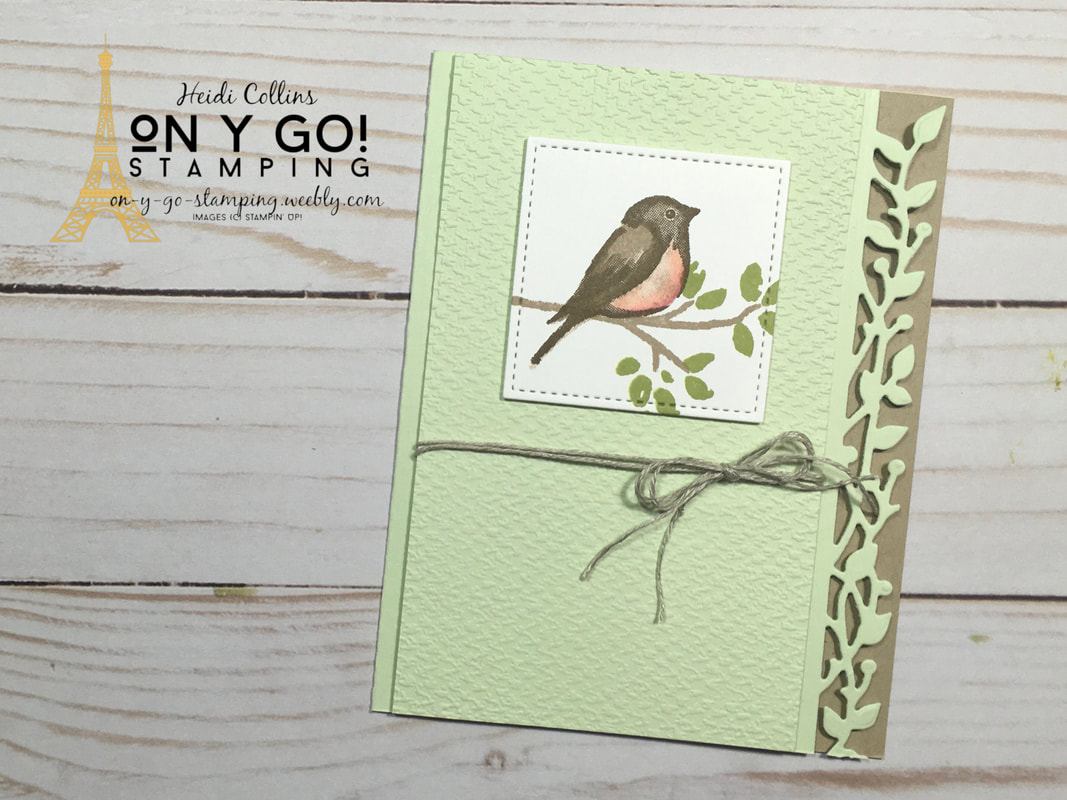
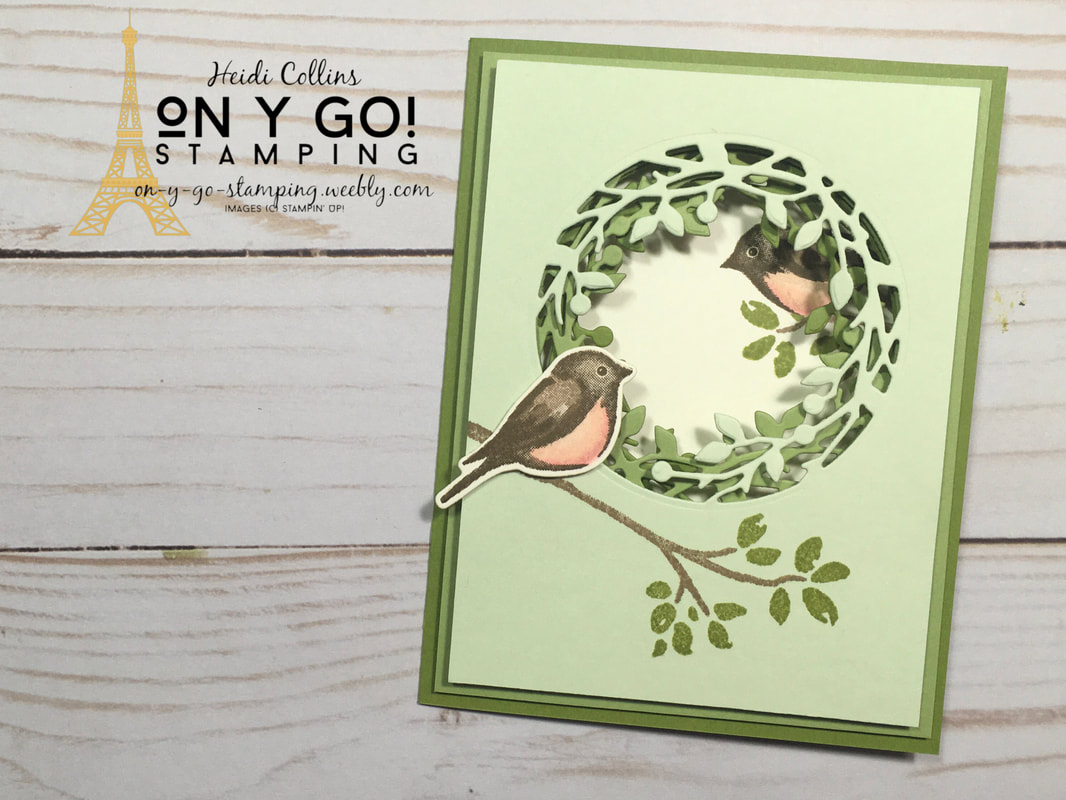
Coloring is fun, but I absolutely love 2-step Stampin'! This is where you have two or three stamps that combine to create 1 image. The birds in the Birds & Branches stamp set each have three stamps. One stamp creates an overall base for the bird, one stamp creates a defined outline, and one stamp adds additional color to the wings. For the birds in each of these cards, I stamped the base in Crumb Cake. Then I stamped the outline and the wing with Soft Suede. Finally, I added additional color to the birds belly with Stampin' Blends. I used a combination of Light and Dark Petal Pink and Light and Dark Flirty Flamingo. Let's look at the specifics for each card. On y go! Let's get stamping.
One Bird on a Branch: I stamped the branch first in Crumb Cake ink on Whisper White cardstock. Then, I added the leaves with Pear Pizzazz and added the bird as described above. I cut the image out using the Stitched Shapes dies. The Birds & More die set that coordinate with the Birds & Branches stamp set has this fun edge die. I used it to trim the edge of my card front. Then, I adhered a strip of Crumb Cake cardstock on the inside of my card along the edge. I adhered the square with the image on it to a piece of Soft Sea Foam cardstock that I had embossed with the Tasteful Textile embossing folder and tied it with a piece of Linen Thread for a sweet and simple card. Cardstock Dimensions: Soft Sea Foam:
Crumb Cake: 1" x 5 1/2"
A Pair of Love Birds:
My second card has two birds - one on the front and one on the inside of the card. The Birds & More die set has a die that cuts a circular window trimmed with leaves. I cut this three times - once on the Old Olive card base, once on the Pear Pizzazz layer, and finally on the Soft Sea Foam card front. Cutting the circles so that they would line up was a little tricky. After trying a few methods, the one that seemed to work the best was cutting the top layer first. Then, I laid the second layer on the table. I placed the die approximately where I thought it should be. I placed the top layer over the die and lined it up with the 2nd layer where I wanted it to be. Then, I reached through the hole in the top layer to adjust the die so that it was in exactly the right spot. Luckily, with the branches around the outside, if it's not exactly exact, it won't be noticeable. I added Stampin' Dimensionals between each layer to create a tunnel effect, as though you are peering through a thick forest to catch a glimpse of the second bird. Cardstock dimensions: Old Olive: 8 1/2" x 5 1/2", scored at 4 1/4" Pear Pizzazz: 4" x 5 1/4" Soft Sea Foam: 3 3/4" x 5" Whisper White:
0 Comments
Your comment will be posted after it is approved.
Leave a Reply. |
Archives
July 2024
|
