• About
  • Online Card Classes
  • Card Making Ideas
  • Stampin' Up! Catalogs
  • Card Tutorials
  • Contact
  • Shopping Rewards
  • Shop
  • Join Stampin' Up!
ON Y GO! STAMPING
  • About
  • Online Card Classes
  • Card Making Ideas
  • Stampin' Up! Catalogs
  • Card Tutorials
  • Contact
  • Shopping Rewards
  • Shop
  • Join Stampin' Up!

All About Heat Embossing

8/9/2019

0 Comments

 
Picture
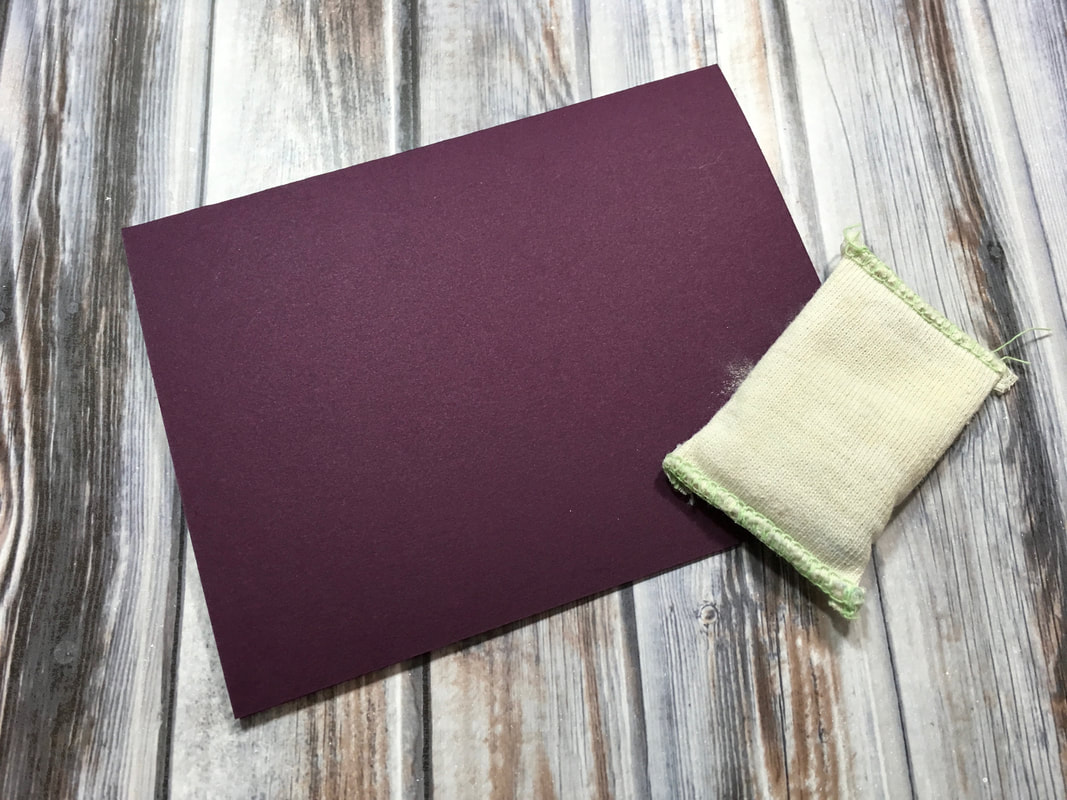
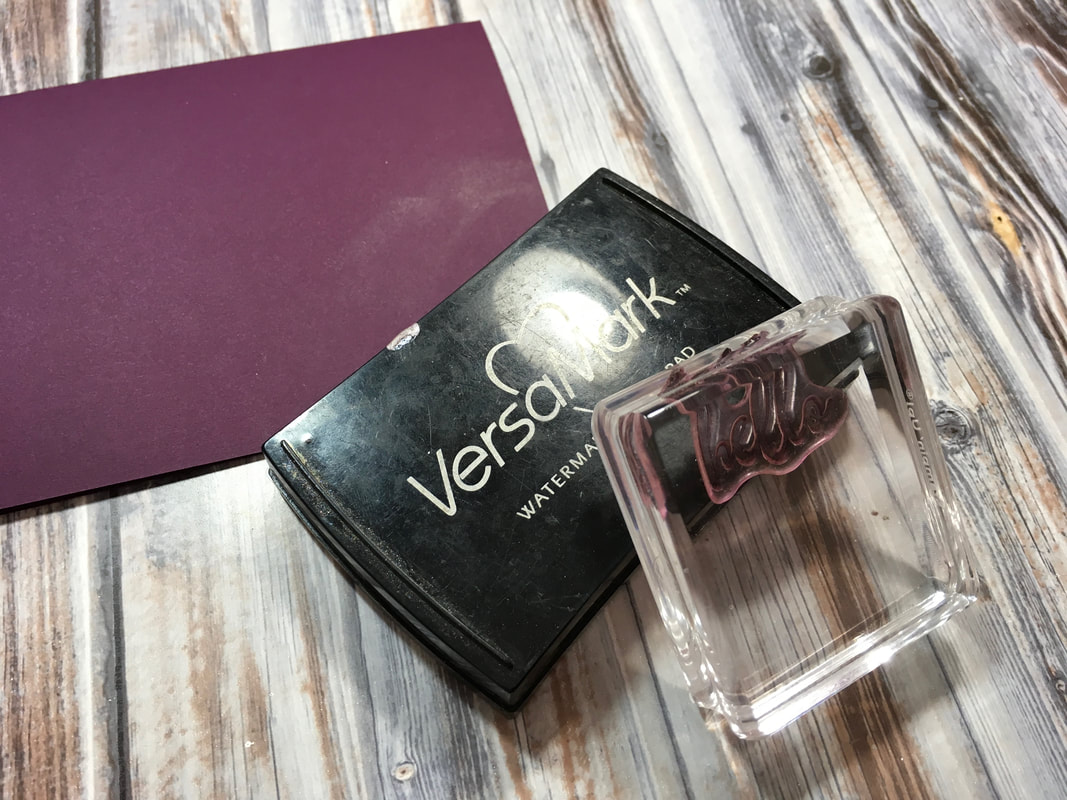
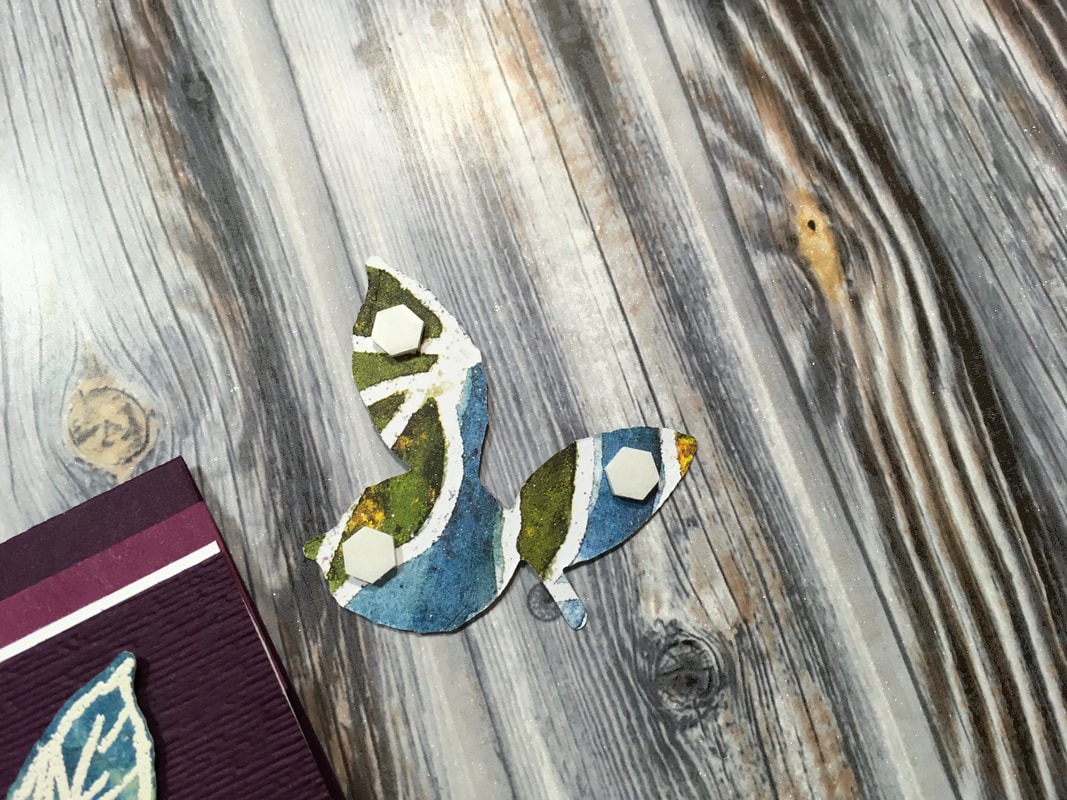
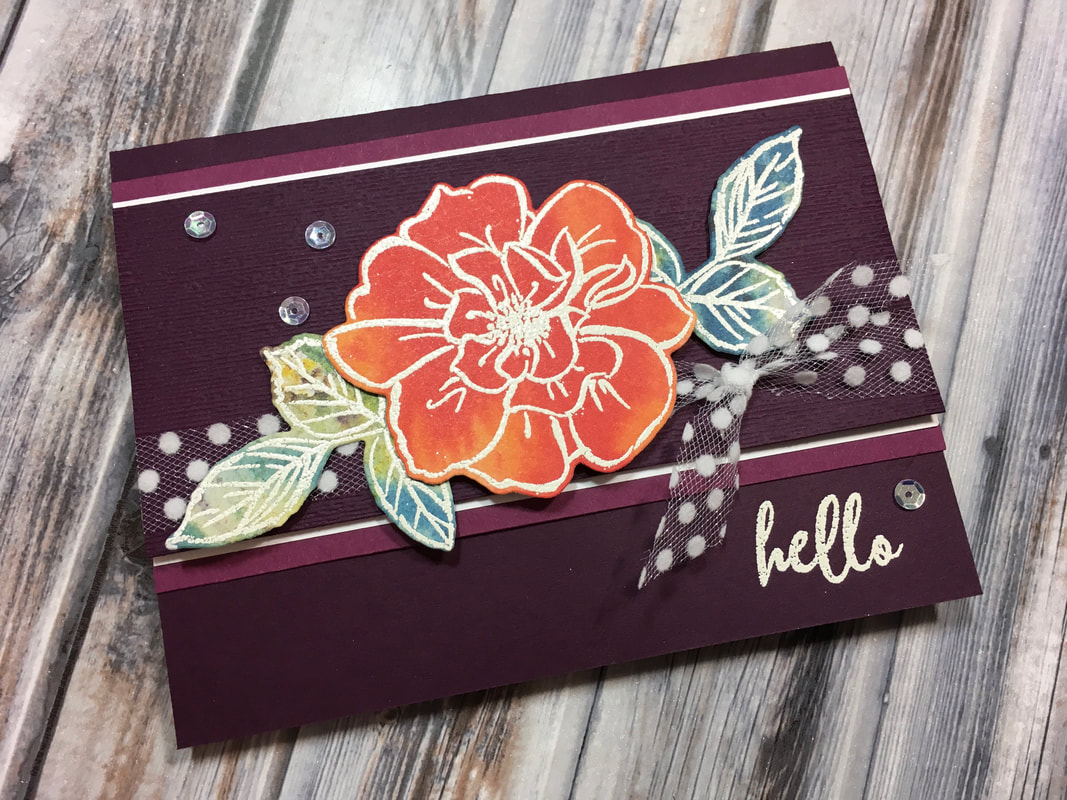
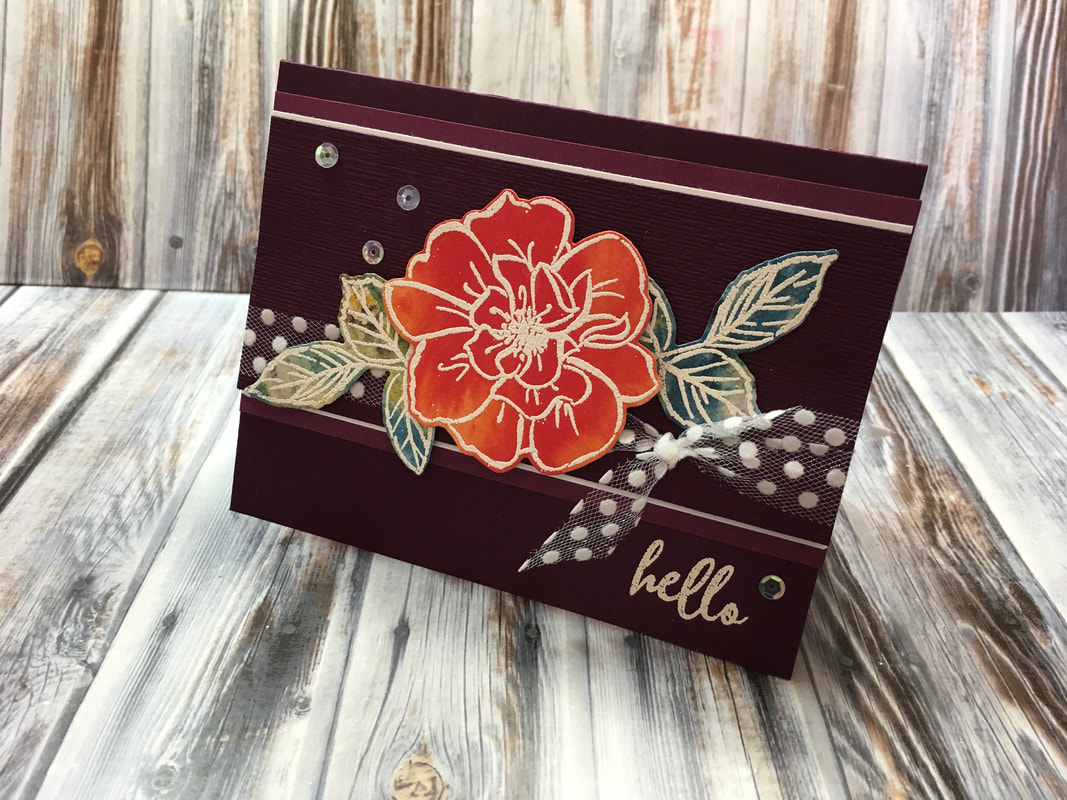
Today's Tips & Techniques for the Weekend focuses on heat embossing. This is an old standby in the world of stamping, but one that never fails to add a bit of elegance or a professional look to your card. 

There are a few basic supplies you will need:
          - Embossing Ink or Versamark Ink
          - Embossing Powder
          - a Heat Gun

For this card, I am using the To A Wild Rose stamp set and embossing the images on the See a Silhouette Designer Series Paper. Stamping on patterned paper is a fun way to get an interesting fill for your line images. I love the watercolor look of the See A Silhouette paper and this way, I didn't have to do any coloring!
​
Picture
While not absolutely necessary, it's also helpful to have an Embossing Buddy. This little bag of powder helps keep embossing powder from sticking where it's not supposed.

If you have an Embossing Buddy, rub it across your piece of paper before stamping. You might want to lightly tap it to release some powder and then spread it around. I used Blackberry Bliss for the base of this card. 
Next, stamp the image using an embossing ink or Versamark ink. I chose to use Versamark. This leaves a sticky image for your embossing powder to stick to. 

​I stamped "hello" from the To a Wild Rose stamp set in the lower right corner of my card base.
Picture
Picture
You will want to lay your card on a piece of scrap paper before dumping embossing powder on it. This will make clean up much easier and avoid wasting embossing powder. It's amazing how long one little jar of embossing powder will last!


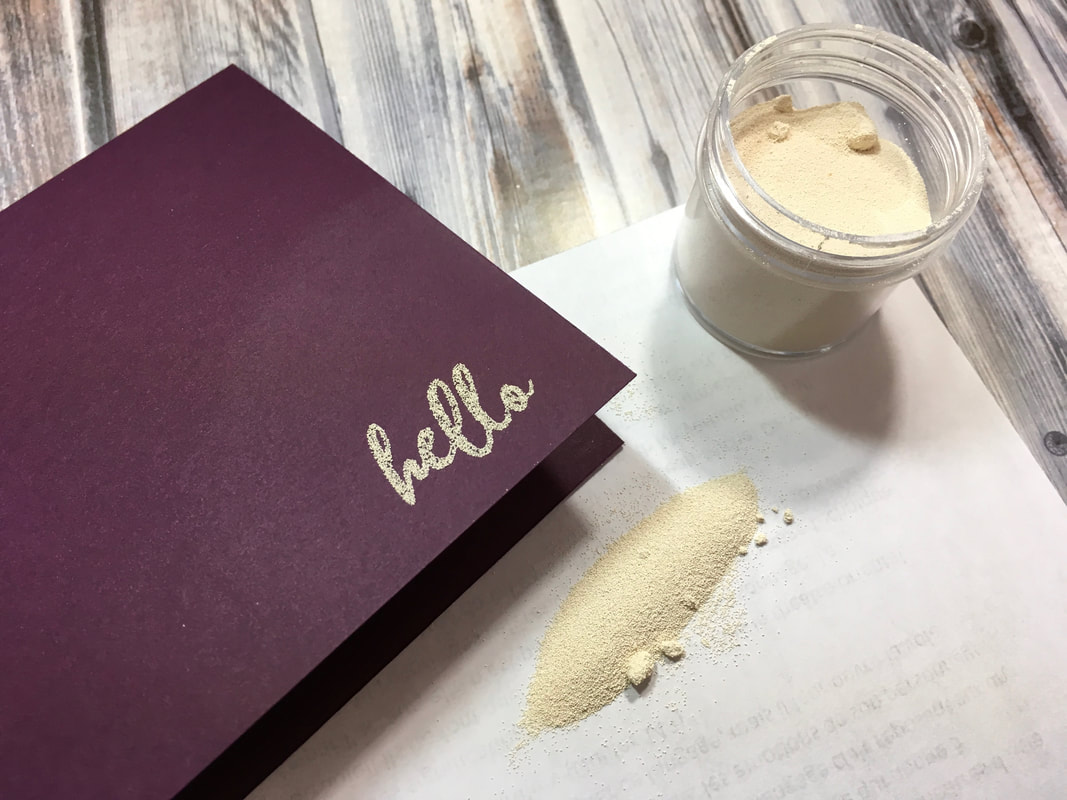
I used white embossing powder for my card. Just dump some over the area you stamped, and then turn your card over and let the excess powder fall on your scrap paper. You can lightly tap the back of your card to remove any stray powder. If you still have some powder in areas where it shouldn't be, carefully use a dry paintbrush to brush it away. 

Then, gently fold your scrap paper and pour the extra embossing powder back in the jar. 
​
Next, it's time to heat your image. This will melt the embossing powder and give it that shiny raised appearance you want. Back in the day, when I first started stamping, I used to hold my cardstock over my electric stove burner to melt the embossing powder. This isn't the best way though and can lead to scorched paper. But, if you're in a pinch, it can be done as long as you are very careful!


Picture
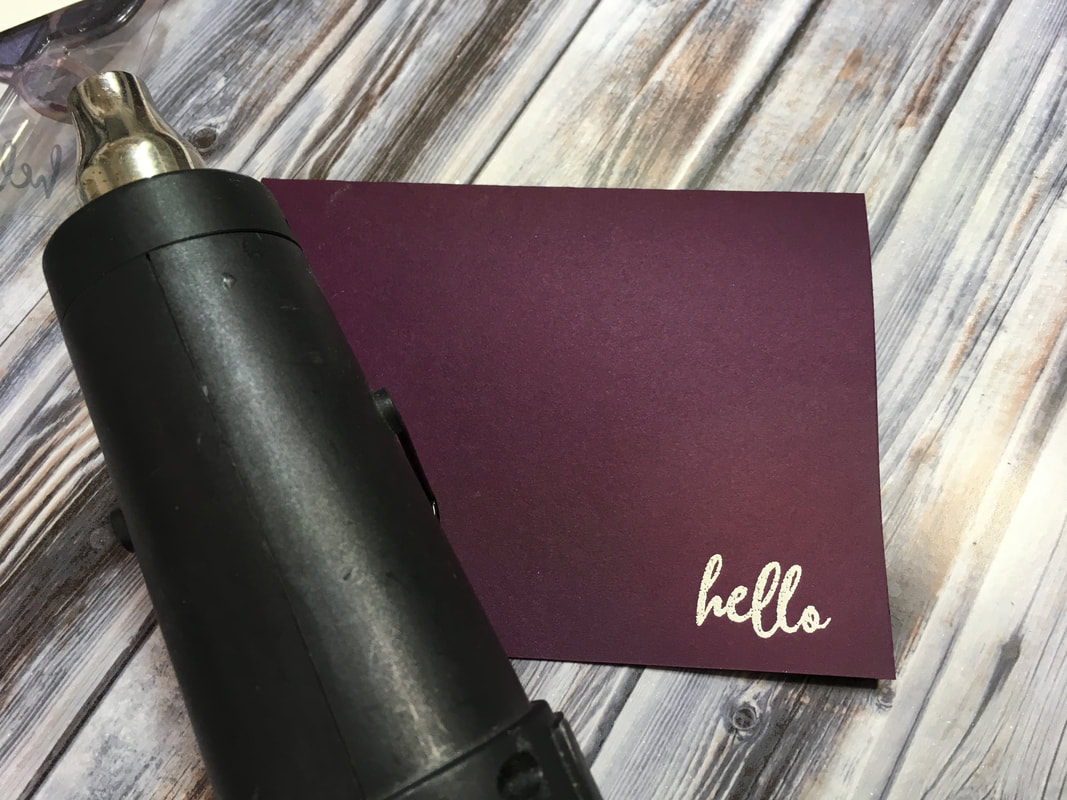
A much easier method is to use a heat gun. Slowly move the heat gun over your image as you see the powder melt. Be careful not to hold the heat gun in one place for too long because you can over melt the powder. This will cause it to appear dull and melt completely into the cardstock leaving a flat image instead of a raised one. ​
Picture
To finish my card, I embossed the flower and stem images on the See a Silhouette Designer Series Paper. Then, I used the Wild Rose dies to cut them out. I ran a strip (2.25 x 5.5") of Blackberry Bliss through my Big Shot using the Subtle embossing folder to add a little texture. I mounted this strip on a piece of Whisper White cardstock (2.5 x 5.5") and then on a piece of Rich Razzleberry cardstock (3 x 5.5"). I tied it with a piece of Polka Dot Tulle and mounted my flower and stem images on top. To give it a little pop, I used some dimensionals to adhere the flower and the outsides of the leaves. I finished by adhering this strip to my card base and adding some sequins. 
Picture
0 Comments

Your comment will be posted after it is approved.


Leave a Reply.

    Heidi Collins, Independent Stampin' Up! Demonstrator with On Y Go! Stamping
    Get updates and ideas on my Facebook group
    Heidi Collins, Independent Stampin' Up! Demonstrator and Owner of On Y Go! Stamping
    Shop for Stampin' Up! stamps, inks, paper, tools, and embellishments with Heidi Collins and earn points towards FREE stamps!
    Picture
    Picture
    On Y Go! Stamping YouTube channel with Card Making Videos on how to do rubber stamping, card making, scrapbooking, and paper crafting

    Archives

    March 2023
    February 2023
    January 2023
    December 2022
    November 2022
    October 2022
    September 2022
    August 2022
    July 2022
    June 2022
    May 2022
    April 2022
    March 2022
    February 2022
    January 2022
    December 2021
    November 2021
    October 2021
    September 2021
    August 2021
    July 2021
    June 2021
    May 2021
    April 2021
    March 2021
    February 2021
    January 2021
    December 2020
    November 2020
    October 2020
    September 2020
    August 2020
    July 2020
    June 2020
    May 2020
    April 2020
    March 2020
    February 2020
    January 2020
    December 2019
    November 2019
    October 2019
    September 2019
    August 2019
    July 2019
    June 2019

Powered by Create your own unique website with customizable templates.
  • About
  • Online Card Classes
  • Card Making Ideas
  • Stampin' Up! Catalogs
  • Card Tutorials
  • Contact
  • Shopping Rewards
  • Shop
  • Join Stampin' Up!