• About
  • Online Card Classes
  • Card Making Ideas
  • Stampin' Up! Catalogs
  • Card Tutorials
  • Contact
  • Shopping Rewards
  • Shop
  • Join Stampin' Up!
ON Y GO! STAMPING
  • About
  • Online Card Classes
  • Card Making Ideas
  • Stampin' Up! Catalogs
  • Card Tutorials
  • Contact
  • Shopping Rewards
  • Shop
  • Join Stampin' Up!

Online Extravaganza Nov. 20-22

11/19/2019

0 Comments

 
Picture
Need card stock and ink? This is a great time to stock up! 15% off Neutrals and Regals card stock and ink as well as an additional 5% off the already 10% reduced price on these bundles:

(151107) Parcels & Petals Bundle
(151131) Path of Petals Bundle
(151123) Free as a Bird Bundle
(151139) Dino Days Bundle
(151063) Memorable Mosaic Bundle
(151076) Band Together Bundle
(151069) Bloom & Grow Bundle
(151073) To a Wild Rose Bundle

​Click below to order and don't forget to use host code RQFWW32X  to receive a special gift from me. If your order is over $150, please contact me ([email protected]) so that I can help you maximize your free product!
Order Online
0 Comments

January - June 2020 Mini Catalog Sneak Peek

11/18/2019

10 Comments

 
Picture
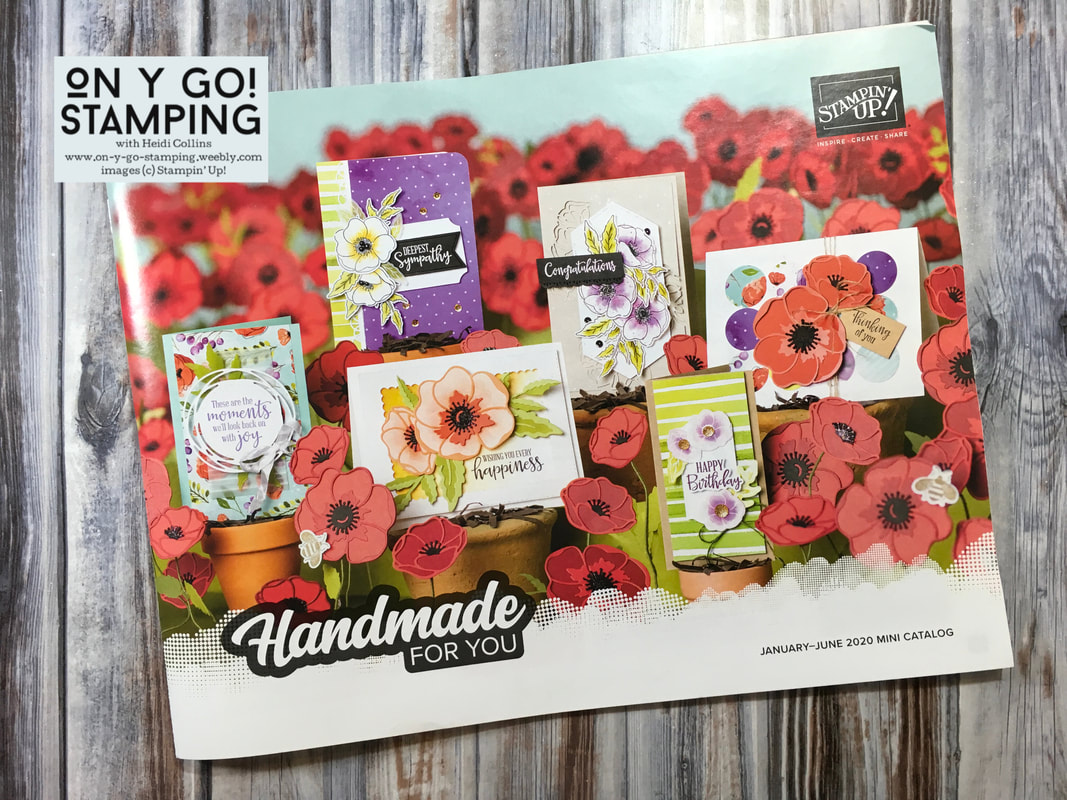
This weekend, I received my preview copy of the new January - June 2020 Mini Catalog. It is absolutely AMAZING! Not only did I get the catalog, I had the awesome opportunity to stamp with a few of the stamp sets in the new catalog and even brought a couple home with me. 

​Wanna see? I thought so!

First though, if you'd like to receive your own copy of this catalog in December, I'd love to send you one! Just leave me a comment, send me an email, or head over to my Facebook group and leave a comment there. 
​
Picture
I thought I'd start with my favorite - the Painted Poppies stamp set and Designer Series Paper. As indicated by the name, this set features poppies - which always remind me of France and the fields of wild poppies! It also has a painted feel to it and some fun splotchy images. 

I was so amazingly lucky, that I got to bring this set home with me. Squeeee! So, I made a couple more cards with it. Both of these cards were super quick and easy - and so bright and cheery that they make me smile when I look at them.
Picture
Picture
Next is the Timeless Tulips set. This set is a DistINKtive set and has a matching punch that punches out one of the tulip buds and a leaf. There are a variety of sayings including ones for Mother's Day, Easter, and Sympathy. 

I got to bring this set home with me too, so you'll probably get a sneak peek at a few more cards made with it in the upcoming weeks.
Picture
Picture
I also got to make a card with the Forever Blossoms stamp set and a set of three mini cards with the Dressed to Impress stamp set. The Forever Blossoms is a beautiful set that matches another new set featuring the Eiffel Tower, and the Dressed to Impress set features cute images of shoes, handbags, lipstick, and perfume. 
Picture

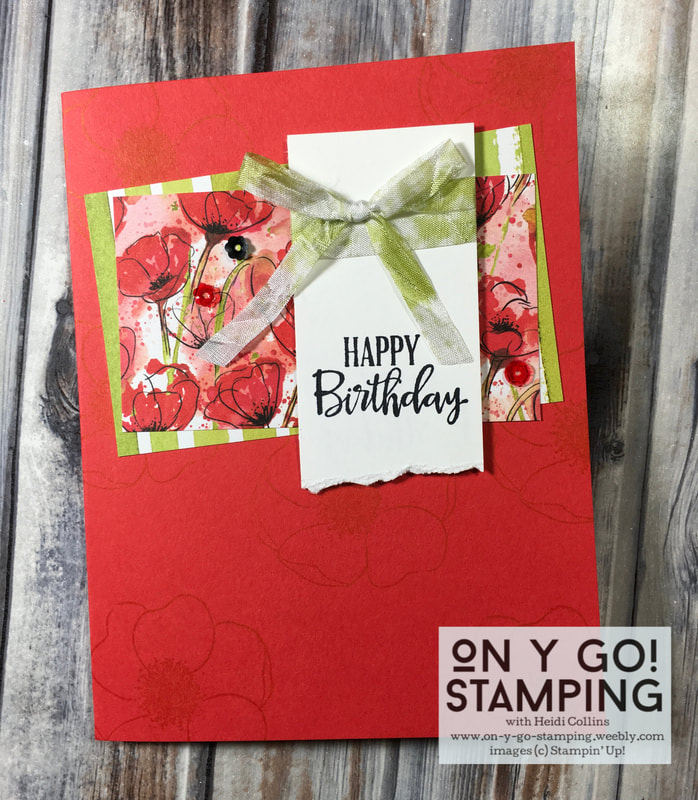
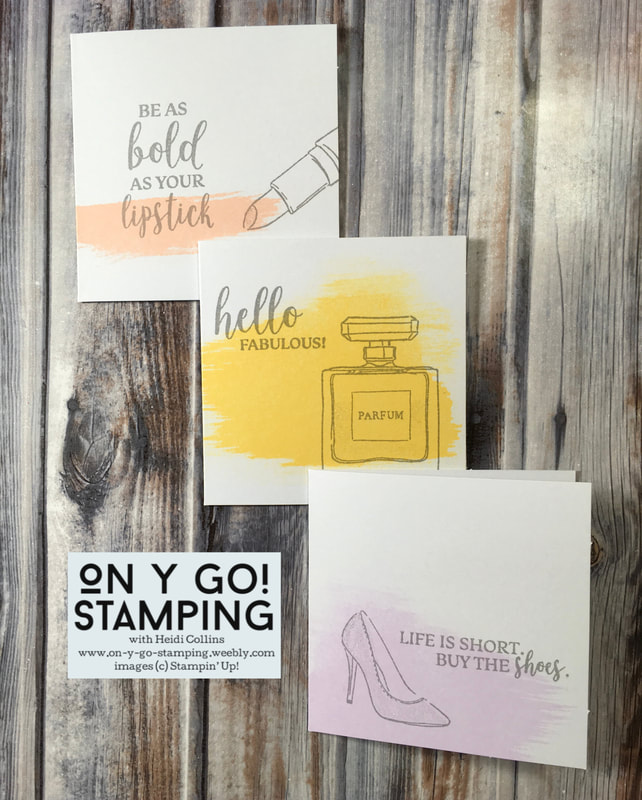
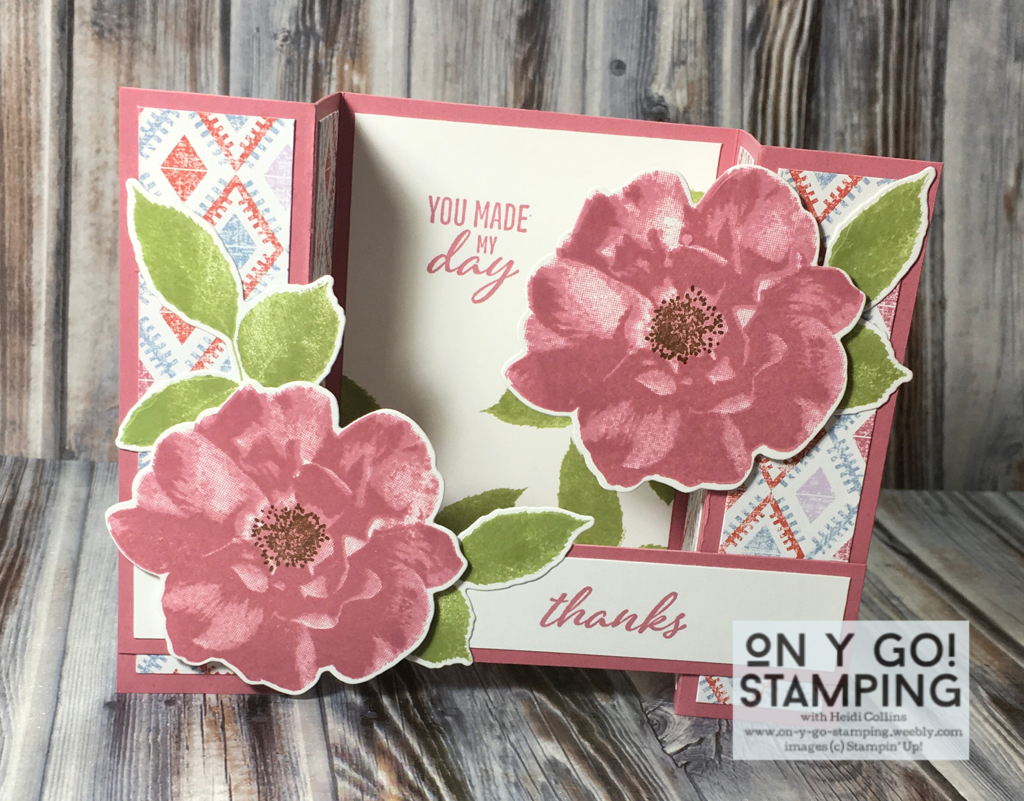
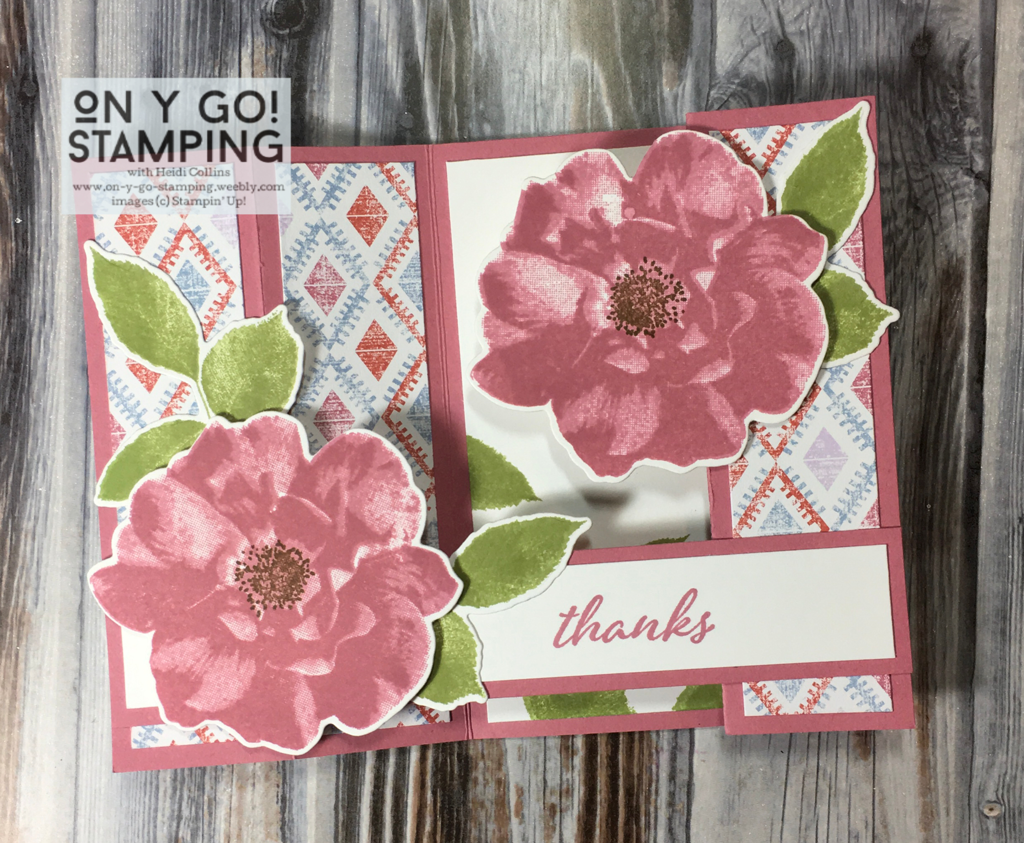
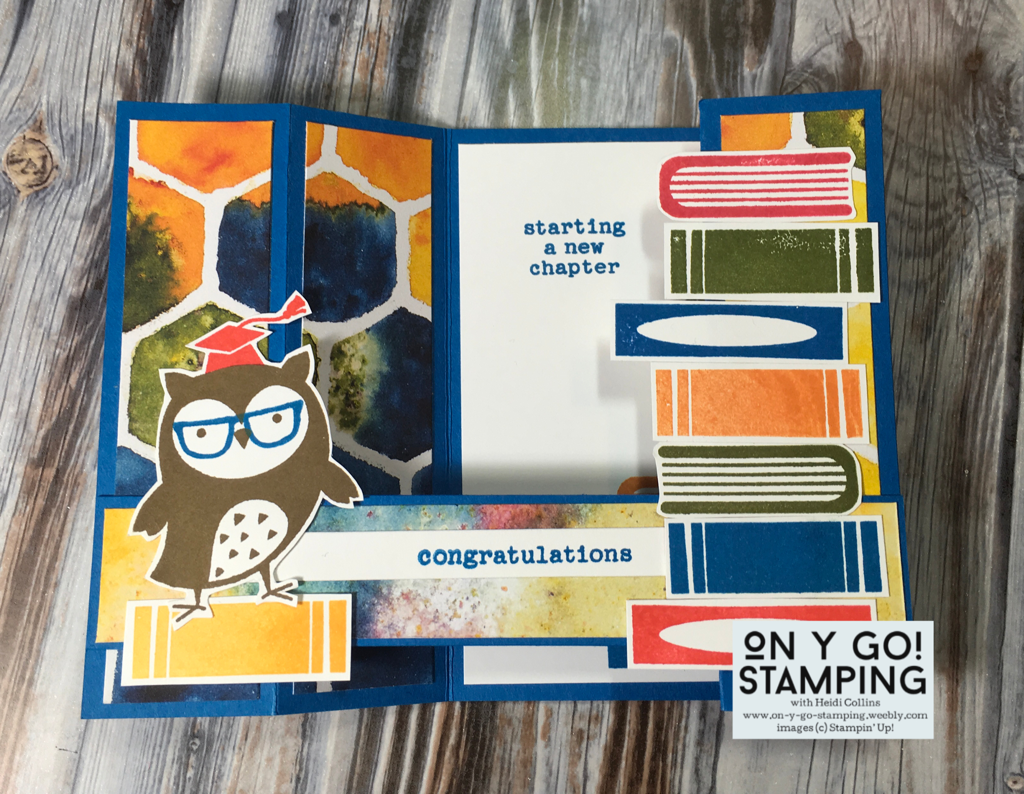
This sneak peek has put me in the mood for spring. Too bad the snow has just begun to fly. I'll be sharing some more sneak peeks from the mini catalog in the coming weeks, but there are still lots of things to share with you from the Holiday Catalog before it expires in January!

Would you like the opportunity to see the full catalog sooner and to be able to purchase the new stamps and accessories in December? Consider purchasing the starter kit for these benefits as well as a 20% discount on all your stamping supplies. I'd love to tell you more about it!
10 Comments

Window fun fold

11/15/2019

0 Comments

 
Picture
In the next few weeks, I’m going to be sharing a bunch of cards featuring fun folds. Today’s may be my favorite! This fold creates a 3D effect when you stand the card up so it looks a little like a picture window or a diorama. It’s super easy to make!

​In this sample, the piece of Pacific Point card stock is 4 1/4” x 8. Score it at 1 1/4”, 2 1/2”, 5 1/2”, and 6 3/4”. Fold the two outsides into a z-fold by folding the center score marks towards the middle and then fold them back out on the outside score marks.

​Cut it a strip of Pacific Point card stock to measure 5 1/2” x 1”. Lay your base card on the table with the folds on one side opened and the folds on the other side folded. Adhere the outside edges of the long strip to the two outer panels. It should lay flat like this as this is how you put it in the envelope. You can unfold the folded side to see how the card pops open to stand on a table or shelf.

To finish the card, cut four pieces of patterned paper to 1” x 4”. Adhere these to the outer panels. Cut a piece of Whisper White card stock to 2 3/4” x 4” for the center panel. Add stamped images of your choice!

I just love the depth and texture of this fun fold card. I’d love to see your creations with it!
Picture
Picture
Picture
0 Comments

My First YouTube Video

11/11/2019

0 Comments

 
Picture
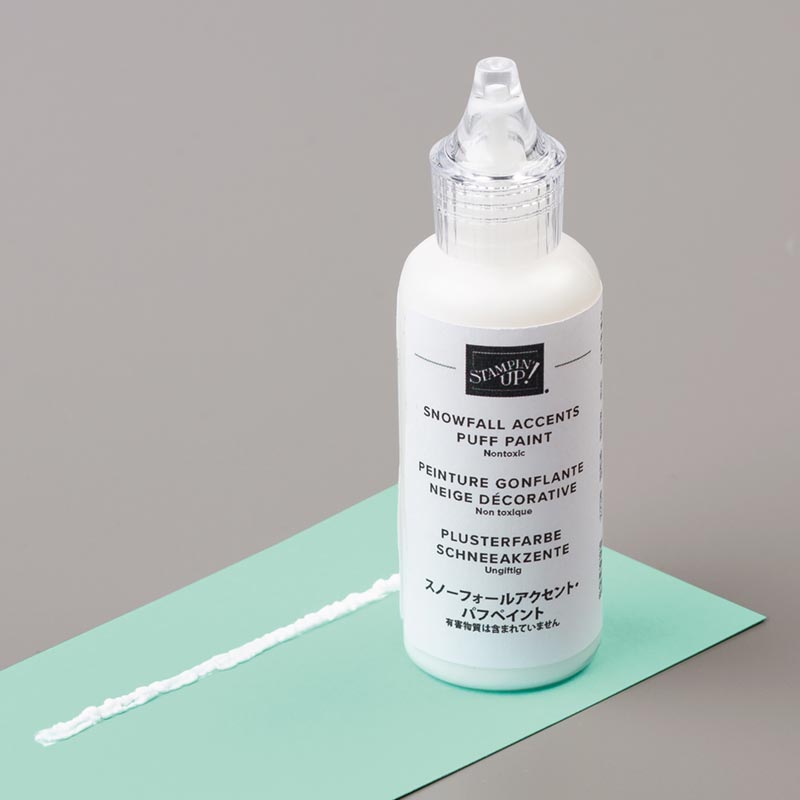
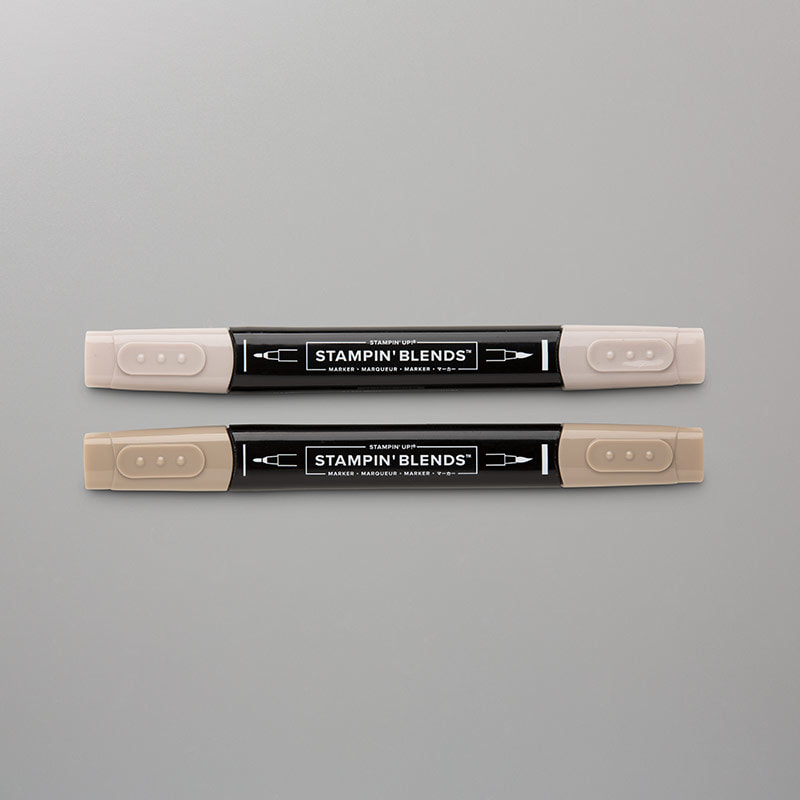
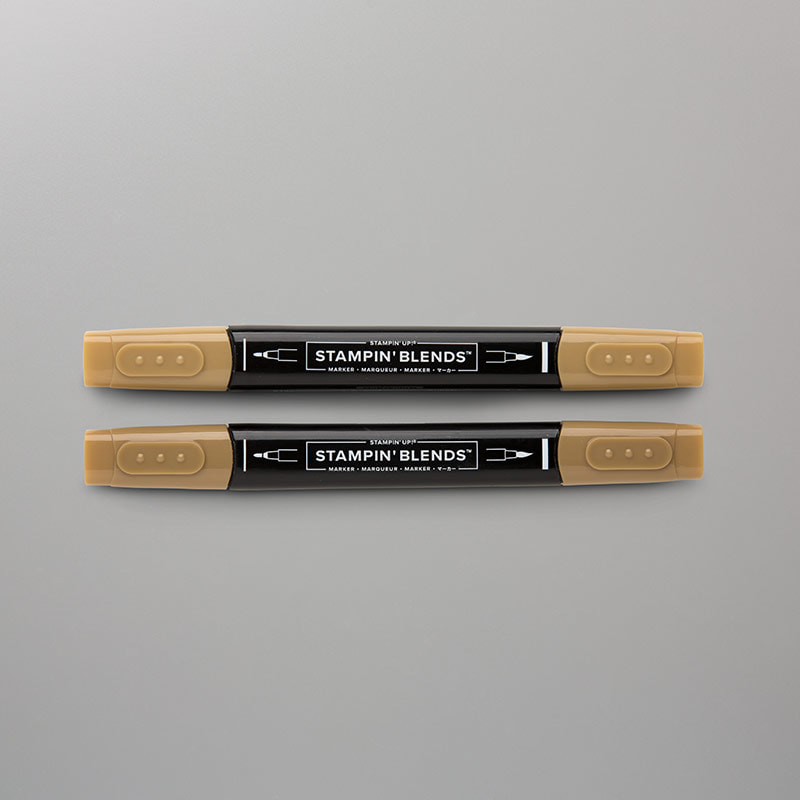
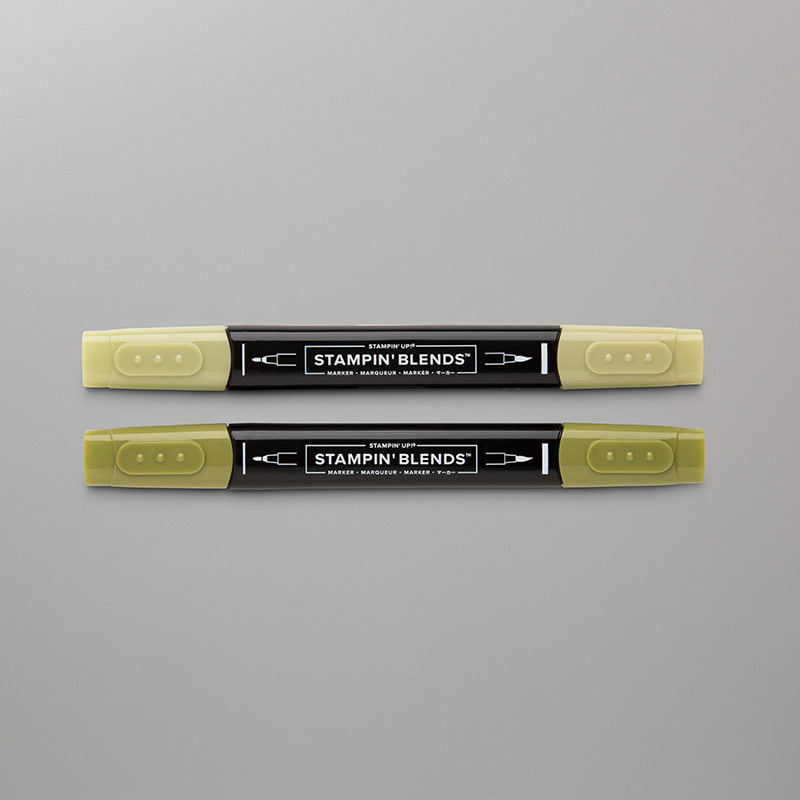
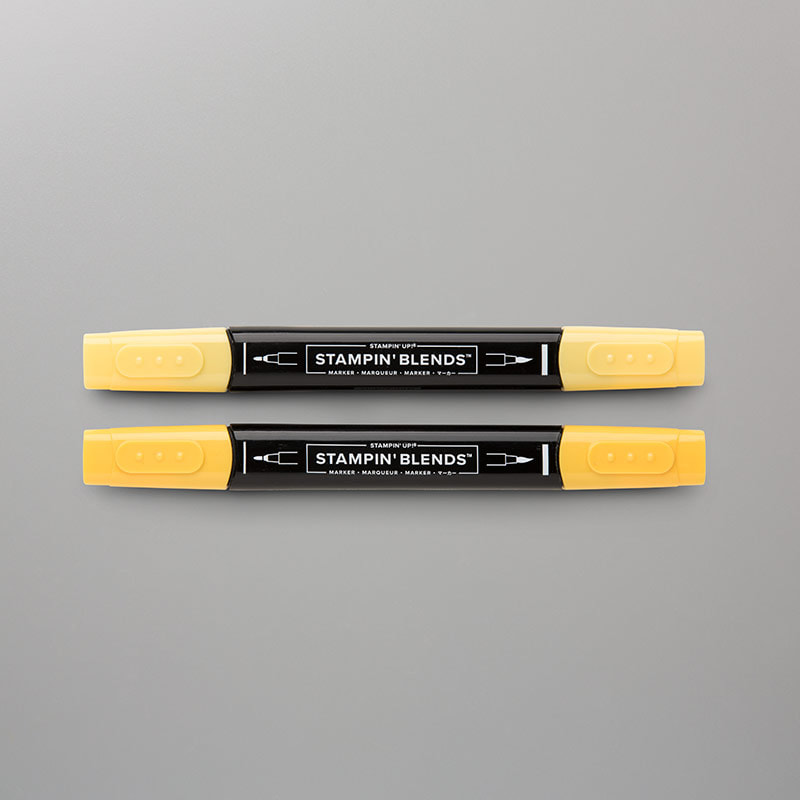
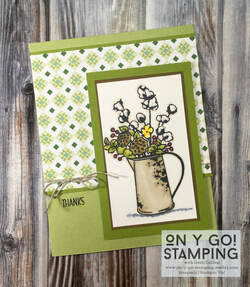
I would like to announce my first ever YouTube video featuring the Country Home stamp set and the Snowfall Accents Puff Paint. I am excited to have another way to share projects and techniques with you in a way where you can actually see what I am doing!


Country Home with Fluffy Cotton YouTube Video

​In this first video, I show you how to apply the Snowfall Accents Puff Paint using a paintbrush for a more even effect. Basically, you pour out a little puddle of paint onto a clear block and then use a paintbrush to scoop some up and dab it onto your project. In order for the puff effect to work, you need to create little puddles of puff paint, so I show you how to apply it with a tapping method to leave a puddle of paint instead of brushing it into the cardstock. Then, heat it with a heat gun and watch it puff up! You can also go back and add a little more paint with your paintbrush if you don't get quite the puff you were hoping for the first time.

I also demonstrate how to create beautiful shading with the Stampin' Blends markers. These markers are so easy to use. Begin by coloring the image with the lighter marker. Then, color the shaded areas with the darker marker. Finally, go back over the whole image with the lighter marker to blend the colors together. You can keep going over the image until you have the desired darkness and effect. 

You'll want to check out the video to see the puff paint and blends in action! I'd love to hear what you think about my first foray into the world of instructional videos; please leave a comment or suggestion below. As always, On Y Go! Let's get stamping!
​

Cardstock Dimensions

Pear Pizzaz Cardstock: 4 1/4" x 11", scored at 5 1/2"
Whisper White Cardstock: 2 1/2" x 3 3/4"
Soft Suede Cardstock: 2 5/8" x 3 7/8"
Old Olive Cardstock: 3" x 4 1/4"
Old Olive Cardstock: 4 1/4" x 3 3/16"
Garden Lane DSP: 4 1/4" x 3"
​

Supplies

Purchase the Supplies
Country Home 147678
Snowfall Accents Puff Paint 150691
Pear Pizzaz Cardstock 131201
Old Olive CS 100702
Soft Suede Cardstock 115318
Whisper White Cardstock 100730
Garden Lane Designer Series Paper 149488
Tuxedo Black Memento Ink 132708
Crumb Cake Blends 144601
Soft Suede Blends 147273
Old Olive Blends 144597
Daffodil Delight Blends 144603
Cherry Cobbler Light Blend 144576
Blends Color Lifter 144608
Linen Thread 104199
0 Comments

Washi Your Way to Quick Cards

11/1/2019

0 Comments

 
Picture
So last weekend, I was stamping with my sister and I asked to borrow a piece of washi tape to hold my die in place before I ran it through the Big Shot. She showed me a giant stash of washi and confessed that she never used it, except to decorate her phone case. I admitted that I rarely used mine except for holding dies in place. I have a feeling we're not the only ones.

Do you have a giant stack of washi hanging out in a drawer that you're just not sure what to do with? It's addictive, isn't it? It's so pretty and comes in packs with coordinating patterns. And at it's generally low price point, it's easy to keep adding a few rolls to the stash. It seems so useful and yet, we seem to have trouble actually using it.
Picture
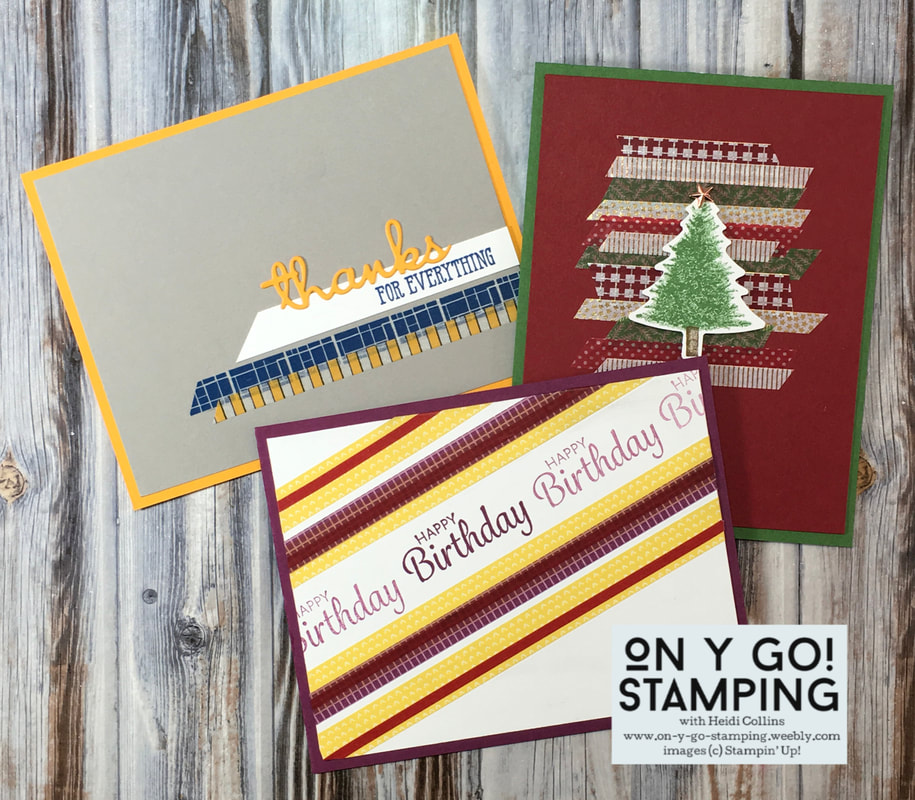
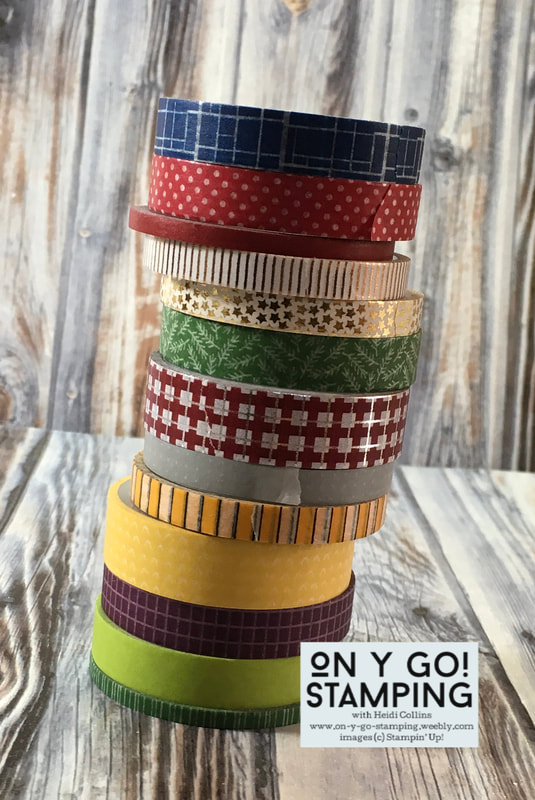
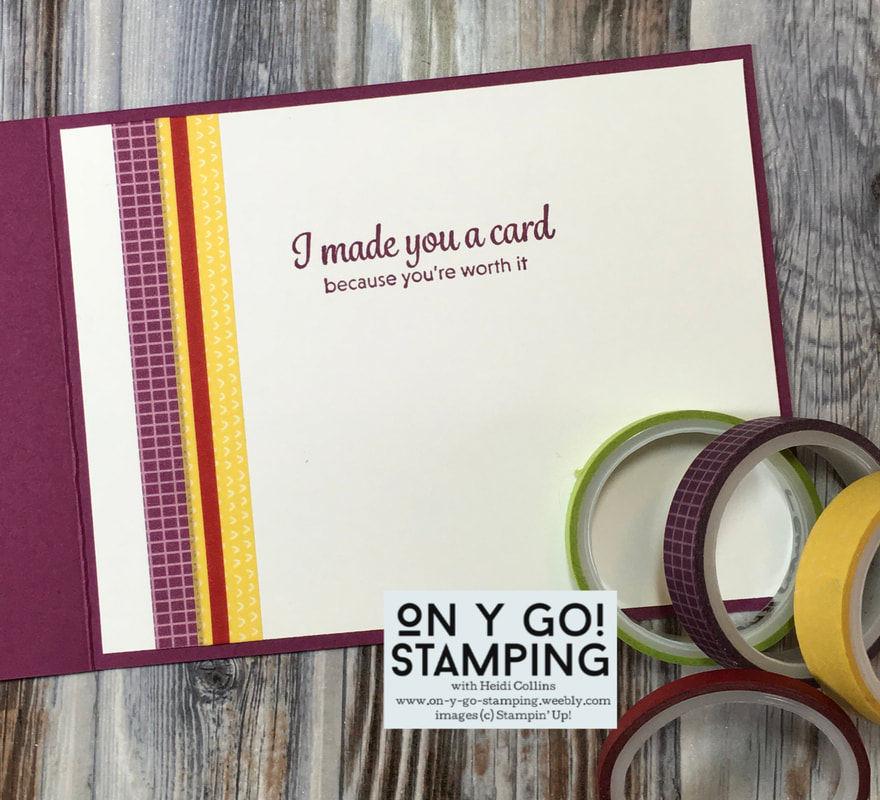
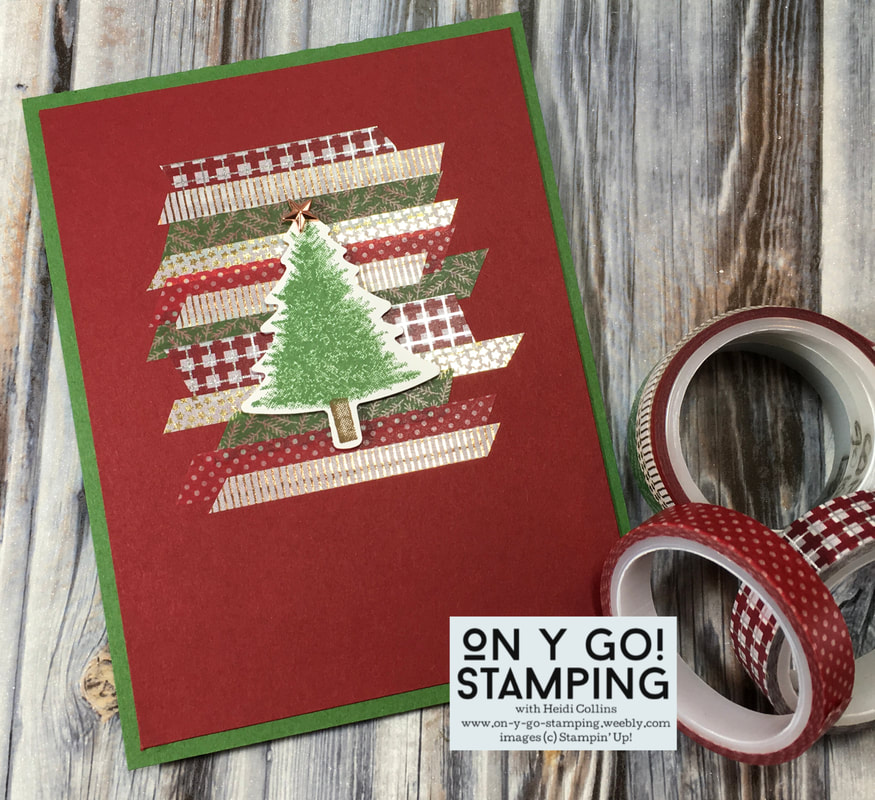
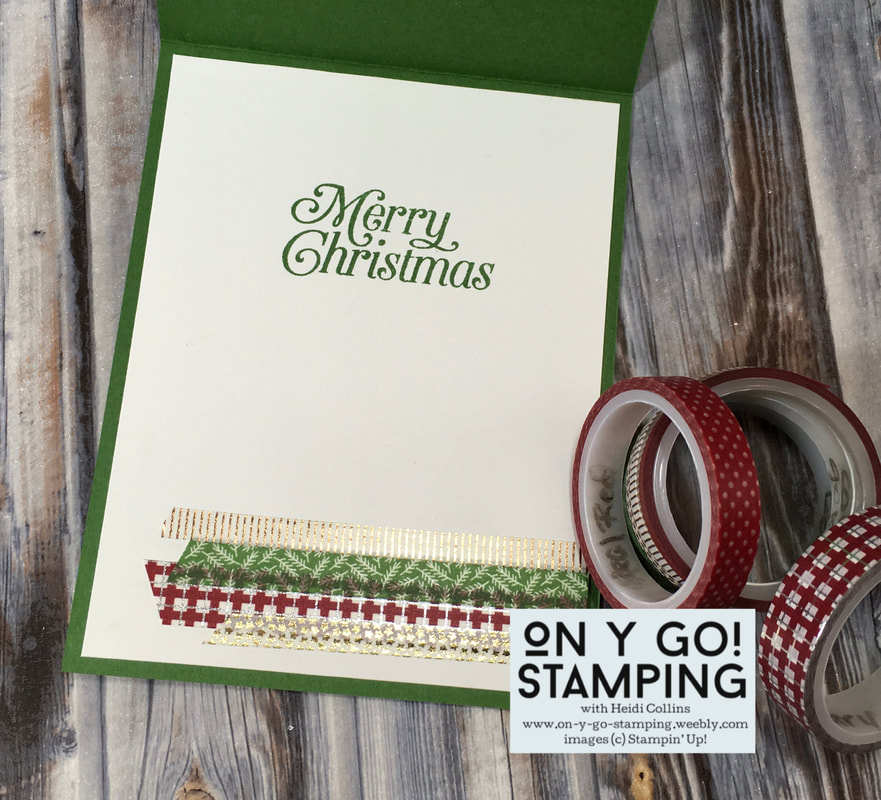
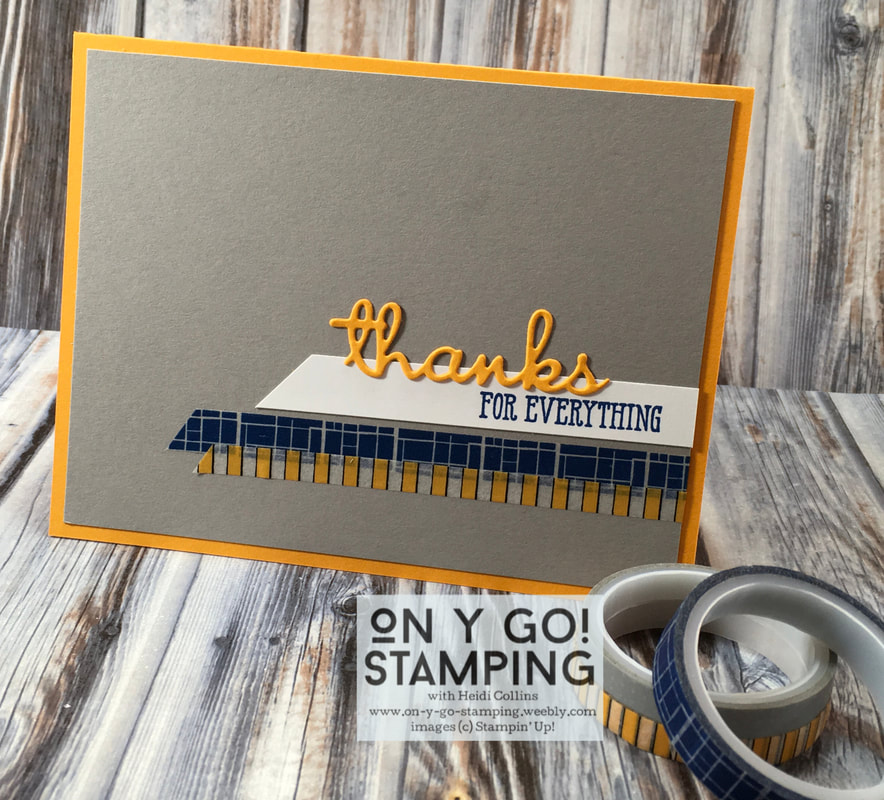
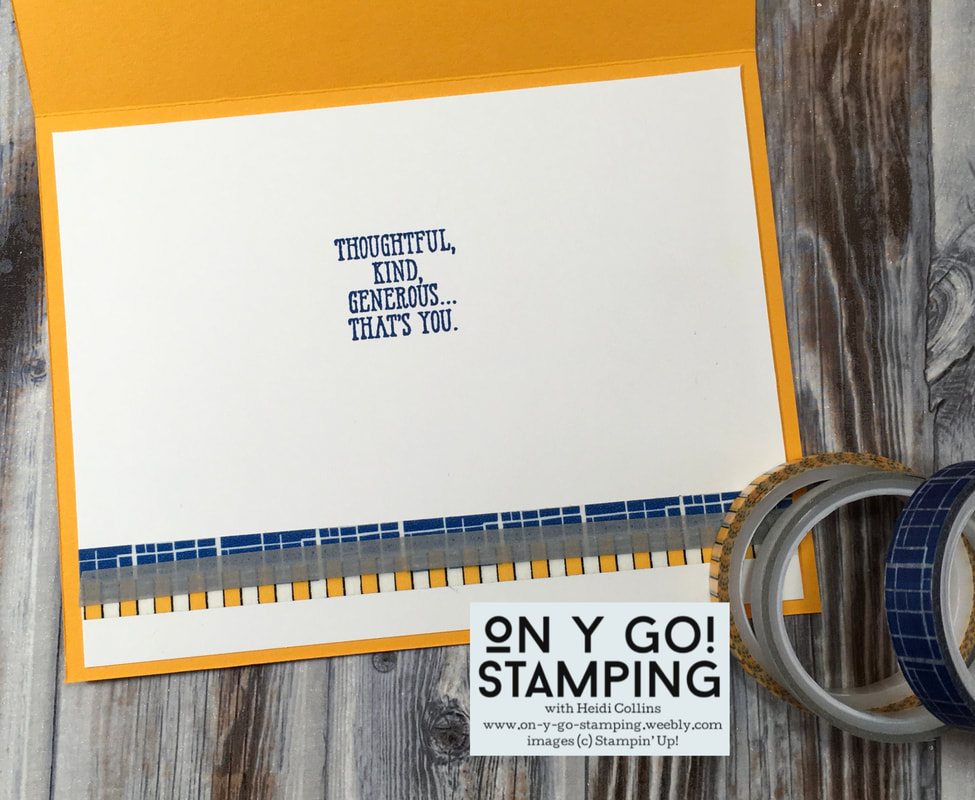
But washi is perfect for making quick and easy cards! I love to layer cardstock on my cards, but all those layers take time. With washi, it's easy to layer colors and patterns. It sticks, but isn't super sticky, so when you put it in the wrong place, it's easy to peel it off and re-position it. And with the coordinating colors and patterns, you can layer strips on top of each other to create patterns.

​So today, I pulled out my stash of washi and got to work.
Picture
Picture

For this birthday card, I started by laying a piece of yellow washi across a piece of Whisper White cardstock. Then I stamped the Happy Birthday greeting from the Here's a Card stamp set with Rich Razzleberry ink. I laid another piece of yellow washi under the greetings. Then, I started layering the washi to create a pattern. I overlapped some pieces and left some white space between others. To finish it off, I layered it on a Rich Razzleberry card base. 

On a second piece of Whisper White cardstock, I stamped an inside greeting and added a couple more pieces of washi. I glued it to the inside of the card, and just like that, I had a quick and easy birthday card. 
Next, I tackled a Christmas card. I started with a piece of Cherry Cobbler cardstock. I cut strips of coordinating washi. I stuck a piece in the center of the cardstock towards the top. Then, I kept layering pieces of washi below it. Each strip is kind of the same length, but not exactly. This created a jagged edge instead of a straight rectangle. Much easier than trying to get it perfect! 

I stamped a Christmas tree from the Perfectly Plaid stamp set in Garden Green ink with a Soft Suede trunk. I punched the tree with the Pine Tree punch and used some dimensionals to layer it on top of the washi. For a little fun pop. I added a copper star to the top of the tree. 

I layered the Cherry Cobbler piece on a Garden Green card base. For the inside, I stamped "Merry Christmas" on a piece of Whisper White cardstock and added some washi on the bottom. Another quick and easy card in the bag!
Picture
Picture
Picture
Picture
For the final card in my washi trifecta, I created a thank you card using the Well Written dies and the Well Said stamp set. 

I started with a piece of Gray Granite cardstock. I placed two pieces of washi along the bottom. I cut one side off at an angle and anchored the other side to the back of the cardstock. I cut the "thanks" from Mango Melody cardstock and stamped the "For Everything" on a strip of Whisper White cardstock. I layered these above the washi and then stuck the whole piece on a Mango Melody card base. 

For the inside, I stamped an inside greeting from the Well Said stamp set and added a little more washi. 

It really is amazing how quickly these cards came together. So, pull out those rolls of washi tape gathering dust on your craft shelf and start using them whenever you need to whip up a card for a loved one!
0 Comments
Forward>>
    Heidi Collins, Independent Stampin' Up! Demonstrator with On Y Go! Stamping
    Get updates and ideas on my Facebook group
    Heidi Collins, Independent Stampin' Up! Demonstrator and Owner of On Y Go! Stamping
    Picture
    Picture
    On Y Go! Stamping YouTube channel with Card Making Videos on how to do rubber stamping, card making, scrapbooking, and paper crafting

    Archives

    May 2025
    April 2025
    March 2025
    February 2025
    January 2025
    December 2024
    November 2024
    October 2024
    September 2024
    August 2024
    July 2024
    June 2024
    May 2024
    April 2024
    March 2024
    February 2024
    January 2024
    December 2023
    November 2023
    October 2023
    September 2023
    August 2023
    July 2023
    June 2023
    May 2023
    April 2023
    March 2023
    February 2023
    January 2023
    December 2022
    November 2022
    October 2022
    September 2022
    August 2022
    July 2022
    June 2022
    May 2022
    April 2022
    March 2022
    February 2022
    January 2022
    December 2021
    November 2021
    October 2021
    September 2021
    August 2021
    July 2021
    June 2021
    May 2021
    April 2021
    March 2021
    February 2021
    January 2021
    December 2020
    November 2020
    October 2020
    September 2020
    August 2020
    July 2020
    June 2020
    May 2020
    April 2020
    March 2020
    February 2020
    January 2020
    December 2019
    November 2019
    October 2019
    September 2019
    August 2019
    July 2019
    June 2019

Proudly powered by Weebly
  • About
  • Online Card Classes
  • Card Making Ideas
  • Stampin' Up! Catalogs
  • Card Tutorials
  • Contact
  • Shopping Rewards
  • Shop
  • Join Stampin' Up!