• About
  • Online Card Classes
  • Card Making Ideas
  • Stampin' Up! Catalogs
  • Card Tutorials
  • Contact
  • Shopping Rewards
  • Shop
  • Join Stampin' Up!
ON Y GO! STAMPING
  • About
  • Online Card Classes
  • Card Making Ideas
  • Stampin' Up! Catalogs
  • Card Tutorials
  • Contact
  • Shopping Rewards
  • Shop
  • Join Stampin' Up!

Washi Your Way to Quick Cards

11/1/2019

0 Comments

 
Picture
So last weekend, I was stamping with my sister and I asked to borrow a piece of washi tape to hold my die in place before I ran it through the Big Shot. She showed me a giant stash of washi and confessed that she never used it, except to decorate her phone case. I admitted that I rarely used mine except for holding dies in place. I have a feeling we're not the only ones.

Do you have a giant stack of washi hanging out in a drawer that you're just not sure what to do with? It's addictive, isn't it? It's so pretty and comes in packs with coordinating patterns. And at it's generally low price point, it's easy to keep adding a few rolls to the stash. It seems so useful and yet, we seem to have trouble actually using it.
Picture
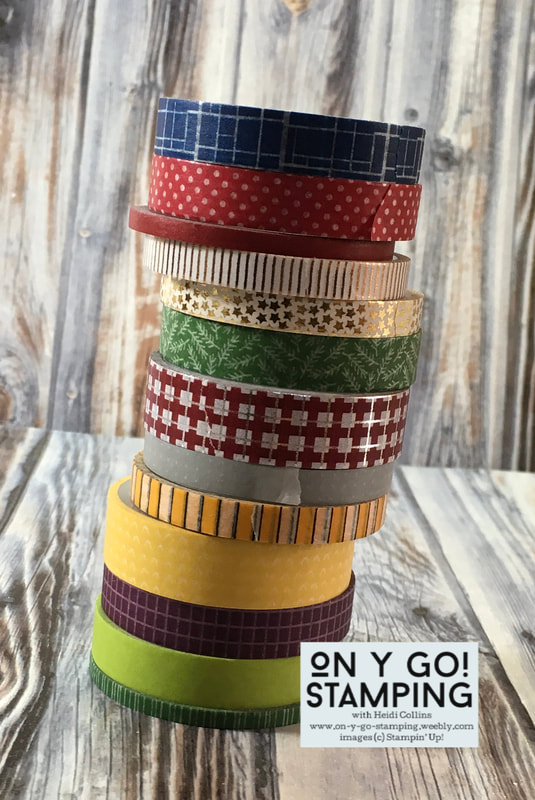
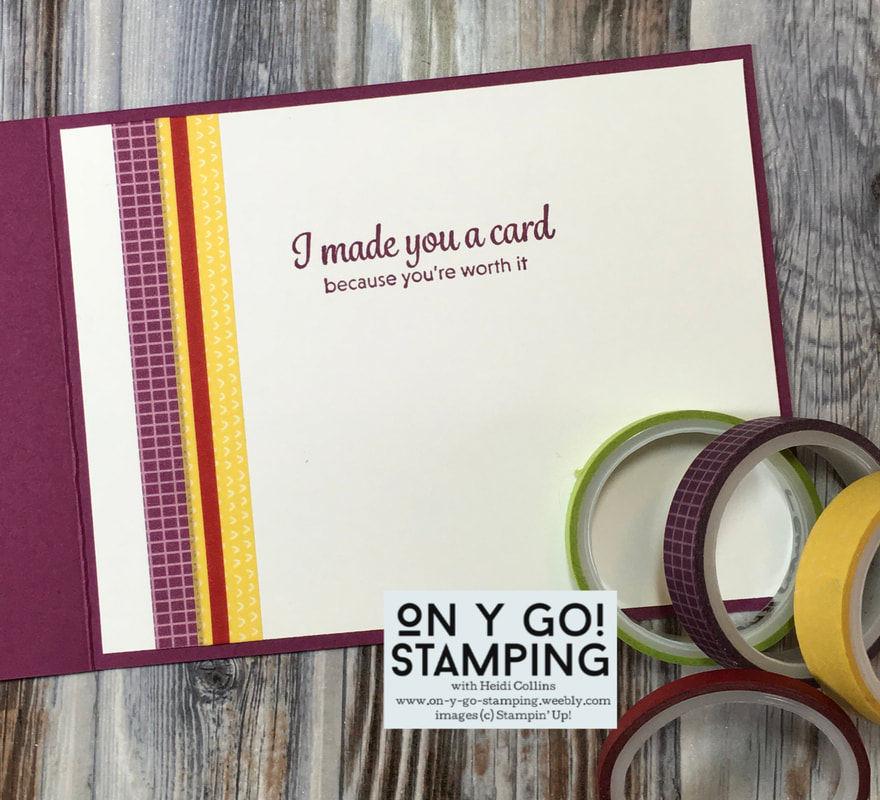
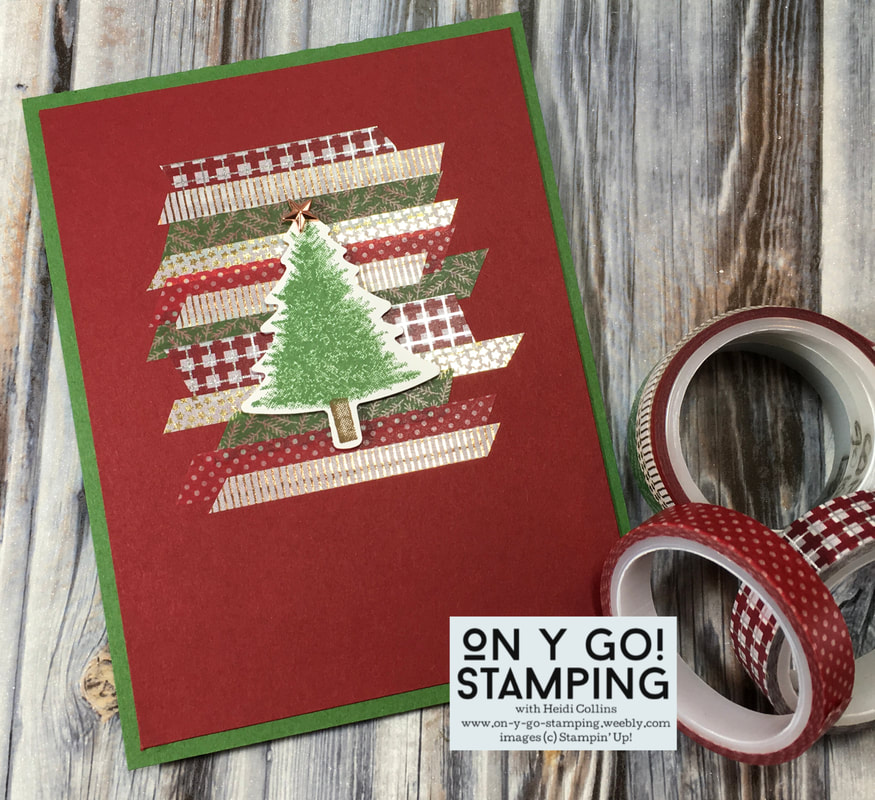
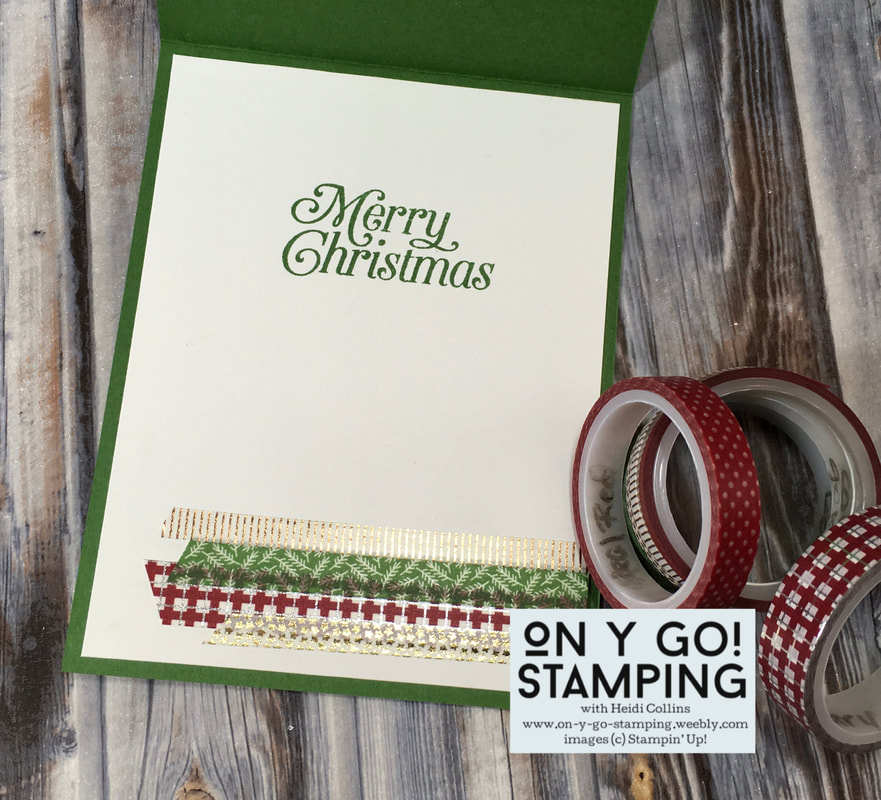
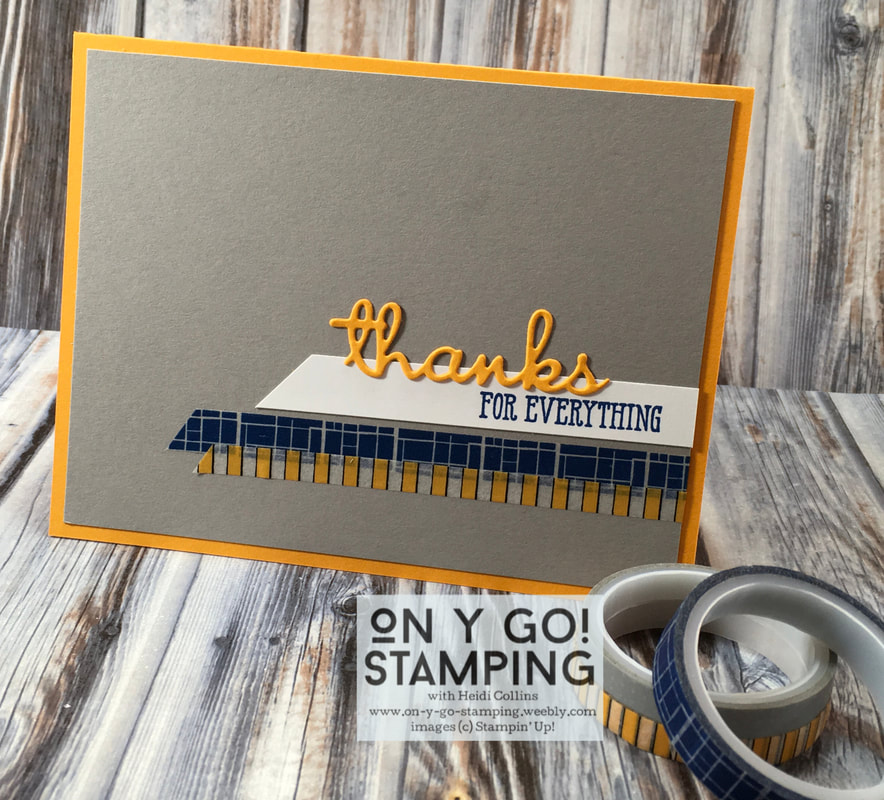
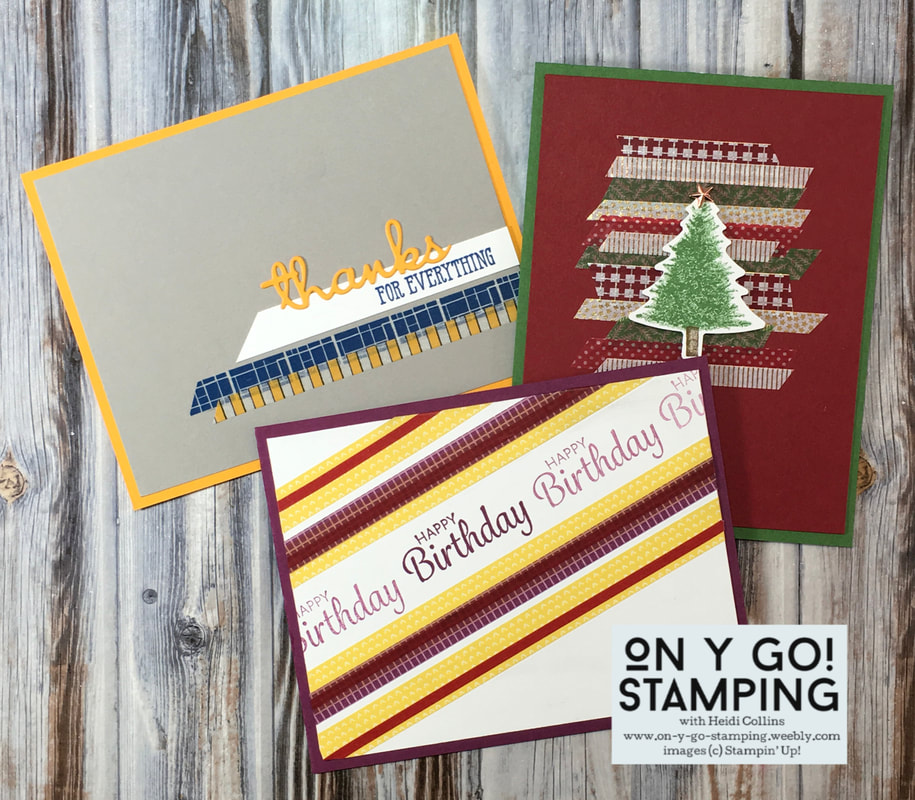
But washi is perfect for making quick and easy cards! I love to layer cardstock on my cards, but all those layers take time. With washi, it's easy to layer colors and patterns. It sticks, but isn't super sticky, so when you put it in the wrong place, it's easy to peel it off and re-position it. And with the coordinating colors and patterns, you can layer strips on top of each other to create patterns.

​So today, I pulled out my stash of washi and got to work.
Picture
Picture

For this birthday card, I started by laying a piece of yellow washi across a piece of Whisper White cardstock. Then I stamped the Happy Birthday greeting from the Here's a Card stamp set with Rich Razzleberry ink. I laid another piece of yellow washi under the greetings. Then, I started layering the washi to create a pattern. I overlapped some pieces and left some white space between others. To finish it off, I layered it on a Rich Razzleberry card base. 

On a second piece of Whisper White cardstock, I stamped an inside greeting and added a couple more pieces of washi. I glued it to the inside of the card, and just like that, I had a quick and easy birthday card. 
Next, I tackled a Christmas card. I started with a piece of Cherry Cobbler cardstock. I cut strips of coordinating washi. I stuck a piece in the center of the cardstock towards the top. Then, I kept layering pieces of washi below it. Each strip is kind of the same length, but not exactly. This created a jagged edge instead of a straight rectangle. Much easier than trying to get it perfect! 

I stamped a Christmas tree from the Perfectly Plaid stamp set in Garden Green ink with a Soft Suede trunk. I punched the tree with the Pine Tree punch and used some dimensionals to layer it on top of the washi. For a little fun pop. I added a copper star to the top of the tree. 

I layered the Cherry Cobbler piece on a Garden Green card base. For the inside, I stamped "Merry Christmas" on a piece of Whisper White cardstock and added some washi on the bottom. Another quick and easy card in the bag!
Picture
Picture
Picture
Picture
For the final card in my washi trifecta, I created a thank you card using the Well Written dies and the Well Said stamp set. 

I started with a piece of Gray Granite cardstock. I placed two pieces of washi along the bottom. I cut one side off at an angle and anchored the other side to the back of the cardstock. I cut the "thanks" from Mango Melody cardstock and stamped the "For Everything" on a strip of Whisper White cardstock. I layered these above the washi and then stuck the whole piece on a Mango Melody card base. 

For the inside, I stamped an inside greeting from the Well Said stamp set and added a little more washi. 

It really is amazing how quickly these cards came together. So, pull out those rolls of washi tape gathering dust on your craft shelf and start using them whenever you need to whip up a card for a loved one!
0 Comments

Your comment will be posted after it is approved.


Leave a Reply.

    Heidi Collins, Independent Stampin' Up! Demonstrator with On Y Go! Stamping
    Get updates and ideas on my Facebook group
    Heidi Collins, Independent Stampin' Up! Demonstrator and Owner of On Y Go! Stamping
    Picture
    Picture
    On Y Go! Stamping YouTube channel with Card Making Videos on how to do rubber stamping, card making, scrapbooking, and paper crafting

    Archives

    May 2025
    April 2025
    March 2025
    February 2025
    January 2025
    December 2024
    November 2024
    October 2024
    September 2024
    August 2024
    July 2024
    June 2024
    May 2024
    April 2024
    March 2024
    February 2024
    January 2024
    December 2023
    November 2023
    October 2023
    September 2023
    August 2023
    July 2023
    June 2023
    May 2023
    April 2023
    March 2023
    February 2023
    January 2023
    December 2022
    November 2022
    October 2022
    September 2022
    August 2022
    July 2022
    June 2022
    May 2022
    April 2022
    March 2022
    February 2022
    January 2022
    December 2021
    November 2021
    October 2021
    September 2021
    August 2021
    July 2021
    June 2021
    May 2021
    April 2021
    March 2021
    February 2021
    January 2021
    December 2020
    November 2020
    October 2020
    September 2020
    August 2020
    July 2020
    June 2020
    May 2020
    April 2020
    March 2020
    February 2020
    January 2020
    December 2019
    November 2019
    October 2019
    September 2019
    August 2019
    July 2019
    June 2019

Proudly powered by Weebly
  • About
  • Online Card Classes
  • Card Making Ideas
  • Stampin' Up! Catalogs
  • Card Tutorials
  • Contact
  • Shopping Rewards
  • Shop
  • Join Stampin' Up!