• About
  • Online Card Classes
  • Card Making Ideas
  • Stampin' Up! Catalogs
  • Card Tutorials
  • Contact
  • Shopping Rewards
  • Shop
  • Join Stampin' Up!
ON Y GO! STAMPING
  • About
  • Online Card Classes
  • Card Making Ideas
  • Stampin' Up! Catalogs
  • Card Tutorials
  • Contact
  • Shopping Rewards
  • Shop
  • Join Stampin' Up!

Busy Shaker Bees

2/17/2020

0 Comments

 
Picture
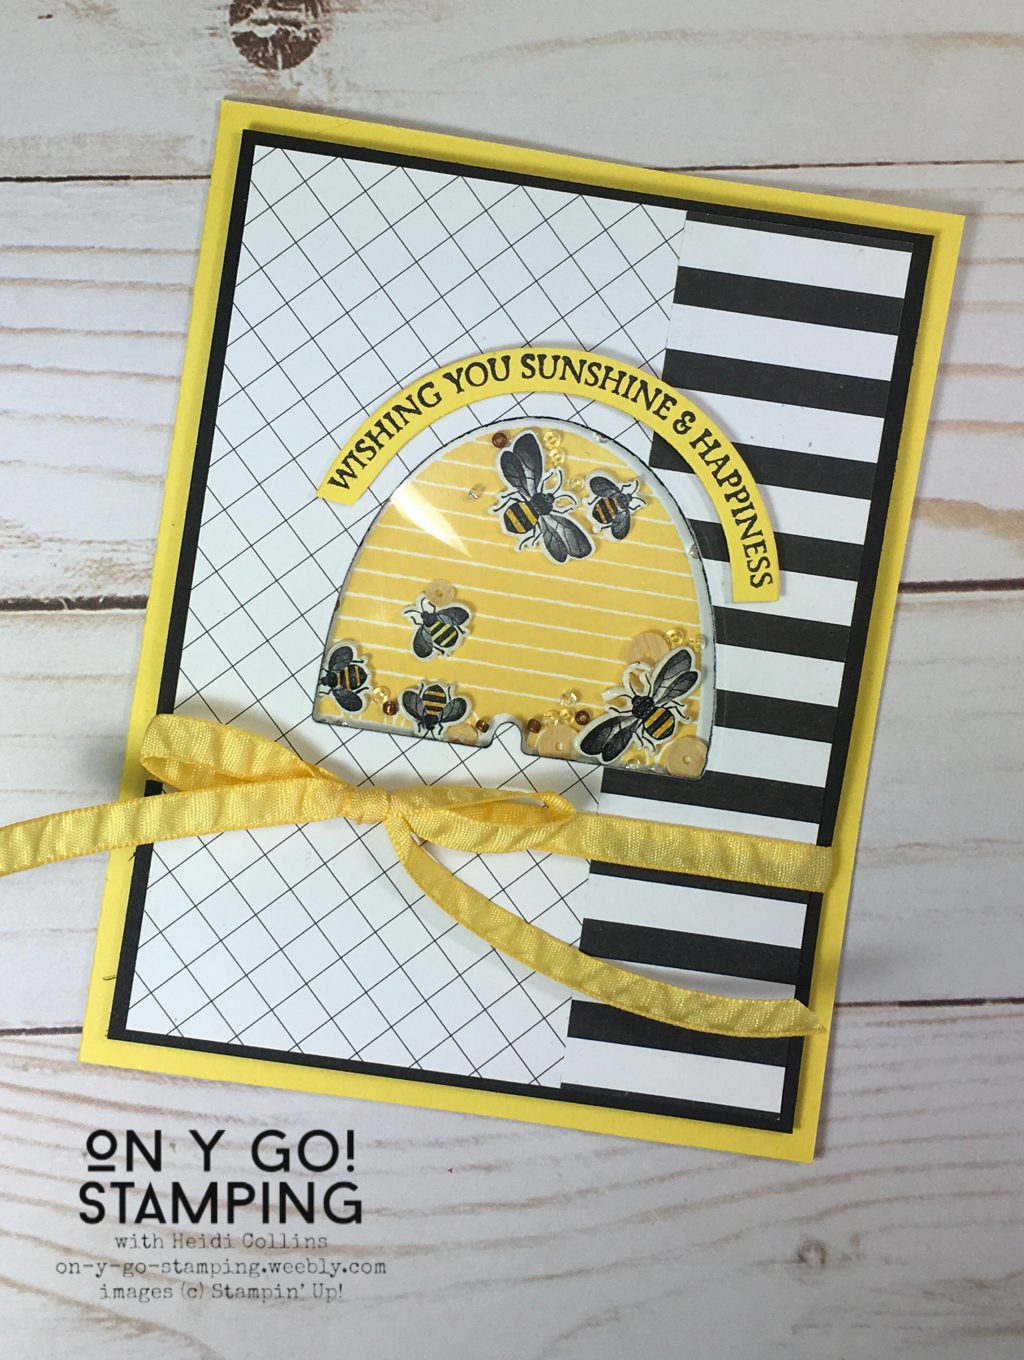
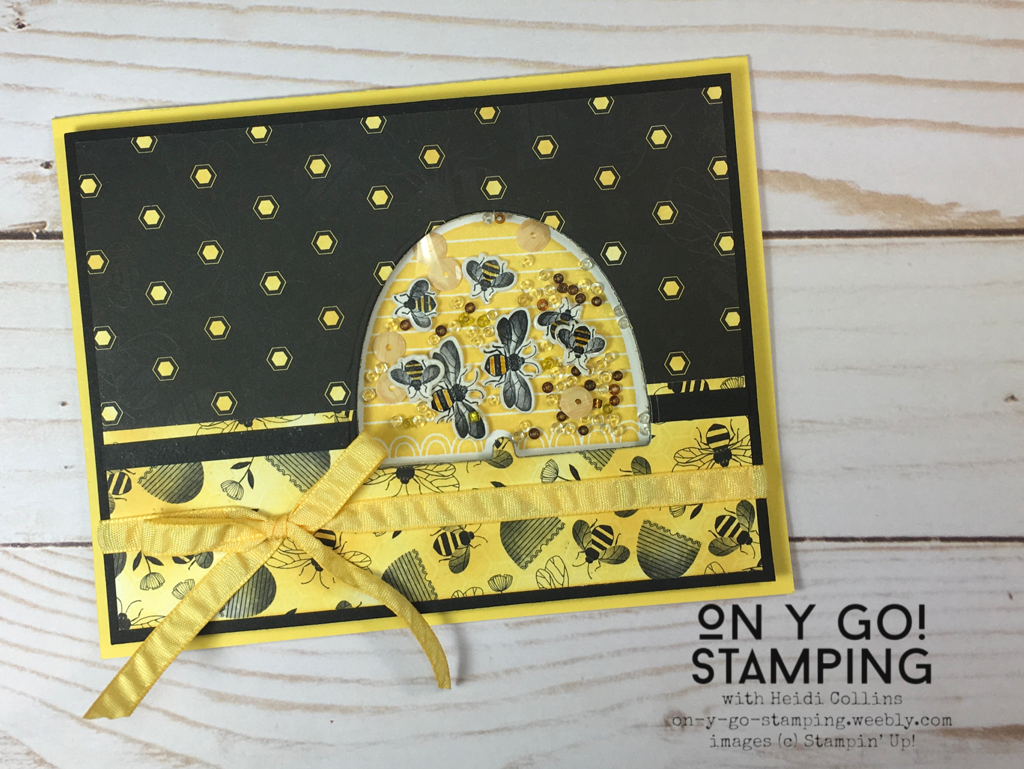
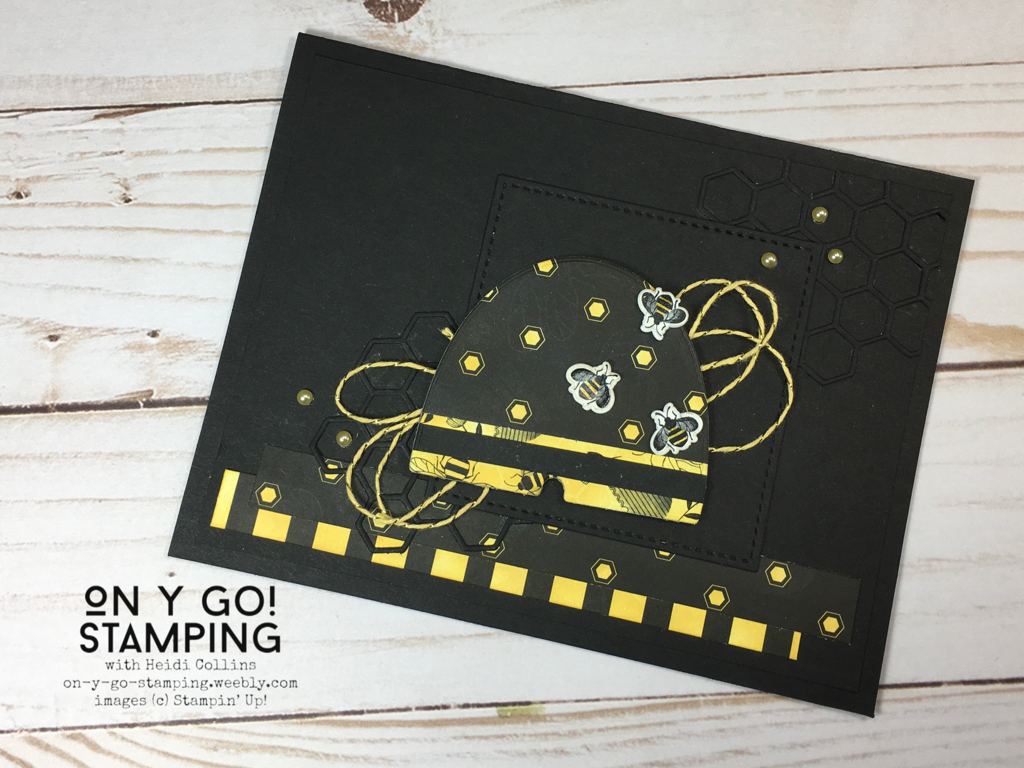
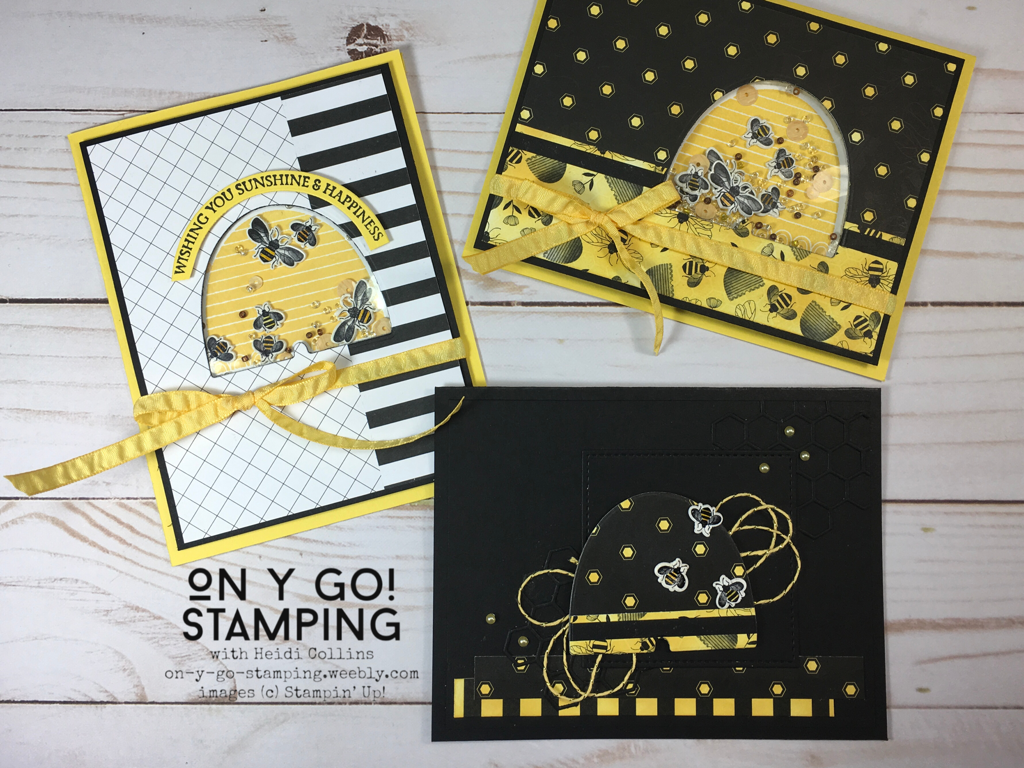
Do you remember shrinky dinks? Those plastic images that you could color and then shrink in your oven? They're just as much fun as a grown-up as they were when I was a kid! 

Stampin' Up! used to carry shrink plastic years and years ago. I still have a partial package in my drawer and the Honey Bee stamp set from the 2020 January-June mini catalog was just begging to be stamped and shrunk. While SU! doesn't carry it anymore, you can still find it in craft stores and online. 

I stamped the bees using Jet Black Stazon ink on white shrink plastic. Usually, you don't use Stampin' Blends with Stazon ink because the alcohol markers will make the Stazon ink run. So, normally, you should Memento ink with the Stampin' Blends. However, I found that the Memento ink just didn't give a nice impression on the shrink plastic. So, I used Stazon and very, very carefully colored the bees' bodies with Daffodil Delight Dark Stampin' Blend. I was careful not to color over the stamped lines to avoid causing the Stazon ink to run.

The shrunken bees are the perfect size for the interior of a shaker card! So I made two shaker cards with the bees trapped inside. 
Picture

I adhered the patterned paper from the Golden Honey DSP to a piece of Basic Black cardstock. Then, I used the beehive die from the Detailed Bee dies to cut a hole through this card front. I used sticky strip to attach a piece clear plastic to the back of the card front. Years ago, I bought a package of overhead projector (remember those?!) sheets on clearance. I use these for shaker cards, but you can also purchase window sheets.

On a separate piece of Whisper white cardstock, I stamped the beehive in Daffodil Delight ink. When you purchase SU! cling stamps, they come still stuck in the full sheet of rubber and you have to punch them out. I have some of these saved and used some for the foam between the card front and the beehive. I simply peeled the red rubber off the foam cushion and used adhesive to attach it carefully around the edges of the beehive that I had stamped on Whisper White cardstock. I was very careful not to leave any holes, but I also tried to stay fairly close to the edge because I didn't want all my bling to wind up outside the frame where you couldn't see it.

I put the shrinky dink bees, some seed beads in clear and a golden brown, and a few sequins on top of the bee hive. Then I put more adhesive on the top of the foam and adhered the card front over the beehive so that the opening aligned with the stamped beehive. This created an enclosed compartment filled with bling that shakes. 

Finally, I added a piece of Daffodil Delight ribbon and adhered the card front to a Daffodil Delight card base. I stamped the greeting on Daffodil Delight cardstock and used two circle dies to cut it out before adhering it to my card front to finish the card.
Picture

​I created my second shaker card in much the same way. For this card, I used a sponge dauber and Daffodil Delight ink to rub yellow ink onto the patterned paper from the Golden Honey DSP. This made the paper yellow and black instead of black and white. 
My final card is not a shaker card. But, I had a few more shrinky dink bees and decided to use them as an accent on this card front. Plus, I wanted to use the beehive that I cut out for the window on the previous card. I adhered the bees using glue dots. I finished the front with a black on black effect. I added a square of Basic Black cut with the Stitched Shape dies as well as pieces of honey comb cut with the Detailed Bee dies. I added Metallic Baker's Twine and some colored pearls as accents. 
Picture

Supplies:
Cardstock:
  • Basic Black
  • Daffodil Delight
  • Golden Honey (Sale-A-Bration freebie!)
Inks:
  • Jet Black Stazon
  • Daffodil Delight
Accessories:
  • Daffodil Delight Dark Stampin' Blend
  • Metallic Baker's Twine and Sequins combo pack (Sale-A-Bration freebie!
  • Detailed Bee dies
  • Stitched Shapes dies
  • Window sheets
  • Foam
  • Shrink plastic
0 Comments

Your comment will be posted after it is approved.


Leave a Reply.

    Heidi Collins, Independent Stampin' Up! Demonstrator with On Y Go! Stamping
    Get updates and ideas on my Facebook group
    Heidi Collins, Independent Stampin' Up! Demonstrator and Owner of On Y Go! Stamping
    Shop for Stampin' Up! stamps, inks, paper, tools, and embellishments with Heidi Collins and earn points towards FREE stamps!
    Picture
    Picture
    On Y Go! Stamping YouTube channel with Card Making Videos on how to do rubber stamping, card making, scrapbooking, and paper crafting

    Archives

    March 2023
    February 2023
    January 2023
    December 2022
    November 2022
    October 2022
    September 2022
    August 2022
    July 2022
    June 2022
    May 2022
    April 2022
    March 2022
    February 2022
    January 2022
    December 2021
    November 2021
    October 2021
    September 2021
    August 2021
    July 2021
    June 2021
    May 2021
    April 2021
    March 2021
    February 2021
    January 2021
    December 2020
    November 2020
    October 2020
    September 2020
    August 2020
    July 2020
    June 2020
    May 2020
    April 2020
    March 2020
    February 2020
    January 2020
    December 2019
    November 2019
    October 2019
    September 2019
    August 2019
    July 2019
    June 2019

Powered by Create your own unique website with customizable templates.
  • About
  • Online Card Classes
  • Card Making Ideas
  • Stampin' Up! Catalogs
  • Card Tutorials
  • Contact
  • Shopping Rewards
  • Shop
  • Join Stampin' Up!