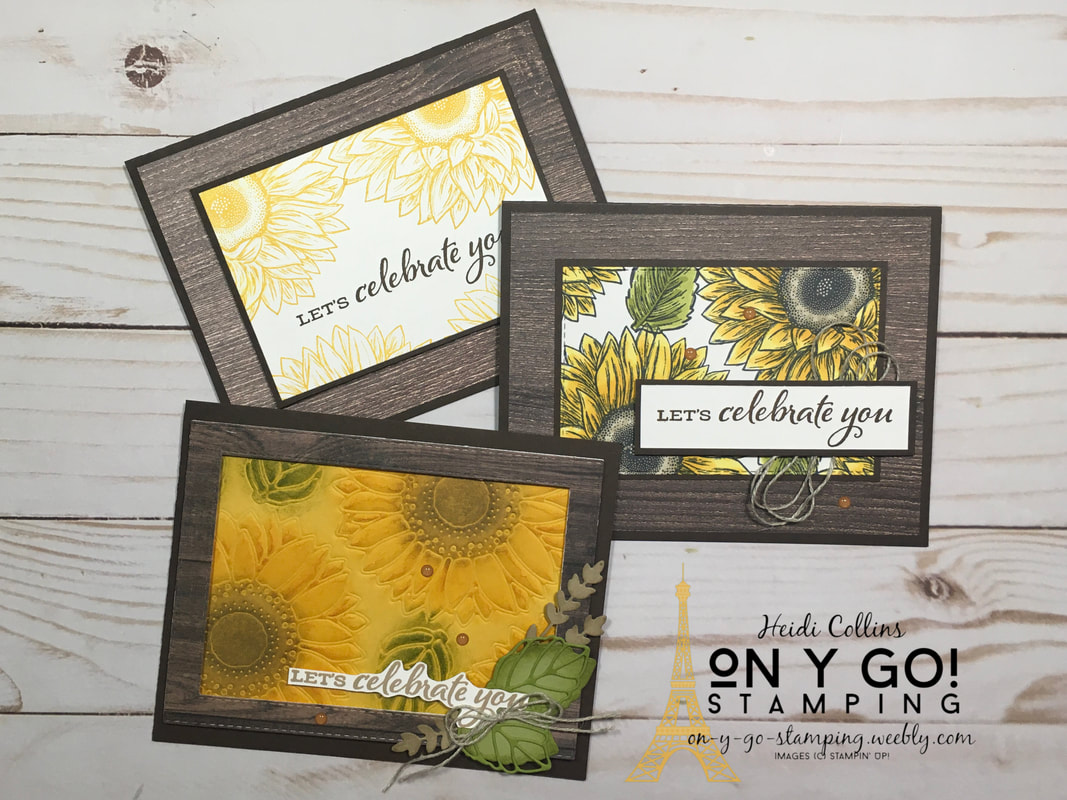
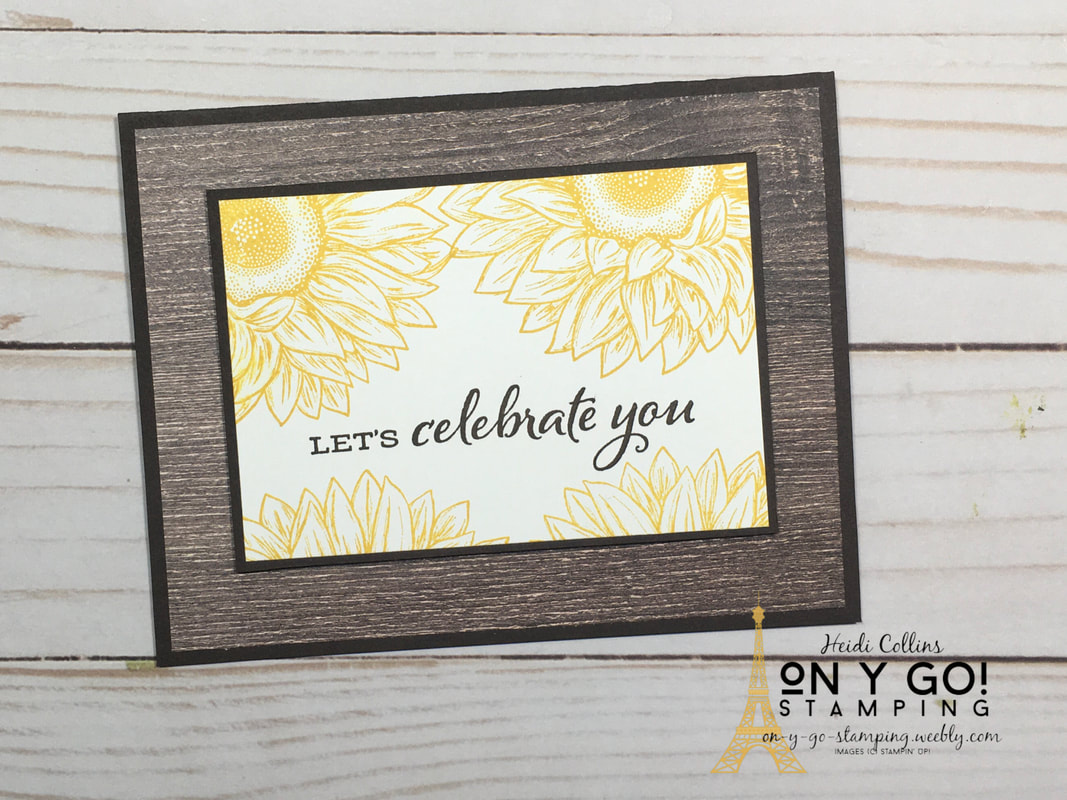
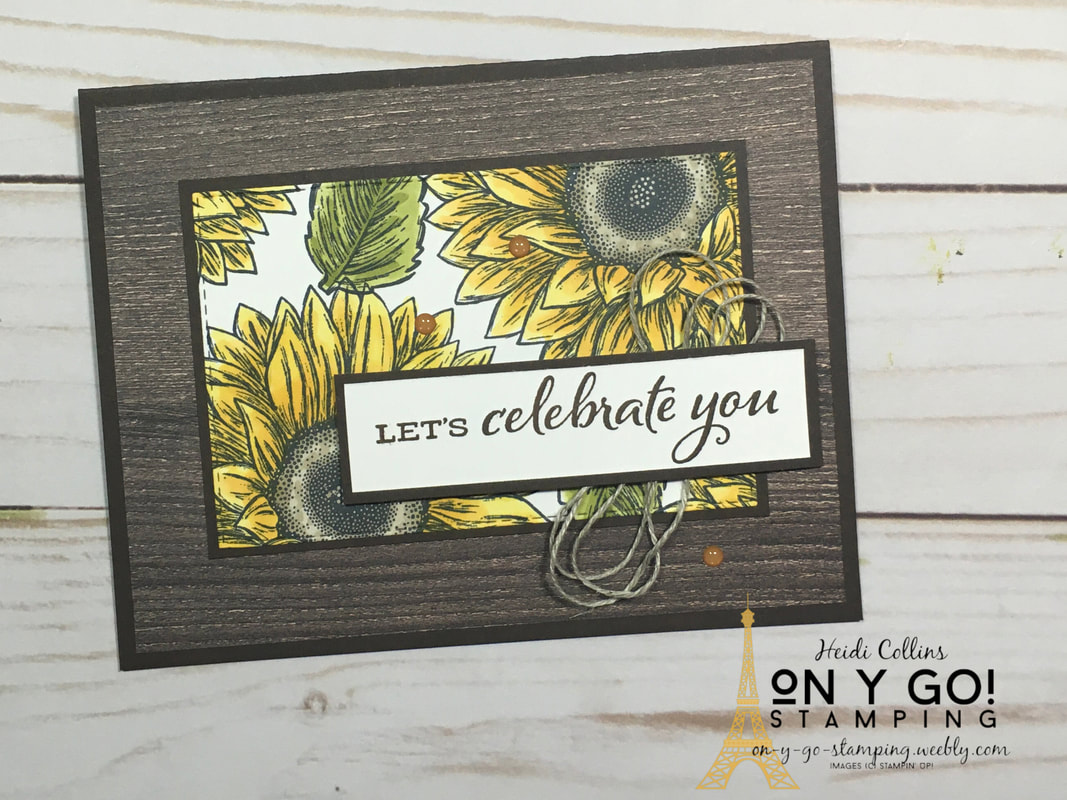
From simple to chic to oh là là, I have 1 basic card design done in 3 different styles. Each card has been slightly stepped up from the last card. Each of the cards use the Celebrate Sunflowers stamp set and the final card uses the matching Sunflower dies as well. None of them were difficult to create though, it's just a matter of spending more time. So, on y go! Let's get stamping.
Cardstock Dimensions:
Early Espresso:
In Good Taste DSP: 5 1/4" x 4"
Cardstock Dimensions:
Early Espresso:
Oh là là:
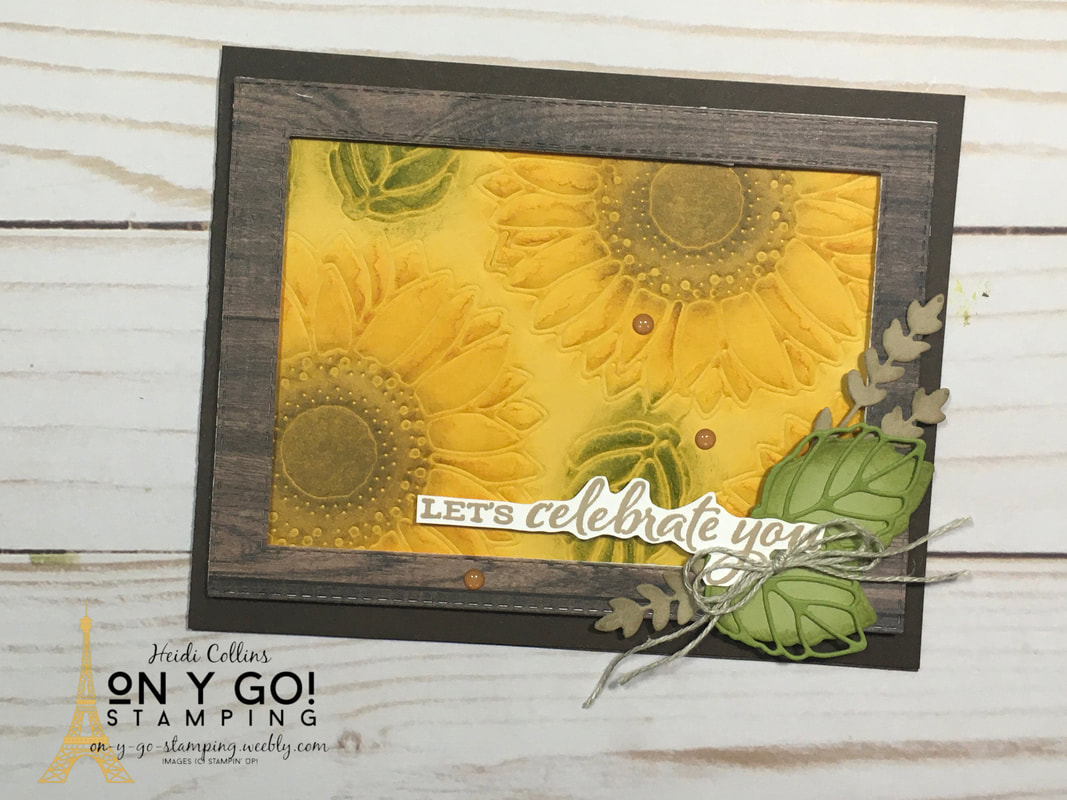
My final card uses the Sunflower dies extensively. I started by using the impressions mat for my Big Shot. (The new Stampin' Cut & Emboss machine will also have an impressions mat!) Using this special rubber mat, I was able to use the dies to emboss the sunflower images on Bumblebee cardstock. Then, I sponged on Crushed Curry, Crumb Cake, and Old Olive ink. The ink really helps the embossed images pop. I cut a frame from the In Good Taste DSP using the Stitched Rectangle dies. Before cutting the frame, I mounted the DSP on Whisper White cardstock. This way, when I mounted it to my card using Stampin' Dimensionals, it wasn't too flimsy. I cut leaves from Pear Pizzazz and Old Olive cardstock and wheat from Crumb Cake cardstock. I sponged the edges with the same colors to help match the feel of the embossed panel. I stamped the greeting with Crumb Cake ink on Whisper White cardstock and cut around it with Paper Snips leaving a small border. I added a double bow of Linen Thread and a few Bumblebee enamel dots to tie it all together. Cardstock Dimensions: Early Espresso: 8 1/2" x 5 1/2", scored at 4 1/4" Bumblebee: 4 3/4" x 3 1/2" In Good Taste DSP: approximately 3 3/4" x 5 1/8" Whisper White, Pear Pizzazz, Old Olive, & Crumb Cake: Scraps
Product List


Big Shot Embossing Mats
[146327]
$15.00
0 Comments
Your comment will be posted after it is approved.
Leave a Reply. |


Archives
July 2024
|
")
")


