• About
  • Online Card Classes
  • Card Making Ideas
  • Stampin' Up! Catalogs
  • Card Tutorials
  • Contact
  • Shopping Rewards
  • Shop
  • Join Stampin' Up!
ON Y GO! STAMPING
  • About
  • Online Card Classes
  • Card Making Ideas
  • Stampin' Up! Catalogs
  • Card Tutorials
  • Contact
  • Shopping Rewards
  • Shop
  • Join Stampin' Up!

How to do Emboss Resist

8/24/2020

9 Comments

 
Picture
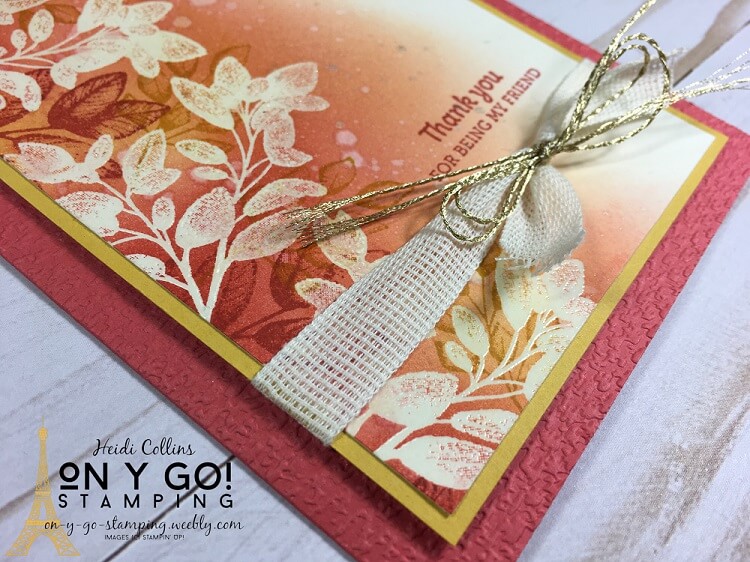
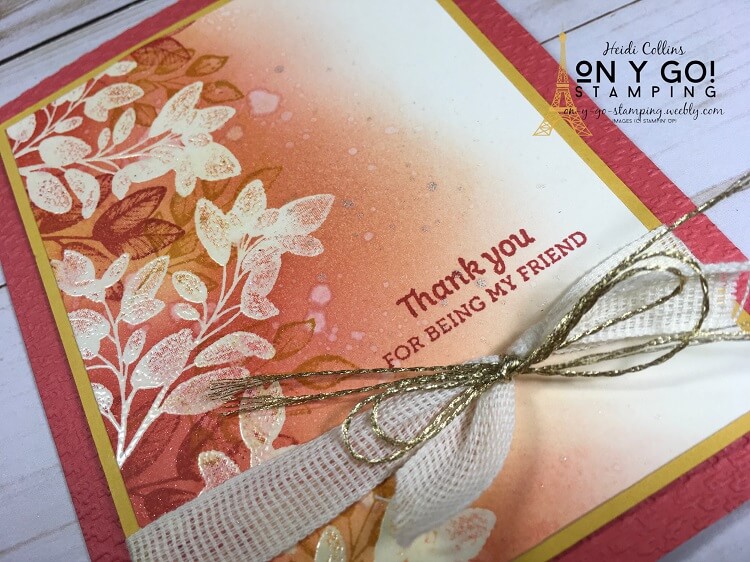
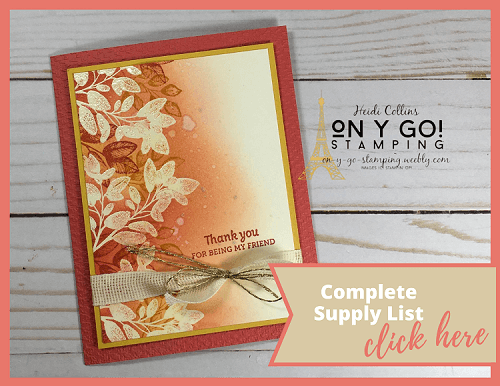
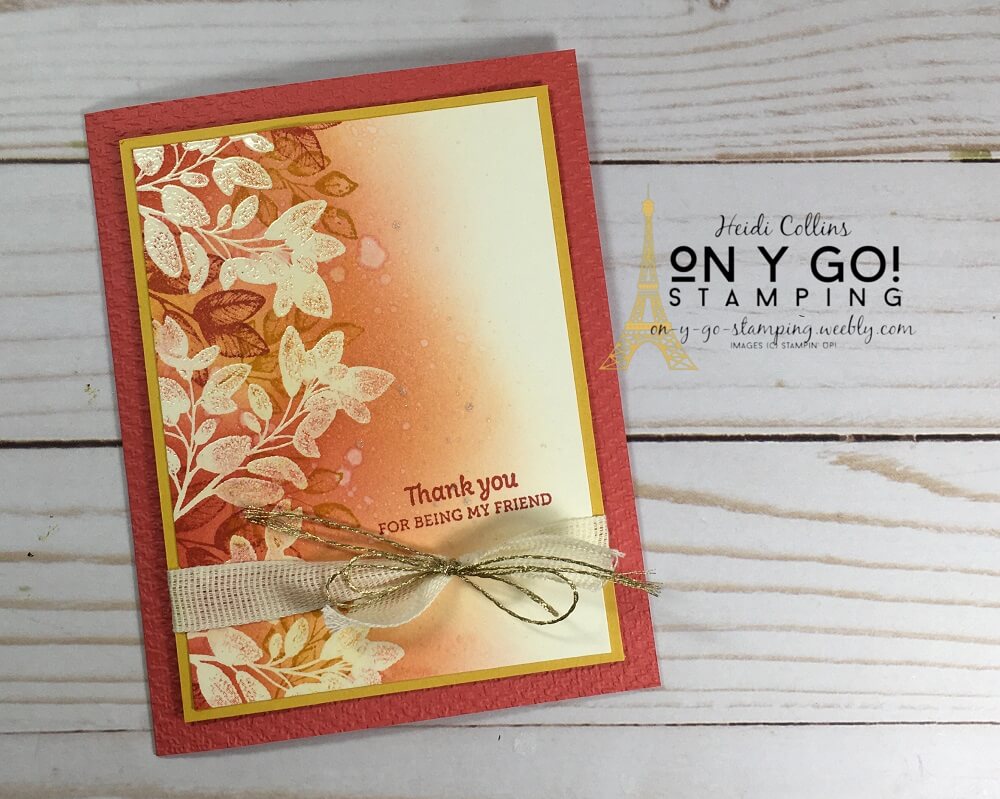
Today's card features emboss resist which involves heat embossing and ink blending. Plus, I have a video to show you exactly how to do the emboss resist technique. It also has splatters and dry embossing. I only have one card to share with you today, but it's a doozie! You'll want to watch the video to catch all of the tips and techniques!

I'm also participating in Kylie Bertucci's Internation Blog Highlight's Winners Hop. Remember a few weeks ago when I shared this awesome card using the smooshing technique and I asked you to vote for me? I made it into the top 10 and was invited to hop along with the other winners! Thank you to everyone who took the time to vote for me! When you're done here, please check out all of the other gorgeous thank you cards by the other winners. (It's so important to thank the ones you appreciate and I love that this is the theme for Kylie's hop!) You'll find a list at the end of this blog post. If you live in the US and need stamps, paper, ink, or accessories, I hope you stop back here and shop with me. I would love to be your Stampin' Up! Demonstrator and help make your crafting experiences an awesome one!

So, on y go! Let's get stamping.

​Cutting Dimensions
:
Terracotta Tile: 8 1/2" x 5 1/2", scored at 4 1/4"
Bumblebee: 3 11/16" x 4 15/16"
Very Vanilla: 3 1/2" x 4 3/4"

I began by heat embossing a leaf stamp from the Forever Fern stamp set using clear embossing powder. Then, I did ink blending over the embossed images using Bumblebee, Petal Pink, and Terracotta Tile inks. I wiped the extra ink off using a soft cloth to reveal the embossed leaves.
Picture
Picture
Next, I stamped different leaves using Terracotta Tile and Bumblebee ink. Again, I wiped off the embossed images to remove extra ink. Then, I splattered my card front with water using a Water Painter and with my Wink of Stella Glitter Brush. 
To finish the card, I stamped the sentiment from the Here's a Card stamp set that says: "Thank you for being my friend." I love this sentiment and it's perfect for so many occasions. (Plus, it would be awesome for your bestie who loves the Golden Girls!) I tied the front with the Forever Fern Trim Combo pack. I tied the vanilla ribbon in a knot first. Then, I tied a double bow of the gold cord around the knot of the vanilla ribbon. Some simple layering and the card's done.
Picture
Picture
There are quite a few steps to today's card, but it goes quickly. And it's so much fun watching the embossed images reappear from the ink you apply over them!
​

Shop the Supply List

Want everything? Just click "add to cart" or uncheck the items you don't need before adding the rest to your card. Have questions or need help? You know I'm here for you! Just leave a comment or drop me an email. ​
Picture
Thank you so much for visiting my blog today! Please take a few minutes and check out all of the other amazing designers and the beautiful thank you cards they created!
​
9 Comments
Gez Carpenter link
8/25/2020 06:45:05

Beautiful card, love the blending so effective :-)

Reply
Heidi
8/25/2020 22:43:49

Thank you! I've been going crazy for ink blending lately!

Reply
Melva Peters
8/25/2020 09:52:48

Wow! Love your card!

Reply
Heidi
8/25/2020 22:44:13

Thank you!

Reply
Deb Stamps Life link
8/25/2020 17:27:44

Great to see how you put your own stamp on our International Blog Highlights Winners' Hop!

Reply
Heidi
8/25/2020 22:44:38

Thank you! It's been so much fun to be part of the hop!

Reply
Kylie Bertucci
8/25/2020 18:48:00

Thanks Heidi for sharing your lovely card and the Emboss Resist technique. Congrats on making it to the top ten blog hop this month!

Reply
Heidi
8/25/2020 22:45:06

Thanks Kylie! And thank you so much for organizing this!

Reply
Kim Kroeker
8/26/2020 21:26:48

Wow!! This card is stunning, Heidi! I also loved your August International Highlights Blog card! Thanks for sharing!

Reply

Your comment will be posted after it is approved.


Leave a Reply.

    Heidi Collins, Independent Stampin' Up! Demonstrator with On Y Go! Stamping
    Get updates and ideas on my Facebook group
    Heidi Collins, Independent Stampin' Up! Demonstrator and Owner of On Y Go! Stamping
    Shop for Stampin' Up! stamps, inks, paper, tools, and embellishments with Heidi Collins and earn points towards FREE stamps!
    Picture
    Picture
    On Y Go! Stamping YouTube channel with Card Making Videos on how to do rubber stamping, card making, scrapbooking, and paper crafting

    Archives

    March 2023
    February 2023
    January 2023
    December 2022
    November 2022
    October 2022
    September 2022
    August 2022
    July 2022
    June 2022
    May 2022
    April 2022
    March 2022
    February 2022
    January 2022
    December 2021
    November 2021
    October 2021
    September 2021
    August 2021
    July 2021
    June 2021
    May 2021
    April 2021
    March 2021
    February 2021
    January 2021
    December 2020
    November 2020
    October 2020
    September 2020
    August 2020
    July 2020
    June 2020
    May 2020
    April 2020
    March 2020
    February 2020
    January 2020
    December 2019
    November 2019
    October 2019
    September 2019
    August 2019
    July 2019
    June 2019

Powered by Create your own unique website with customizable templates.
  • About
  • Online Card Classes
  • Card Making Ideas
  • Stampin' Up! Catalogs
  • Card Tutorials
  • Contact
  • Shopping Rewards
  • Shop
  • Join Stampin' Up!