• About
  • Online Card Classes
  • Card Making Ideas
  • Stampin' Up! Catalogs
  • Card Tutorials
  • Contact
  • Shopping Rewards
  • Shop
  • Join Stampin' Up!
ON Y GO! STAMPING
  • About
  • Online Card Classes
  • Card Making Ideas
  • Stampin' Up! Catalogs
  • Card Tutorials
  • Contact
  • Shopping Rewards
  • Shop
  • Join Stampin' Up!

Quick Card Ideas using Blending Brushes to Make Patterned Paper Pop

2/8/2021

2 Comments

 
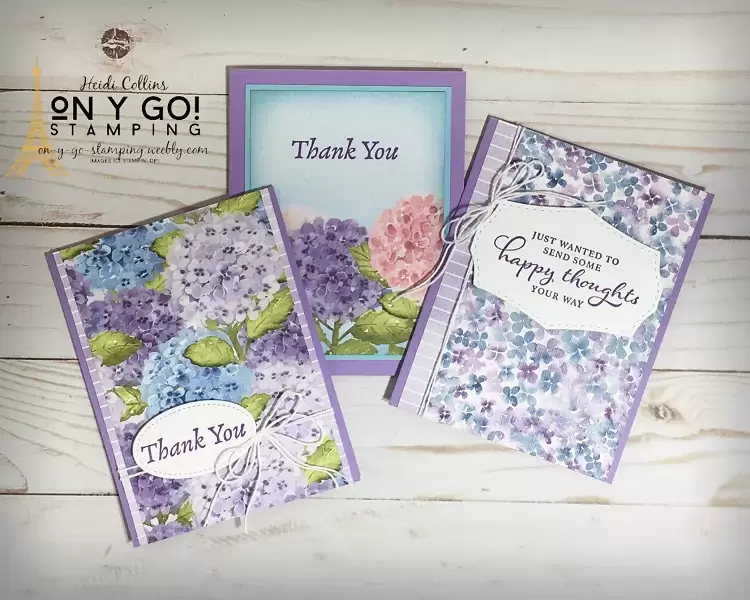
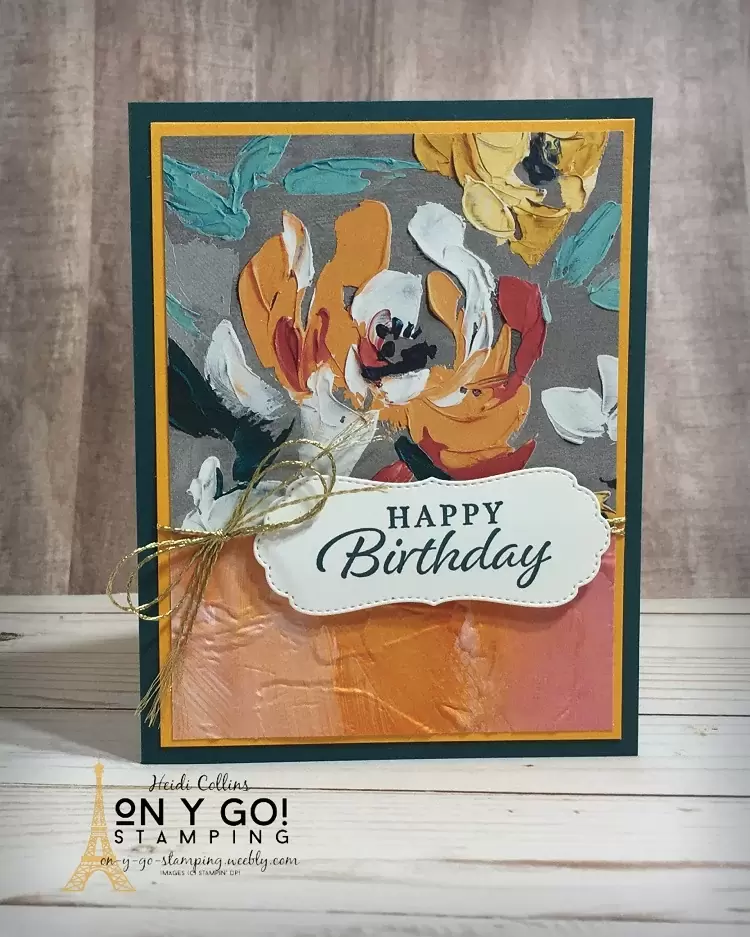
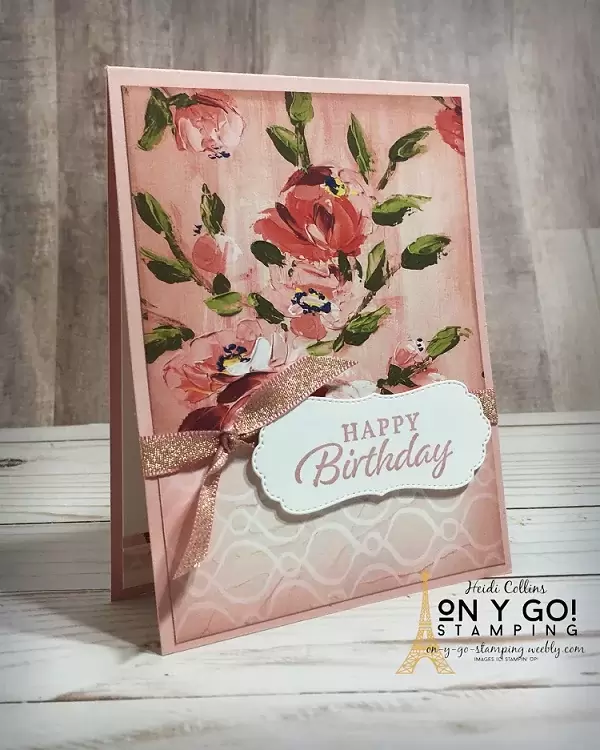
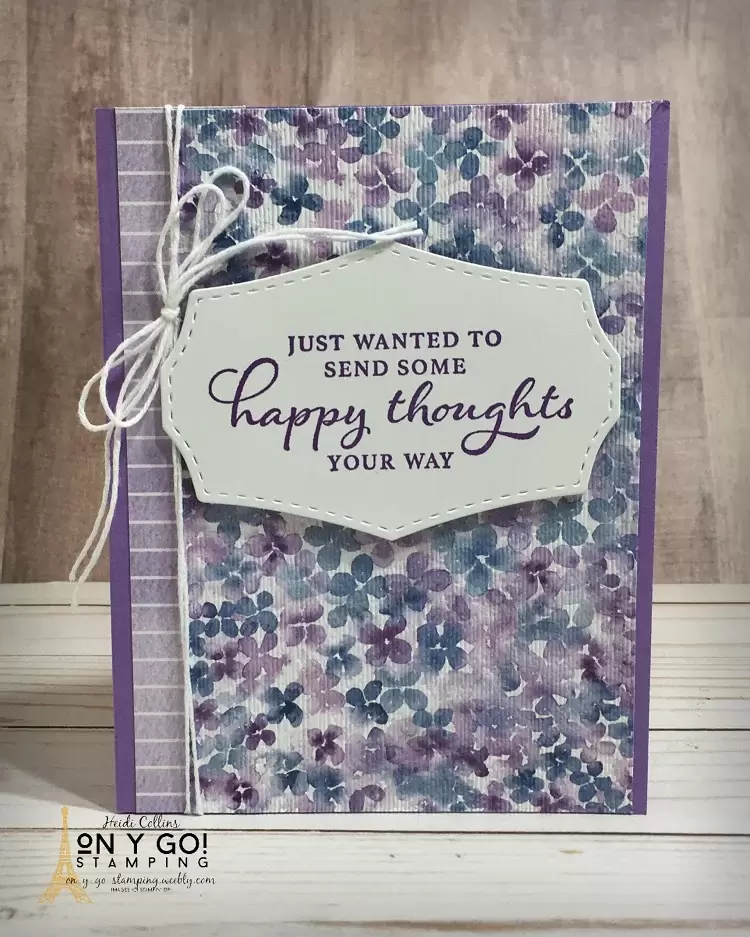
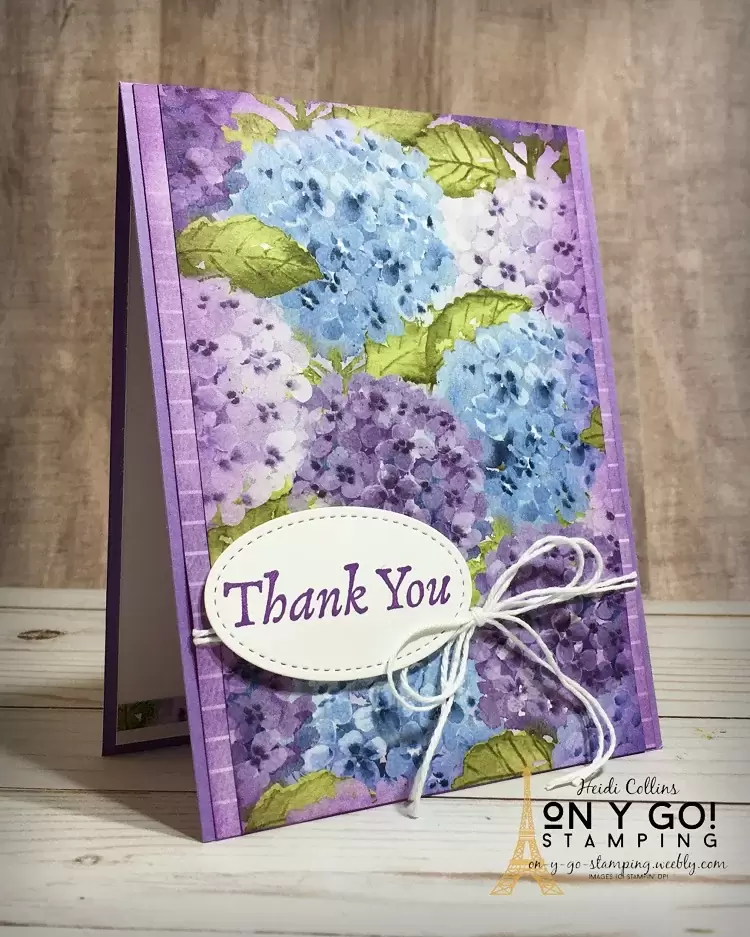
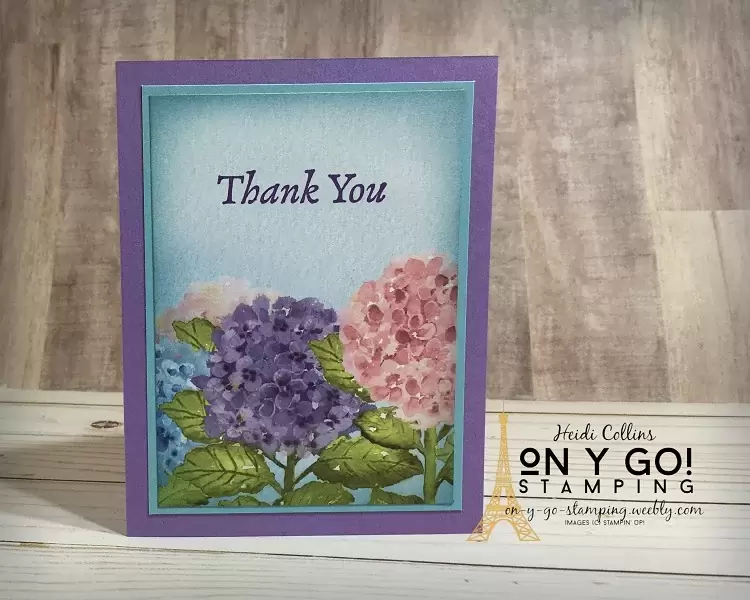
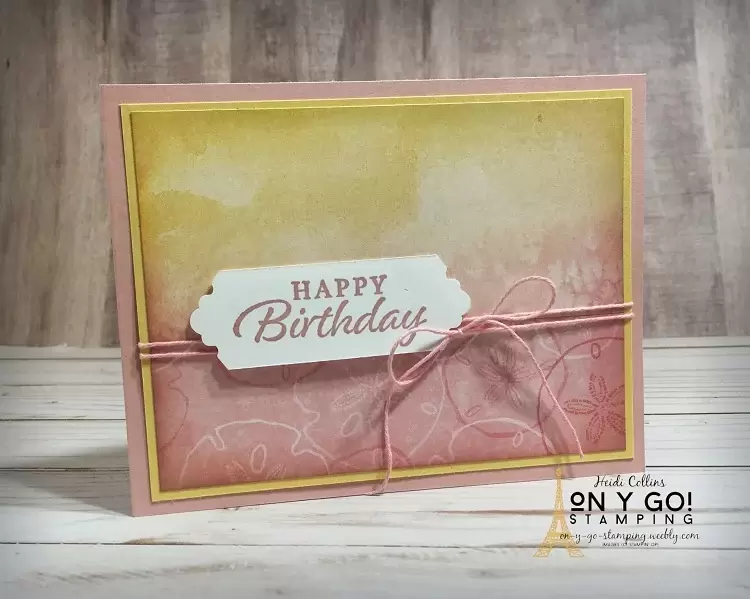
Sometimes you need to make some really quick and easy cards and patterned paper is the perfect solution! Here are some quick card ideas using patterned paper and a simple greeting stamp set, the new Happy Thoughts set. Plus, see how I use blending brushes to kick your patterned paper up a notch. So, on y go! Let's get stamping.
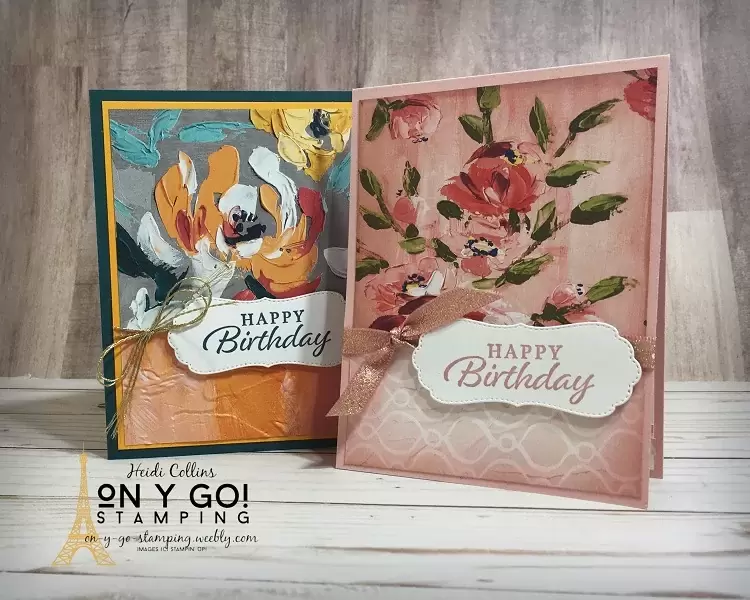
Quick birthday card ideas using the Fine Art Floral patterned paper, blending brushes, and the Happy Thoughts stamp set from Stampin' Up!
3 quick card designs using the Hydrangea Hill patterned paper, blending brushes, and the Happy Thoughts stamp set from Stampin' Up!
Shop the Supply List for these Quick Cards

The New Happy Thoughts stamp set

I love the new Happy Thoughts stamp set from the 2021 January-June Mini Catalog. This set was designed by my friend and upline Jackie when she reached her million dollar sales milestone. It is the perfect stamp set to pair with patterned paper for quick cards. The set contains all the basic sentiments perfect for birthday cards, thank you cards, congratulations cards, thinking of you cards, and more! Not only does it have "outside" sentiments, it also has "inside" sentiments. No more facing the blank page of a card interior trying to figure out what to say! This stamp set gives you the perfect sentiment for the inside of the card as well as the outside.

In this video, I share how I use blending brushes on the sides of your patterned paper to give your card something a little extra. I love the way this makes the center pop a little more. I also share a tip for mounting the label to the back of your cling stamps.

Dimensions for this Fine Art Floral card design

For this card, I used the Fine Art Floral patterned paper mounted on Mango Melody and Pretty Peacock cardstock. The sentiment is stamped on a piece of cardstock cut with the Potted Succulents dies. 

Pretty Peacock cardstock: 8 1/2" x 5 1/2", scored at 4 1/4"
Mango Melody cardstock: 3 15/16" x 5 3/16"
Floral patterned paper: 3 3/4" x 3"
Pink & Orange patterned paper: 3 3/4" x 2", embossed with the Painted Texture 3D embossing folder
Basic White cardstock: 1 1/2" x 3", cut with the Potted Succulents dies
Easy birthday card idea using the Fine Art Floral patterned paper and Happy Thoughts stamp set from Stampin' Up!
Quick birthday card idea using the Fine Art Floral patterned paper, blending brushes, and the Happy Thoughts stamp set from Stampin' Up!

Blushing Bride Fine Art Floral Card Design

This card uses the same design as the previous card, with one less layer of colored cardstock. Instead, I used the blending brushes to tint the edges of the Fine Art Floral patterned paper with Blushing Bride ink. The front is tied with Metallic Blushing Bride ribbon.

Blushing Bride cardstock: 8 1/2" x 5 1/2", scored at 4 1/4"
Floral patterned paper: 5 1/4" x 3"
Blushing Bride patterned paper: 5 1/4" x 2 1/4"
Basic White cardstock: 1 1/2" x 3", cut with the Potted Succulents dies

Hydrangea Hill card Idea

While there are stamps for the insides and outsides of your cards, they don't have to be used exclusively on the outside or inside. Here I used one of the more "inside" sentiments for the front of the card. I stamped it with Gorgeous Grape ink on a piece of Basic White cardstock cut with the Wild Rose dies. I embossed the Hydrangea Hill patterned paper with the Subtle 3D embossing folder.

Highland Heather cardstock: 8 1/2" x 5 1/2", scored at 4 1/4"
Striped patterned paper: 1" x 5 1/2"
Floral patterned paper: 3 1/2" x 5 1/2"
Basic White cardstock: 3 1/2" x 2 1/2", cut with the Wild Rose dies
Patterned paper and the Happy Thoughts stamp set are perfect for making quick cards!
Easy thank you card design using the Hydrangea Hill patterned paper, blending brushes, and the Happy Thoughts stamp set from Stampin' Up!

Hydrangea Hill Thank You Card

Here again, I've blended Heather Highland ink on the edges of the Hydrangea Hill patterned paper which makes the center of the paper pop more. I've stamped Thank You in Gorgeous Grape ink on a piece of Basic White cardstock cut with the Stitched Shapes dies.

Heather Highland cardstock: 11" x 4 1/4", scored at 5 1/2"
Striped pattern paper: (2) 1/2" x 5 1/2"
Floral patterned paper: 3 3/4" x 5 1/2"
​Basic White: 1 1/2" x 2 1/2", cut with the Stitched Shapes dies

Ultra Simple Card design with Hydrangea Hill

Sometimes, you don't even need to layer the sentiment. Here, I stamped the greeting directly on the patterned paper. I blended Balmy Blue ink onto the edges of the patterned paper. I love how it really helps make the sentiment pop on this card.

​Highland Heather cardstock: 8 1/2" x 5 1/2", scored at 4 1/4"
Balmy Blue cardstock: 4 15/16" x 3 11/16"
​Patterned paper: 4 3/4" x 3 1/2"
Quick and easy thank you card idea using blending brushes on the Hydrangea Hill patterned paper with the happy Thoughts stamp set from Stampin' Up!
Sweet and simple birthday card with the Sand and Sea patterned paper, blending brushes, and Happy Thoughts stamp set from Stampin' Up!

Sand & Sea Birthday Card

A piece of Blushing Bride twine hides the seam between the two pieces of patterned paper on this card making it appear as if there is only one. I love the dipped dyed look of the top piece of Sand & Sea patterned paper. The color matches perfectly on the bottom with the sand dollar design. I blended So Saffron ink onto the edges of the top half and Blushing Bride ink on the bottom. I stamped the sentiment on a piece of Basic White cardstock and trimmed the ends with the Lovely Labels Pick a Punch.

Blushing Bride cardstock: 8 1/2" x 5 1/2", scored at 4 1/4"
So Saffron cardstock: 5 3/16" x 3 15/16"
So Saffron patterned paper: 2 1/4" x 5"
Sand Dollar patterned paper: 1 1/2" x 5"
Basic White cardstock: 1" x 3"
2 Comments
Juliette Hendry
2/8/2021 21:43:24

Quite simply, this is going to be life-changing for me!!!! Thank you soooooooo much. {{{HUGS}}}

Reply
Heid link
2/8/2021 22:06:47

Yay! So glad you found it helpful!

Reply

Your comment will be posted after it is approved.


Leave a Reply.

    Heidi Collins, Independent Stampin' Up! Demonstrator with On Y Go! Stamping
    Get updates and ideas on my Facebook group
    Heidi Collins, Independent Stampin' Up! Demonstrator and Owner of On Y Go! Stamping
    Shop for Stampin' Up! stamps, inks, paper, tools, and embellishments with Heidi Collins and earn points towards FREE stamps!
    Picture
    Picture
    On Y Go! Stamping YouTube channel with Card Making Videos on how to do rubber stamping, card making, scrapbooking, and paper crafting

    Archives

    March 2023
    February 2023
    January 2023
    December 2022
    November 2022
    October 2022
    September 2022
    August 2022
    July 2022
    June 2022
    May 2022
    April 2022
    March 2022
    February 2022
    January 2022
    December 2021
    November 2021
    October 2021
    September 2021
    August 2021
    July 2021
    June 2021
    May 2021
    April 2021
    March 2021
    February 2021
    January 2021
    December 2020
    November 2020
    October 2020
    September 2020
    August 2020
    July 2020
    June 2020
    May 2020
    April 2020
    March 2020
    February 2020
    January 2020
    December 2019
    November 2019
    October 2019
    September 2019
    August 2019
    July 2019
    June 2019

Powered by Create your own unique website with customizable templates.
  • About
  • Online Card Classes
  • Card Making Ideas
  • Stampin' Up! Catalogs
  • Card Tutorials
  • Contact
  • Shopping Rewards
  • Shop
  • Join Stampin' Up!