• About
  • Online Card Classes
  • Card Making Ideas
  • Stampin' Up! Catalogs
  • Card Tutorials
  • Contact
  • Shopping Rewards
  • Shop
  • Join Stampin' Up!
ON Y GO! STAMPING
  • About
  • Online Card Classes
  • Card Making Ideas
  • Stampin' Up! Catalogs
  • Card Tutorials
  • Contact
  • Shopping Rewards
  • Shop
  • Join Stampin' Up!

Scrappy Strips

3/28/2020

0 Comments

 
Picture
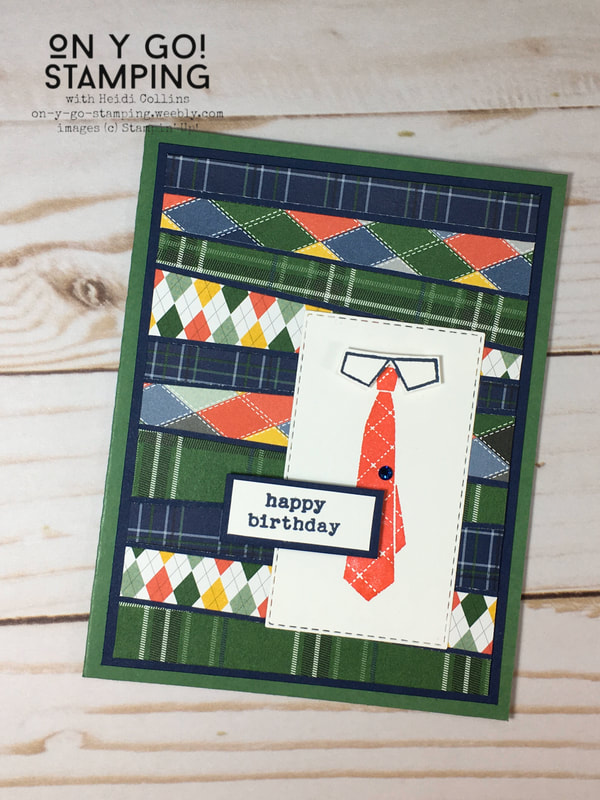
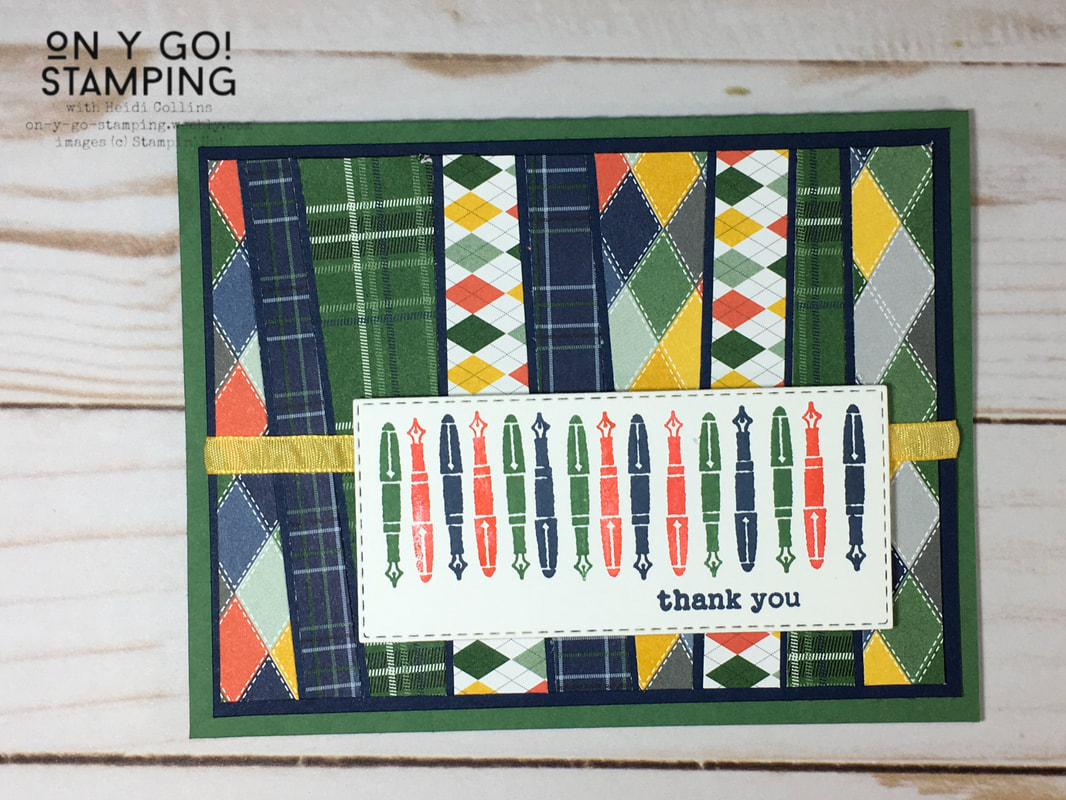
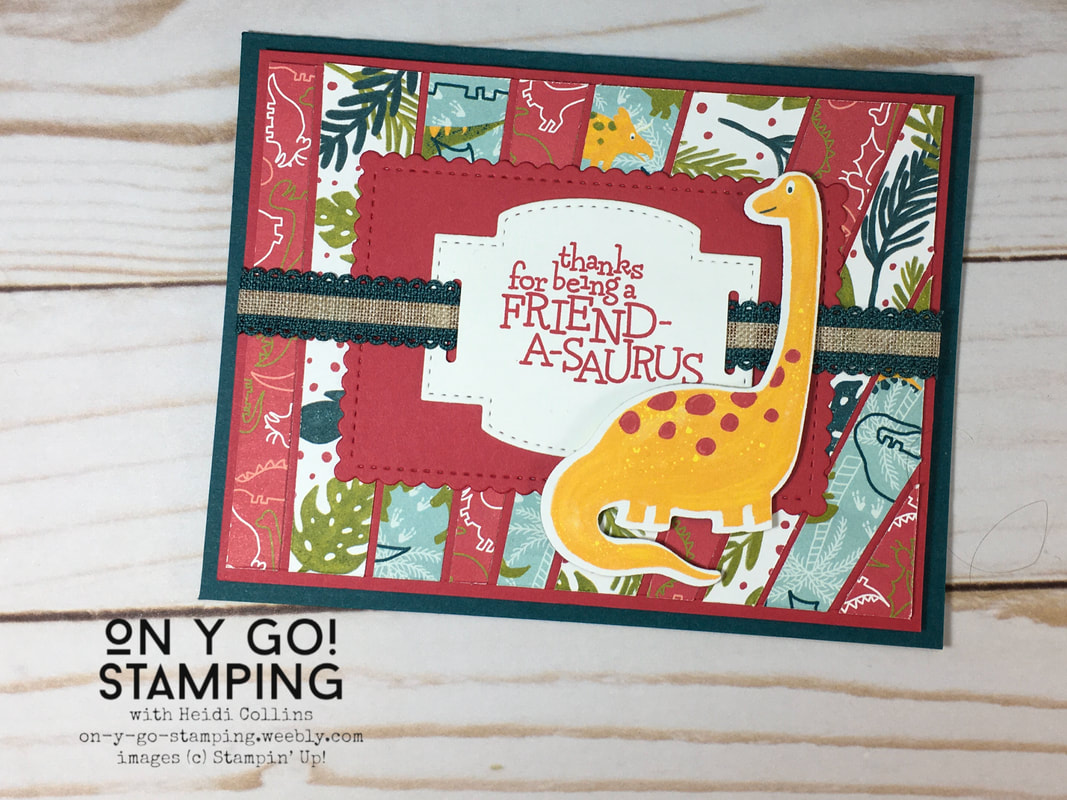
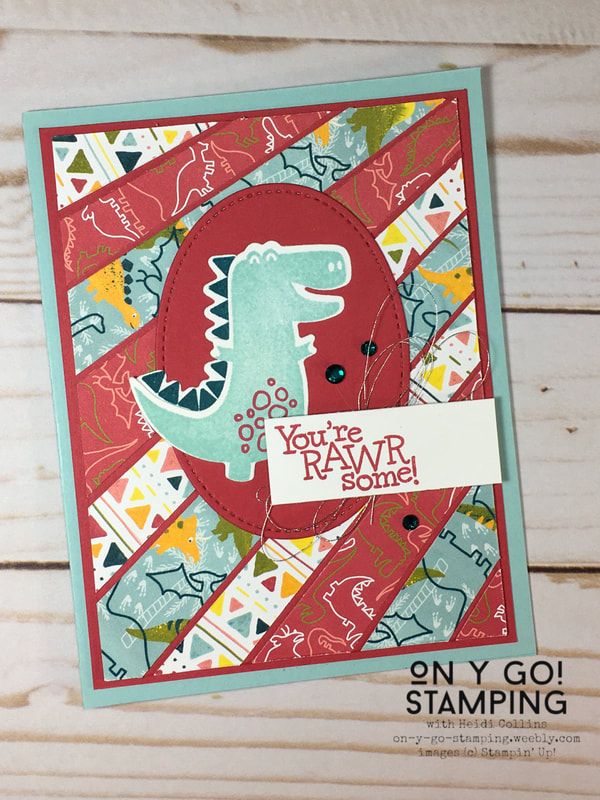
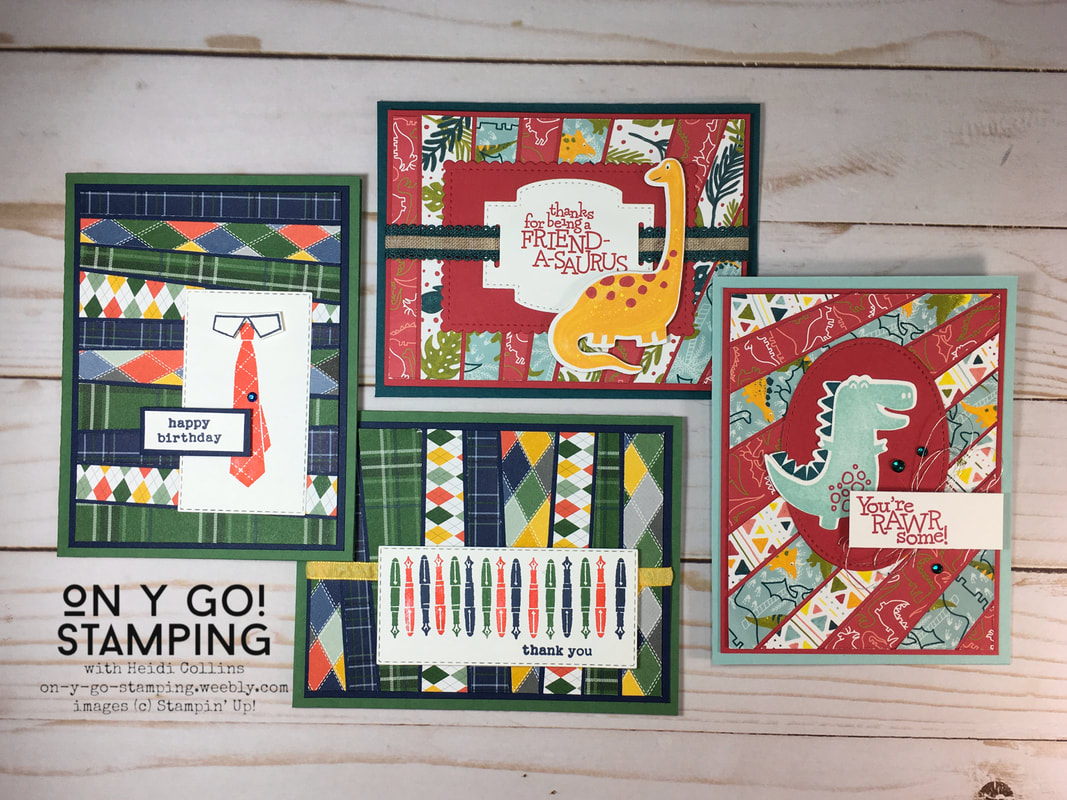
Since Bruno Bertucci introduced his scrappy strip technique a couple of weeks ago, the Stampin' Up! world has been crazy about scrappy strips, even Sara's (Stampin' Up!'s CEO) husband got in on the trend last week. So, I decided I'd better try it too. I combined the Country Club DSP with the Well Dressed stamp set (Sale-A-Bration Freebie!) and the Dinoroar DSP (currently FREE with a $50 order!) with the Dino Days stamp set. 

This technique is quick and easy! Start by cutting strips of DSP that are at least 4 1/2" long. You could cut them straight, but it's fun to cut the strips at an angle. Then, cut a piece of coordinating cardstock to be 3 3/4" x 5". Glue the strips to the cardstock leaving a thin gap between each strip. Go ahead and let the ends hang off your cardstock. After all of the strips have been attached and your glue has dried if you're using liquid adhesive, turn the cardstock over and trim the edges of the DSP strips to match the edges of the cardstock. Finally, adhered DSP covered cardstock to a 3 15/16" x 5 3/16" piece of cardstock in the same color and adhere it to your card front.

Once your background is finished, you can finish the card however you want. It can be as simple as adding a sentiment or you can add an image. I didn't have any large sentiments, so I chose to use an image as well. It's a quick and easy way to make multiple cards!
Order Stampin' Up! Stamps, Paper, and Accessories
A Scrappy Tie:
Cardstock:
  • Garden Green: 8 1/2" x 5 1/2" folded
  • Night of Navy: 5 3/16" x 3 15/16", 5" x 3 3/4", 1 5/8" x 11/16"'
  • Whisper White: 3 1/4" x 1 7/8" cut with the Stitched Rectangle die, 1 3/8" x 9/16", scrap
Ink: Night of Navy, Poppy Parade
Stamps:
  • Well Dressed (Sale-A-Bration)
  • Check You Out (sentiment)
Accessories:
  • Stitched Rectangle dies
  • Noble Peacock Rhinestones
  • Mini Stampin' Dimensionals
Picture
Tips: I stamped the tie with Poppy Parade ink on the piece of Whisper White cardstock that I had cut with the Stitched Rectangle die. Then, I stamped it again with Night of Navy ink on a scrap of Whisper White. I cut out the shirt color and adhered it over the Poppy Parade tie using mini dimensionals. The sentiment is also attached with Stampin' Dimensionals. Finally, I added a small blue rhinestone to mimic a tie clip. 
Picture
Scrappy Pens:
Cardstock:
  • Garden Green: 8 1/2" x 5 1/2" folded in half
  • Night of Navy: 5 3/16" x 3 15/16", 5" x 3 3/4"
  • Whisper White: 3 3/4" x 1 3/4" cut with a Stitched Rectangle die
Inks: Night of Navy, Garden Green, Poppy Parade
Stamps: Well Worn (Sale-A-Bration), Check You Out (for the sentiment)
Accessories: 
  • Ruched Daffodil Delight ribbon
  • Stitched Rectangle dies
  • Stampin' Dimensionals
Scrappy Friend-A-Saurus:
Cardstock:
  • Pretty Peacock: 8 1/2" x 5 1/2" folded in half
  • Lovely Lipstick: 5 3/16" x 3 15/16", 5" x 3 3/4", 3 3/4" x 2 1/2" cut with a Stitched So Sweetly die
  • Whisper White: 2 1/2" x 2" cut with a Stitched So Sweetly die, 3 1/4" x 2" cut with a Dino die
Picture
Inks: Lovely Lipstick
​Stamps: Dino Days
Accessories: 
  • Pretty Peacock Scalloped Linen Ribbon
  • Stitched so Sweetly dies
  • Dino dies
  • Label Me Fancy punch
Tips: I cut the dinosaur image from one of the pieces of Dinoroar Designer Series Paper using the Dino dies. This paper is awesome because the dies will cut all of the dinosaur images! 
Picture
Rawrsome Scrappiness:
Cardstock:
  • Pool Party: 8 1/2" x 5 1/2" folded in half
  • Lovely Lipstick: 5 3/16" x 3 15/16", 5" x 3 3/4", 3 1/4" x 2 1/2" cut with a Stitched Shape die
  • Whisper White: 2 1/8" x 13/16", 2 1/4" x 2 1/4" plus another scrap cut with the Dino dies
Inks: Pool Party, Pretty Peacock, Lovely Lipstick
Stamps: Dino Days
Accessories:
  • Dino dies
  • Stitched Shapes dies
  • Noble Peacock Rhinestones
  • Silver Metallic Thread
  • Stampin' Dimensionals
Tips: To attach the Silver Metallic Thread, I put Stampin' Dimensionals on the back of the sentiment and peal the backs off. Then, I wrap the thread around 3 of my fingers 3 times. I slide it off, twist it and attach the twisted center area to one of the Stampin' Dimensionals. Then I attach the sentiment to the card front.
0 Comments

Your comment will be posted after it is approved.


Leave a Reply.

    Heidi Collins, Independent Stampin' Up! Demonstrator with On Y Go! Stamping
    Get updates and ideas on my Facebook group
    Heidi Collins, Independent Stampin' Up! Demonstrator and Owner of On Y Go! Stamping
    Shop for Stampin' Up! stamps, inks, paper, tools, and embellishments with Heidi Collins and earn points towards FREE stamps!
    Picture
    Picture
    On Y Go! Stamping YouTube channel with Card Making Videos on how to do rubber stamping, card making, scrapbooking, and paper crafting

    Archives

    March 2023
    February 2023
    January 2023
    December 2022
    November 2022
    October 2022
    September 2022
    August 2022
    July 2022
    June 2022
    May 2022
    April 2022
    March 2022
    February 2022
    January 2022
    December 2021
    November 2021
    October 2021
    September 2021
    August 2021
    July 2021
    June 2021
    May 2021
    April 2021
    March 2021
    February 2021
    January 2021
    December 2020
    November 2020
    October 2020
    September 2020
    August 2020
    July 2020
    June 2020
    May 2020
    April 2020
    March 2020
    February 2020
    January 2020
    December 2019
    November 2019
    October 2019
    September 2019
    August 2019
    July 2019
    June 2019

Powered by Create your own unique website with customizable templates.
  • About
  • Online Card Classes
  • Card Making Ideas
  • Stampin' Up! Catalogs
  • Card Tutorials
  • Contact
  • Shopping Rewards
  • Shop
  • Join Stampin' Up!