• About
  • Online Card Classes
  • Card Making Ideas
  • Stampin' Up! Catalogs
  • Card Tutorials
  • Contact
  • Shopping Rewards
  • Shop
  • Join Stampin' Up!
ON Y GO! STAMPING
  • About
  • Online Card Classes
  • Card Making Ideas
  • Stampin' Up! Catalogs
  • Card Tutorials
  • Contact
  • Shopping Rewards
  • Shop
  • Join Stampin' Up!

Timeless Tulips while I Dream of Spring

1/20/2020

0 Comments

 
Picture
Picture
Even though the snow keeps falling outside my window, I can't help but think of spring when I am stamping with the new Timeless Tulips stamp set from the 2020 January-June Mini Catalog. This beautiful stamp set features three different tulips, stems, leaves, and a variety of greetings. It is a Dist-INK-tive stamp set which means that the images have a photo-realistic quality to them. From birthday to sympathy to Mother's Day, this set is perfect for a bouquet of greetings. 
This first card is a quick and easy one! I stamped the largest tulip along the bottom of a piece of Very Vanilla cardstock in Pumpkin Pie and Crushed Curry ink with stems and leaves in Old Olive. Then, I stamped the greeting in Gray Granite. I layered the card front on Crushed Curry and Gray Granite cardstock and just like that, I had a perfect card to send to someone this Easter. 
Picture
Picture
My second card today is also quick and easy. It uses the same color scheme but has an added twist. I stamped the tulips in Pumpkin Pie ink with Old Olive stems and leaves on Very Vanilla cardstock.

Then I filled a Stampin' Spritzer with water and a couple of drops of Crushed Curry ink. I spritzed the the tulips. This caused the ink in the tulips to run a little and gave the image a watercolored look. It also added a light yellow background. To give it just a little something extra, I took a wet watercolor brush and swirled it in Gray Granite ink. Then, I flicked it onto the card to create a slight splatter. 

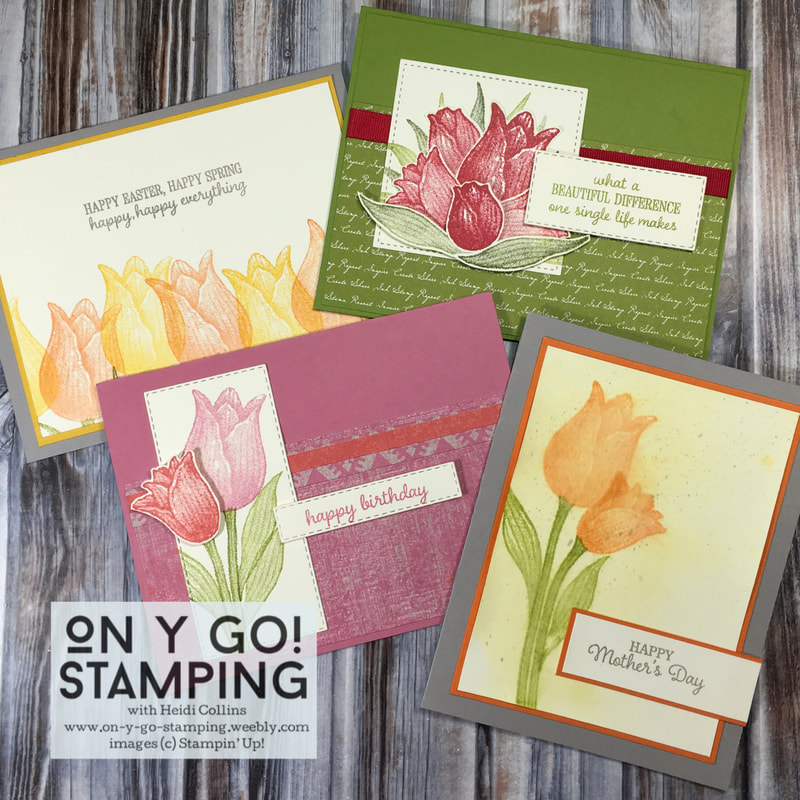
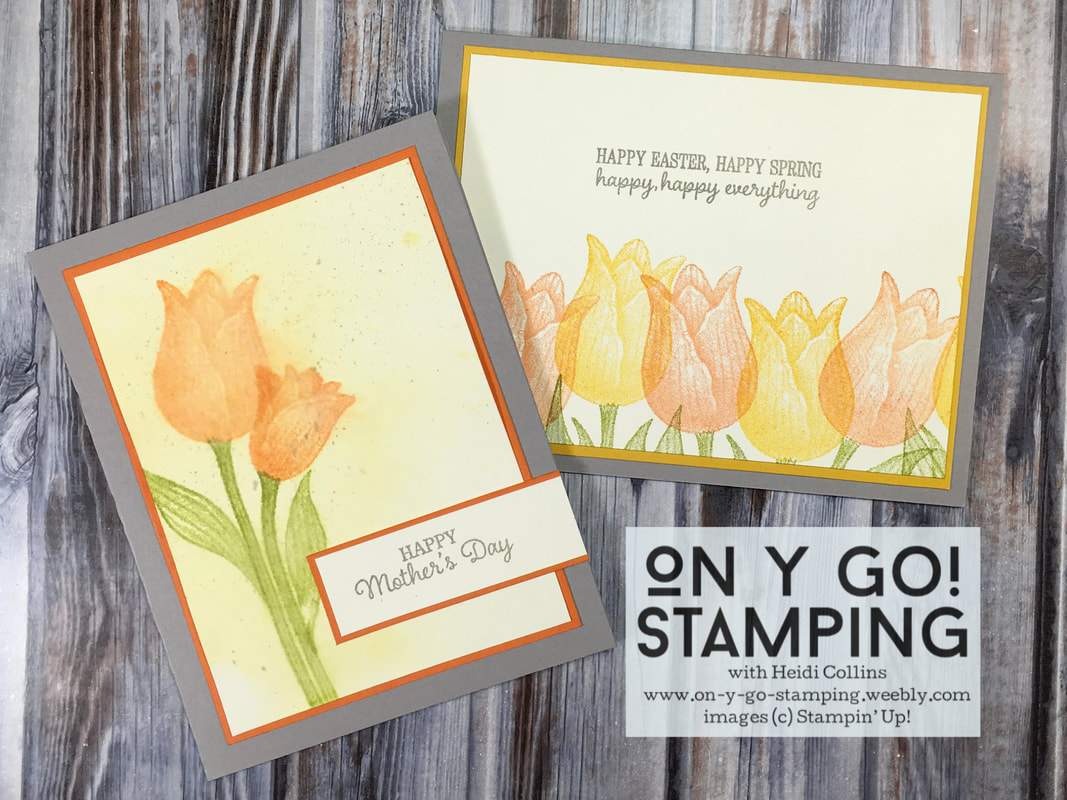
To finish the card, I layered the image on Pumpkin Pie and Gray Granite cardstock. I also stamped the greeting on small strip of Very Vanilla cardstock with Gray Granite ink. I layered it on Pumpkin Pie cardstock before adding to the card front. Once again, a quick and easy card that is perfect for Mother's Day. 

The next card took a little more time to create, but wasn't difficult. I stamped a variety of leaves on Very Vanilla cardstock using Old Olive and Mossy Meadow ink. I created a cluster of leaves plus two additional ones. Using the Stitched Shapes dies, I cut the cluster of leaves out.

Then, I stamped the tulips on Very Vanilla cardstock with Real Red ink. I cut out the tulips and layered them over the leaves. I also cut out the two additional leaves. I attached the smallest tulip bud and the two extra leaves using dimensionals on the front of the cluster of tulips. 
Picture

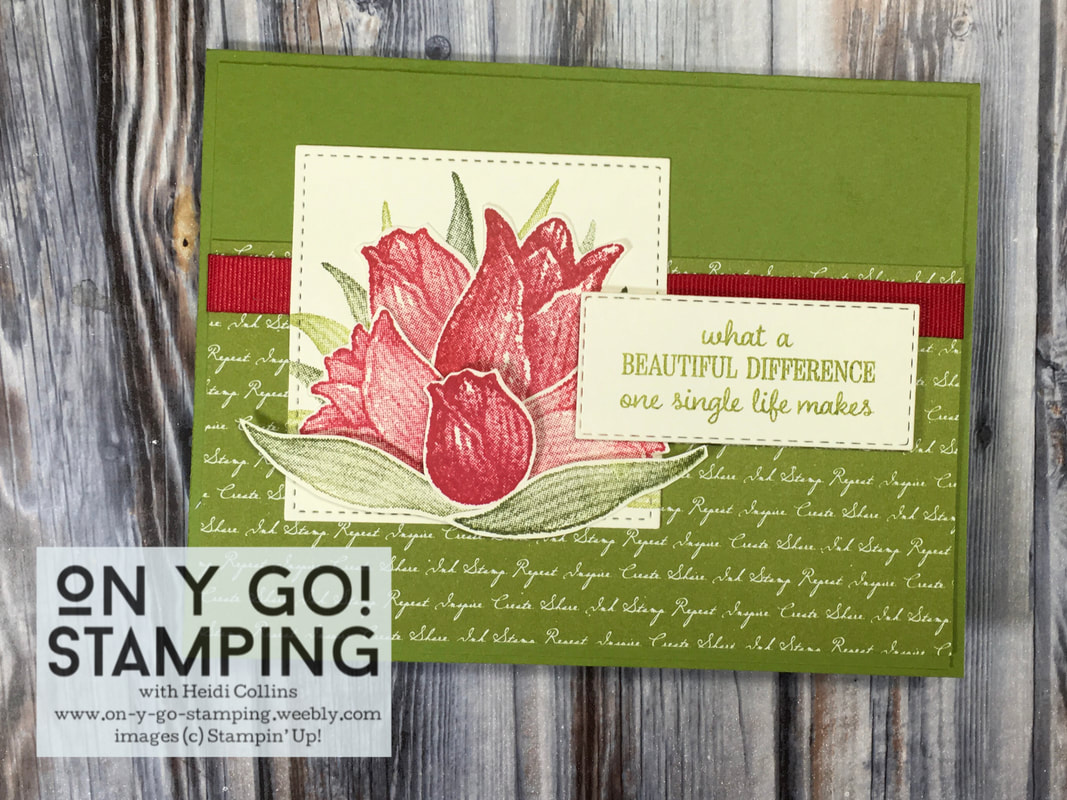
I layered a piece of Old Olive patterned paper from the 6" x 6" Regals Designer Series Paper pack on a piece of Old Olive cardstock. Then, I attached a piece of Real Red ribbon across the DSP. I attached this to an Old Olive card base. I adhered the tulip cluster to the front. Then, I stamped the greeting in Old Olive ink on Very Vanilla cardstock and cut it using the Stitched Rectangle dies. 
Picture
The final card uses two of the 2019-2021 In Colors - Rococo Rose and Terracotta Tile. I stamped the larger tulip in Rococo Rose and the stems in Old Olive ink on a piece of Very Vanilla cardstock. I cut this out using the Stitched Rectangle dies. I stamped the smaller tulip in Terracotta Tile on a separate piece of cardstock. I cut it out and adhered it to the main image using dimensionals. 
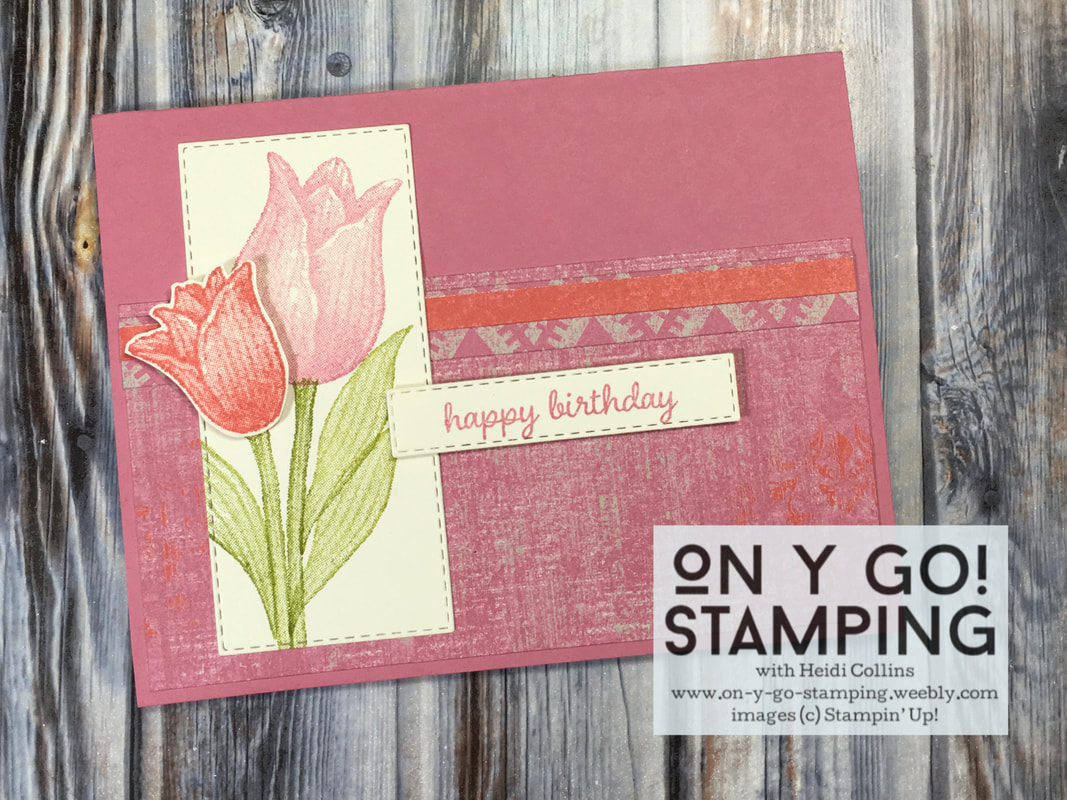
On a card base made from Rococo Rose cardstock, I adhered a piece of the Woven Threads Designer Series Paper. For this card, I didn't have ribbon to match. Instead, I used small strips of coordinating pieces of the Woven Threads DSP to give the same effect as ribbon. 

I finished the card off by stamping the "happy birthday" greeting in Rococo Rose ink and cutting it using another die from the Stitched Rectangle dies. I attached it with dimensionals to help it pop off the page. 
​
Order Stampin' Up! Products (January host code: 64VNA3YR)
0 Comments

Your comment will be posted after it is approved.


Leave a Reply.

    Heidi Collins, Independent Stampin' Up! Demonstrator with On Y Go! Stamping
    Get updates and ideas on my Facebook group
    Heidi Collins, Independent Stampin' Up! Demonstrator and Owner of On Y Go! Stamping
    Shop for Stampin' Up! stamps, inks, paper, tools, and embellishments with Heidi Collins and earn points towards FREE stamps!
    Picture
    Picture
    On Y Go! Stamping YouTube channel with Card Making Videos on how to do rubber stamping, card making, scrapbooking, and paper crafting

    Archives

    March 2023
    February 2023
    January 2023
    December 2022
    November 2022
    October 2022
    September 2022
    August 2022
    July 2022
    June 2022
    May 2022
    April 2022
    March 2022
    February 2022
    January 2022
    December 2021
    November 2021
    October 2021
    September 2021
    August 2021
    July 2021
    June 2021
    May 2021
    April 2021
    March 2021
    February 2021
    January 2021
    December 2020
    November 2020
    October 2020
    September 2020
    August 2020
    July 2020
    June 2020
    May 2020
    April 2020
    March 2020
    February 2020
    January 2020
    December 2019
    November 2019
    October 2019
    September 2019
    August 2019
    July 2019
    June 2019

Powered by Create your own unique website with customizable templates.
  • About
  • Online Card Classes
  • Card Making Ideas
  • Stampin' Up! Catalogs
  • Card Tutorials
  • Contact
  • Shopping Rewards
  • Shop
  • Join Stampin' Up!