0 Comments
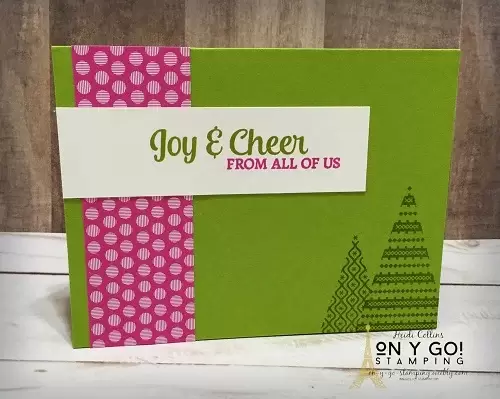
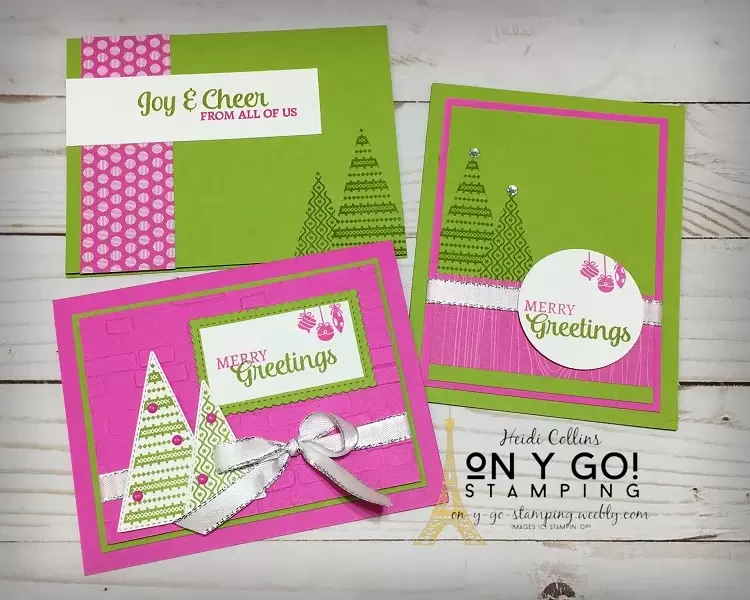
Whether your style is quick and easy or a bit more snazzy, this easy card idea and the NEW Clever Cats stamp set are purrfect for you! I took the same basic design and create three different cards to show how you can take a simple design and step it up. So, on y go! Let's get stamping. 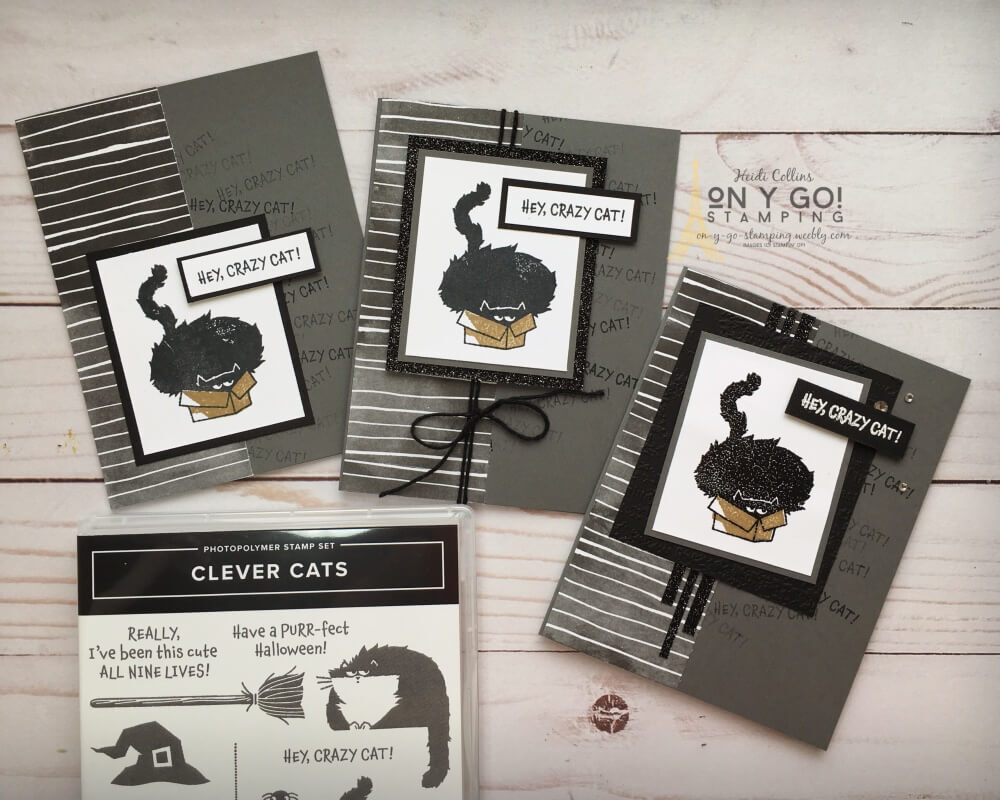 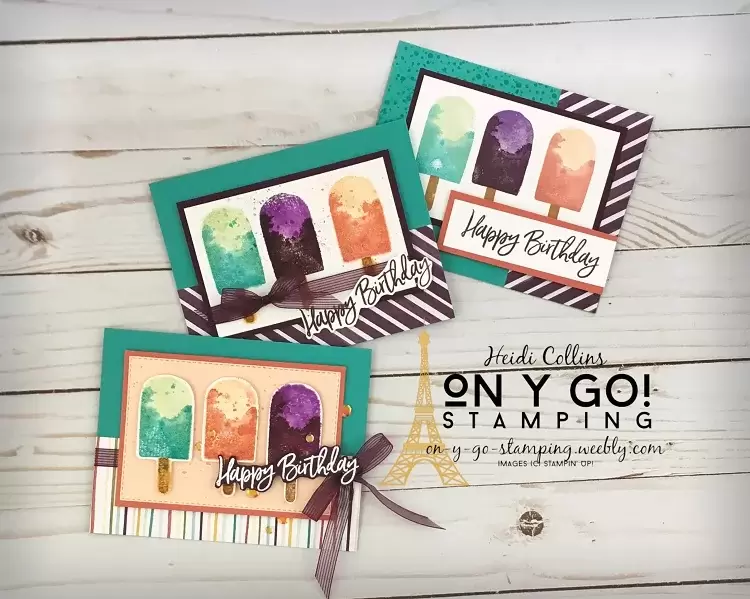
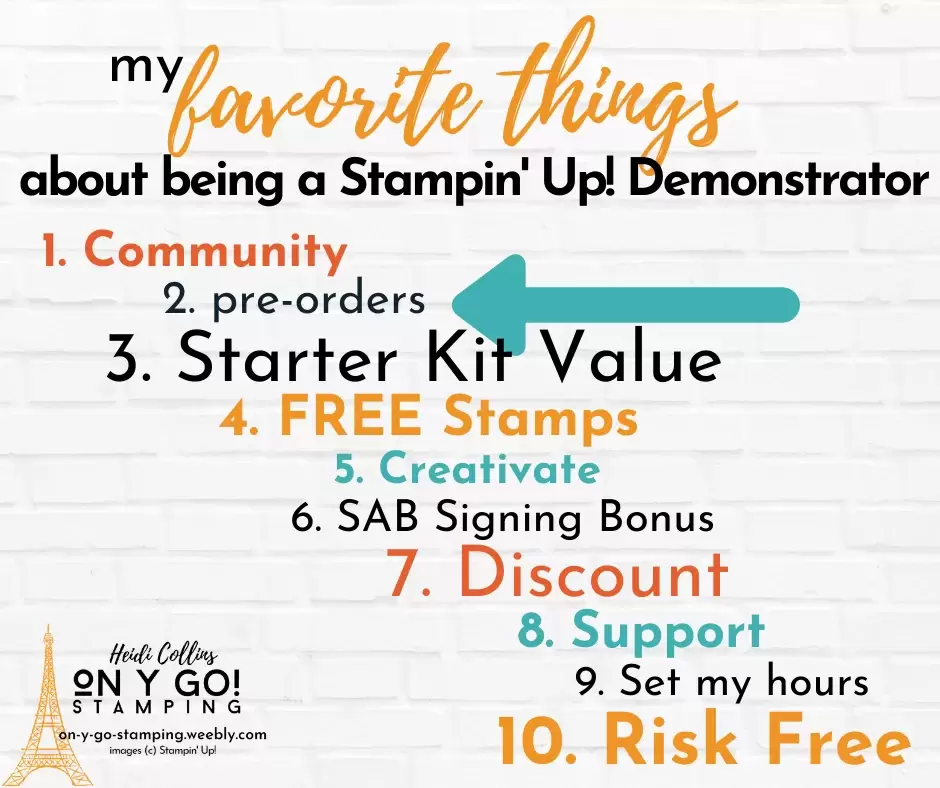
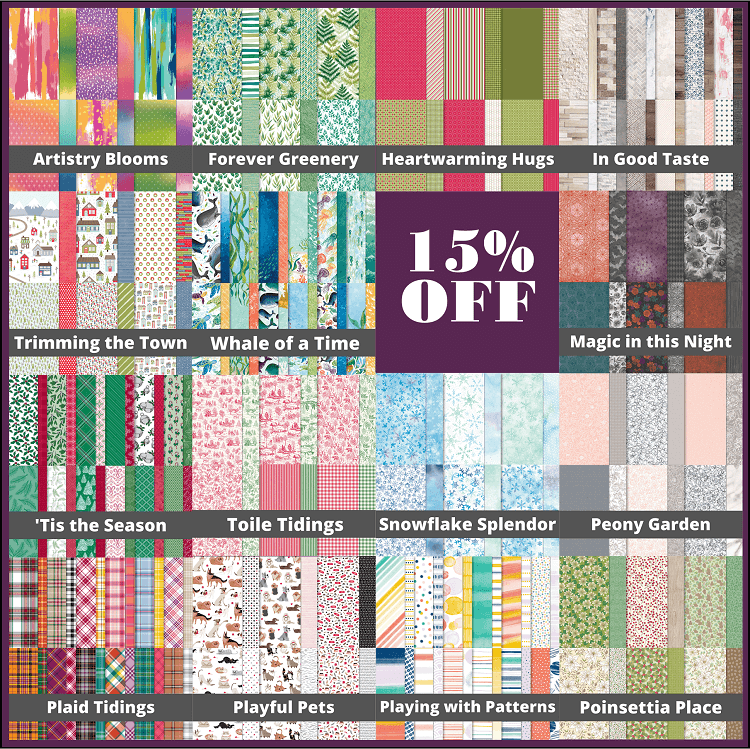
Do you love to get your hands on the latest and greatest card making supplies before everyone else? I do! As a Stampin' Up! Demonstrator, I get to purchase all the new stuff a month or more before it's available to customers - and I still get a discount on it and earn Stampin' Rewards! How awesome is that?!?
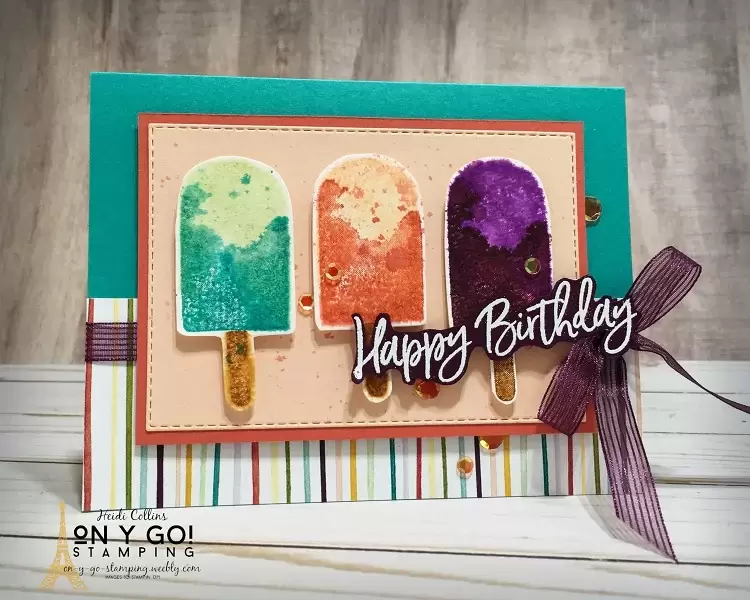
Bermuda Bay (card base): 5 1/2" x 8 1/2", scored at 4 1/4" Petal Pink: Cut with the Stitched Rectangle dies to approximately 4 3/8" x 3" Terracotta Tile: 3 1/4" x 4 1/2" Ice Cream Corner Designer Series Paper: 2" x 5 1/2" Blackberry Bliss (sentiment): scrap at least 3 1/2" x 1"
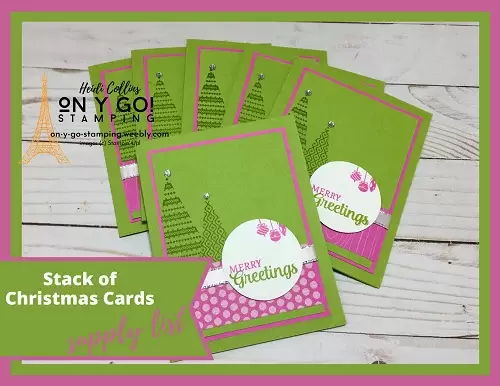
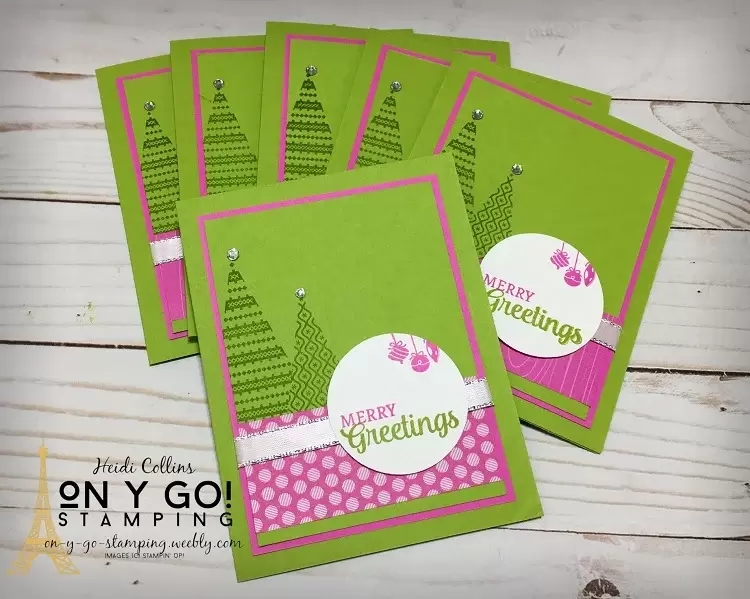 If you'd like to make your own holiday cards this year and you haven't yet started, it's still possible! Today, I have tips for creating a stack of holiday cards quickly. It's surprisingly quicker to mass produce cards than to create individual cards. So, on y go! Let's get stamping.
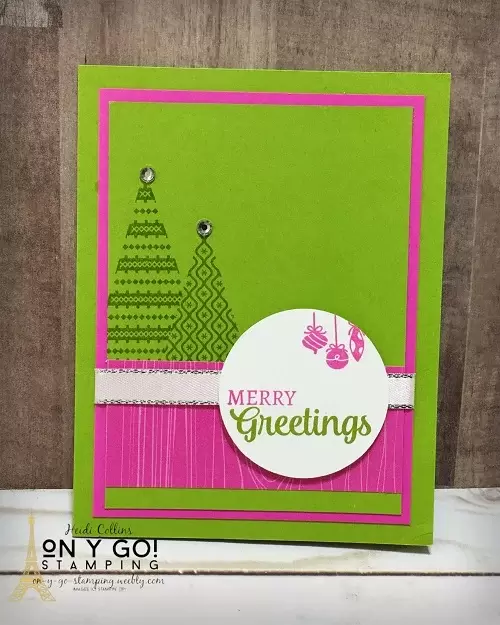
3b. Replace die-cuts with punched shapesInstead of the die-cut Christmas trees and greeting, I stamped the trees on the background and the greeting on a circle punched with the 2" circle punch. Much faster than die-cutting! 4. Use Assembly-line TechniquesNow that you have your prototype, determine the steps to complete your card. Then complete each step for all of the cards before moving on to the next step. In other words, start by cutting all of your cardstock. For my card, I cut all of the Granny Apple Green, then all of the Magenta Madness, and then pieces of the Whisper White. Then, move on to stamping. Stamp all of your Christmas Trees, then stamp all of your greetings, etc.
When the stamping was done, I assembled the cards step by step. You can see exactly how I quickly put together 6 cards in the video. I hope this has inspired and helped you in creating your own stack of holiday cards whether you want to make 10, 50, 100, or more!
Dimensions for the Sample Card DesignGranny Apple Green: 3 1/2" x 4 3/4"
Granny Apple Green: 8 1/2" x 5 1/2", scored at 4 1/4" Magenta Madness: 3 11/16" x 4 15/16" Whisper White: 2" x 2" (or 7" x 4 3/4" to create 6) 2020-2022 In Color 6" x 6" Designer Series Paper: 1 1/2" x 3 1/2" 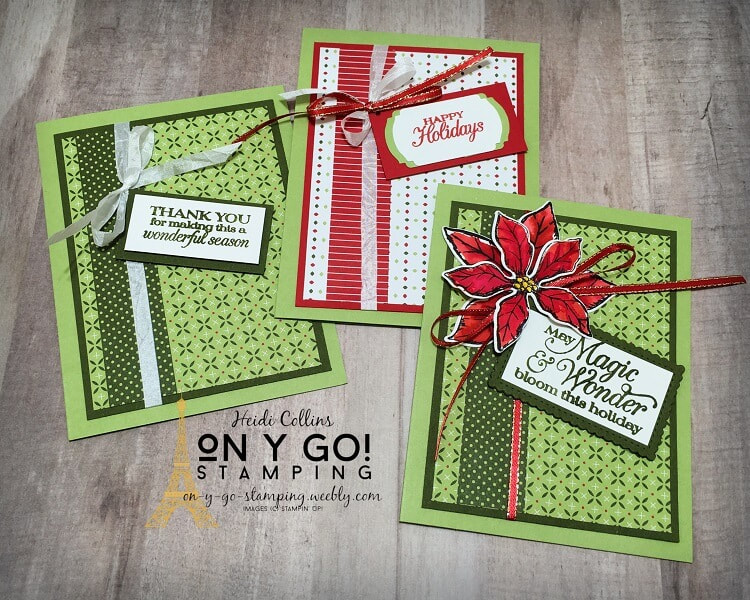
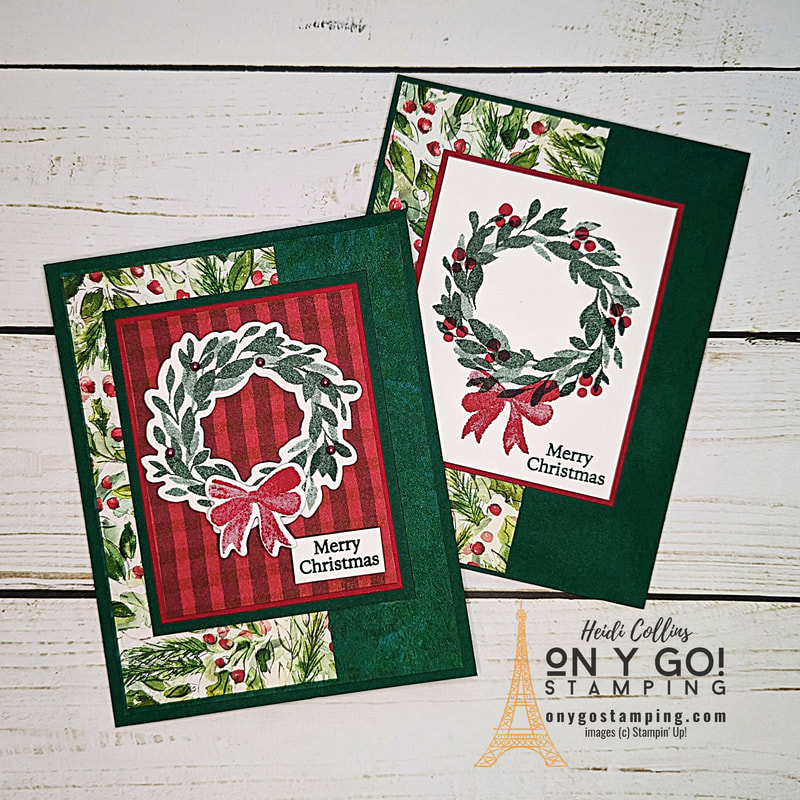
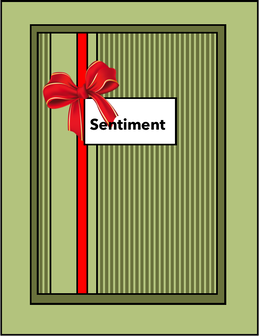
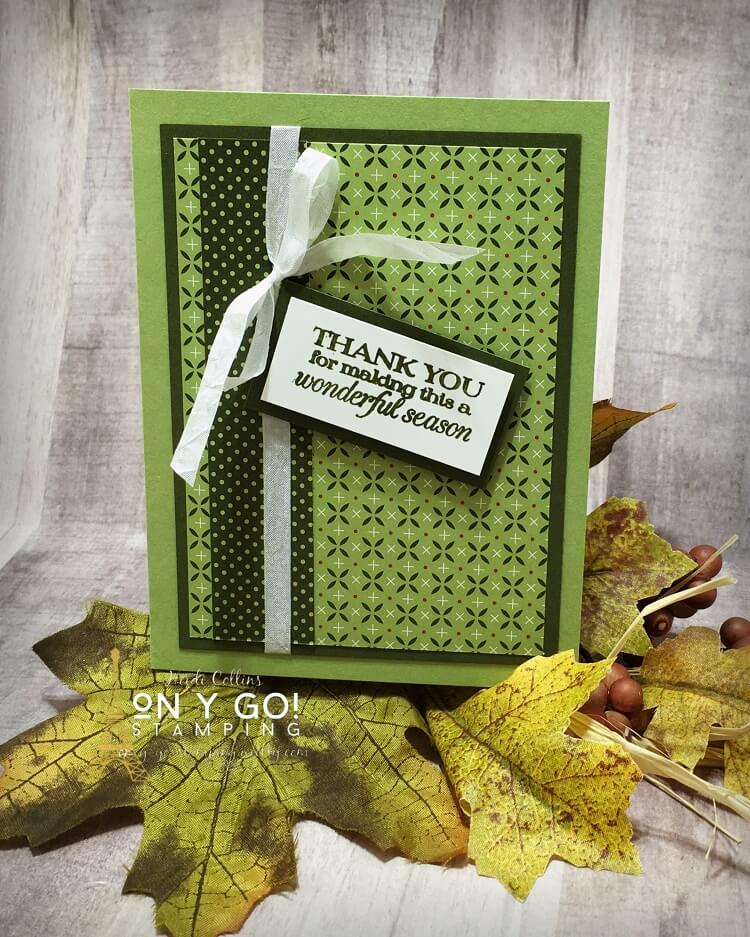
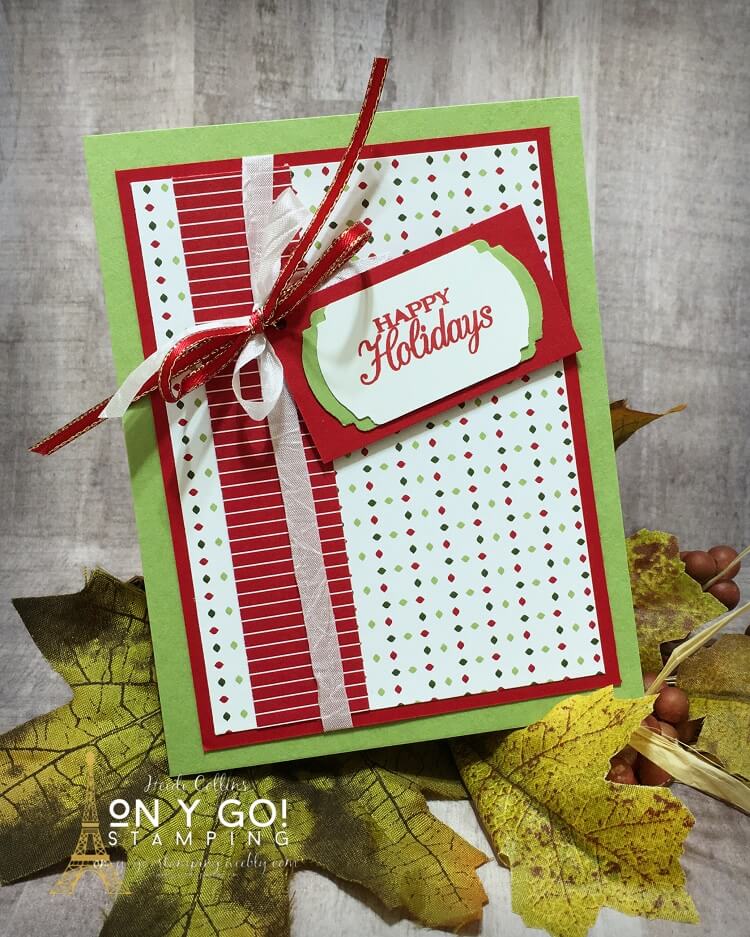
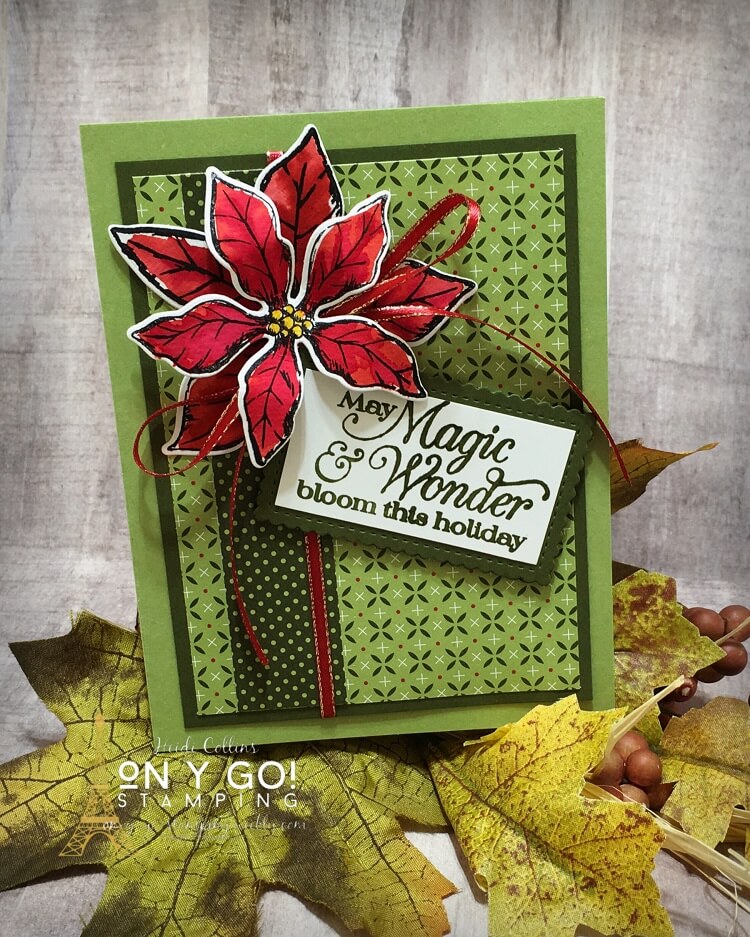
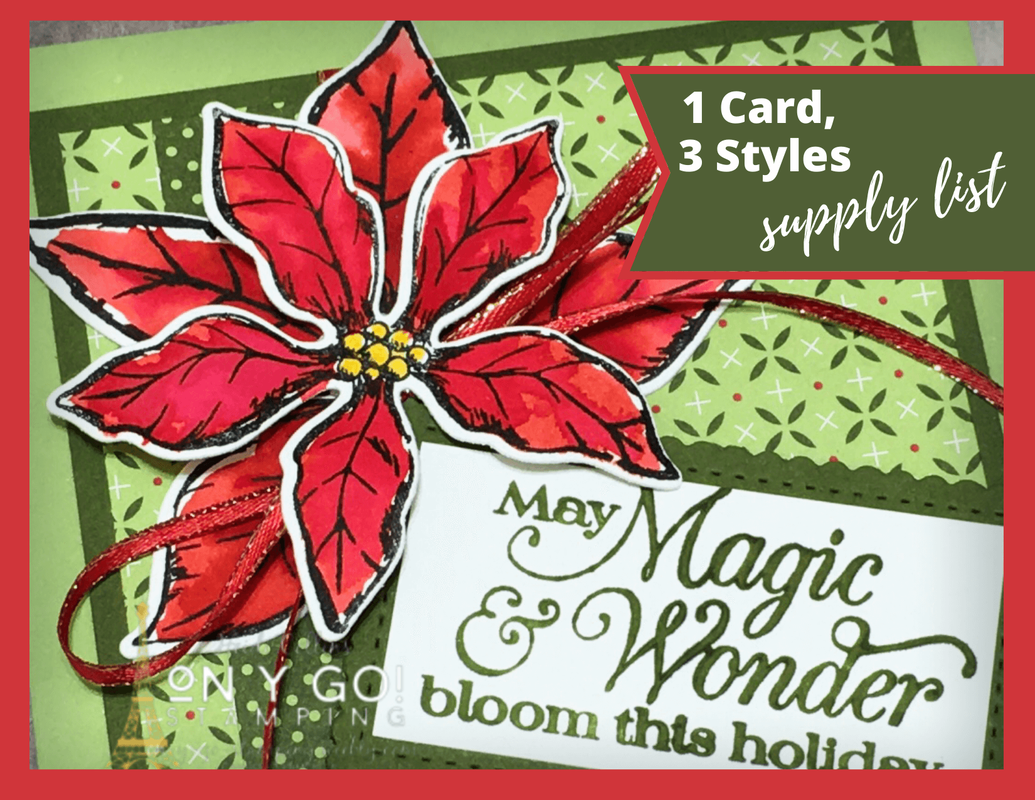
Today, I have three cards to share with you that all use the same basic card design. I started with a very simple card, and then stepped it up two more times. These card ideas go from simple to chic to oh là là! All three cards use the Heartwarming Hugs patterned paper and the Poinsettia Petals stamp set from Stampin' Up!
on y go! Let's get stamping.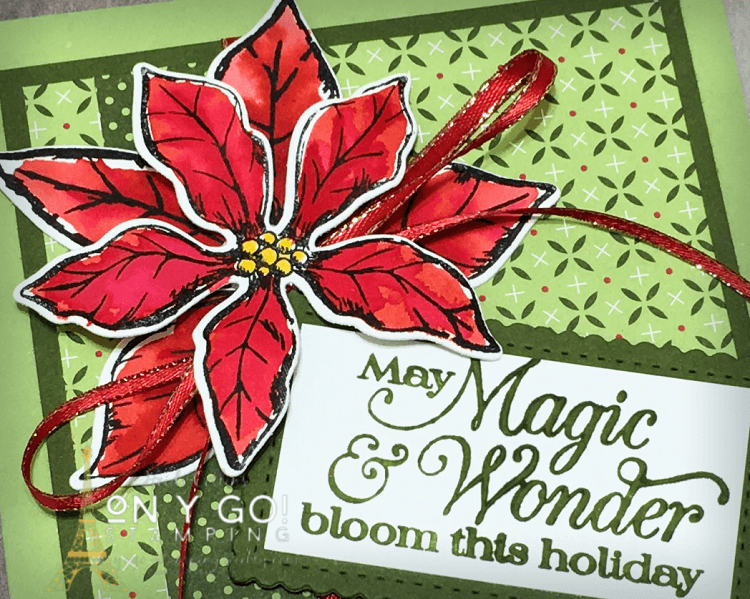

Pretty Cards & Paper International Design Team Blog Hop
Thank you for stopping by today. I hope you'll take the time to check out all of the other wonderful cards created by these fabulous designers. Just click on their names to visit their websites.
|


Archives
April 2024
|